
In-Depth Analysis of Paint Correction Grading System: Three-Stage Correction & Product Pairing Guide
I. What Is Paint Correction?
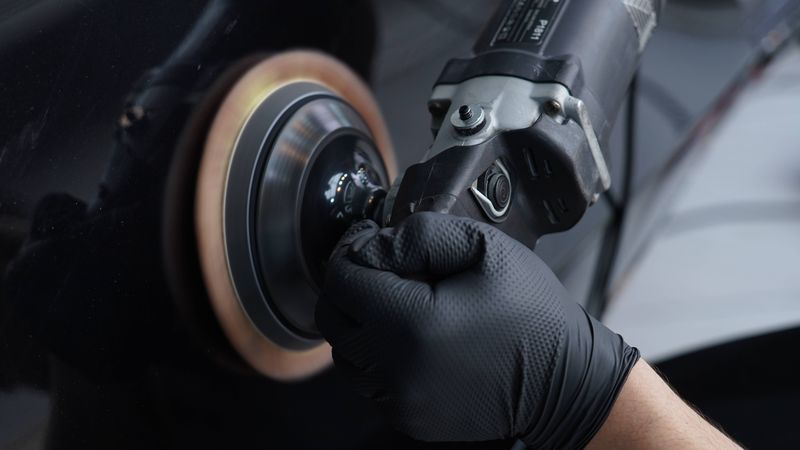
Paint correction is the core technology in the auto detailing industry. Through professional polishing techniques, it removes paint surface defects and restores gloss and clarity. For many car owners, “polishing” and “correction” seem interchangeable, but in fact, paint correction is a far more systematic and professional concept. Simply put, paint correction is a precisely controlled abrasive process that methodically removes micrometer-level thickness from the clear coat to eliminate swirl marks, scratches, oxidation, water spots, and other defects, restoring the paint to near-factory condition.
II. Paint Correction Grading System Explained
According to the International Auto Detailing Association (IAD) standards, paint correction is typically divided into three levels, each corresponding to different defect removal rates and application complexity.
2.1 Stage 1 Light Correction (50-60% Defect Removal)
Applicable Scenarios:
- Well-maintained new or near-new vehicles
- Only mild swirl marks and minor imperfections present
- Desire to enhance paint gloss without excessive clear coat removal
- Routine maintenance polishing
Technical Features:
- Single-step polishing process using only one compound and one pad
- Minimal clear coat removal (typically less than 1 micron)
- Focus on enhancing gloss and clarity
- Relatively low skill requirement; DIY enthusiasts can attempt it
Recommended Product Pairing:
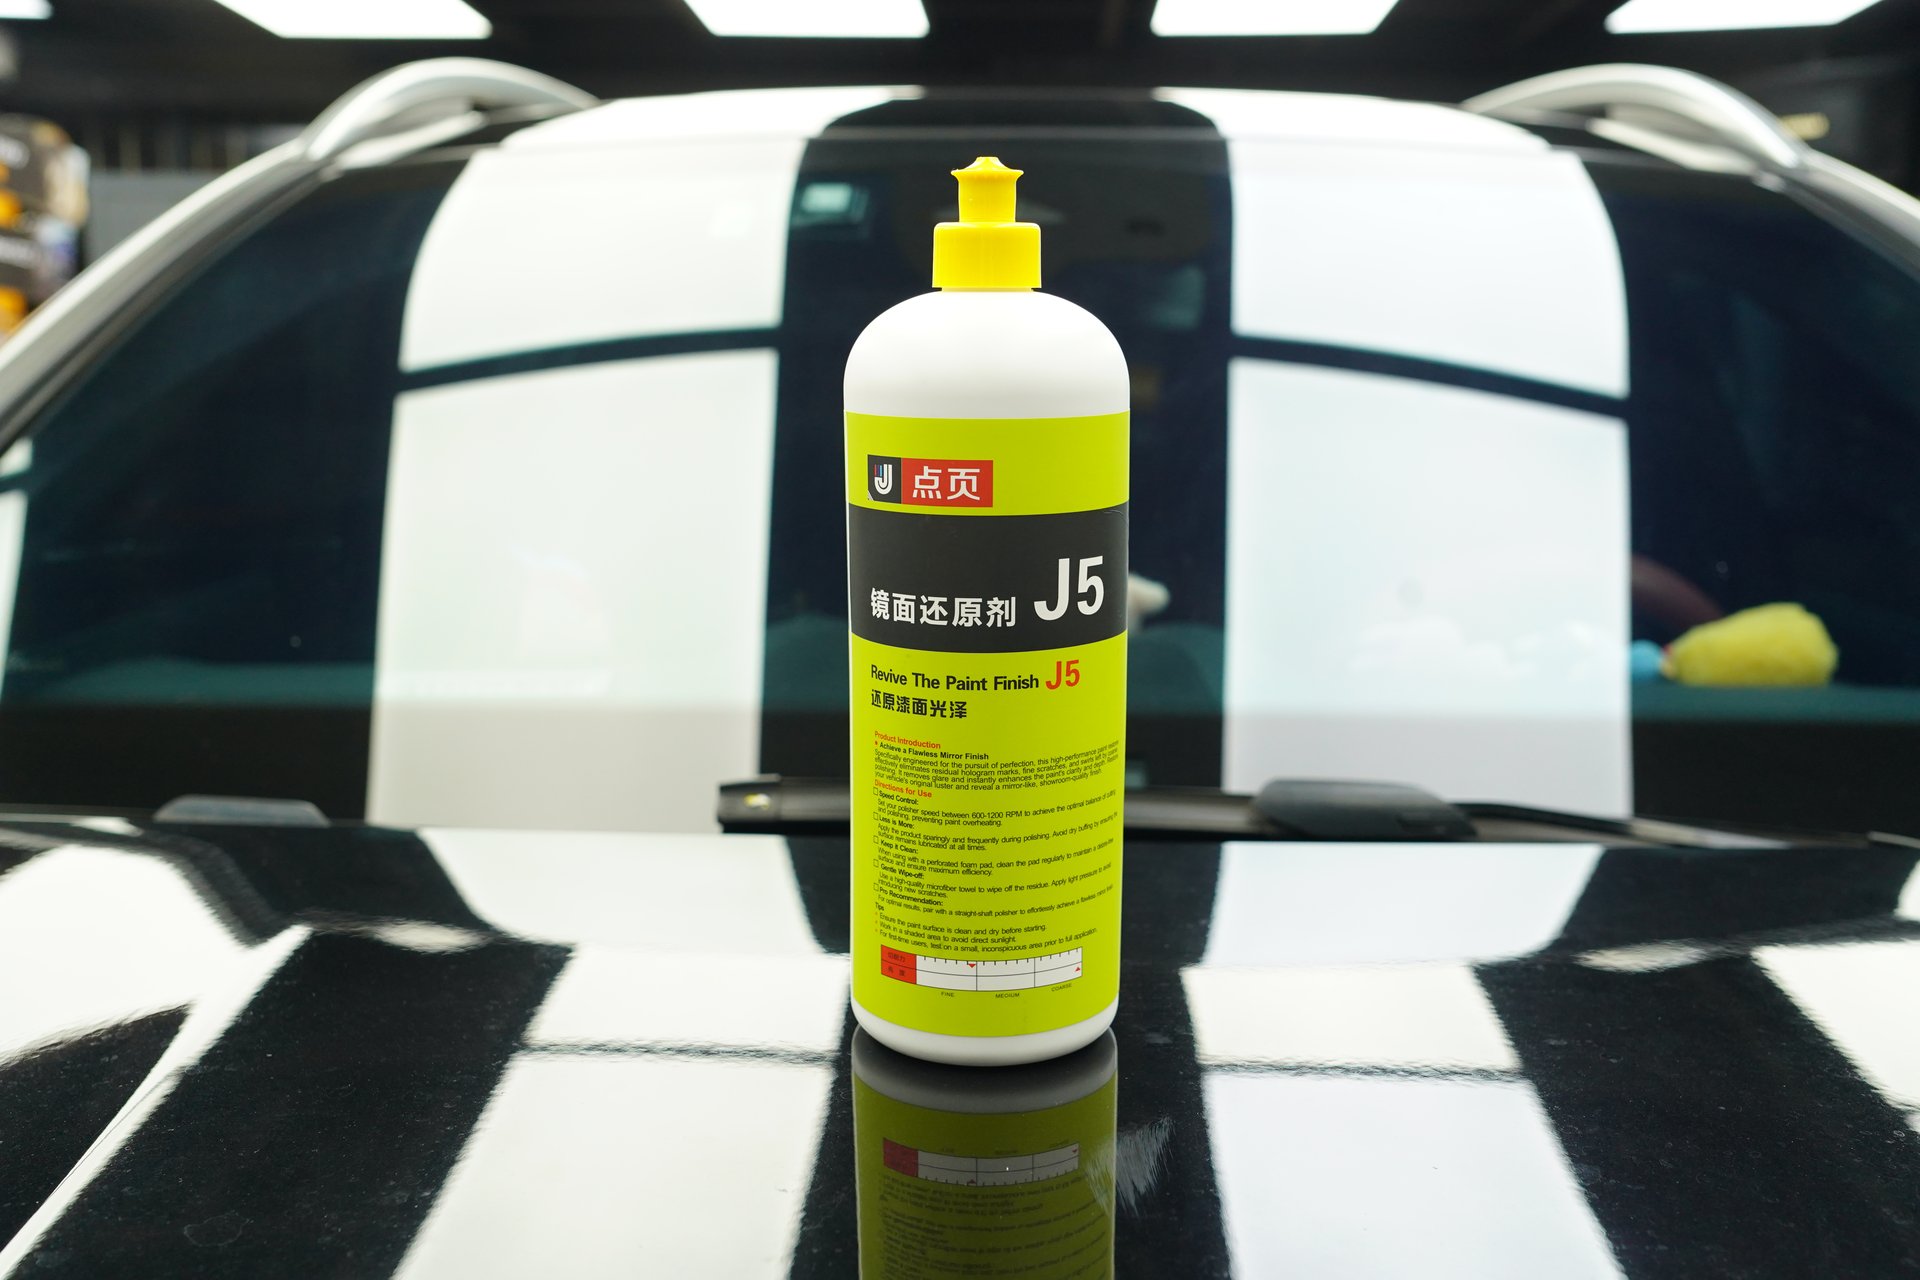
- J5 Mirror Glaze Restorer + finishing pad
- For light contamination, pre-treat with J1 Cleaning Wax
Application Time:
- Standard sedan: 4-8 hours
- Most time spent on cleaning and precision work
2.2 Stage 2 Medium Correction (80-85% Defect Removal)
Applicable Scenarios:
- Daily drivers with 2-5 years of use
- Moderate swirl marks, light scratches, and oxidation present
- Significant paint appearance improvement desired
- Standard choice for used car reconditioning
Technical Features:
- Two-step process: compound first, then finish
- First step uses high-cut products to remove major defects
- Second step uses mirror glaze restorer to eliminate compounding marks and boost shine
- Moderate clear coat removal (typically 1-3 microns)
Recommended Product Pairing:
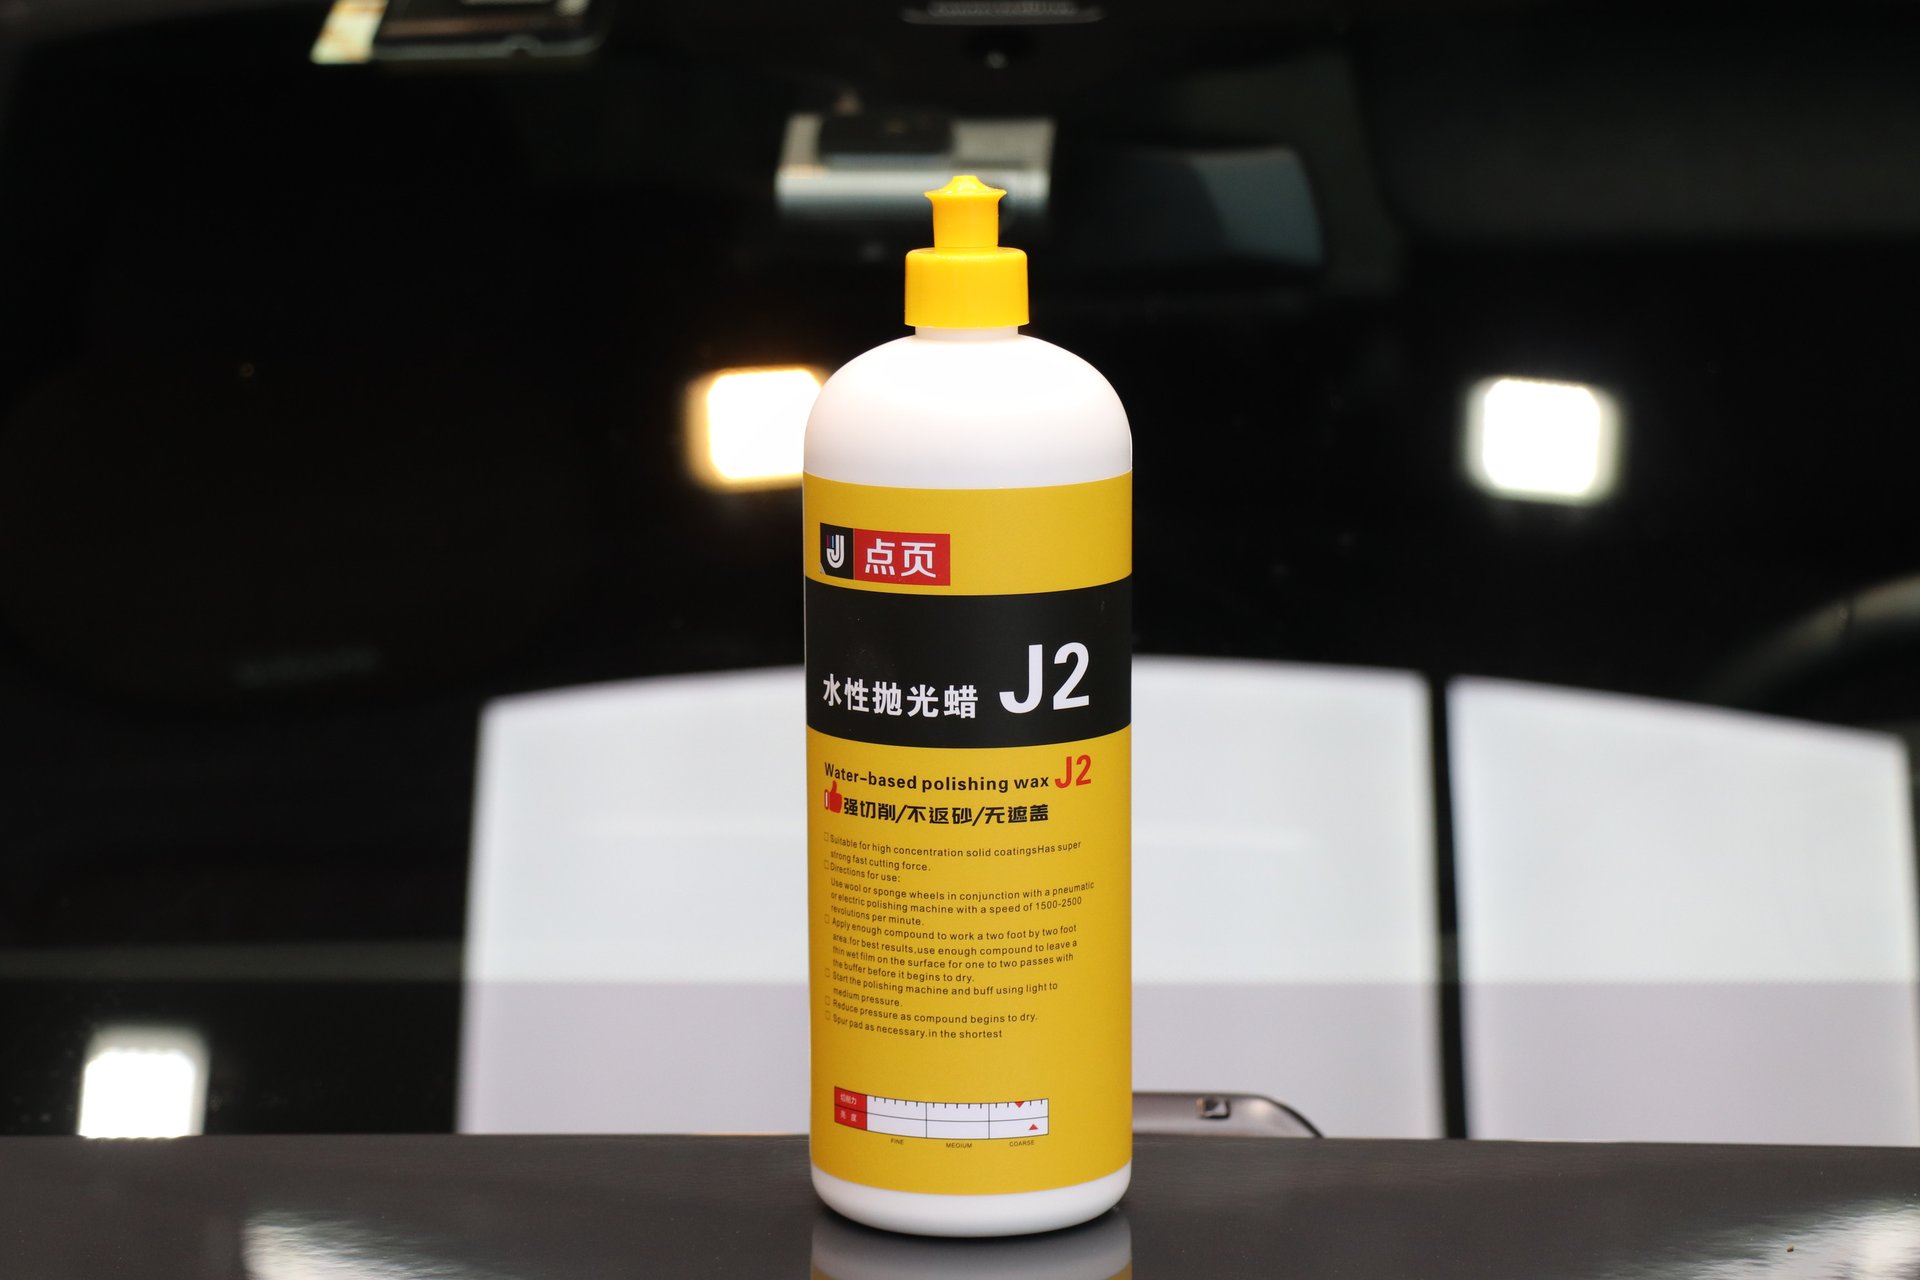
- Step 1: J2 Water-Based Polishing Wax + long wool pad (compound to remove scratches)
- Step 2: J5 Mirror Glaze Restorer + finishing pad (mirror finish)
- Pre-treatment: J1 Cleaning Wax to clean the paint surface
Application Time:
- Standard sedan: 8-12 hours
- The most popular correction level in the market
Notes:
- Hard paint (e.g., BMW black) is recommended to compound first, then apply mirror glaze restorer
- Remember to do a wipedown check to ensure authentic polishing results
- Inspect under strong light after each step
2.3 Stage 3 Heavy Correction (95%+ Defect Removal)
Applicable Scenarios:
- Older vehicles with poor paint condition
- Deep scratches, severe oxidation, and water stain etching
- Show car and collector vehicle preparation
- Pursuit of ultimate mirror finish
Technical Features:
- Three or more step compound process
- Full workflow: compound → refine → finish
- Precise control of cutting amount at each step required
- High level of technician expertise required
- Significant clear coat removal (3-5 microns)
Recommended Product Pairing:
- Step 1: J2 Water-Based Polishing Wax + long wool pad (deep scratch removal)
- Step 2: J2 + short wool pad (refinement)
- Step 3: J5 Mirror Glaze Restorer + finishing pad (final mirror finish)
Application Time:
- Standard sedan: 12-24 hours
- Requires extreme patience and professional judgment
III. How to Choose the Right Correction Level?
Choosing the appropriate paint correction level requires considering the following factors:
3.1 Paint Condition Assessment
Before deciding on the correction level, a professional paint inspection is essential:
- Use a high-intensity flashlight or paint inspection lamp for careful examination
- Run your fingernail across scratches to judge their depth
- Check for oxidation, water spots, etching, and other special defects
- Evaluate clear coat thickness (critically important!)
3.2 Expected Results vs. Budget Balance
| Correction Level | Defect Removal Rate | Expected Result | Budget Range |
|---|---|---|---|
| Stage 1 | 50-60% | Gloss enhancement, minor imperfection improvement | ★★☆☆☆ |
| Stage 2 | 80-85% | Significant improvement, near-new condition | ★★★☆☆ |
| Stage 3 | 95%+ | Ultimate mirror finish, show car quality | ★★★★★ |
3.3 Practical Advice for DIY Enthusiasts
If this is your first time attempting paint correction:
Beginner Path:
- Start with Stage 1: Practice on a small area using J5 Mirror Glaze Restorer first
- Don’t pursue perfection in one step: Gradually improving results over multiple passes is safer than over-cutting at once
- Prepare mentally: A full Stage 2 takes at least 8 hours — don’t rush
- Always test in an inconspicuous area first: Try a hidden spot (e.g., roof edge) before tackling visible panels
Advancement Tips:
- After mastering Stage 1, try the two-step Stage 2 process
- Use the cross-hatch polishing method for more even and manageable results
- Watch for paint surface changes and adjust pressure and speed accordingly
IV. Key Technical Points for Paint Correction
4.1 Pad-Compound Pairing Principles
The quality of polishing results depends greatly on proper pad and compound pairing:
| Process | Recommended Compound | Recommended Pad | Description |
|---|---|---|---|
| Compound (scratch removal) | J2 Water-Based Polishing Wax | Long wool pad | High cutting power for deep defects |
| Refine | J2 Water-Based Polishing Wax | Short wool pad | Balances cutting and gloss |
| Mirror finish | J5 Mirror Glaze Restorer | Finishing pad / soft foam | Ultimate gloss, dust-free |
4.2 Pad Cleaning Cannot Be Overlooked
- Failure to clean the pad will severely affect polishing results
- Long wool pads are especially prone to wax buildup and require timely cleaning
- Pad cleaning is an essential step in the polishing process — do not skip it
- Clean the pad after every 2-3 panels
4.3 About Dust Generation
Many car owners ask: Why does J2 compound produce dust while J5 restorer doesn’t? The answer is simple:
- J2 is a cutting compound with strong abrasive power. During polishing, it generates clear coat powder and abrasive particles
- J5 is a mirror glaze restorer whose main function is to fill microscopic pores and provide optical brightening, without substantive cutting
This is normal and not a product quality issue. The amount of dust can serve as a reference for judging cutting power.
V. Post-Correction Paint Care
5.1 What to Do Immediately After Correction?
- Thorough wipedown cleaning: Remove all polishing residue
- Inspect under strong light: Ensure no missed defects or holograms
- Apply protection: Ceramic coating, sealant, or wax to protect the freshly corrected paint
5.2 Long-Term Care Recommendations
- Freshly corrected paint is very delicate — avoid washing for the first two weeks
- Use pH-neutral car wash soap; avoid alkaline products
- Perform maintenance polishing (Stage 1 level) every 3-6 months
- Avoid parking under trees to reduce contamination from bug splatter and tree sap (treat with J1 Cleaning Wax)
VI. Frequently Asked Questions
Q: How much clear coat does paint correction remove? A: Stage 1 typically removes less than 1 micron, Stage 2 about 1-3 microns, Stage 3 about 3-5 microns. New car clear coat is generally 40-60 microns thick, so proper correction won’t affect paint longevity.
Q: What’s the difference between water-based and oil-based polishing wax? A: Water-based wax is eco-friendly, low-odor, suitable for indoor use and DIY enthusiasts. Oil-based wax has stronger cutting power but produces more odor and requires good ventilation. J2 uses a water-based formula that balances effectiveness and environmental friendliness.
Q: What if I see holograms after polishing? A: This is normal. Fine holograms appear after compounding. Simply go over it again with J5 Mirror Glaze Restorer and a finishing pad for a perfect result.
Q: How long does a full car polish take? A: Depending on the correction level: Stage 1 takes 4-8 hours, Stage 2 takes 8-12 hours, Stage 3 may take an entire day or longer. Don’t rush the process.
VII. Summary
Paint correction is both a craft and an art. Choosing the right correction level and using the correct products and methods are essential for achieving ideal results while protecting the paint. For most DIY enthusiasts:
- Entry-level: Stage 1 light correction, J5 + finishing pad
- Intermediate: Stage 2 medium correction, J2 + J5 two-step method
- Professional: Stage 3 heavy correction, multi-step compound process
Remember: Safety always matters more than results. Better to polish less than to over-cut. Every car’s clear coat is finite and deserves careful treatment.