
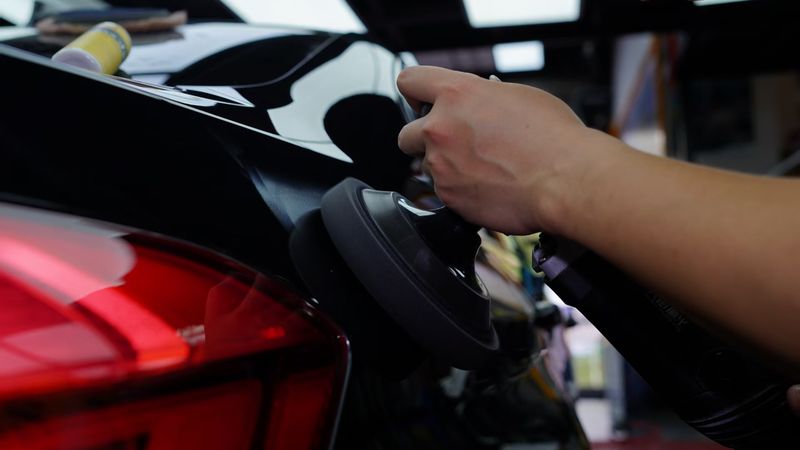
Car polishing isn’t a one-size-fits-all process. Different paint types, age conditions, and hardness characteristics all demand completely different polishing parameters. 90% of problems — poor results or even burning through the paint — stem from mismatched parameters.
In this article, I’ll explain from a professional perspective how to identify different paint types and the corresponding parameter adjustment techniques.
I. Paint Type Identification & Basic Characteristics
1.1 New Car Paint (Within 6 Months of Manufacture)
Characteristics:
- Thick clear coat (typically 60-80μm)
- Moderate paint hardness
- Thin oxidation layer; mainly light scratches from transport and storage
- Risk: Prone to hologm marks
Identification:
- Check vehicle manufacture date
- High gloss, no visible oxidation or dullness
- Shallow scratches, mostly wash marks
1.2 Old Car Paint (1+ Years of Use)
Characteristics:
- Some clear coat wear (remaining 40-60μm)
- Increased hardness (oxidation hardening)
- Thick oxidation layer, deeper scratches
- Risk: Easy to burn through edges
Identification:
- Dull paint, reduced gloss
- Visible swirl marks and scratches
- Thinner clear coat at edges
1.3 Clear Coat
Characteristics:
- Standard on modern vehicles, 50-80μm thick
- Transparent protective layer with no pigment
- High hardness, good chemical resistance
- Risk: Over-polishing leads to excessively thin clear coat
Identification:
- Lightly sand an edge with 2000-grit sandpaper — no color transfer means clear coat
- Most passenger vehicles have a clear coat + base coat two-layer structure
1.4 Base Coat (Color Layer)
Characteristics:
- Contains pigment that determines body color
- Located beneath the clear coat, 30-50μm thick
- Relatively soft, easy to burn through
- Risk: Once burned through, the base is exposed and cannot be reversed
Identification:
- Paint color appearing on the polishing pad means you’ve reached the base coat
- Stop immediately and switch to finer products
1.5 Metallic/Pearl Paint
Characteristics:
- Base coat contains aluminum flakes or mica particles
- High gloss with strong depth and layering
- Metallic paint is relatively hard; pearl paint is softer
- Risk: Improper polishing can dislodge metallic particles
Identification:
- Visible metallic sparkle or pearl effect in sunlight
- White cars are mostly solid paint; other colors are usually metallic
1.6 Solid Color Paint
Characteristics:
- No metallic particles, uniform single color
- Relatively soft texture
- Common in white and black base colors
- Risk: Prone to holograms; gloss improvement after polishing may be less noticeable
Identification:
- No metallic sparkle in sunlight
- Uniform, single-tone color
II. Parameter Adjustment for Different Paint Types
2.1 RPM Adjustment (Rotary Polisher)
| Paint Type | Compound RPM | Polish RPM | Finish RPM | Notes |
|---|---|---|---|---|
| New paint | 1200-1500 | 1000-1200 | 800-1000 | Keep RPM moderate to avoid holograms |
| Old paint | 1800-2200 | 1500-1800 | 1000-1200 | Higher RPM OK for increased cutting |
| Clear coat | 1500-2000 | 1200-1500 | 800-1000 | Standard parameters, most common |
| Metallic | 1500-1800 | 1200-1500 | 800-1000 | Too high RPM may dislodge metallic particles |
| Solid | 1200-1500 | 1000-1200 | 800-1000 | Lower RPM reduces hologms |
DA Polisher RPM Reference:
- Compound: 4000-5000 RPM
- Polish: 3500-4000 RPM
- Finish: 3000-3500 RPM
- New cars: Reduce all by 500 RPM
2.2 Pressure Adjustment
Pressure Levels:
- Light pressure: 1-2kg (weight of hand at rest)
- Medium pressure: 2-3kg (hand with slight force)
- Heavy pressure: 3-5kg (deliberate downward force)
| Paint Type | Compound Pressure | Polish Pressure | Finish Pressure | Notes |
|---|---|---|---|---|
| New paint | Light | Light | Very light | Excessive pressure causes holograms |
| Old paint | Medium | Light | Very light | Moderate pressure increases cutting |
| Clear coat | Medium | Light | Very light | Standard parameters |
| Metallic | Light | Light | Very light | Heavy pressure dislodges metallic particles |
| Solid | Light-Medium | Light | Very light | Control hologms |
Pressure Verification:
- Polisher sound is steady, no significant RPM drop
- Pad fully contacts the paint surface
- Compound distributes evenly without splattering
2.3 Arm Speed Adjustment
Speed Levels:
- Slow: 2-3cm/sec
- Medium: 3-5cm/sec
- Fast: 5-8cm/sec
| Paint Type | Compound Speed | Polish Speed | Finish Speed | Notes |
|---|---|---|---|---|
| New paint | Medium | Medium | Medium-Fast | Fast passes reduce heat buildup |
| Old paint | Slow | Medium | Medium | Slow passes increase cutting time |
| Clear coat | Slow-Medium | Medium | Medium | Standard parameters |
| Metallic | Medium | Medium | Medium-Fast | Avoid dwelling |
| Solid | Medium | Medium-Fast | Fast | Fast reduces hologms |
Arm Movement Tips:
- 50% overlap each pass
- Cross-hatch pattern (horizontal + vertical)
- No more than 3-5 passes per area
2.4 Time Control
Per-Panel Polishing Time:
- Hood: 15-20 minutes
- Door: 10-15 minutes
- Roof: 15-20 minutes
- Bumper: 8-10 minutes
Precautions:
- Never dwell on one spot for more than 3 seconds
- Stop when paint surface exceeds 50°C; wait for cooling before continuing
- Reduce time by half for edges and corners
III. Practical Tips for Different Paint Types
3.1 New Car Polishing
Goal: Remove light transport/storage scratches and wash marks; enhance gloss
Steps:
- Pre-treatment: Full car decontamination to remove transport wax and protective film residue
- Test: Test on door edge or rear bumper interior to determine optimal parameters
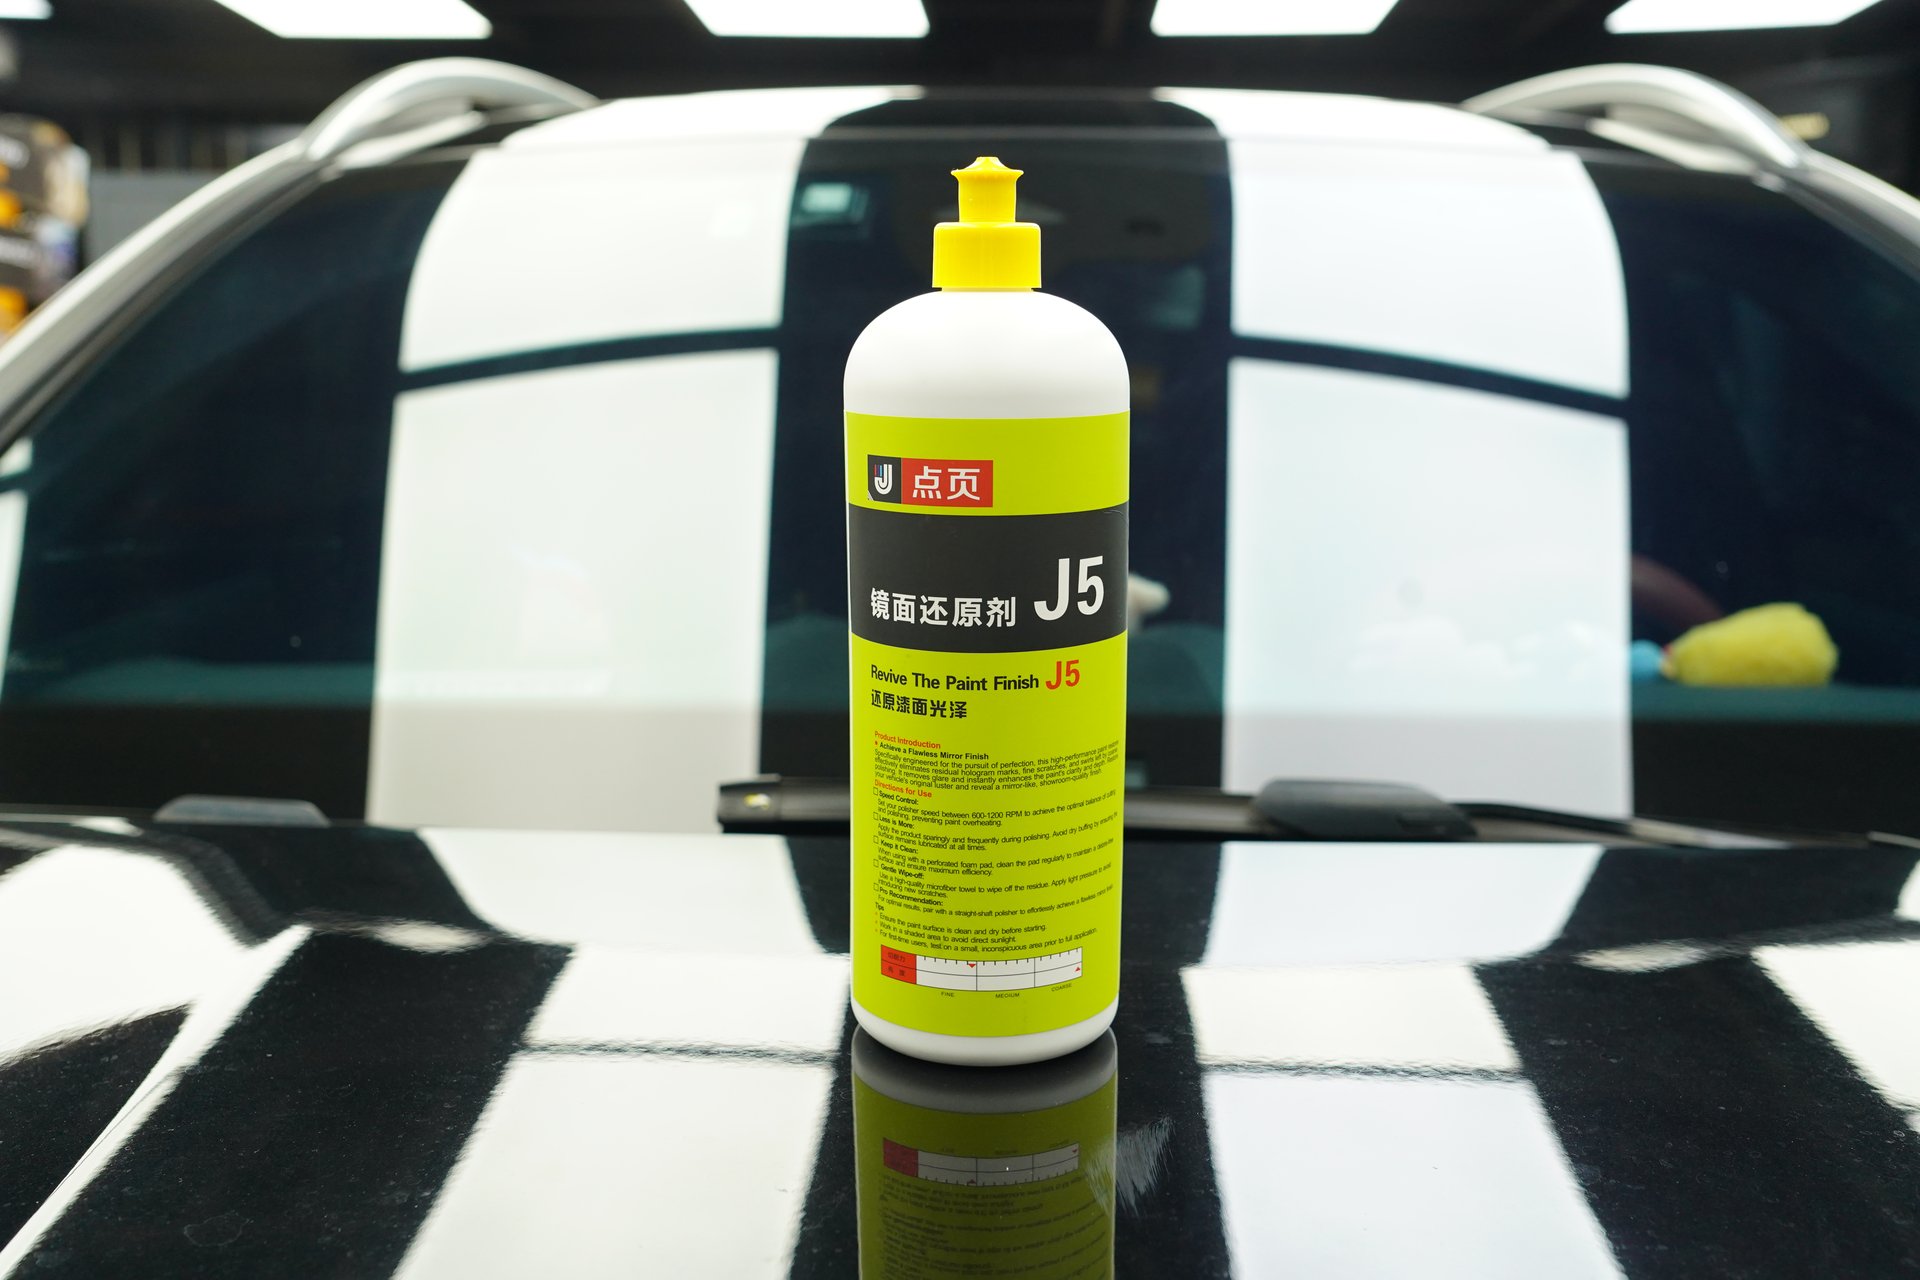
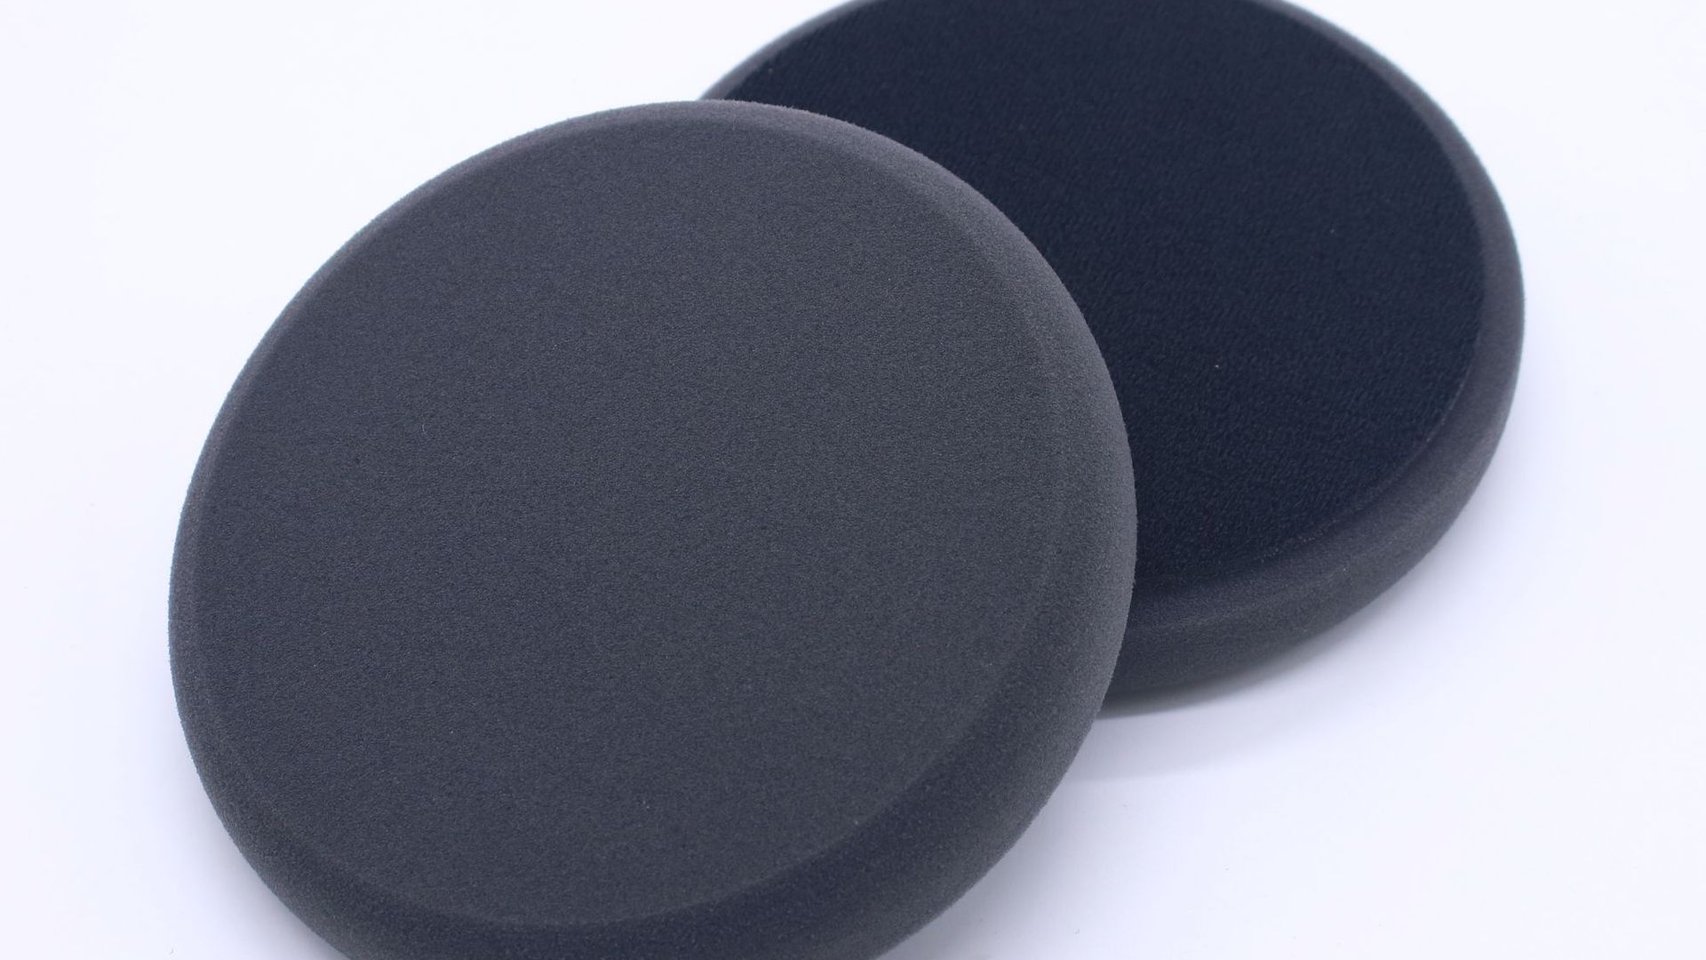
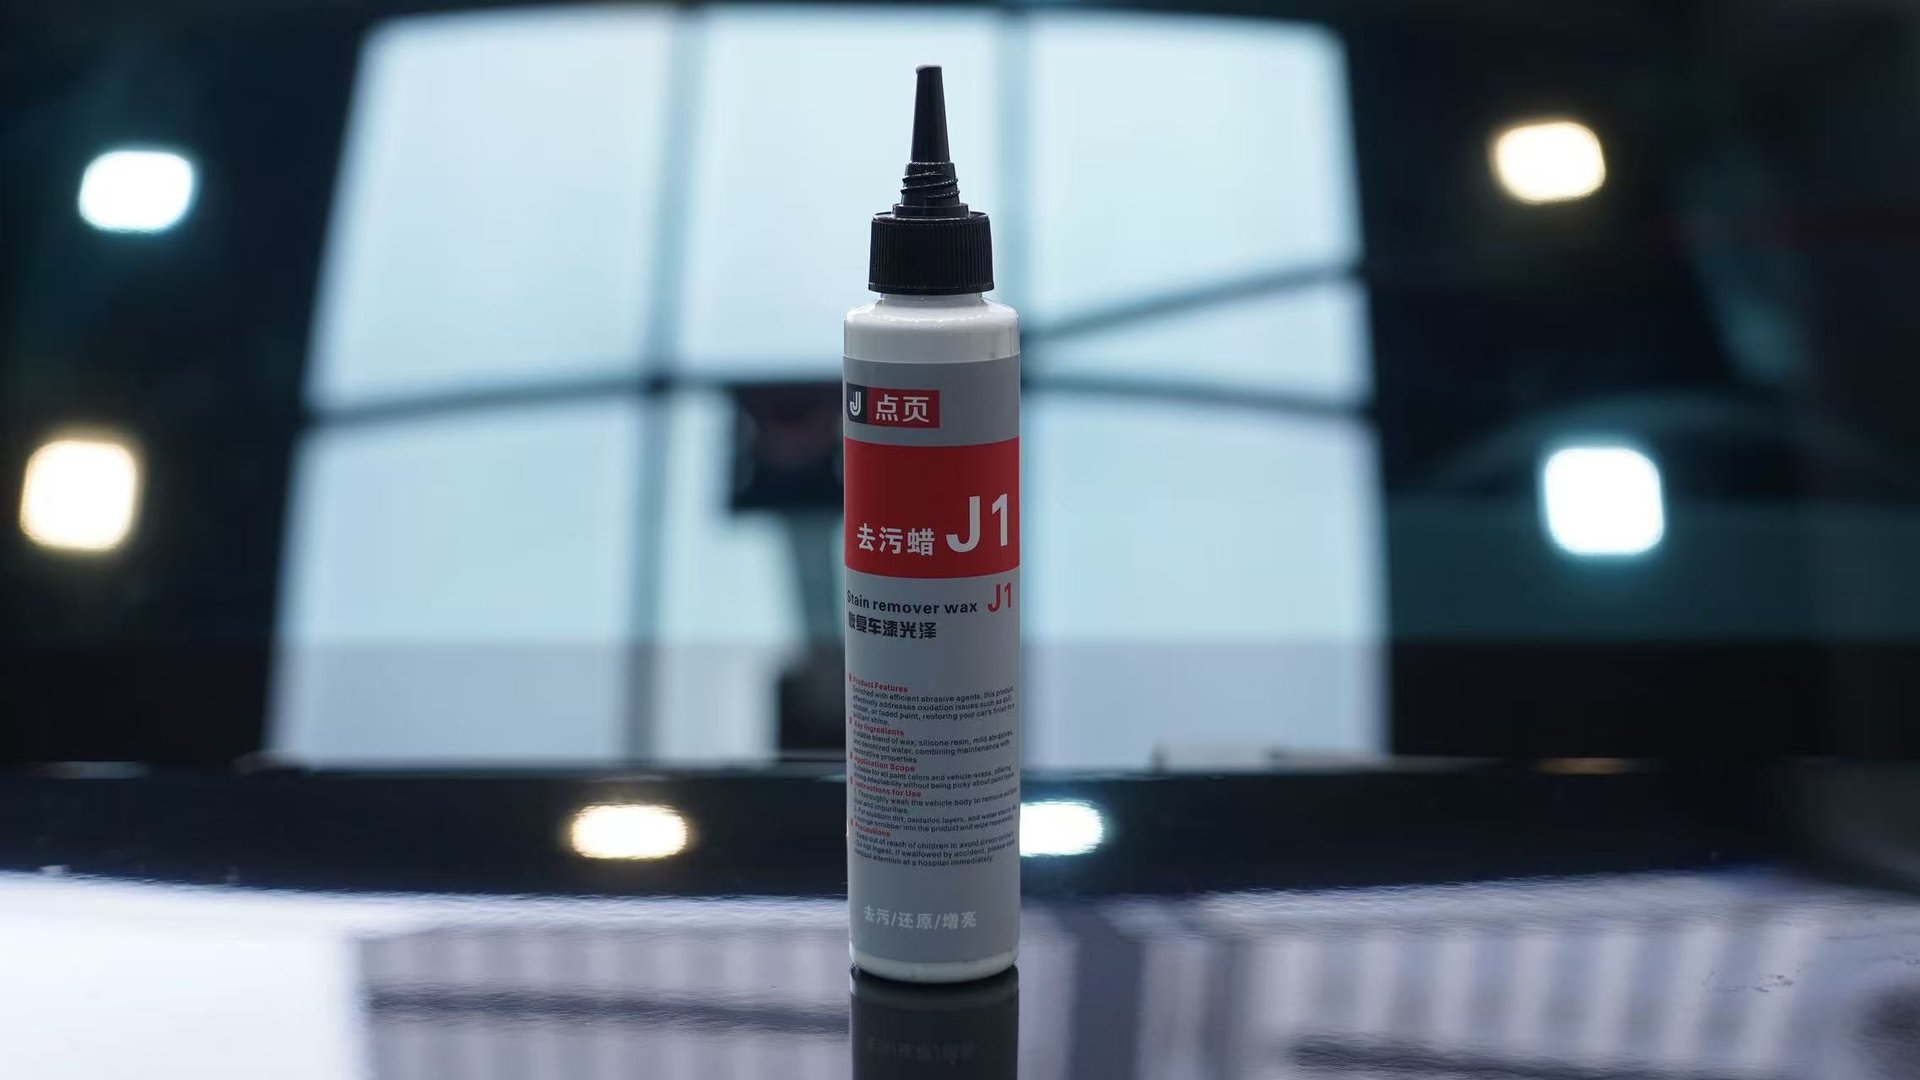
- One-step polish: Medium compound + foam pad, 1200-1500 RPM, light pressure
- Finish: Full car wipedown, check for hologms, refine if needed
Pitfalls to Avoid:
- ❌ Don’t use heavy compound — causes holograms
- ❌ Don’t use high RPM with heavy pressure
- ✅ DA polisher recommended for higher margin of error
- ✅ Carefully inspect for hologms under inspection light
3.2 Old Car Polishing
Goal: Remove oxidation, deep scratches, restore new-car gloss
Steps:
- Assess: Check clear coat thickness with gauge to determine remaining allowance
- Compound: Heavy compound + wool pad, 1800-2200 RPM, medium pressure
- Inspect: Check each panel under light after compounding
- Polish: Medium compound + foam pad, 1500-1800 RPM, light pressure
- Finish: Fine compound + soft foam pad, 1000-1200 RPM, very light pressure
- Protect: Full car wipedown, ceramic coating or wax
Pitfalls to Avoid:
- ❌ Don’t apply heavy pressure on edges — risk of burning through
- ❌ Don’t polish continuously for more than 20 minutes
- ✅ Frequently check paint temperature by hand
- ✅ Localized 2000-grit wet sanding when necessary
3.3 Metallic Paint Polishing
Goal: Remove scratches, restore metallic luster, protect metallic particles
Steps:
- Test: Test in inconspicuous area to check for metallic particle loss
- Compound: Medium-coarse compound + foam pad, 1500-1800 RPM, light pressure
- Polish: Medium compound + foam pad, 1200-1500 RPM, light pressure
- Finish: Dedicated metallic paint fine compound, 800-1000 RPM
- Protect: Ceramic coating recommended to enhance metallic particle shine
Pitfalls to Avoid:
- ❌ Don’t use wool pad for compounding — may pull out metallic particles
- ❌ Don’t use high RPM with heavy pressure
- ✅ Cross-hatch polishing to avoid directional marks
- ✅ Multi-angle gloss uniformity check under light
3.4 Solid Color Paint (White/Black) Polishing
Goal: Remove scratches, reduce hologms, enhance depth
Steps:
- Compound: Medium-coarse compound + foam pad, 1200-1500 RPM
- Polish: Medium compound + foam pad, 1000-1200 RPM
- Finish: Dedicated black/white fine compound, 800-1000 RPM
- Inspect: Multi-angle light inspection for hologms
- Protect: Dark cars — use dark-colored wax to enhance depth
Pitfalls to Avoid:
- ❌ Black cars are most hologm-prone — must use low RPM
- ❌ White cars tend to look dull after polishing — thorough wipedown essential
- ✅ DA polisher recommended to reduce hologms
- ✅ Two finishing passes for better results
IV. Parameter Adjustment for Special Areas
4.1 Edges & Corners
Parameter Adjustment:
- Reduce RPM by 30%
- Halve the pressure
- Increase speed by 50%
- Halve the time
Tips:
- Use small pads (3-inch)
- Tilt polisher at 45 degrees
- Guide with fingers to avoid pressing edges
4.2 Plastic Parts/Bumpers
Parameter Adjustment:
- Reduce RPM by 50% (800-1000 RPM)
- Light pressure
- Fast passes
Tips:
- Mask edges with tape first
- Use dedicated plastic polish
- Avoid prolonged contact to prevent deformation
4.3 Curved Surfaces (Fuel Cap, Wheel Arches)
Parameter Adjustment:
- Keep RPM the same
- Even pressure
- Follow the contour with pad movement
Tips:
- Use soft foam pads for better conformability
- Flexible wrist movement to maintain full pad contact
- Avoid dwelling at the highest point of curves
V. Common Problems & Solutions
5.1 Hologms After Polishing
Causes:
- RPM too high
- Pressure too heavy
- Arm speed too slow
- Compound too aggressive
Solutions:
- Reduce RPM by 300-500
- Reduce pressure
- Increase arm speed
- Switch to one grade finer compound
- Final pass with DA polisher
5.2 Insufficient Polishing Results
Causes:
- RPM too low
- Insufficient pressure
- Compound too fine
- Arm speed too fast
Solutions:
- Increase RPM by 300-500
- Apply moderate additional pressure
- Switch to one grade coarser compound
- Slow down arm speed
5.3 Excessive Paint Temperature
Causes:
- RPM too high
- Pressure too heavy
- Dwelling too long
- High ambient temperature
Solutions:
- Stop immediately; wait for paint to cool
- Reduce RPM and pressure
- Work in smaller sections
- Avoid working in direct sunlight
5.4 Color Appearing on the Pad
Causes:
- Reached the base coat layer
- Clear coat has been burned through
Solutions:
- Stop immediately! This is a danger signal
- Check clear coat thickness in that area
- If the area is small, skip directly to finishing
- If large, consider abandoning the area and applying protection only
- Reduce all parameters for subsequent work
VI. Summary: Parameter Adjustment Mantra
New cars: conservative; old cars: aggressive
Clear coat: standard; base coat: cautious
Metallic: light touch; solid: slow speed
Edges: reduce speed; curves: stay even
Over 50°C: stop immediately
Color on pad: stop now — safety first
Parameter adjustment for different paint types requires flexible adaptation to actual conditions. Beginners should start with conservative parameters and gradually build experience to find their optimal combination.
Remember: Polishing isn’t about speed — it’s about control. Safety first, results second.