

How Soon After Polishing Should You Wax? The Golden Time Window for Paint Care
A freshly polished car paint job looks so glossy you can see your reflection in it. But without timely protection, this state will quickly oxidize and dull again. Many car owners face a dilemma after polishing: wax too early and worry about affecting paint drying, or wait too long and fear the polishing effort was wasted.
In fact, there is a clear “golden time window” for waxing after polishing. Seizing this timing allows the car wax to adhere better and form a protective layer while effectively delaying paint re-oxidation. This article explains from professional paint care principles how soon after polishing you should wax, along with specific operational details for different situations.
1. Why You Must Wax Promptly After Polishing
Polishing is the process of using abrasives to remove the oxidation layer and fine scratches from the clear coat surface. After polishing, the paint is essentially a “fresh” transparent coating. Although this newly exposed surface is glossy, it lacks protection and will begin to re-oxidize within 72 hours when exposed to air.
Professional test data from Autohome in January 2026 shows that paint surfaces without timely protective treatment after polishing lose 15% to 20% of their gloss within one week. This means a professional polish, without subsequent protection, has very limited durability.
The essence of waxing after polishing is applying a protective film over the clear coat surface. This protective film serves three purposes: first, it isolates oxygen and moisture in the air, delaying paint oxidation; second, it defends against UV damage, preventing the base coat from fading; third, it reduces fine scratches caused by subsequent car washing.
For car owners who invest time and money in polishing, timely waxing afterward is the key step to maximizing that investment.
2. The Golden Time Window for Post-Polish Waxing
2.1 Within One Week Is Optimal
There is a consensus in the auto detailing industry: waxing within one week after polishing is the optimal time window. The rationale is that the clear coat surface is in a relatively “fresh” state after polishing, with numerous fine micro-textures at the microscopic level. The active ingredients in car wax can better penetrate and fill these textures, forming a uniform and dense protective film.
From an application standpoint, the first week after polishing is also when the paint surface is at its cleanest. It hasn’t been exposed to wind, rain, or accumulated new stains and iron particles, providing ideal conditions for wax adhesion.
Waiting over a month before waxing may allow new轻微 oxidation layers to form, reducing wax effectiveness. If over three months pass, the oxidation deepens and a light re-polish may be needed to restore ideal conditions.
2.2 Timing Adjustments for Special Circumstances
Waxing is not recommended on rainy days or in high-humidity weather. Moisture in the air affects wax drying and adhesion, potentially causing uneven wax distribution. If the car has recently been exposed to acid rain, rinse the body with clean water first and wait for the paint to dry completely before waxing.
When winter temperatures drop below 5°C, wax spreadability decreases, making application and buffing difficult. Wait for warmer temperatures. In summer, avoid high-temperature periods; choose shaded or indoor environments to prevent the wax from drying too quickly and affecting adhesion.
Newly painted surfaces need longer stabilization time. The professional auto detailing standard is: newly painted surfaces require 7 days before polishing, and after polishing, another 7 days before waxing—approximately two weeks in total.
3. Drying Times for Different Types of Car Wax
3.1 Solid Carnauba Wax
Solid carnauba wax is the most common type of car wax, with natural palm oil as its main ingredient, known for high gloss and good durability. After application, solid carnauba wax requires 10 to 15 minutes of drying time before buffing.
A simple standard for determining if solid wax is dry: observe the wax surface—when the color changes from semi-transparent to a white powdery appearance and doesn’t feel sticky when lightly touched with a finger, it’s the optimal time for buffing. If you rush to buff while the wax is still tacky, not only will the wax layer be easily wiped off, but it may also leave marks on the paint.
Solid carnauba wax offers the best durability among car wax types, maintaining 2 to 3 months of protection under normal parking conditions. The downside is that application is relatively time-consuming and requires patience.
3.2 Liquid Synthetic Wax
Liquid synthetic wax has a shorter drying time than solid wax, typically 5 to 10 minutes before wipe-down and buffing. These products use synthetic polymers as their main ingredient, featuring convenient application and fast drying.
Liquid wax suits car owners seeking efficiency, but durability generally falls short of solid carnauba wax, typically lasting 1 to 2 months. Some users note that liquid wax doesn’t provide as “rich” a gloss as solid wax, with a visually “drier” appearance.
If using liquid wax, shorten the waxing cycle and increase application frequency to compensate for reduced durability.
3.3 Spray-On Quick Wax
Spray wax products prioritize ultimate convenience—simply spray and wipe with a towel, no drying wait required. These products offer the weakest protection, typically lasting only 2 to 4 weeks, suitable for quick日常 maintenance.
Spray wax is not suitable as the primary protective product after polishing; it’s better used as a “booster” between formal waxing sessions.
4. The Correct Process for Post-Polish Waxing
4.1 Pre-Application Preparation
The car must be thoroughly cleaned before waxing. Wash the body with pH-neutral car wash soap and a soft sponge, focusing on removing dust, mud, bird droppings, tree sap, and other contaminants. After washing, dry the body with a clean microfiber towel, ensuring no water spots remain on the paint.
Never use household dish soap or laundry detergent to wash the car—these alkaline cleaners will damage the clear coat surface and impair wax adhesion.
Choose a cool, ventilated indoor environment for application, avoiding direct sunlight. Sunlight causes wax to dry too quickly, beginning to cure before it can be evenly applied, compromising the final result.
4.2 Section-by-Section Application
Apply wax in sections, controlling each application area to approximately 50cm × 50cm. Areas too large lead to uneven wax thickness; areas too small reduce efficiency.
Dip a dedicated applicator sponge in an appropriate amount of wax, applying in straight lines or small circular motions. Apply thin rather than thick—the wax only needs to form a thin covering layer. Excessively thick wax layers are wasteful and difficult to remove completely after drying.
4.3 Final Buffing
After the wax has fully dried, buff with a clean microfiber towel. Use straight lines or small circular motions with even pressure, avoiding反复 friction in the same spot.
The sign of completed buffing is a uniformly bright and transparent gloss with no residual wax marks or dull areas. If局部 gloss is insufficient, apply a small amount of additional wax, let it dry, and buff again.
4.4 Post-Application Care
After waxing, wait 24 hours before washing the car to allow the wax layer to fully cure. Washing before the wax has fully cured may reduce protection.
Use pH-neutral car wash soap for routine washing. Avoid strong cleaners containing abrasive compounds, as these will thin the wax layer and shorten the protection cycle.
5. Daily Care Recommendations After Polishing
5.1 Establish a Regular Maintenance Routine
Post-polish paint care is an ongoing process—not a one-and-done after waxing. Establish a rhythm of “monthly washing, quarterly waxing, annual iron particle removal.”
If the vehicle is frequently parked outdoors, shorten the waxing cycle to every 1 to 2 months. If parked in an underground garage long-term, waxing every 2 to 3 months is sufficient.
After each wash, a quick boost with spray wax is like “recharging” the wax layer, extending the interval between formal waxing sessions.
5.2 Prevention Over Correction
The most efficient paint care is preventing problems rather than fixing them after they worsen. Compared to polishing heavily oxidized paint, regular cleaning and protection costs less in time and money.
Choose shaded parking spots to reduce UV damage. Clean bird droppings, tree sap, and other contaminants promptly—these contain acidic components that, if left unattended, will corrode the wax layer and even the clear coat.
Wash the car promptly after rain. Rainwater is naturally acidic, and combined with absorbed air pollutants forming acid rain, it causes significant paint damage. Prompt rinsing reduces contaminant contact time.
5.3 Choosing the Right Protective Products
Beyond car wax, paint protection options include coating and sealant upgrades. Coating products last longer, typically 6 months to 1 year, but are more difficult to apply and are best left to professional shops. Sealants offer effects between wax and coating, suitable for owners who don’t want to wax too frequently but find coating too expensive.
For daily use, car wax is the most flexible choice. Simple operation, low barrier to entry, visible results, and you can adjust the care plan based on paint condition at any time.
6. Recommended Product Combinations
After polishing, the paint is in its best state. Choosing the right care products can extend the results longer.
For light oxidation or daily maintenance, the J1 3-in-1 Cleaning Wax is a practical choice. It combines cleaning, glossing, and protection in one product, requiring no additional waxing—ideal for car owners who don’t want to spend much time on paint care.
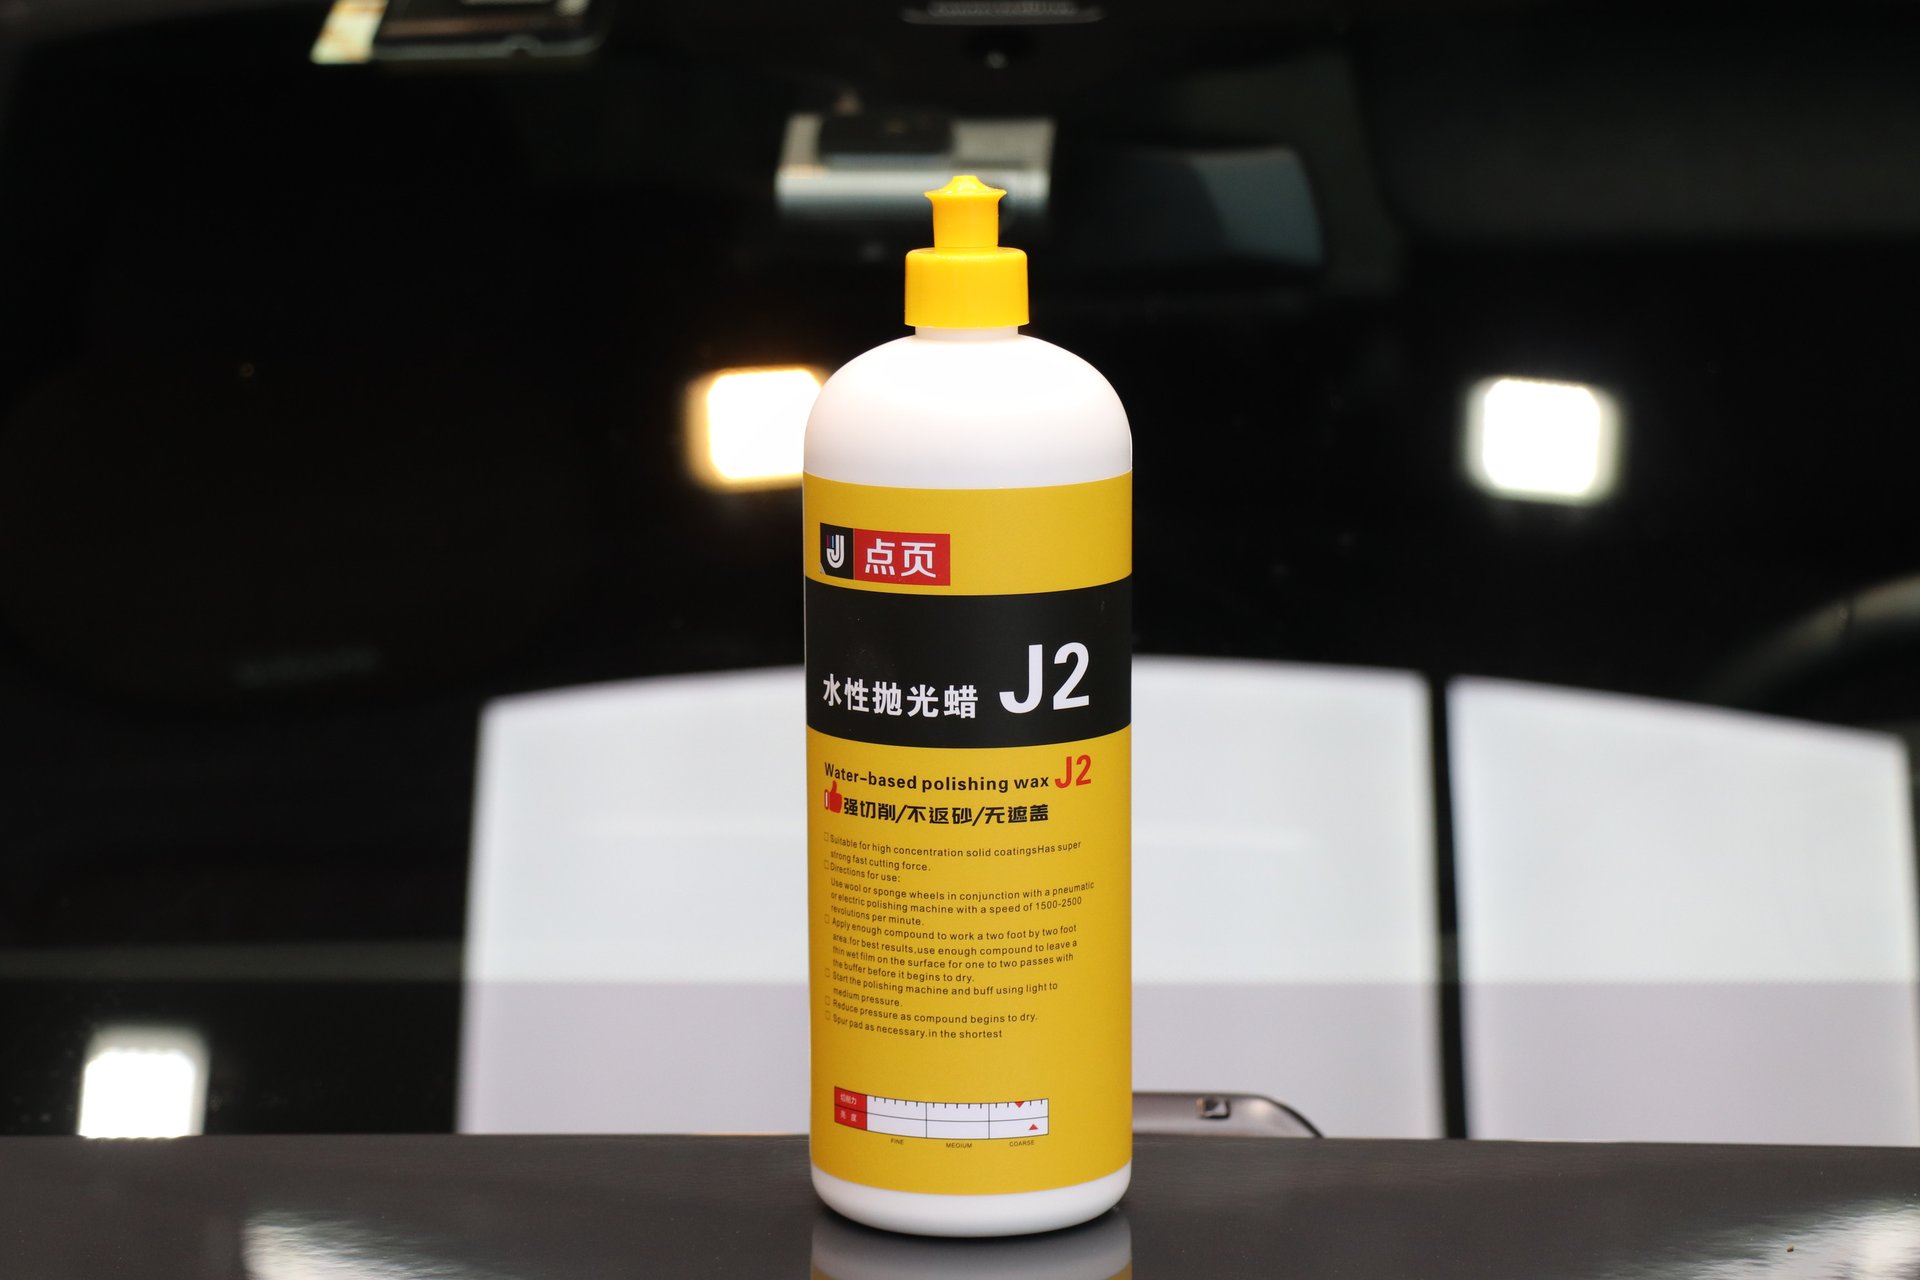
For moderately oxidized paint requiring polishing, use J2 Water-Based Polishing Wax for coarse polishing to remove the oxidation layer and fine scratches, then use J5 Mirror Finishing Agent for fine polishing to restore gloss. Finish with X1 Quick Liquid Wax for rapid protective film formation.
The core logic of this combination: coarse polishing removes problems, medium polishing restores smoothness, fine polishing enhances gloss, and liquid wax provides quick protection. For experienced DIY enthusiasts, the entire process can be completed in 2 to 3 hours.
For longer-lasting gloss and protection, after J2 and J5 treatment, wait 24 hours and apply a layer of solid carnauba wax for extended protection.
Conclusion
Waxing after polishing is a critical step in paint care. Seizing the “within one week” golden time window maximizes the polishing results. Choosing the right wax type, following the correct application process, and establishing a regular maintenance routine are the core elements for maintaining long-term paint gloss.
Paint care isn’t about one or two “big moves”—it’s about consistent daily maintenance. Rather than waiting for severe oxidation and then correcting it, invest a little time in basic care regularly to save both money and hassle.