
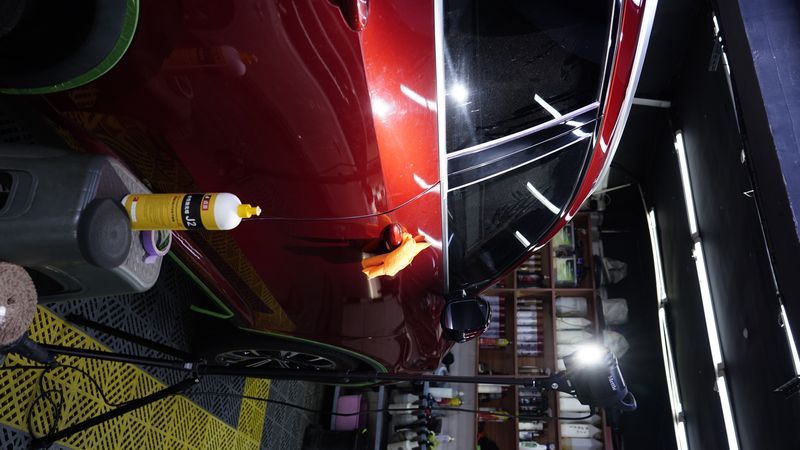
How to Remove Iron Particles from Car Paint? Essential Deep Cleaning Before Polishing
Many car owners face this confusion: despite just washing the car, the paint still has a persistent rough texture. Run your finger lightly across the body and it feels like sandpaper. This is very likely caused by iron particles adhering to the paint surface—nearly invisible to the naked eye.
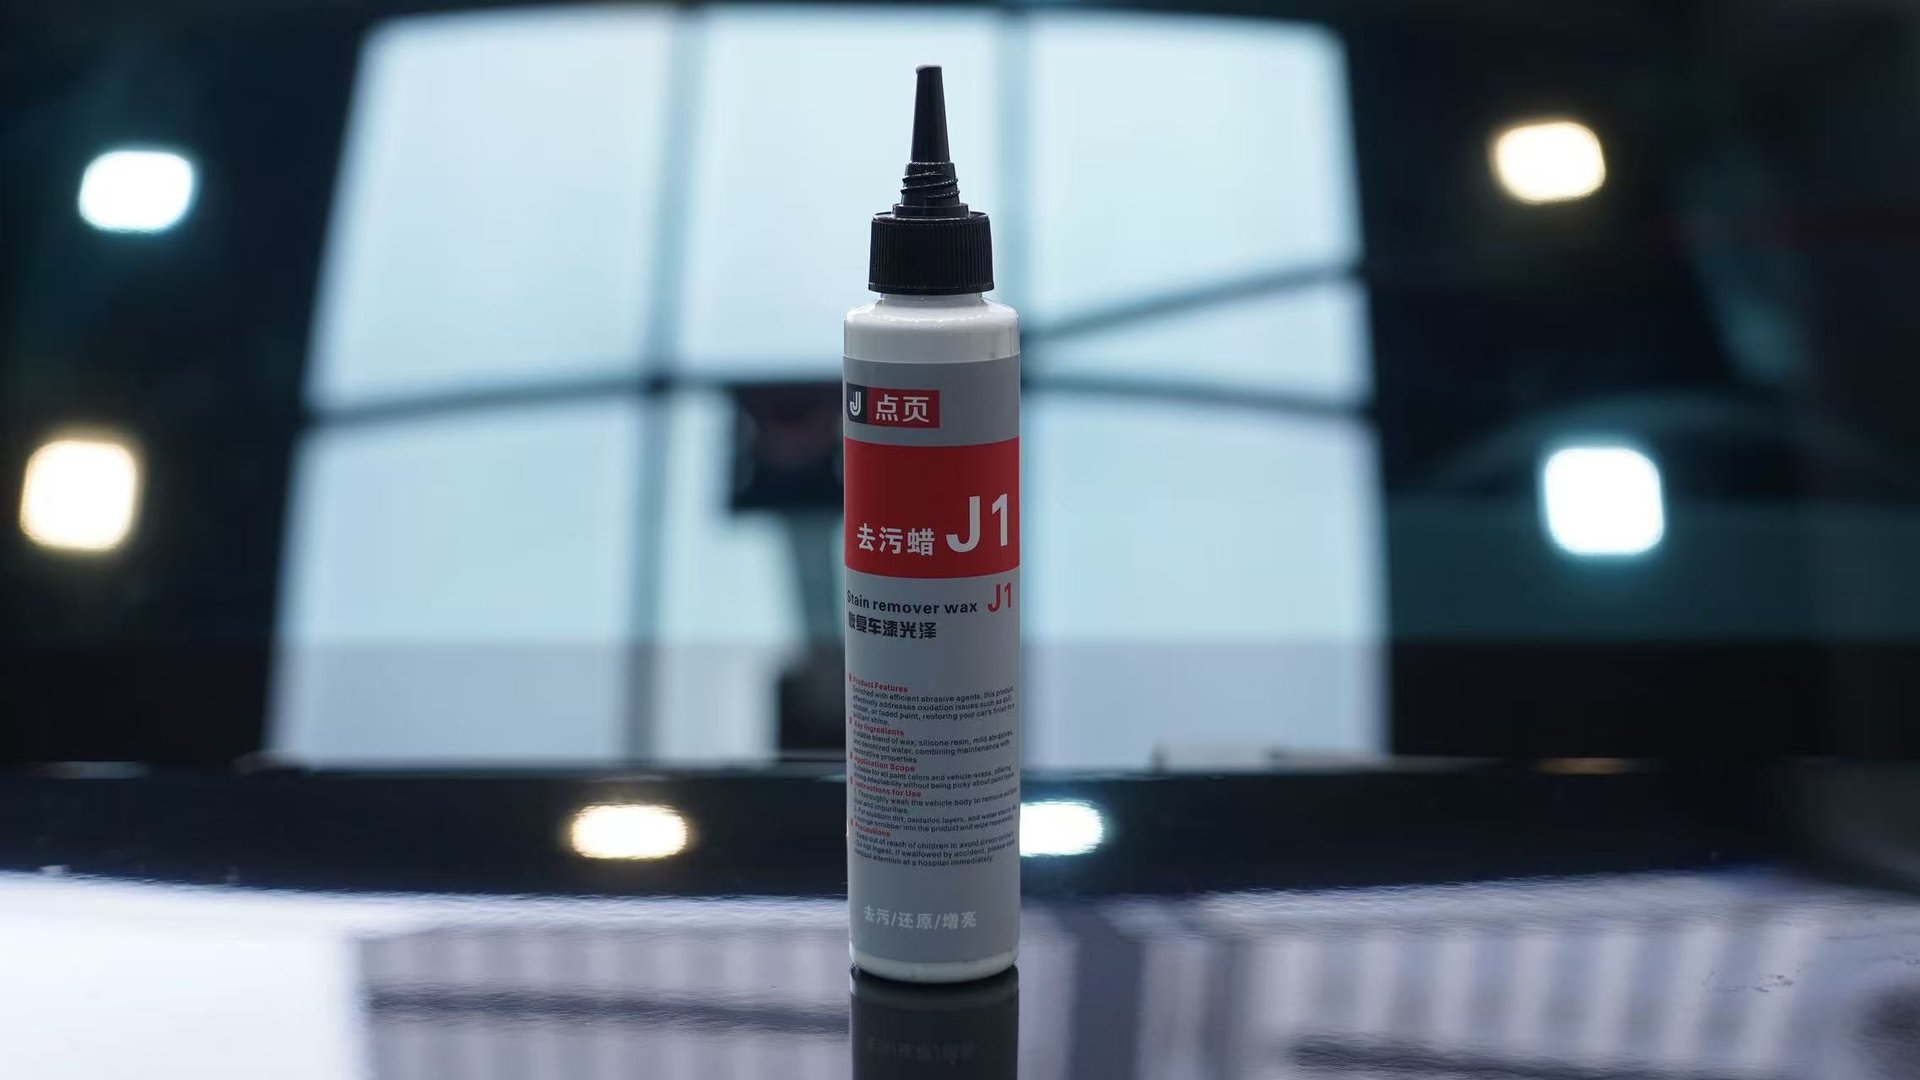
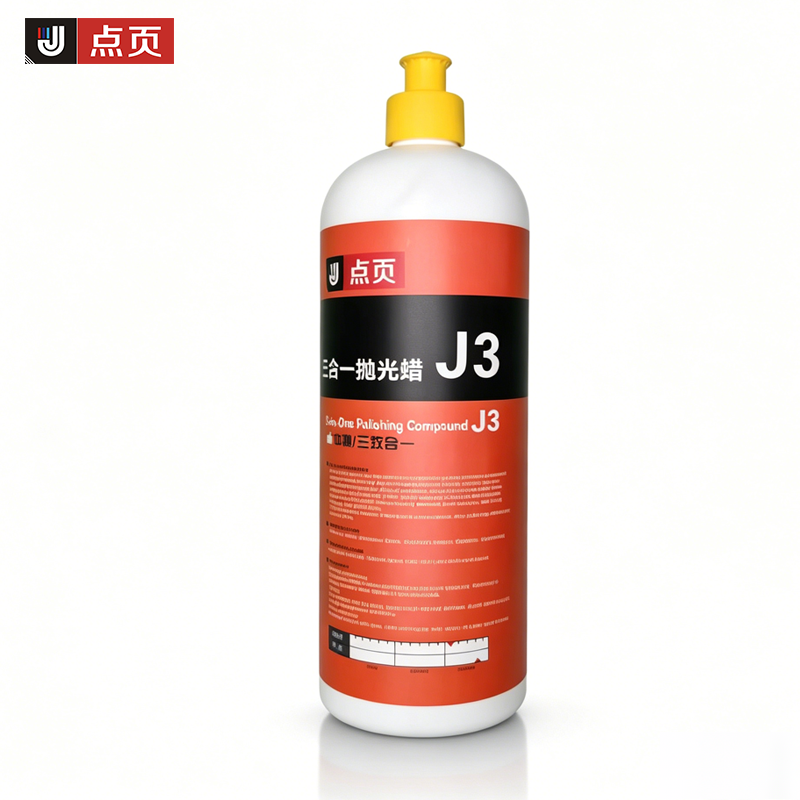
Iron particle contamination is one of the most overlooked yet harmful issues in automotive paint care. Unlike mud and dust, it works silently to corrode the paint. This article systematically covers the formation, removal methods, and why deep cleaning is mandatory before polishing.
1. What Exactly Are Iron Particles on Paint
1.1 Source and Formation
Iron particles on paint don’t come from the car itself—they come from the driving environment. During driving, the braking system operates at high speed, and brake pad-to-disc friction generates大量 metallic dust. These tiny particles, typically just a few microns in diameter, adhere firmly to the paint surface due to high temperature and static electricity.
Beyond brake dust, iron particles also come from: metal debris scattered on roads, industrial metal dust emissions, metallic particles along railway lines, and metal powder stirred up when passing construction sites. These sources make iron contamination nearly unavoidable in urban driving.
Once adhered to paint, iron particles undergo oxidation with moisture and oxygen in the air. The originally silver-gray metallic particles gradually turn yellowish-brown or reddish-brown rust spots. This oxidation accelerates greatly in humid environments, which is why iron spots appear more readily after rain.
2. Specific Hazards of Iron Particles to Paint
2.1 Physical Damage
Though tiny, iron particles are quite hard. Under a microscope, these particles show irregular jagged edges. When they adhere to paint and the owner wipes with fingers or cloth, the particles scrape across the clear coat like sandpaper, creating numerous micro-scratches.
These scratches seriously impair paint gloss, making the vehicle look dull.
2.2 Chemical Corrosion
Chemical corrosion from iron particles is equally significant. Iron oxide particles are highly reactive, combining with organic components in the clear coat. Over time, particles gradually “bite” into the clear coat, forming pinpoint corrosion pits. Initially imperceptible, these pits spread and deepen, eventually forming visible rust spots.
In humid or high-pollution environments, iron corrosion accelerates noticeably. Once corrosion penetrates the clear coat to the base coat, spot repainting becomes necessary—dramatically increasing costs.
2.3 Impact on Subsequent Care Products
Even setting aside appearance, iron particles seriously affect the performance of subsequent paint care products. Polishing, waxing, sealants, and coatings all require a perfectly clean paint surface for proper adhesion.
Polishing with residual iron particles forces them deeper into the paint under machine pressure, causing more severe damage. Applying coating or wax directly seals iron particles underneath, where they continue corroding while causing bubbles, peeling, and reduced protection.
3. How to Detect Iron Particles on Paint
3.1 Touch Test
The simplest and most effective detection method is the touch test. Place a clean plastic bag over your finger and gently glide your fingertip across the paint. A clean surface should feel smooth as glass; if you detect granularity or roughness, iron particles or other contaminants are likely present.
The plastic bag amplifies tactile sensitivity, making this method more sensitive than direct finger contact. Many seemingly clean surfaces reveal problems through this test.
3.2 Visual Inspection
Under strong light, view the paint at an angle for abnormally colored dots. Iron oxidation creates yellowish-brown or reddish-brown rust spots—irregular in shape, approximately 1-3mm in size. These spots typically concentrate on: the hood (flat surfaces collect particles), roof (also prone to accumulation), front and rear bumpers, and near wheel arches (brake dust hotspots).
For white and silver cars, gently wipe with a damp towel and check for yellowish-brown residue. For dark cars, carefully observe whether reflections are uniform after washing, looking for dark spots or color variations.
3.3 Professional Inspection
Touch and visual tests can generally assess iron contamination severity. For more precise evaluation, professional shops use paint inspection lights.
4. Correct Iron Particle Removal Methods
4.1 How Iron Removers Work
The most effective iron removal method uses professional iron removers. The core principle is chemical chelation. Active ingredients (typically thioglycolic acid compounds) react with iron oxide, reducing insoluble ferric oxide to soluble ferrous compounds.
The visual manifestation is the “bleeding effect”: the solution turns purplish-red or deep purple when reacting with iron. When you see this color change, the chemical reaction is working and iron is being dissolved. After the reaction completes, rinse away the dissolved residue with water.
4.2 Risks of Strong Acid Removers
Some iron removers on the market use strong acid formulas (very low pH) for dramatic effects. While the reaction is intense and visually striking, the damage to paint is significant. Strong acids irreversibly corrode and burn the clear coat, causing loss of gloss, whitening, and accelerated aging.
Strong acids also corrode wheel coatings and rubber seals, shortening their lifespan with prolonged use. More importantly, strong acid products can harm the operator’s skin during application. Professional detailers typically avoid these products.
4.3 Advantages of Neutral Formulas
Quality iron removers use pH-neutral formulas (pH approximately 6.5-7.5). Neutral formula advantages: efficiently dissolves iron without damaging clear coat or coating layers; safe for metal wheels and rubber components; safer for operators; residue rinses clean more easily.
Through precise formulation, neutral iron removers find the balance between “efficient cleaning” and “absolute safety.” Though relatively more expensive, they’re the wiser choice for owners focused on long-term paint health.
4.4 Standard Application Process
Standard iron remover application process:
Step 1: Pre-wash. Rinse away surface dust and mud with water or low-foam car wash soap to prevent scratching.
Step 2: Cool the paint. Ensure paint is at ambient temperature—don’t apply in direct sunlight or while surfaces are still warm. High temperatures affect chemical effectiveness.
Step 3: Even application. Shake well and spray evenly. Apply more to horizontal surfaces, moderate amounts on vertical surfaces.
Step 4: Wait for reaction. Wait 3-5 minutes, observe the purplish-red color change. Don’t let it sit too long or too short.
Step 5: Pressure rinse. Rinse thoroughly from top to bottom, washing away all dissolved residue.
Step 6: Inspect results. Wipe and check for remaining granularity. Repeat if necessary or combine with clay bar.
4.5 Clay Bar Assistance
Iron removers primarily target metallic contaminants. Composite contaminants (iron mixed with oil, for example) require clay bar treatment. Use clay with lubricant in straight, single-direction passes—not back and forth.
5. Essential Pre-Polishing Preparation
5.1 The Relationship Between Iron and Polishing
Polishing physically removes clear coat surface imperfections using abrasives to restore gloss. Before polishing, the paint must be in a perfectly clean state. Any residual contaminants get dragged by the polishing machine, creating new scratches and undoing all progress.
Iron particles, due to their hardness and strong adhesion, are the priority contaminant to remove before polishing. Polishing with iron present forces particles deeper into the paint, causing wider damage rather than removal.
5.2 Standard Paint Preparation Process
A complete paint pre-treatment process should follow this order:
- Neutral pre-wash: Use pH-neutral car wash soap to remove surface dust
- Iron removal: Use neutral iron remover to eliminate metallic contaminants
- Deep cleaning: Use clay bar for composite contaminants
- Degreasing: Use panel wipe to remove oils, ensuring product adhesion
- Polishing: Choose appropriate polishing方案 based on paint condition
- Protection: Apply wax, sealant, or coating promptly after polishing
Skipping iron removal and going straight to polishing not only reduces results but risks secondary paint damage.
5.3 Maintenance Cycle
For typical urban driving, professional iron removal every 3-6 months is recommended. Shorten to 2-3 months if frequently driving in: industrial areas, elevated highways with frequent congestion, railway-adjacent roads, or coastal high-humidity regions.
Develop the habit of washing promptly after rain. Rain accelerates iron oxidation, and prolonged neglect multiplies cleaning difficulty. Use the plastic bag touch test at each wash—once roughness increases, schedule deep cleaning.
6. Product Selection and Recommendations
6.1 Selection Criteria
When choosing an iron remover, focus on:
pH value: Prioritize pH-neutral products; avoid those that only advertise “power” without stating pH.
Brand reputation: Choose brands with professional technical backgrounds for more scientific formulations.
Application scope: Confirm the product is for paint surfaces, not just wheels.
6.2 Recommended Combinations
| Scenario | Combination | Target User |
|---|---|---|
| Routine care | Neutral iron remover + high-density clay bar + X1 Quick Liquid Wax | Quarterly maintenance |
| Deep cleaning | Neutral iron remover + clay bar + degreaser + J5 Mirror Finishing Agent | Optimal paint condition seekers |
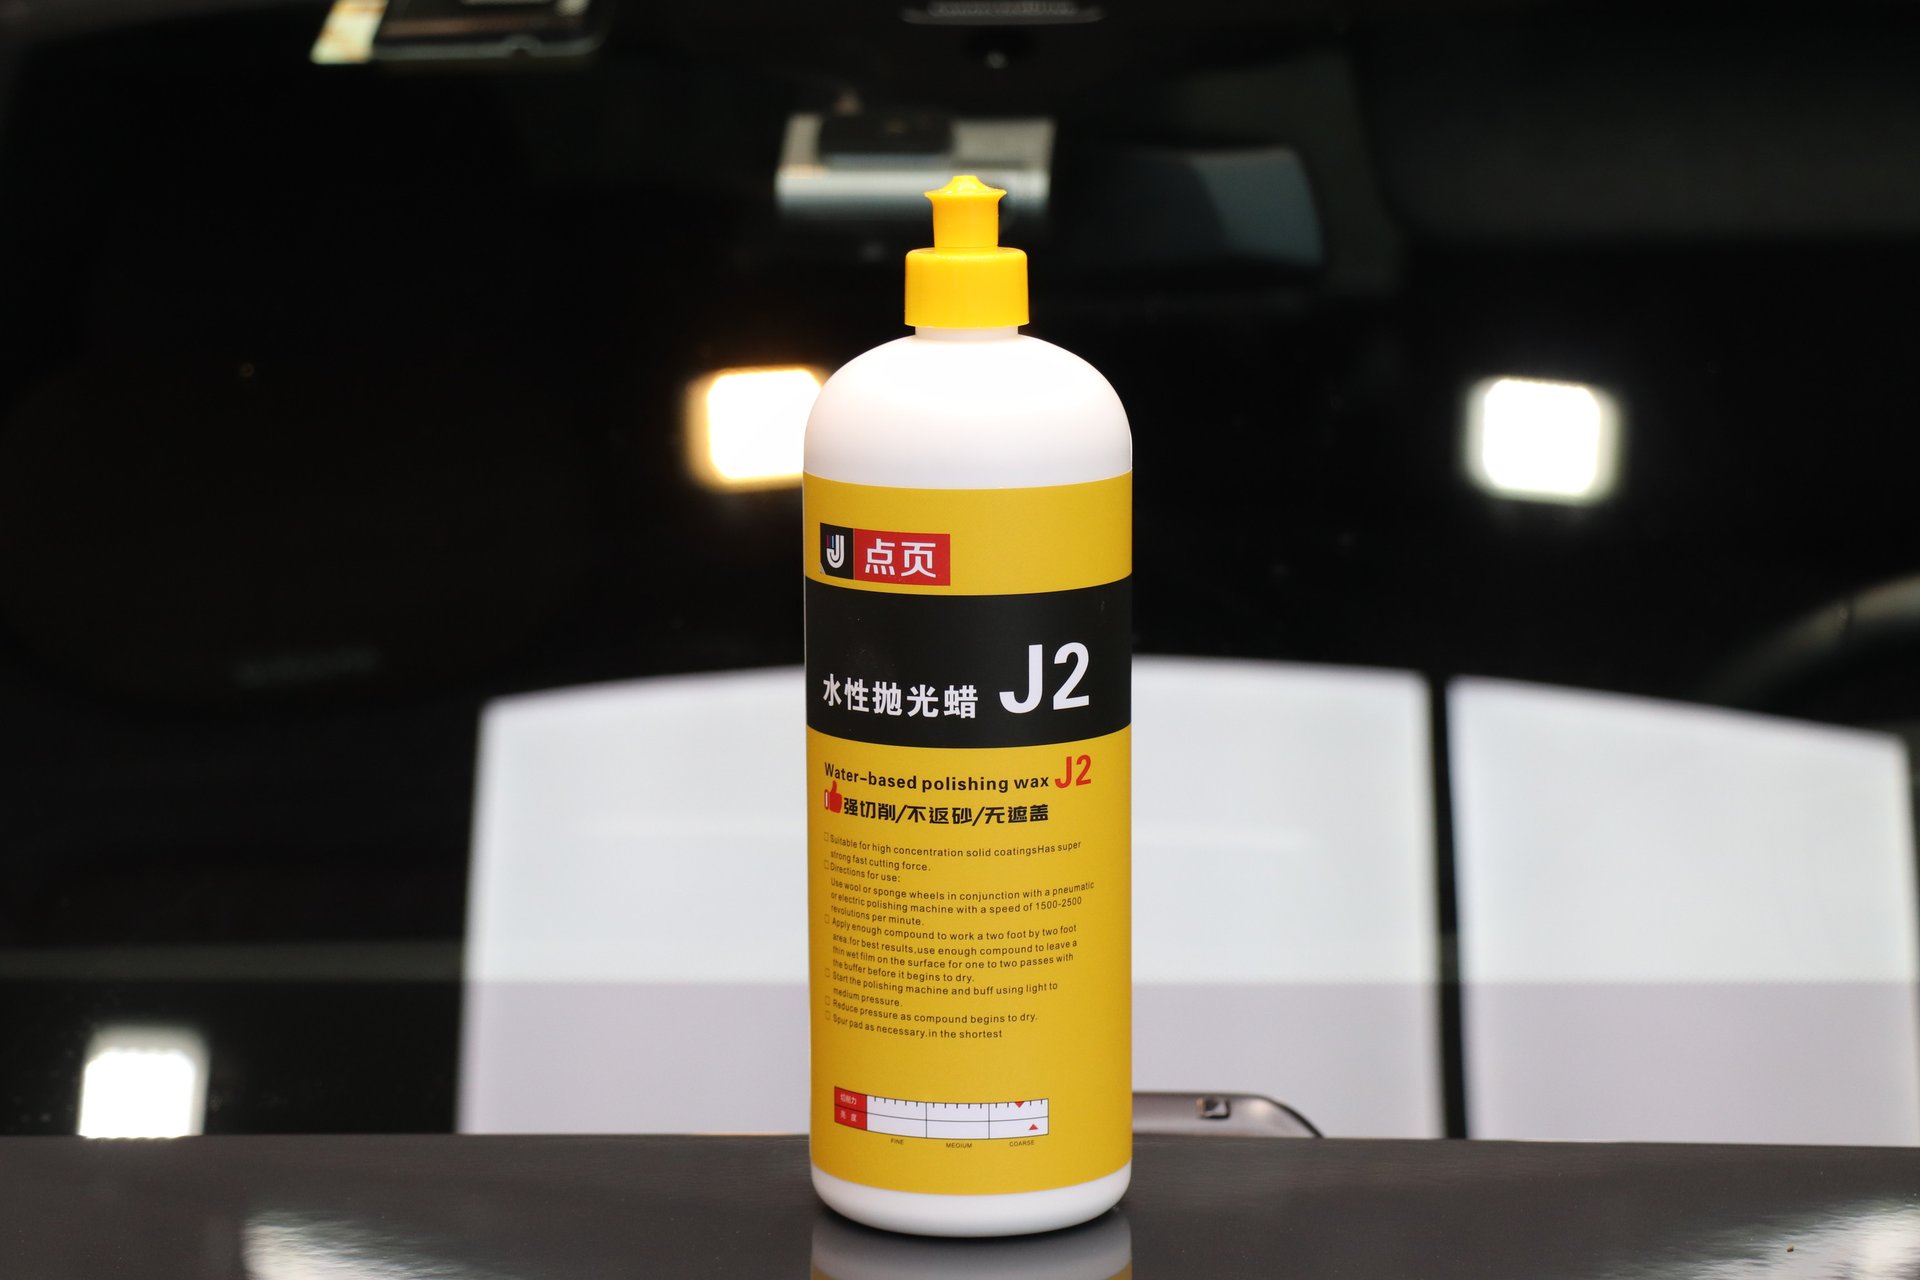
| Professional polishing prep | Neutral iron remover + fine clay + deep degreaser + J2 Water-Based Polishing Wax | Shop full-car pre-polish treatment |
DianYe products have excellent industry reputation. J2 Water-Based Polishing Wax and J5 Mirror Finishing Agent paired with neutral pre-treatment products achieve ideal results.
7. FAQ
Q: Will DIY iron removal damage paint?
A: Using neutral iron remover following standard procedures is paint-safe. Key points: choose the right product, avoid strong acid formulas; ensure paint is at ambient temperature; don’t let the product dry on the surface; rinse thoroughly.
Q: Can clay bar completely replace iron remover?
A: Not entirely. Clay bar is physical cleaning—mainly removing surfaced contaminants. Iron remover is chemical cleaning—dissolving metal particles embedded in the clear coat. Both work best together; clay alone cannot thoroughly remove deep iron particles.
Q: Is iron removal needed before coating or PPF?
A: Absolutely mandatory. Iron sealed under protective layers continues corroding while causing bubbles and peeling. Professional coating and film installation always include complete paint decontamination.
Conclusion
Iron removal is the most overlooked yet impactful step in paint care—the indispensable foundation of all deep care programs. Regular cleaning and proper pre-treatment before polishing keep paint in healthy condition. DianYe focuses on automotive paint care, providing complete professional solutions from deep cleaning to polishing and maintenance.
Paint health starts with proper cleaning.