
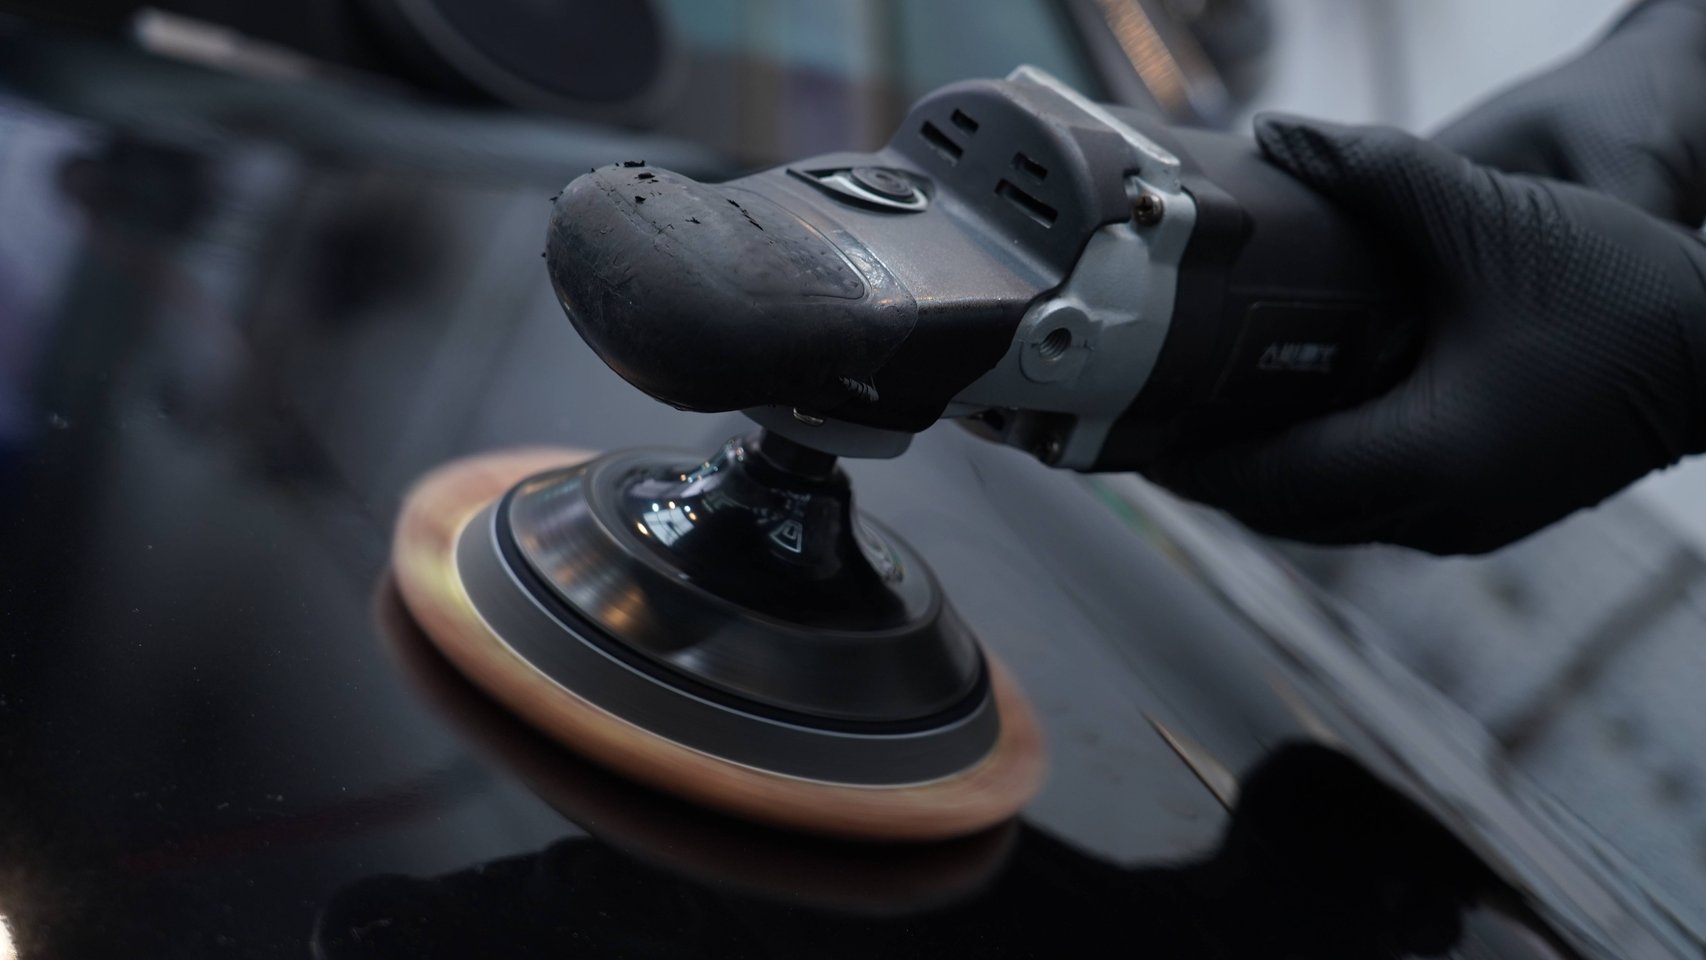
Four-Dimensional Polishing Technique Control: Speed, Pressure, and Movement Patterns Explained
Many car owners and detailers often wonder: despite buying the best polisher and compound, why are the results still lacking? The answer usually lies not in equipment but in the technique itself.
There’s a widely known saying in the industry: Polishing results depend 40% on equipment and products, 60% or more on technique. The same equipment and chemicals can produce results differing by a full grade depending on the operator. Today we systematically cover the four-dimensional technique control system.
1. Overview of the Four-Dimensional System
Polishing technique is not mysticism—it’s a quantifiable, reproducible technical system. Based on systematic practical experience in the auto detailing industry, the four core dimensions affecting polishing results are:
- Speed: Polisher rotation speed, directly determining cutting efficiency and safety
- Downforce: Pressure applied to the paint surface, affecting grinding depth and heat generation
- Movement speed: How fast the pad moves across the paint, affecting treatment uniformity
- Movement pattern: The path and trajectory, determining paint texture direction
These four dimensions work together—missing any one compromises results. Beginners often focus only on speed, neglecting the other three. That’s why the same equipment can produce mirror finishes for some and holograms for others.
2. Speed Adjustment: Stage-Matched Precision
Speed Gradient System
Polisher speed isn’t the higher the better or the lower the safer—it must be precisely matched to each polishing stage and paint condition. Based on practical experience:
| Polishing Stage | RO (Rotary) Speed | DA (Orbital) Speed | Application |
|---|---|---|---|
| Coarse | 1500-1800 rpm | 4000-5000 rpm | Deep scratches, heavy oxidation |
| Fine | 1000-1500 rpm | 3000-4000 rpm | Moderate scratches, daily care |
| Finishing | 600-800 rpm | 2000-2500 rpm | Mirror finishing, hologram removal |
Application Points by Speed Stage
Coarse polishing (1500-1800 rpm RO, 4000-5000 rpm DA): The goal is rapid removal of deep scratches and oxidation. Speed must be high enough for sufficient cutting power. However, RO machines at this speed heat up quickly—never stay in one spot for more than 3 seconds to avoid burning paint.
Fine polishing (1000-1500 rpm RO, 3000-4000 rpm DA): After coarse polishing, visible grinding marks remain. This stage eliminates those marks. Speed should moderate while using finer abrasives for refined treatment.
Finishing (600-800 rpm RO, 2000-2500 rpm DA): The final process, bringing paint to near-mirror condition. Speed drops significantly, pressure lightens, allowing the compound to form a uniform layer that gradually eliminates micro-scratches.
Edge and Special Area Speed Reduction
Whether using RO or DA, when treating edges, bumpers, and handles, reduce speed to a safe range—recommended 800-1000 rpm. These areas have thin clear coat and high curvature; high-speed pads can easily burn through.
3. Downforce Control: One-Third Machine, Seven-Tenths Self-Weight
Three Pressure States
Downforce is the dimension beginners most easily overlook. Based on practical experience, there are three basic pressure states:
Self-weight pressure: The machine relies entirely on its own weight on the paint, with the operator only guiding. This is the standard posture for finishing—low paint temperature, high safety, minimal hologram risk. For soft paint (Japanese, Korean cars), self-weight pressure throughout is also recommended.
Light pressure: Fingers lightly press the machine, total downforce approximately 1.5x machine weight. Standard for fine polishing—enough cutting force without excessive heat. For DA machines, light pressure is the most common approach.
Heavy pressure: Palm presses firmly, downforce reaches 2-3x machine weight. Used for coarse polishing—combined with high speed produces powerful cutting force for deep scratch removal. However, heavy pressure significantly increases clear coat temperature, carrying higher risk.
Core Pressure Principles
The most common beginner mistake is “pressing hard.” They believe force helps compound work better and makes scratches disappear faster. The opposite is true—excessive force generates massive heat, softening or burning the clear coat.
The correct approach: Let the machine do the work. Treat it as a self-rotating tool—your job is guiding it, not forcing it.
Pressure Adjustment by Paint Hardness
Adjusting pressure by paint hardness is an advanced technique. Hard clear coats (German cars: VW, Mercedes, BMW) tolerate more pressure. Soft clear coats (Japanese, Korean: Toyota, Honda, Hyundai) require 200-300 rpm reduction, primarily using light pressure.
4. Movement Speed: The Art of Pacing
Movement Speed vs. Polishing Results
Pad movement speed directly affects treatment uniformity and efficiency. Too fast—the compound is swept away before working. Too slow—prolonged exposure causes overheating and over-grinding.
Coarse polishing: Slow movement. Recommended 10-15 cm per second. Allows coarse abrasives full cutting action. Like coarse sandpaper on wood—too fast only scratches the surface.
Fine polishing: Medium speed. Recommended 20-25 cm per second. Allows medium abrasives uniform coverage, gradually eliminating coarse marks.
Finishing: Slightly faster. 25-30 cm per second. Ultra-fine abrasives don’t need cutting—just mirror-izing the surface. Faster speed distributes compound more evenly.
Single-Area Time Control
At any stage, continuous work on one area should not be excessive. Single-area dwell time should not exceed 30 seconds. Beyond this, clear coat temperature rises significantly, risking irreversible damage.
Divide the paint into sections (a hood can be 6-8 sections). Treat each for 30 seconds, move to the next, and cycle back after cooled areas are ready for another pass.
5. Movement Pattern: The Art of Cross-Hatching
Why Single-Direction Doesn’t Work
Many beginners move in one direction back and forth. This creates a serious problem: single-direction grinding marks form visible patterns on the paint—under strong light they look like fine scratches, technically called “directional holograms.”
Correct Cross-Hatch Pattern
The correct method is cross-hatching: first pass horizontally, second pass vertically, forming a grid pattern. This causes grinding marks to cancel each other out, producing uniform diffuse reflection.
Each movement should cover 20-30 cm. After completing horizontal passes, perform vertical passes. One complete cross-hatch cycle produces very uniform results.
Special Area Adjustments
For large flat areas like hoods and roofs, cross-hatching works best. For curved areas like bumpers and handles, full cross-hatching may not apply. Adjust the direction following the curvature—the key is avoiding prolonged停留 in any single point.
6. Operation Plans for Different Paint Conditions
Oxidation Treatment
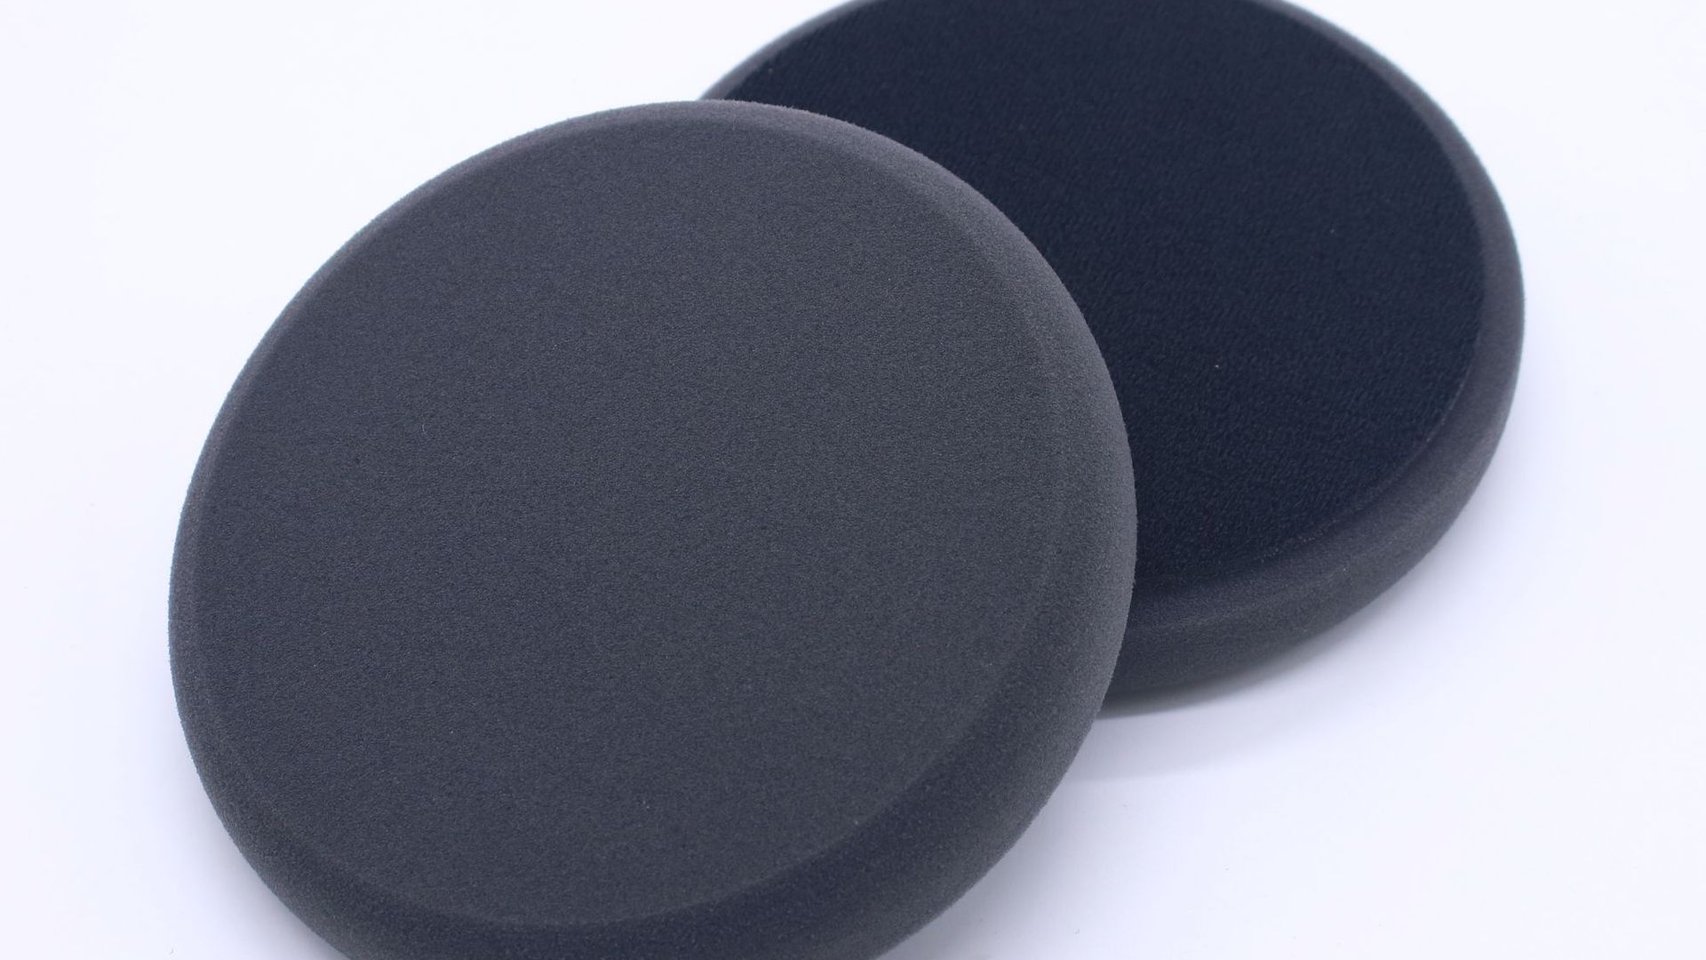
Light oxidation: DA + medium foam pad + fine abrasive, medium speed. Heavy oxidation: RO + wool pad + coarse abrasive, heavy pressure with slow movement—must follow with finishing.
Scratch Treatment
Hairline scratches (clear coat only): DA + fine foam pad + finishing agent. Finger-nail-catching scratches (reaching base coat): RO + coarse compound first, then fine compound, then finishing.
Swirl marks (spiral patterns from orbital polishers): Most common issue. Often caused by improper technique—using DA without cross-hatching. Fix with cross-hatch pattern and finishing agent.
Clear Coat Thickness Assessment
Before treating any paint issue, assess clear coat thickness. Clear coat varies by vehicle, typically 30-80 microns. Below 20 microns, do not grind further—you risk burning through. A professional paint thickness gauge measures this accurately.
7. Common Operation Errors
Error 1: High speed + heavy pressure + long dwell time. This is the “standard recipe” for burning paint. High-speed pads under heavy pressure generate massive heat, softening and melting clear coat into irreparable marks. Prevention: keep moving, check temperature frequently, max 30 seconds per area.
Error 2: Ignoring abrasive matching. Fine compound for coarse work = inefficient. Coarse compound for finishing = new scratches. Each stage must use the corresponding grit size.
Error 3: Skipping paint cleaning before polishing. Residual particles and grit cause secondary scratches during grinding. Pre-polish requires at least two rounds of degreasing washes.
Error 4: Improper compound quantity. Too much = slipping, reduced cutting. Too little = uneven coverage. Recommended: 4-6 pea-sized amounts, adjusted by pad size.
Error 5: Using one set of parameters for all paint. Hard paint vs. soft paint, new vs. old paint have completely different tolerance to pressure and speed. Assess paint type first, then choose parameters.
8. Technique and Product Pairing Recommendations
With the four-dimensional system understood, here’s how to choose the right products.
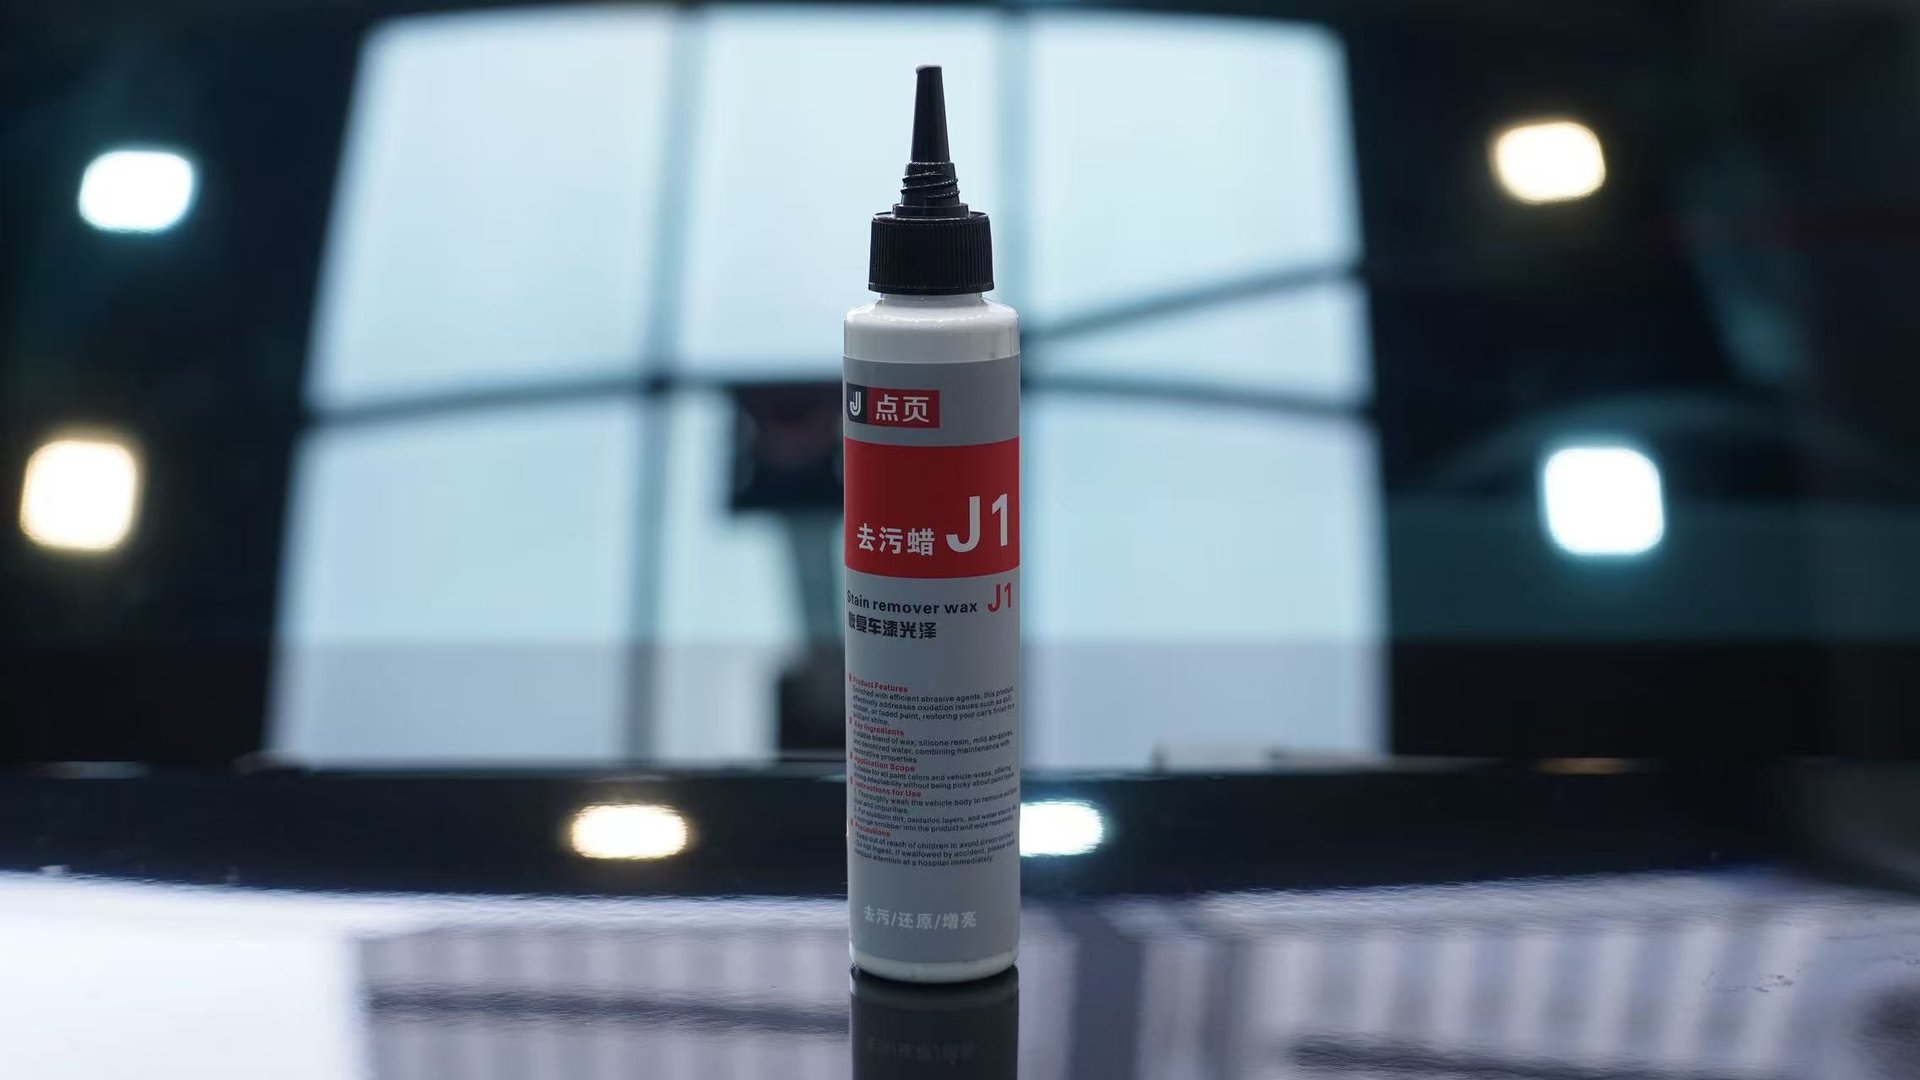
For daily care and light scratches: hand polishing with fine compounds (like DianYe J1)—simple, safe.
For moderate scratches and oxidation: machine polishing—RO for initial work with DianYe J2, DA for fine and finishing.
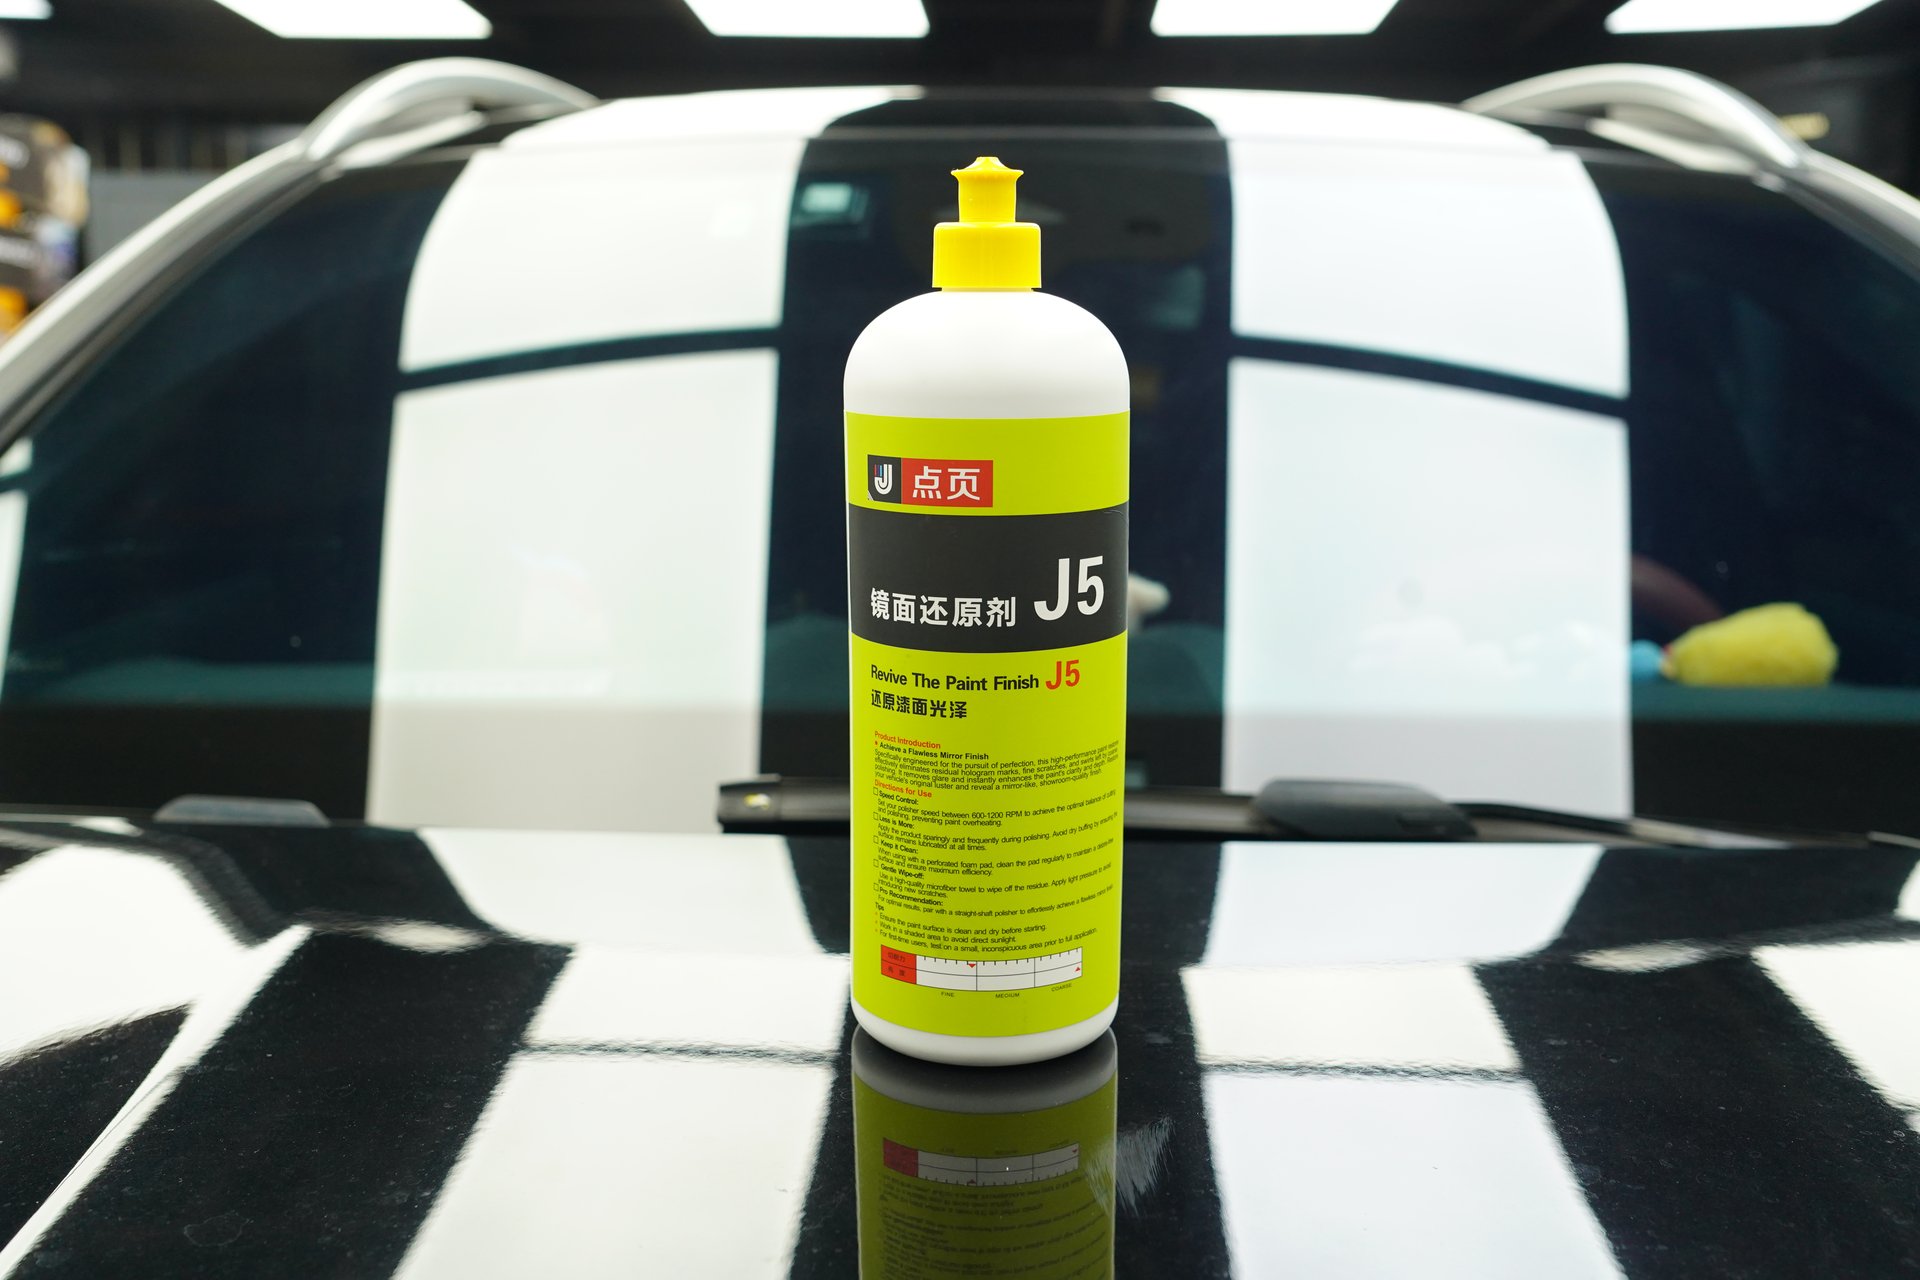
By product level, abrasives range from coarse compound to medium, fine, and mirror wax. Medium-coarse abrasives (like DianYe J2 Water-Based Polishing Wax) suit moderate scratches. Fine products (like DianYe J5 Mirror Finishing Agent) suit finishing and daily care. Final care stage (like DianYe X1 Quick Liquid Wax) suits post-polish sealing and protection.
For beginners, start with the J2 + J5 combination: coarse then fine. As skills develop, add X1 for three-step processing: polish → refine → protect and seal for lasting results.
9. Prevention and Maintenance: Good Results Need Upkeep
No matter how good the polishing results, scratches and oxidation return quickly without proper maintenance.
Prompt washing: Bird droppings, tree sap, insect residue contain corrosive substances that can penetrate clear coat within 24 hours. Wash at least weekly; clean these contaminants immediately.
Avoid mechanical damage: Use dedicated microfiber towels, never dry towels or rags. Park away from construction sites and gravel roads.
Regular waxing: Wax forms a protective barrier. Wax every 1-2 months with quality water-based products.
Coating enhancement: For longer protection, consider coating after polishing. These form harder protective layers effectively resisting scratches and corrosion.
10. Conclusion: Good Technique Requires Practice and Reflection
Polishing is both craft and science. Understanding the four-dimensional system gives you the theoretical foundation. But as with any skill, theory is just the start—true proficiency requires extensive practice.
Beginners should practice on scrap panels or old cars first, then move to their own vehicle once technique is stable. Observe how paint responds to different speeds and pressures, and learn from both successes and failures.
Remember: The core of polishing isn’t removing as much paint as possible—it’s precisely eliminating problems while preserving as much factory clear coat as possible.