
How to Fix Door Handle Scratches? A Practical Guide to Edge and Corner Polishing
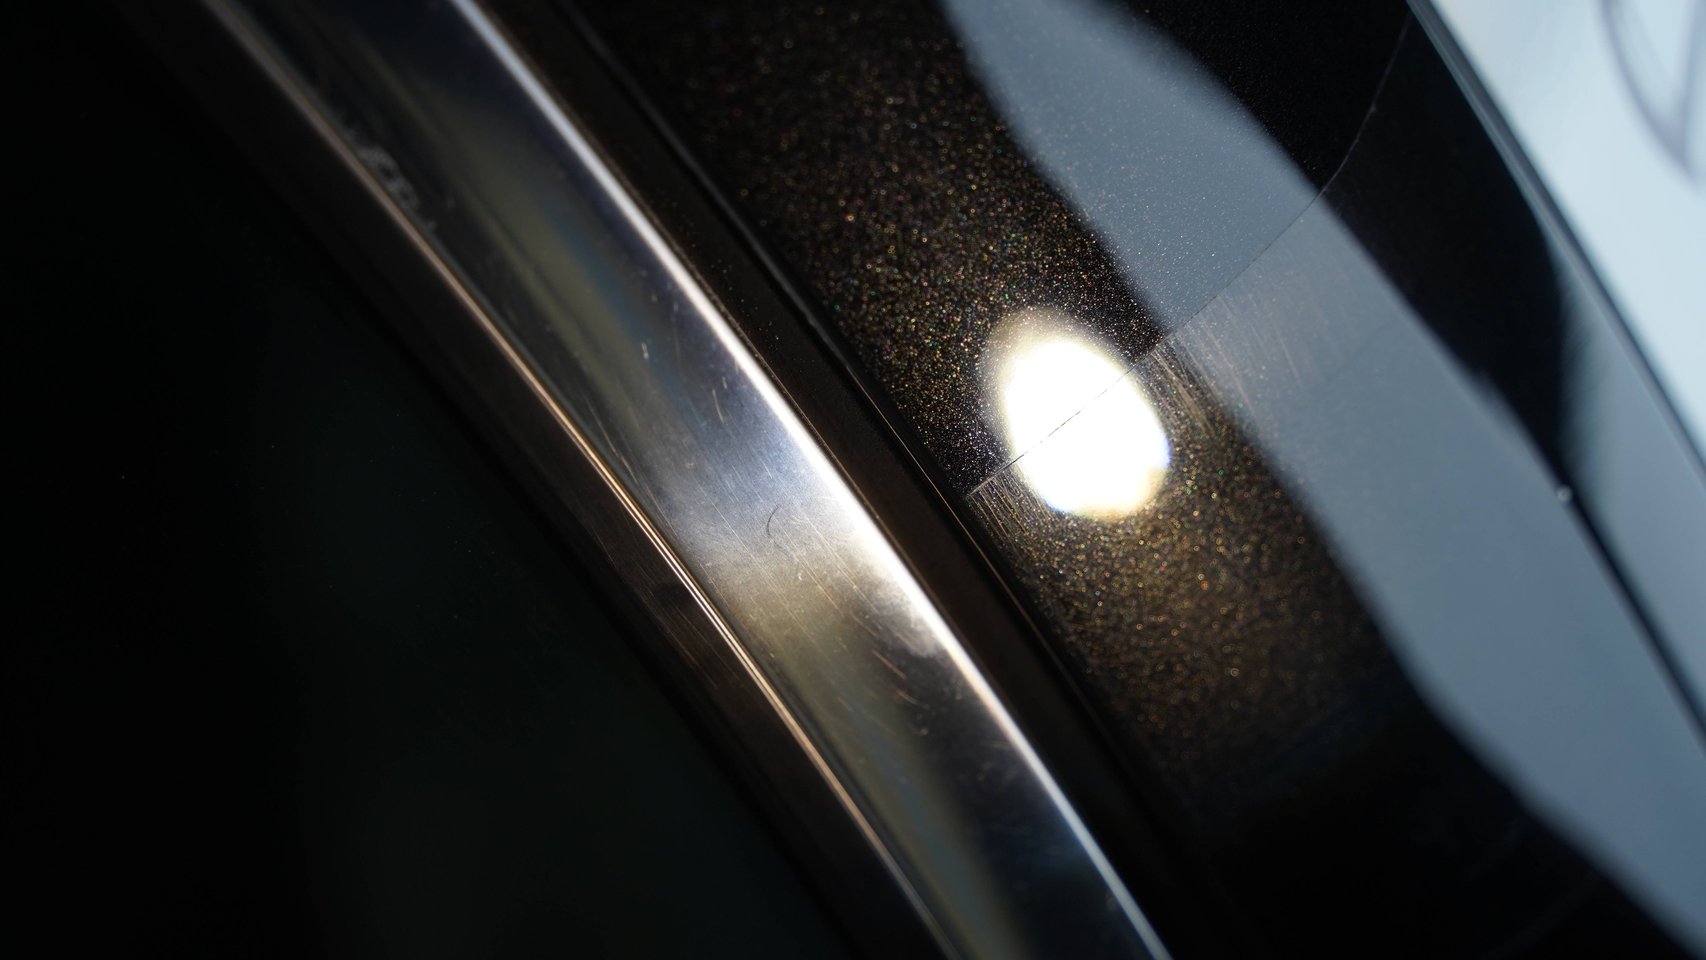
Every time you open and close the car door, your fingernails leave marks on the handle. The door handle—the most frequently used part of the entire car—is also the area with the densest concentration of scratches. Industry observation shows that nearly every vehicle in use for over six months displays visible scratch marks on its door handles. These scratches not only affect appearance but over time erode the clear coat, dramatically increasing treatment difficulty.
Why Door Handles Are Especially Prone to Scratches
Door handles endure far more friction than any other body part. A family car’s doors are opened and closed about 10-15 times daily, and each time, fingernails, rings, and keychains contact the paint. Over time, this high-frequency friction accumulates大量 scratches on the inner side and transition areas of the handle.
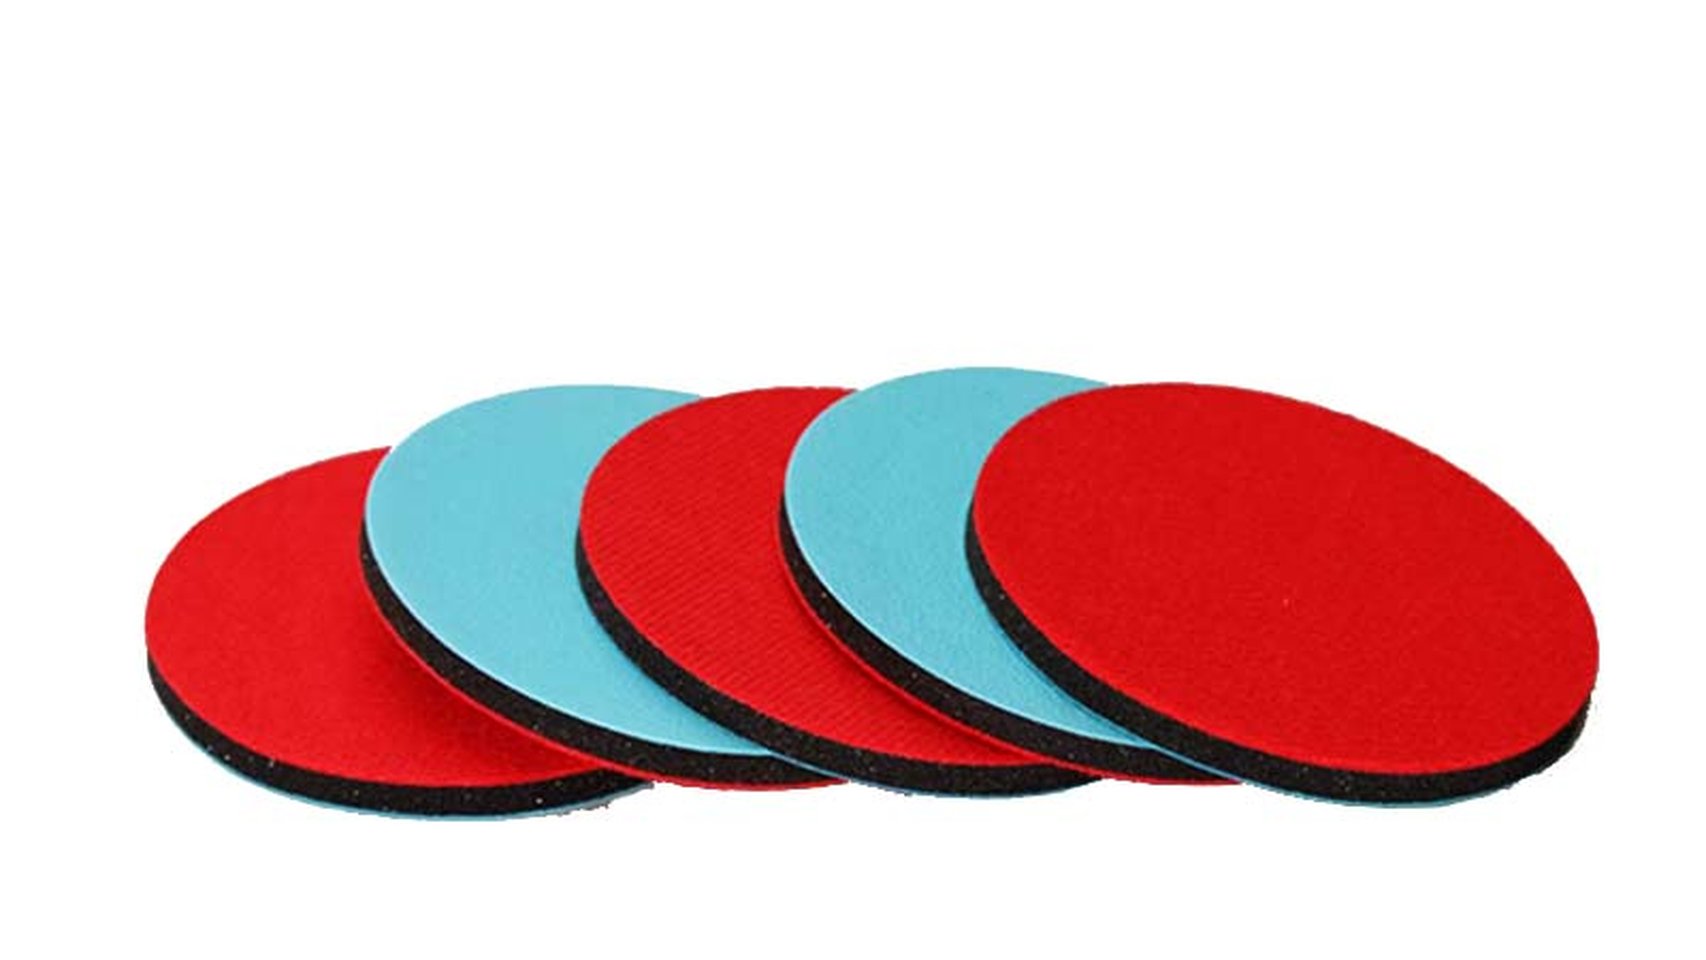
More challenging still, the door handle’s structure itself poses polishing challenges. Handles have irregular shapes with obvious curves and grooves—standard 5-inch or 6-inch pads struggle to conform to these areas. Forcing large pads not only misses edges but can cause holograms or even burn through due to improper angles.
Additionally, door handles accumulate oil, dust, and wax residue. If not thoroughly cleaned before polishing, these contaminants cause secondary scratches during the process. This is why door handle treatment often takes more time and effort than large body panels.
Three Types of Door Handle Scratches and Quick Assessment
Before treating door handle scratches, assess scratch depth to select the appropriate solution.
Level 1: Hairline Marks
Only affecting the clear coat surface—no noticeable indentation when lightly scratched with a fingernail. These are the shallowest and easiest to treat. Only visible at an angle under sunlight, with smooth texture.
Level 2: Fingernail-Catching Scratches
Fingernail clearly catches when dragged across, indicating the scratch has penetrated through the clear coat to the base coat. This depth requires coarse compound treatment; fine wax or finishing agent alone has limited effect.
Level 3: Primer-Exposing Scratches
The scratch has exposed primer or even metal. These must be touch-up painted first, then polished after the paint fully dries. Direct polishing cannot repair these and may expand the damaged area.
Quick assessment method: Shine a strong flashlight at an angle across the scratch area and observe light reflection. If the scratch appears white with clear boundaries, it’s likely Level 1; if showing different colors or shadows, it may be Level 2 or deeper.
Pre-Polishing Preparation for Door Handles
Cleaning and Degreasing
The inner door handle accumulates oil and wax residue that affect polishing results. Use a dedicated degreaser or IPA (isopropyl alcohol) solution with a microfiber cloth to thoroughly wipe the handle inside and out. After cleaning, press the back of your hand against the paint—if it feels tacky with no oil film residue, cleaning is complete.
Masking Protection
Rubber seals around the handle, window frames, and license plate areas must be masked with painter’s tape. Masking prevents polish splash onto these areas and avoids the polisher accidentally contacting sensitive components.
Tool Selection: Small Pads Are Essential
This is the most critical principle for door handle polishing—you must use 1-to-3-inch small polishing heads. Traditional 5-inch or 6-inch pads simply cannot work in these areas; forcing them leaves edges completely untreated.
Small pads offer the flexibility to conform to the handle’s curved structure and inner grooves. Pair with 1-inch or 2-inch ultra-soft foam pads to effectively protect edges from over-cutting.
Product Selection
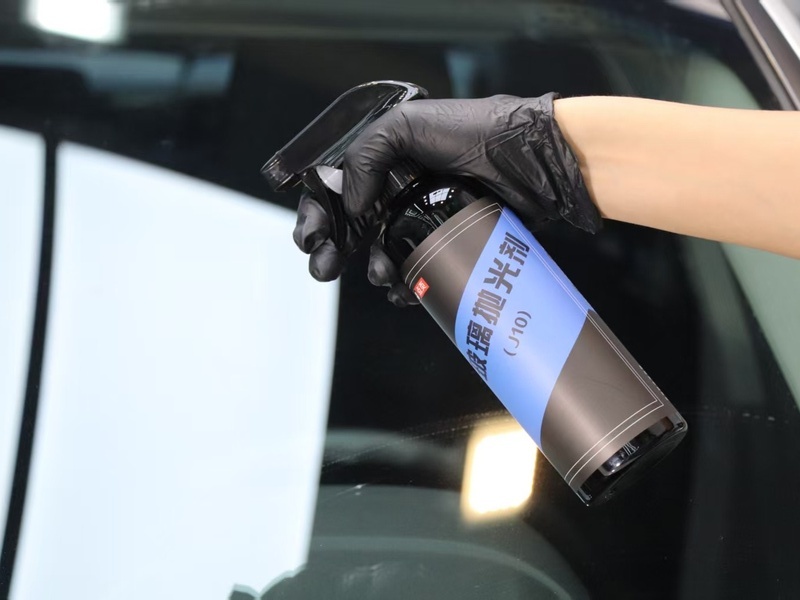
Choose products based on scratch level. DianYe offers corresponding solutions for door handle scratches:
- Level 1 scratches: Fine wax with foam pad for finishing treatment
- Level 2 scratches: J2 for deep grinding, then J5 for gloss recovery
- Level 3 scratches: Touch-up paint first, then treat as Level 2 after drying
Treatment Plans for Different Scratch Levels
Light Scratch Treatment (Level 1 Hairline Marks)
For minor hairline marks on door handles, treatment is relatively straightforward:
- Clean and dry the paint surface
- Use mirror finishing agent with ultra-soft foam pad
- DA machine at medium-low speed (2000-3000 rpm), light pressure
- Move evenly across the entire treatment area
- Wipe away residue with a clean microfiber cloth
This effectively eliminates hairline marks without over-cutting the paint. After treatment, apply a protective layer to delay new scratch formation.
Moderate Scratch Treatment (Level 2 Fingernail Scratches)
For scratches reaching the base coat, stronger cutting force is needed:
- Start with J2 Water-Based Polishing Wax and coarse foam pad
- RO or DA machine at medium speed (1500-1800 rpm)
- No more than 30 seconds per area to avoid local overheating
- After coarse polishing, use J5 Mirror Finishing Agent with ultra-soft pad for finishing
- Inspect overall results, repeat局部 treatment if needed
The key is not expecting one-step results. Coarse compound handles depth, finishing agent restores gloss—two steps working together achieve ideal results.
Heavy Scratch Treatment (Level 3 Primer-Exposing)
For scratches exposing primer or metal, polishing alone cannot repair:
- Touch-up paint the scratched area first
- Look up VIN code for factory color match
- Apply 2-3 thin coats, 5-10 minutes between coats
- Allow at least 24 hours drying before further treatment
- Lightly sand flat with 2000-grit wet sandpaper
- Finally follow Level 2 scratch polishing and finishing process
Professional assistance is recommended for these cases, as color matching and spray technique directly affect the final result.
Five Key Points for Edge and Corner Polishing
Point 1: Choose the Right Pad Size
1-to-3-inch small pads are standard for edge work. Traditional international brand equipment typically only includes standard sizes, inadequate for door handles, mirror edges, and emblem areas. Professional edge work requires a set of small pads in 1-inch, 2-inch, and 3-inch sizes.
Point 2: Control Speed
Edge area speed must be noticeably lower than large areas. RO machine edges: 800-1200 rpm recommended. DA machine: up to 1500-2000 rpm. Excessive speed causes rapid temperature rise at edges, increasing burn-through risk.
Point 3: Reduce Pressure
Edge polishing should use machine self-weight only—no additional force. Fingers lightly guide the handle, letting the pad naturally conform to the paint. Excessive pressure causes over-cutting at edges, forming dips.
Point 4: Proper Masking
This is the most overlooked yet critical point. The junction between door handle and body panel, the gap between mirror and fender, emblem edges—these areas are easily contacted by the pad during polishing. Pre-masking with painter’s tape prevents many unnecessary problems.
Point 5: Multi-Angle Inspection
Edge areas suffer from lighting angle issues creating visual blind spots. After treatment, don’t observe from just one direction—walk around the door checking from multiple angles for uniform gloss and missed spots. A strong flashlight is invaluable for edge inspection, with angled illumination revealing fine marks invisible from straight on.
Polishing Other Edge Areas
Door handle polishing techniques apply to all edge areas:
Mirror Edges
The junction between mirror and body often has fine scratches. The paint structure here is complex—use 1-inch or 2-inch small pads. Avoid contacting the mirror glass and turn signal.
Around Emblems
Car logos, brand letters, and model badges collect water due to imperfect sealing, forming a scratch ring over time. Mask emblems completely with tape, exposing only edge gaps for fine treatment. Finish with refining agent after coarse work, then protect.
Door Edge Lines
The raised ridge along the door bottom is frequently kicked and bumped—scratch-prone. Typically requires 3-inch pads, best with DA machine. Angle issues at ridges can cause holograms—control speed and movement carefully.
Fuel Door Cover
The inner fuel door has scratches from opening/closing friction. The area is relatively open but edges are awkward. Use 2-inch pads; mask the hinge area additionally.
Post-Polishing Care Recommendations
After door handle scratch treatment, daily maintenance remains important.
Prompt cleaning: Pay attention to inner handle cleaning at each wash—oil and contaminant residue accumulates here. Dry with a cloth after cleaning.
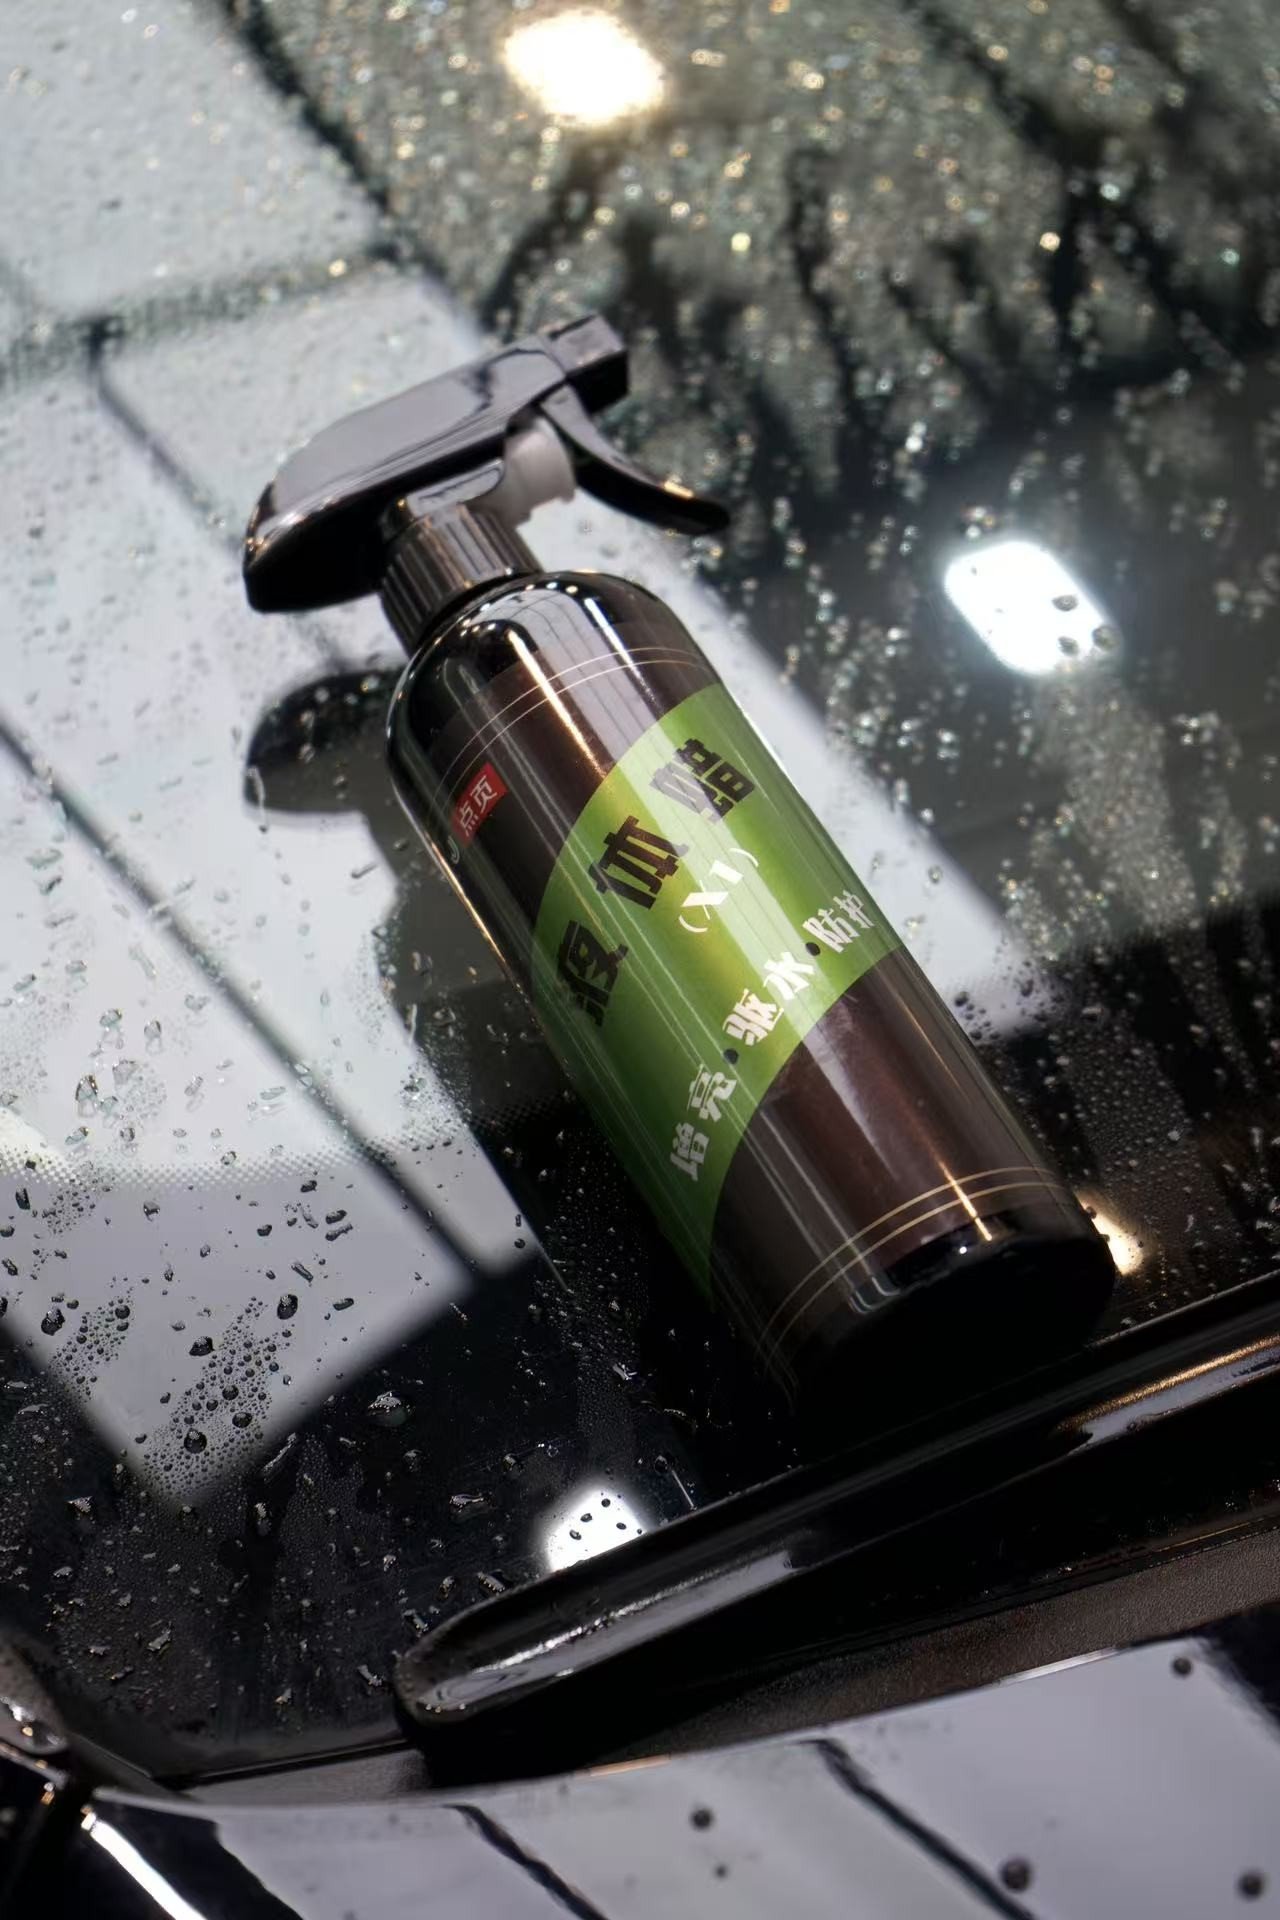
Regular waxing: Wax the entire car every 1-2 months, including door handles. Quick protection sprays are convenient—spray and wipe with microfiber for effective protection.
Avoid hard object contact: Develop good habits—watch for rings and keys when opening doors. For long trips, apply clear PPF tape to handles for temporary protection.
Common Mistakes
Mistake 1: Forcing large pads on edges. Results in untreated corners and visible blend lines. Small pads are non-negotiable.
Mistake 2: Excessive speed. Edge paint is thin with small area—heats up far faster than large panels. High speed causes holograms at best, burn-through at worst.
Mistake 3: Using wool pads on edges. Wool pads have strong cutting power suited for large areas with heavy scratches, but easily over-cut edges. Use foam pads throughout, especially ultra-soft foam.
Mistake 4: Skipping cleaning before polishing. Door handle inner areas have invisible oil and particles. Polishing directly is like sanding paint with sandpaper.
Summary
Door handle scratch treatment centers on three points: first, choose appropriately small polishing heads—never force large pads on edges; second, match products to scratch depth—Level 1 uses finishing agent, Level 2 uses coarse wax plus finishing, Level 3 requires touch-up paint first; third, mask properly, control speed, reduce pressure to avoid overheating or over-cutting edges.
Door handles are the most scratch-prone area on the car but also relatively easy to treat. With the right methods and professional products like J2 Water-Based Polishing Wax and J5 Mirror Finishing Agent, even DIY enthusiasts can restore handles to like-new condition. Maintain regularly and treat new scratches promptly for long-lasting results.