
Rainbow Patterns After Polishing? Causes, Repair, and Prevention of Secondary Polishing Damage
A freshly polished car that looks perfect under ordinary lighting—then you step outside in sunlight and see rainbow-colored waves shimmering all over, like glittery candy. It looks beautiful but is a disaster for your wallet.
This isn’t some “special effect”—it’s secondary polishing damage (commonly called “polishing hazing” or “polishing marks”). Today we’ll cover in detail: how they form, whether they can be fixed, and how to prevent them.
What Is Secondary Polishing Damage?
Secondary polishing damage refers to two types of secondary damage caused by the polishing operation itself: Holograms and Buffer Trails.
What Are Holograms?
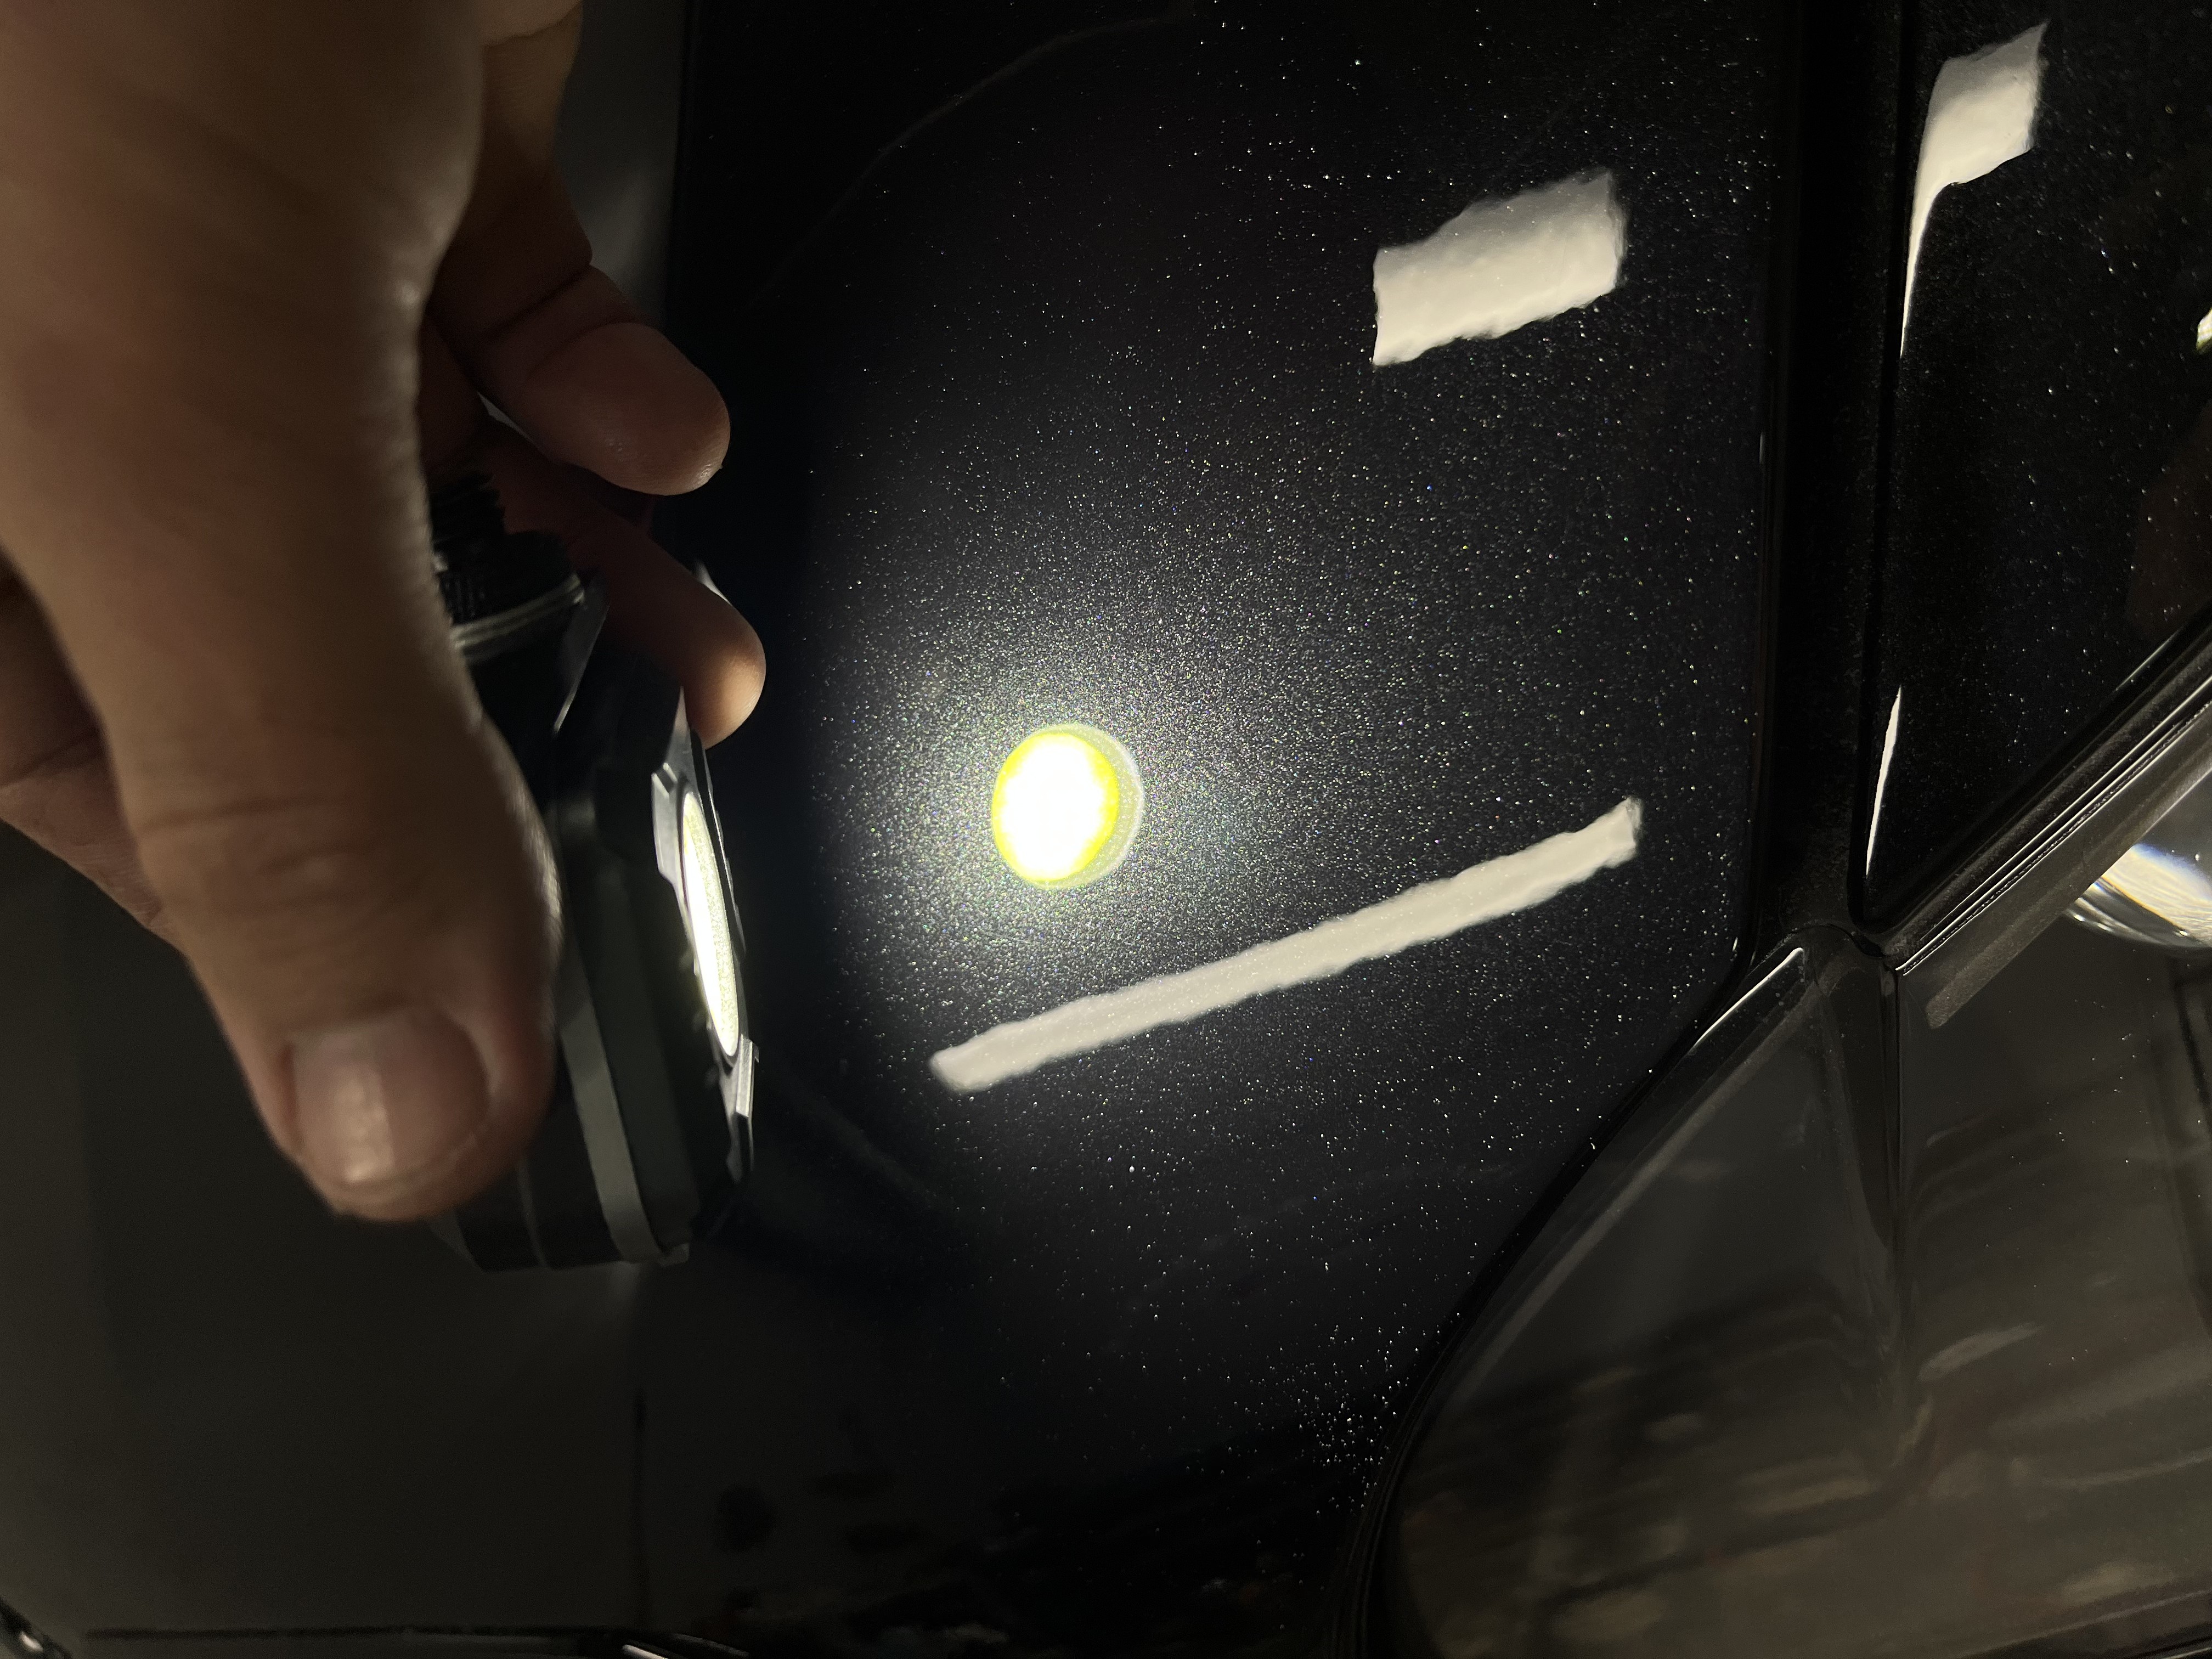
Holograms are micro circular or arc-shaped scratches left by the polishing pad on the paint. These scratches are so fine they’re nearly invisible to the naked eye under ordinary lighting—but under direct sunlight or strong point light sources, they appear as rainbow-like moving waves, changing as you shift your viewing angle.
Think of it like a phone screen protector applied poorly—under lights you see all the bubbles and fingerprints. Polishing holograms are the same effect—the paint may be flat but its micro-structure has been scratched.
What Are Buffer Trails?
Buffer trails are linear or curved marks along the polishing pad’s movement direction. Deeper and more obvious than holograms, typically visible under ordinary lighting. Buffer trails have directionality—the marks extend in whichever direction you polished.
What’s the Difference Between Secondary Damage and Swirl Marks?
Many people confuse them—they’re completely different:
| Feature | Holograms/Buffer Trails | Swirl Marks |
|---|---|---|
| Cause | Secondary damage from improper polishing | Daily washing and wiping scratches |
| When visible | Immediately after polishing | Gradually appear with use |
| Pattern | Uniform directional patterns, visible under strong light | Random scattered pattern, visible under sunlight |
| Difficulty | Avoidable with proper operation; severe cases require medium polishing | Usually removable with finishing alone |
Simply: swirl marks are “gradual daily wear and tear”; secondary damage is “the polisher technician slipped up.”
How Does Secondary Damage Form?
Secondary damage has five main causes, each more common than the last:
Cause 1: Dirty Pad—the #1 Killer
This is the primary cause of secondary damage.
As compound dries on the pad, it forms hard particles. These dried particles act like sandpaper, scratching the paint.
Many technicians use one pad from start to finish, switching directly from one panel to the next without cleaning the pad surface. Actually, a pad used on two panels without cleaning has enough dried compound to create visible scratches on hard paint.
Cause 2: Speed Too High
RO machines above 1800 rpm generate friction heat exceeding the compound’s lubricating capacity, causing rapid compound drying. High speed also throws compound off the pad surface, creating “dry grinding”—dry grinding equals scratching paint.
DA machines are relatively safer but excessive speed still causes compound failure and pad drying.
Cause 3: Using the Wrong Pad
Coarse pads used for fine polishing steps are wrong.
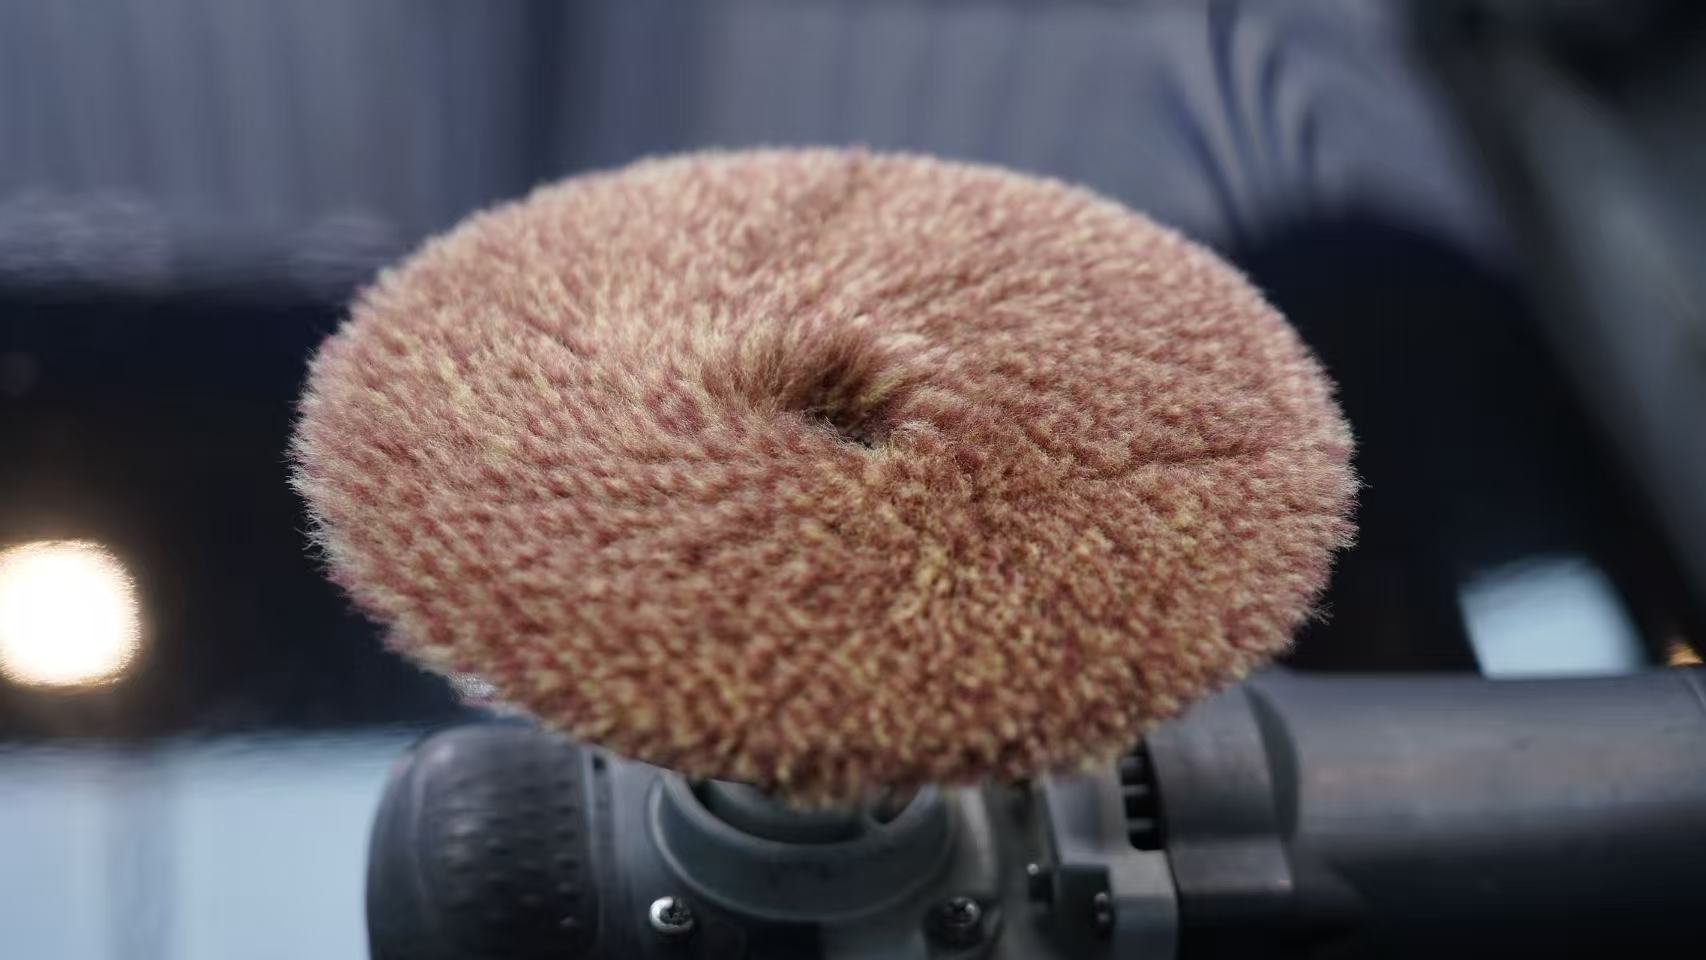
Wool pads and traditional oily compounds are for coarse polishing—their strong cutting power leaves obvious marks. If used directly for fine polishing or finishing, coarse marks are left for the fine stage to handle—marks that fine pads simply can’t remove.
Each step requires a pad change: coarse → medium → fine → finishing, in order.
Cause 4: Excessive Pressure
Excessive pressure causes:
- Compound being pushed out of contact area, becoming dry friction
- DA machine’s eccentric mechanism being pressed dead, losing vibratory cutting effect
- Rapid heat accumulation exceeding clear coat tolerance
Especially with RO machines: high pressure + high speed + prolonged dwell = the triple burn-through combo.
Cause 5: Insufficient Compound
Compound lubricates and carries abrasive particles. Too little means abrasive particles directly contact paint—scratching is inevitable.
Correct quantity: 4-5 pea-sized amounts per 2×2 foot area (approximately half square meter).
Why Shops Always Miss Secondary Damage?
Many technicians wonder: “It looked great in the shop. Why does the client step outside and see all the marks?”
Because shop lighting is a trap.
Standard fluorescent lighting is a diffuse light source—it illuminates the paint uniformly but completely fails to reveal secondary damage. Only under point light sources (sunlight, LED flashlight, spotlight) at specific angles do holograms and buffer trails fully appear.
This is why many shops’ acceptance standard is “check in sunlight”—not the technician shirking responsibility, but because sunlight is truly needed for clarity.
Correct inspection method:
- Use LED flashlight or focused light source
- Light about 30 cm from the panel at 30-45 degree angle
- Observe paint from the opposite direction
- Rotate light 90 degrees and check again (some damage has directionality)
Can Secondary Damage Be Repaired?
Yes. Though ugly, as long as clear coat remains, it can be repaired.
The key is how deep the damage is.
Light Secondary Damage: Finishing Solves It
If secondary damage is only visible under sunlight, invisible under ordinary lighting—congratulations, repair is simple.
Needed tools:
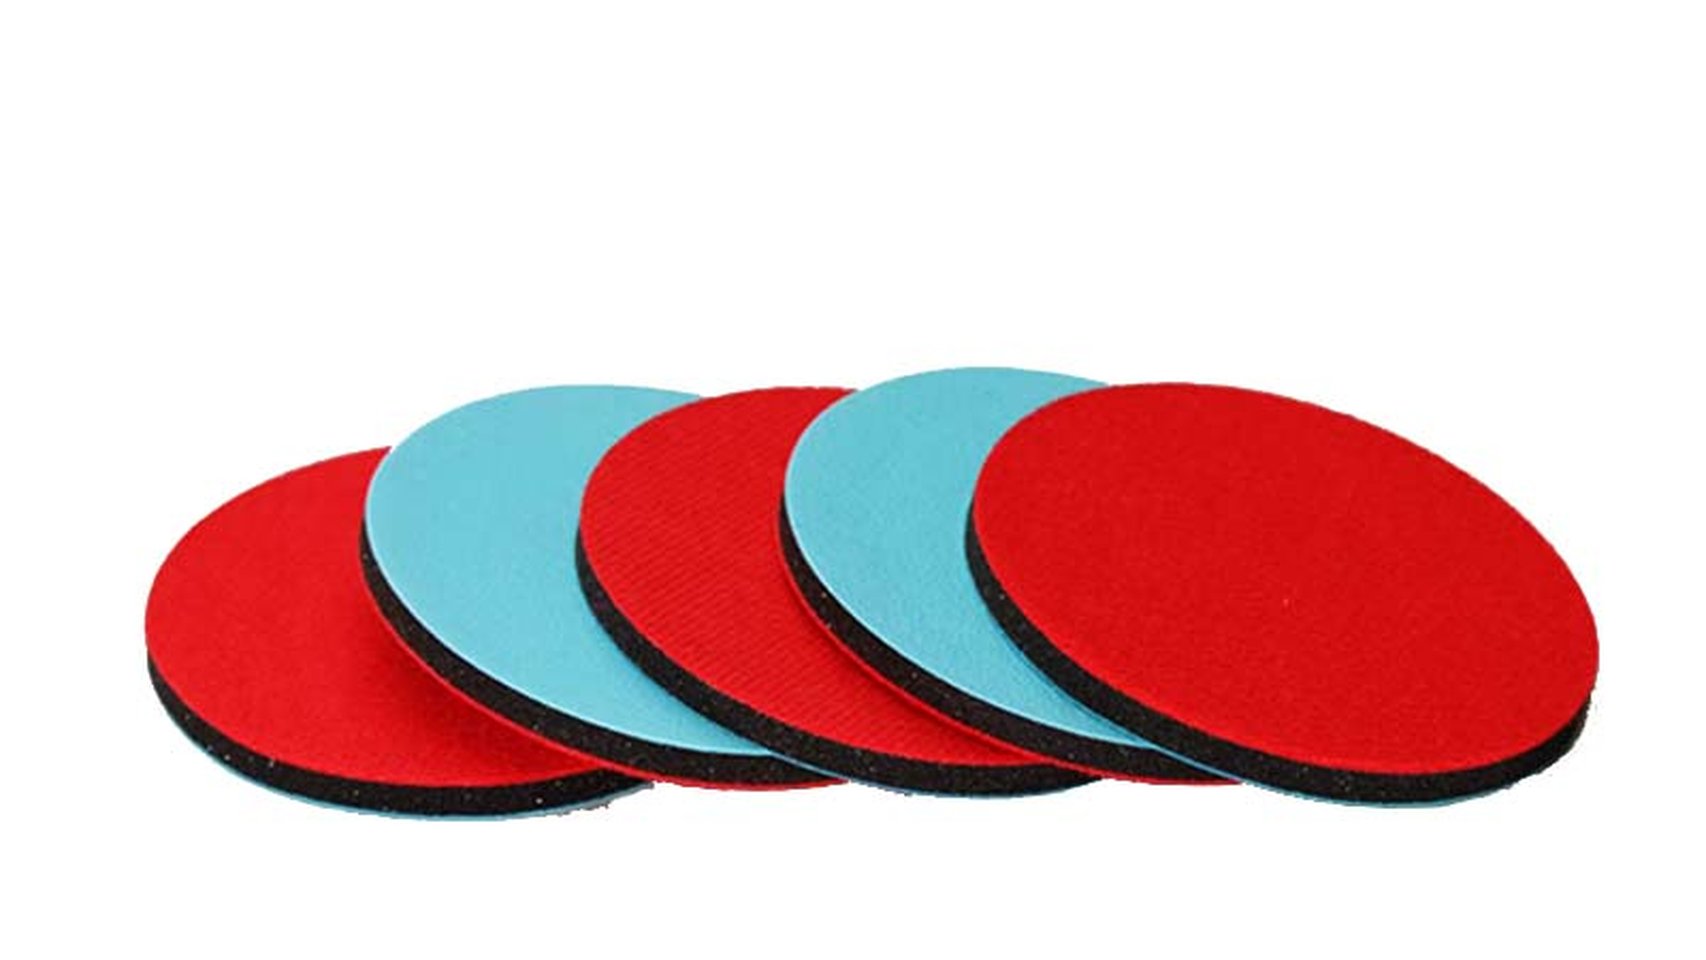
- Soft foam pad (fine/ultra-fine density)
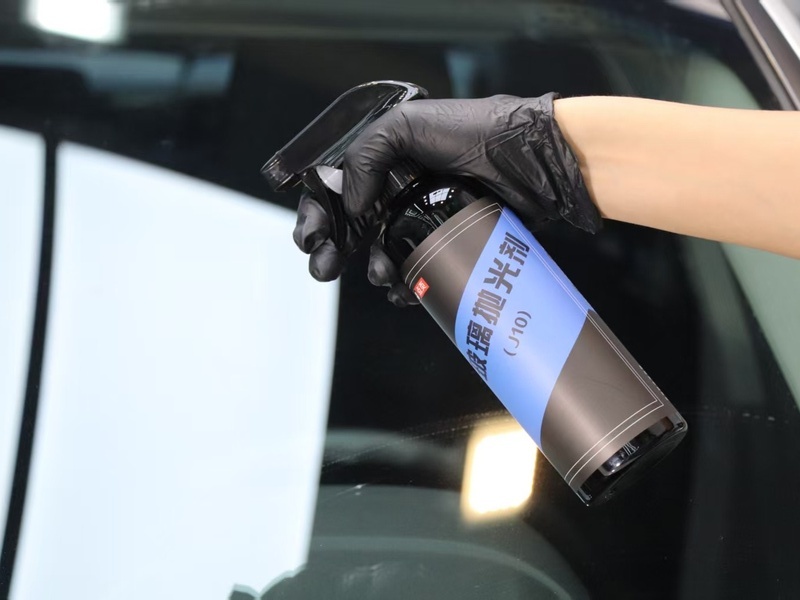
- Fine polishing compound or mirror finishing agent (like J5 Mirror Finishing Agent)
- DA orbital polisher
Parameters:
- Speed: DA gear 3-4, approximately 1000-1500 rpm
- Pressure: Self-weight (machine weight only, no extra pressure)
- Movement speed: 20-25 cm per second
- Passes: 1-2
Core point: Soft pad + J5 fine compound + low speed + light pressure—the goal is “smoothing” not “cutting.”
Heavy Secondary Damage: Two-Step Repair Needed
If secondary damage is visible under ordinary lighting, the damage is deeper—finishing alone may not suffice.
Two-step repair:
Step 1: Medium polishing
- Tools: Medium foam pad + water-based medium compound (like J2 Water-Based Polishing Wax)
- Purpose: Remove deep buffer trails and holograms
- Parameters: DA gear 4-5, medium pressure
- Note: This pass will leave medium-polishing-specific fine marks
Step 2: Fine polishing and finishing
- Tools: Fine foam pad + mirror finishing agent (like J5)
- Purpose: Eliminate medium-polishing marks for mirror finish
- Parameters: DA gear 3, light pressure
- Passes: Usually 2 passes
What About Particularly Severe Cases?
If two-step still doesn’t clean up, the damage is deep enough to require returning to the coarse polishing stage.
Coarse polish with short wool pad and J2 Water-Based Polishing Wax for strong cutting—grinding the marks completely flat, then medium → fine → finishing in sequence. J2’s strong cutting removes deep marks efficiently, setting the foundation for subsequent fine work.
The cost is significant clear coat consumption—such deep repair is not recommended frequently.
How to Prevent Secondary Damage?
Prevention is always easier than repair. Follow these four points and secondary damage is largely avoidable:
Standard 1: Clean Pad After Each Panel
This is the most important rule—the importance cannot be overstated.
After polishing each panel (hood, door, roof), stop and clean the pad surface:
- Wool pad: Brush off residue with a hard brush, or blow clean with an air gun
- Foam pad: Wipe with clean cloth, rinse with water if needed, then wring dry
Clean pad standard: looks free of wax residue, feels non-tacky to the touch.
Standard 2: Speed Matches Polishing Stage
Different stages have different safe speed ranges:
| Polishing Stage | RO Rotary | DA Orbital |
|---|---|---|
| Coarse (cutting) | 1200-1500 rpm | 4000-5000 rpm |
| Medium (fine) | 1000-1200 rpm | 3000-4000 rpm |
| Finishing | 800-1000 rpm | 2000-3000 rpm |
Core principle: The finer the stage, the lower the speed.
Standard 3: Proper Pad Changes
Each stage must use its corresponding pad, and no stage-skipping:
| Stage | Pad Type | Notes |
|---|---|---|
| Coarse | Short wool pad/coarse foam pad | Strong cutting, deep marks, use with J2 |
| Medium | Medium foam pad | Bridges coarse and fine |
| Fine | Fine foam pad | Fine treatment, enhanced brightness |
| Finishing | Ultra-fine foam pad/fiber pad | Mirror effect, eliminates fine marks |
Prohibited: Skipping directly from coarse to finishing.
Standard 4: Adequate Compound + Proper Quantity
Compound isn’t “apply a little for appearances”—it’s keeping the pad surface wet throughout.
Start each area with 4-5 pea-sized amounts, and replenish immediately if the pad feels dry during polishing.
Judgment standard: a light “scratchy” sound during polishing (compound working), not a “squeaky” sound (dry grinding).
Pre-Polishing Treatment: The Importance of Clay Bar
Regarding secondary damage prevention, there’s a key step many skip—clay bar treatment before polishing. This is the DianYe standard procedure repeated in construction cases.
Why Clay Bar?
Paint surfaces harbor not just visible dust and mud but also大量 embedded physical contaminants:
- Brake iron particles (most common, firmly adhered after high-temperature oxidation)
- Industrial dust
- Overspray
- Tree sap and bird dropping residue
These contaminants can’t be removed by washing—they’ve essentially “grown into” the clear coat. Polishing without treatment means 0.5mm particles can be pressed into the paint by the polishing pad, forming 1-2mm scratches.
In other words: saving 5 minutes on clay costs 2 hours of extra polishing.
Standard Process
Correct pre-polishing treatment:
- Pre-wash: Thoroughly clean with neutral car wash soap, removing surface dust
- Iron removal: Spray iron remover, wait 3-5 minutes, rinse (purplish-red indicates normal reaction)
- Clay bar: Use clay bar with lubricant, straight-line wiping
- Inspection: Touch paint—it should feel as smooth as glass
- Degreasing: Wipe with degreaser, ensuring paint is clean
Only after completing this entire process can polishing begin.
Summary: Secondary Damage Treatment Points
Remember these core numbers:
- 1: Clean the pad after each panel
- 1800: RO machine speed should not exceed 1800 rpm
- 30 seconds: Single-area continuous work should not exceed 30 seconds
- 4-5 peas: 4-5 pea-sized compound amounts per 2 square feet
Secondary damage isn’t destiny—it’s the absence of operating standards. Following this article’s methods to inspect and repair, your paint can fully achieve professional-grade mirror finish.
Remember: The core of polishing isn’t removing as much paint as possible—it’s precisely eliminating problems while preserving as much factory clear coat as possible. Factory clear coat cannot regenerate; every pass reduces it—treasure it.
For more car polishing knowledge, search “DianYe Auto Technology”