
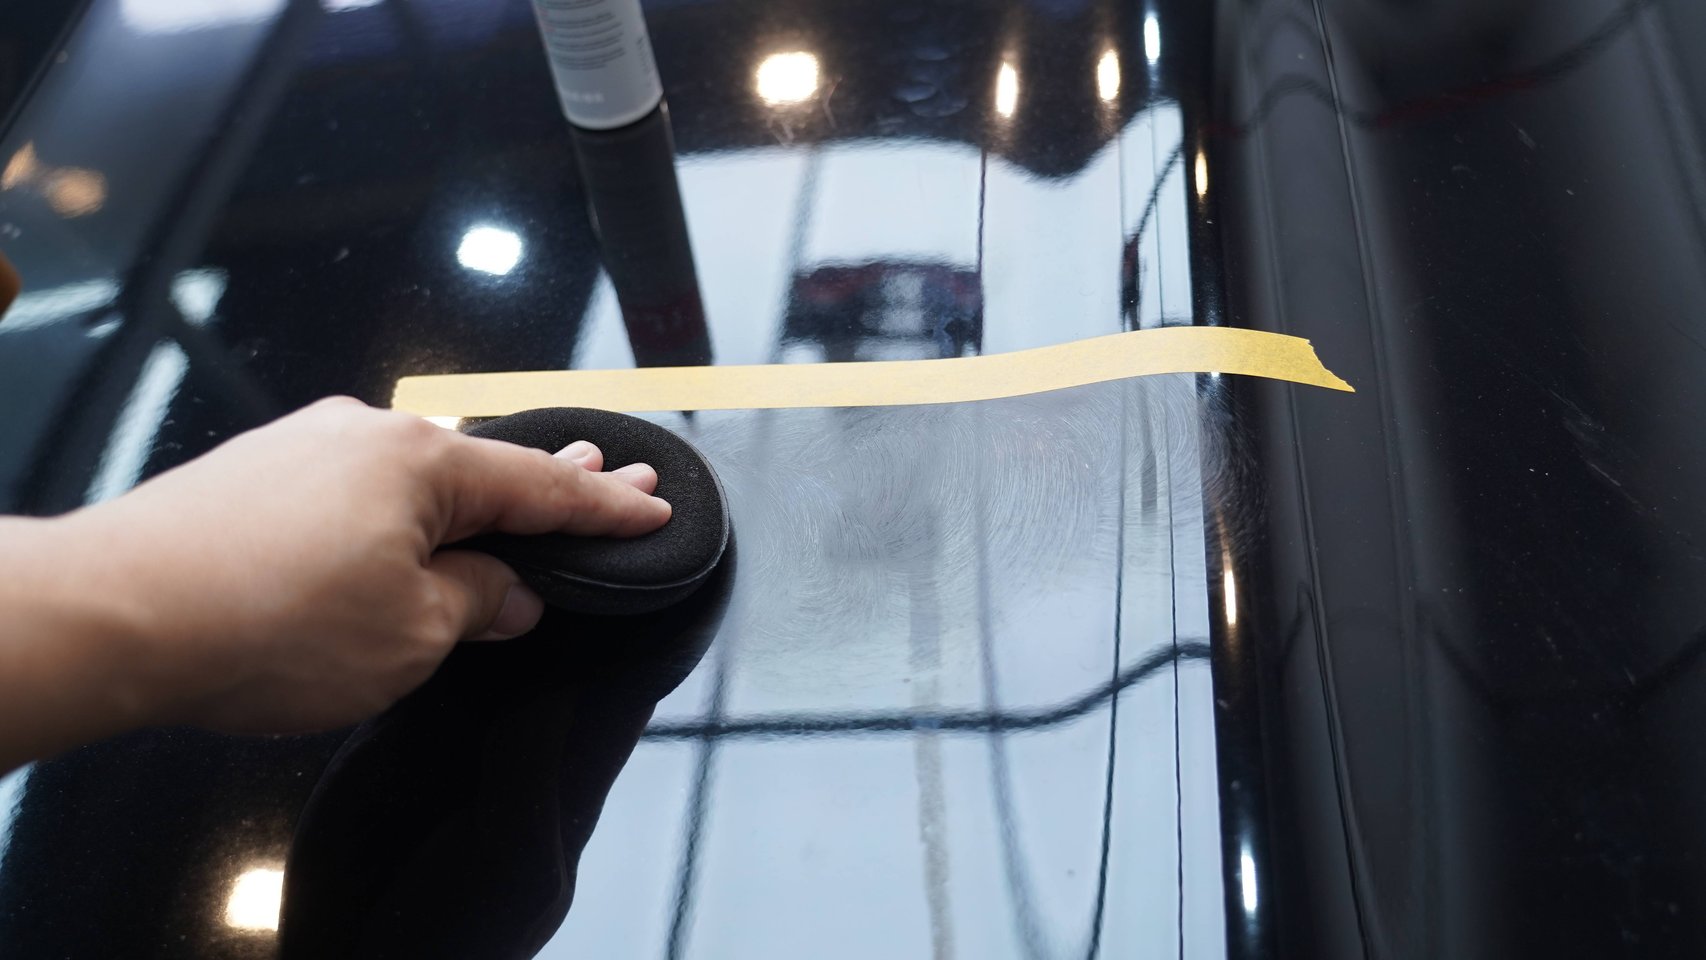
Skip This Step Before Polishing and Even 2000-Grit Compound Is Useless
Many car owners and shops have experienced this: you carefully polished, used fine compound, controlled speed properly—but the results are still slightly off. Swirl marks aren’t fully removed, paint isn’t clear enough, and within days of waxing it’s dull again.
The problem often isn’t in the polishing itself, but in pre-polish paint preparation.
Many people start polishing right after washing, thinking “it looks clean enough.” But visually clean ≠ truly clean. The iron particles, industrial dust, and tree sap residue invisible on the paint surface are the “hidden killers” affecting polishing results.
1. Is Paint Clean After Washing?
1.1 What Regular Washing Removes
Standard washing (PA pre-wash + two-bucket hand wash) removes mainly surface mud, dust, and water-soluble contaminants. Bird droppings and insect remains with weaker adhesion can also be removed with proper soap and soaking.
However, industry test data shows regular washing only removes about 60-70% of surface contaminants. The remaining 30-40% are stubborn deposits firmly embedded in the clear coat surface.
1.2 What Can’t Be Washed Off
These unremovable contaminants fall into three categories:
Iron particles: From brake pad wear and industrial dust, only 1-5 microns but extremely hard. They’re “welded” to paint via high temperature and static electricity—car wash soap simply cannot dissolve them. Iron particles oxidize into yellowish-brown rust spots, especially visible on white paint.
Industrial dust and overspray: 5-50 microns, from factory emissions and road construction. These particles gradually embed into the clear coat—longer duration makes them harder to remove.
Tree sap and asphalt: Tree sap contains high-molecular resin components with extremely strong adhesion. Asphalt comes from freshly paved roads, softening and sticking to cars in slightly elevated temperatures. Both are nearly impossible to fully remove through repeated washing alone.
If you touch freshly washed paint and it feels like fine sandpaper, these hidden contaminants are to blame.
2. What Happens If You Skip Clay Bar and Polish Directly
2.1 Contaminants Pressed Deep Into Paint
This is the most serious consequence. Iron particle hardness far exceeds the clear coat. When the polishing machine spins compound at high speed, these hard particles get forcibly pressed into deep paint layers.
According to test data, 0.5mm hard particles under polishing pressure can create 1-2mm deep scratches—exceeding clear coat depth and reaching the base coat, causing irreversible damage.
In other words, you tried to improve paint through polishing but instead created deeper damage.
2.2 Uneven Grinding Affects Results
Iron particles and industrial dust on paint are like small stones on a road. When the polishing pad rides over these raised particles, compound cannot uniformly contact the paint surface—some areas get properly treated while others don’t.
The result: after polishing, paint shows uneven textures—half the swirl marks removed, half remaining—looking even more uneven than before polishing.
2.3 Protection Layer Adhesion Greatly Reduced
Post-polish typically involves waxing or coating. But if the paint still has residual oil film, car wash soap components, or chemical residue, protection products cannot form proper chemical bonds with the paint.
This is like painting on a damp wall—looks fine initially but peels off soon. Many people report “wax only lasts a few days” or “coating fell off after a month”—often caused by inadequate pre-polish treatment.
3. What Exactly Is Clay Bar Treatment
3.1 How Detailing Clay Works
The tool used is “detailing clay” (Clay Bar), also called car wash clay or clay cloth. It looks like modeling clay but contains special adsorption materials.
Clay’s cleaning principle is completely different from abrasion: clay doesn’t “grind” contaminants off with hard particles—it “sticks” them away through physical adsorption. Quality clay uses volcanic ash or ultra-fine fiber as raw material, with gentle texture that won’t damage paint when used correctly.
When clay glides across lubricated paint, protruding contaminant particles get “grabbed” by the clay’s tacky surface and embedded into the clay, detaching from the paint. The entire process is similar to using tape to remove lint from clothing.
3.2 How to Choose Clay
Detailing clay is graded by color and hardness:
| Color/Grade | Hardness | Cleaning Power | Application |
|---|---|---|---|
| Gray/Blue (Fine) | Low | Gentle | New cars or well-maintained paint |
| Yellow/Red (Medium) | Medium | Moderate | Most regularly-used vehicles |
| Green (Heavy) | High | Strong | Heavily contaminated, long-neglected older vehicles |
Selection advice: Medium grade (yellow/red) is safest for daily use. Fine grade may underperform on heavy contamination; heavy grade can leave light marks if technique is poor. First-time users should start with medium grade and adequate lubricant—better to go over multiple times than to press too hard.
3.3 Five-Step Clay Bar Protocol
Step 1: Must wash the car first
Complete a full wash before clay bar to remove surface dust and grit. Claying over grit is “sanding” the paint—directly creating scratches.
Step 2: Must use lubricant
⛔ This is the most common mistake: dry clay! Never use clay on dry paint, and never use only water for lubrication—water evaporates too fast to provide sustained lubrication.
Must use dedicated clay lubricant. Car wash soap has some lubricity but poor durability and may contain wax that leaves a film affecting subsequent product adhesion. Quality clay lubricant provides sustained, stable lubrication for smooth clay movement without resistance.
Step 3: Straight-line back-and-forth motion
Press clay lightly with your palm, keeping it flat against the paint, sliding in straight-line back-and-forth motion. Pressure should only be enough to move the clay—no need to press hard.
Many people习惯 circular wiping, but circles easily cause clay edges to lift, leaving fine circular marks. Straight-line technique is safer and easier to control.
Step 4: Knead and fold frequently
During use, the clay surface gradually collects contaminants, turning black and rough. At this point, fold and knead the clay to wrap contamination inside, exposing fresh clean surface to continue.
If the clay surface is already rough and you continue using it, contaminant particles get pressed back into the paint—counterproductive.
Step 5: Touch inspection
After each panel, lightly wipe with a clean microfiber towel, then slide the back of your fingers across the paint. The standard is: paint feels as smooth as glass with no granularity or roughness.
If roughness persists, more claying is needed. Don’t rush to the next step.
3.4 Dropped Clay Must Be Replaced
This cannot be overstated: once clay drops on the ground, throw it away and get new clay.
Ground grit embeds in the clay—invisible to the naked eye. Picking it up and continuing is like sanding paint with sandpaper—seconds can create dense circular scratches.
A clay bar costs a few dozen RMB, but scratch repair costs tens of times more. Dropped = replaced, no exceptions.
4. Iron Removal: Essential Pre-Clay Supplement
4.1 Timing of Iron Remover Use
Iron particles are extremely small (1-5 microns). While clay physically adsorbs most, deeply embedded iron particles may exceed clay’s adhesive capability.
In professional processes, iron removal should occur before claying. First dissolve most iron with iron remover, then use clay to remove residual particles and industrial dust—more efficient and thorough.
4.2 Iron Remover’s “Bleeding Effect”
Professional iron removers’ core ingredient is chelating agents (thioglycolic acid compounds) that react with iron oxide, reducing insoluble ferric oxide to soluble ferrous compounds.
During reaction, the sprayed solution turns purplish-red—the so-called “bleeding effect.” Darker color means more iron present. This color change is not only a visible chemical reaction indicator but helps identify heavily contaminated areas needing focused treatment.
4.3 Choose Neutral Products, Avoid Strong Acid
Iron removers fall into strong acid and neutral/mildly alkaline categories:
Strong acid products react quickly with dramatic “bleeding” but corrode clear coat, damage wheel coatings long-term, and irritate skin. Some traditional products fall here—visually impressive but risky.
Neutral products (pH 6-8) react slightly slower but are safe for paint, with residue rinsing clean more easily. For owners and shops needing frequent pre-treatment, neutral products are the wiser choice.
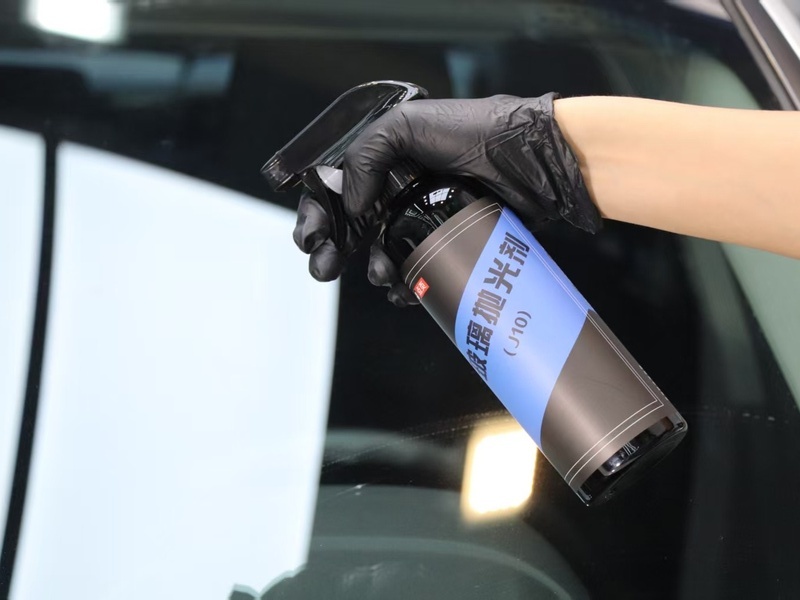
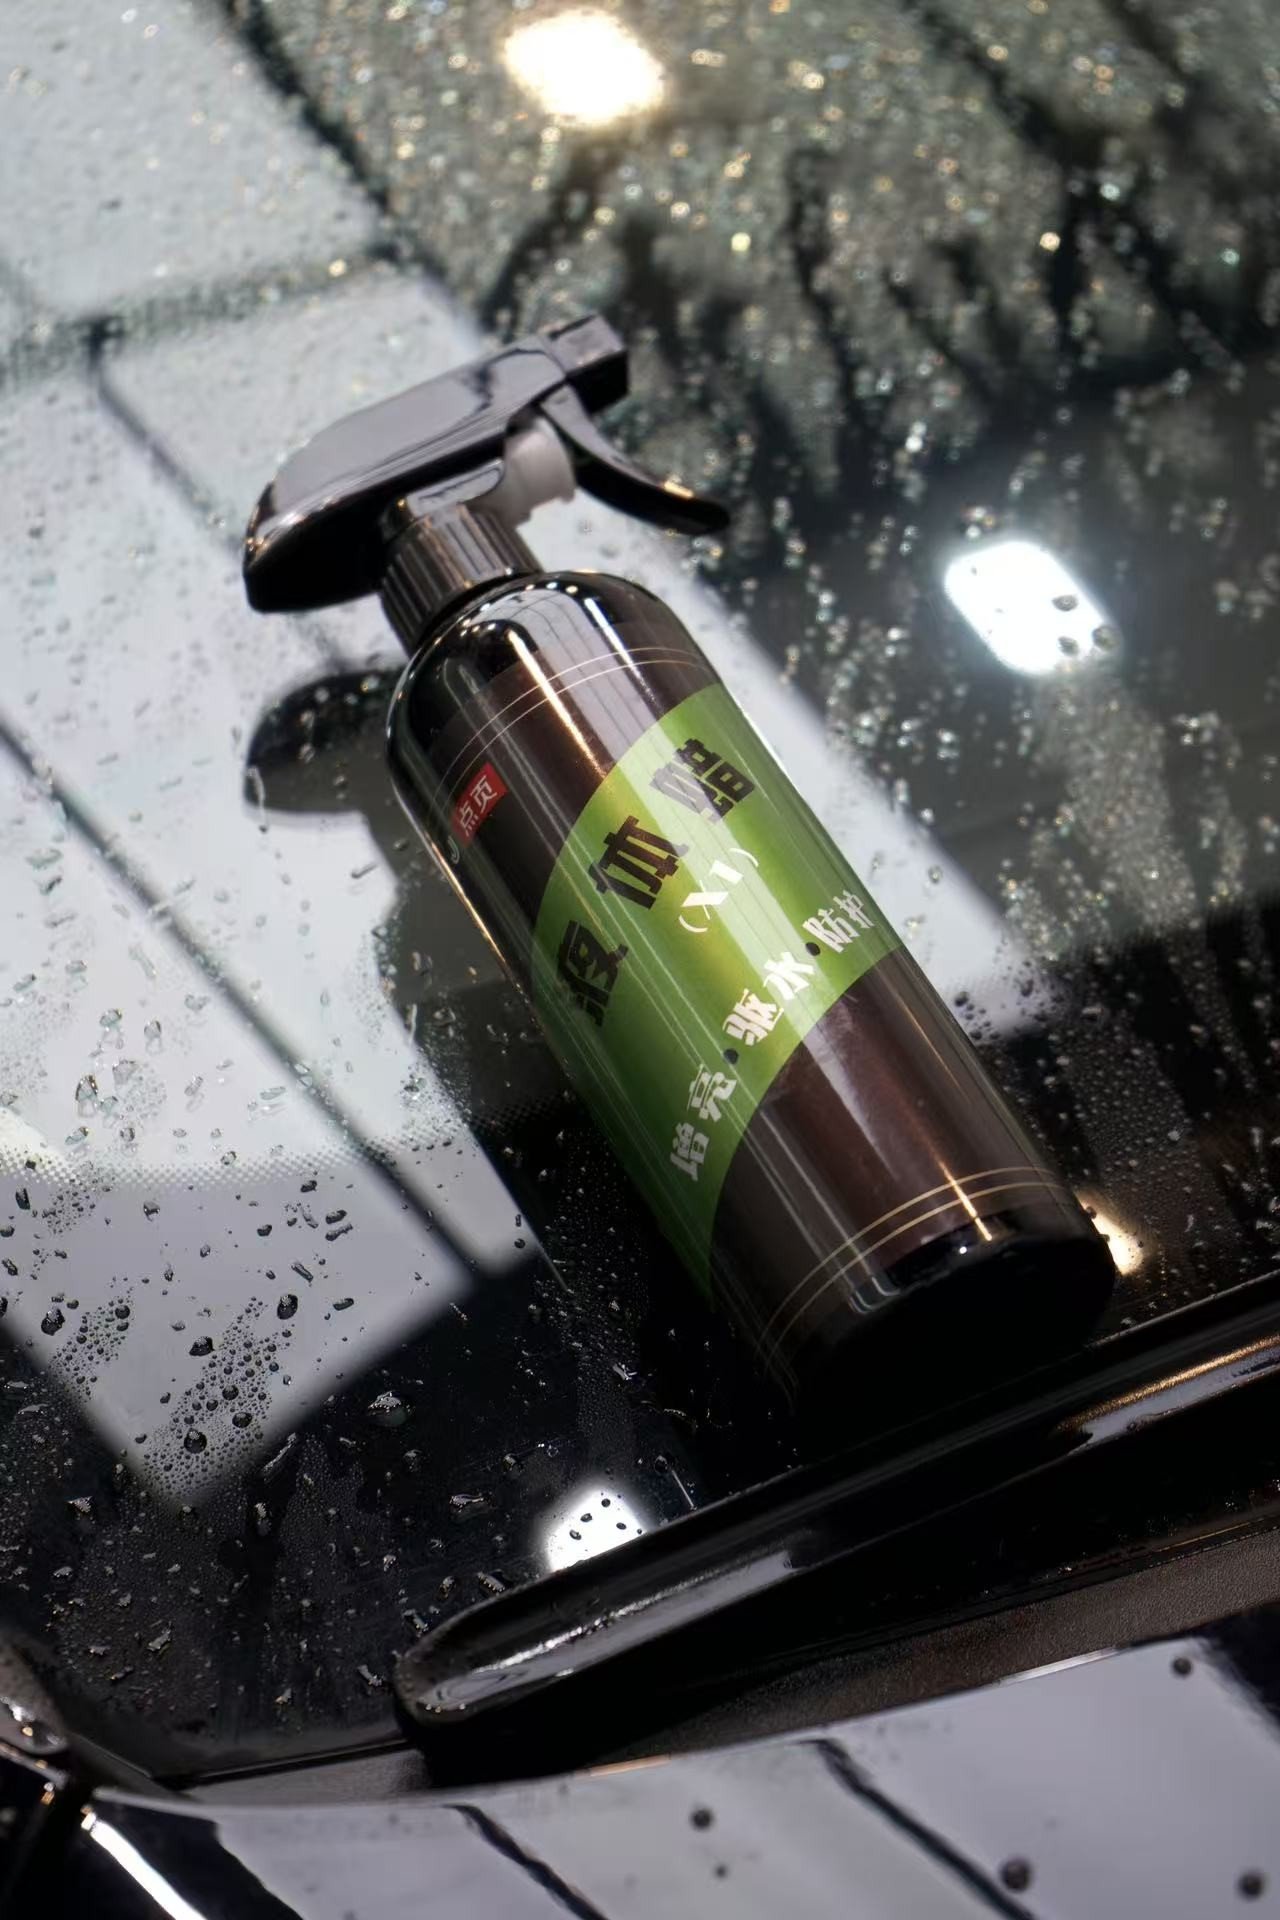
DianYe J2 Water-Based Polishing Wax and J5 Mirror Finishing Agent are water-based formulas, gentle and non-corrosive to paint. Paired with neutral iron remover, the entire pre-treatment to polishing process maintains consistent safety and gentleness—avoiding the contradiction of strong acid pre-treatment followed by gentle polishing products.
5. Complete Pre-Polish Treatment Process
Combining the above steps, a professional pre-polish treatment should be:
1. Paint assessment: Inspect under adequate lighting, judging contamination level and damage type.
2. Full wash: PA pre-wash + two-bucket hand wash, removing surface dust and mud.
3. Iron removal: Spray iron remover, wait for reaction (purplish-red appears), wipe with fiber towel, then rinse.
4. Clay bar treatment: With lubricant, clay each panel in straight-line passes, kneading and folding until paint is smooth and free of granularity.
5. Degreasing inspection: Wipe with degreaser or IPA (isopropyl alcohol 1:1 with water) to remove all chemical residue. Degreasing is also the “truth mirror”—it exposes conventional oily compound’s filling illusion, revealing paint’s true condition.
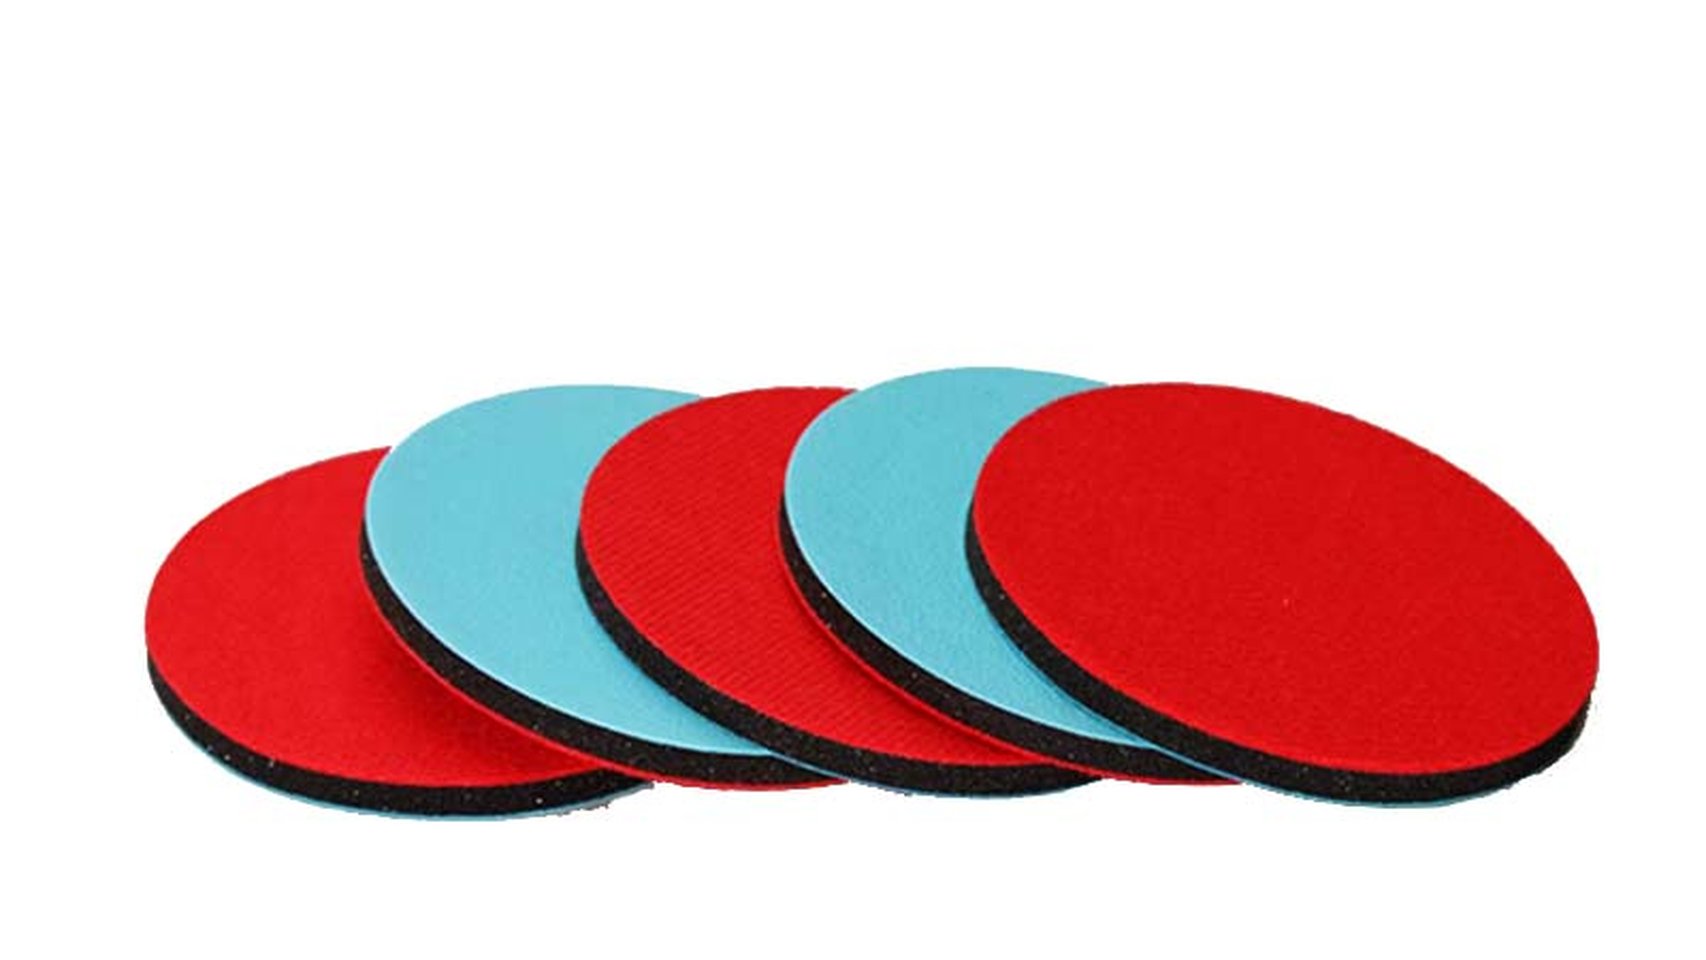
6. Begin polishing: Now the paint is truly clean—freely choose your polishing approach. Use DianYe J2 Water-Based Polishing Wax for scratches and oxidation, then J5 Mirror Finishing Agent for gloss enhancement, with corresponding foam pads to fully leverage water-based product advantages.
The complete process is interconnected—skipping any step affects final results. Clay bar and degreasing especially are the key dividing lines between “casual wipe-down” and “professional application.”
6. FAQ
6.1 Do new cars need clay bar?
Yes. New cars undergo transport and outdoor storage from factory to dealership, accumulating iron particles and industrial dust. One complete clay treatment after delivery sets a good foundation for subsequent care.
6.2 How often to clay bar?
Depends on driving environment. Urban commuters: every 3-4 months. Vehicles near industrial areas or frequent highway driving: every 2 months. Simple judgment: after washing, touch the paint—if it feels rough, it’s time.
6.3 Does clay bar damage paint?
With correct technique (adequate lubrication + proper pressure + frequent folding), detailing clay does not damage paint. Post-clay paint may show slight “clay marks” (very fine surface marks)—this is normal and removed in one polishing step. But without lubricant or with dirty unfolded clay, it will definitely damage paint.
6.4 Can I skip either clay bar or iron removal?
Not recommended. Iron remover handles chemical iron contamination; clay bar handles physical contaminants (industrial dust, tree sap, overspray, etc.). They complement rather than replace each other. Skipping either reduces final paint cleanliness.
Final Thoughts
Many consider pre-polish treatment “optional.” But in actual practice, the gap between vehicles with proper pre-treatment and those without is dramatically visible in final results.
Clay bar, iron removal, degreasing—these three seemingly minor steps are the foundation determining whether polishing results “max out.” Like building a house on a foundation—uneven ground means the building above won’t be stable no matter how beautifully constructed.
Next time before polishing, invest half an hour in proper pre-treatment and you’ll discover a qualitative improvement in results.