
Spot Polish or Full Car? An Experienced Detailer Explains with One Simple Chart
Many car owners and shops face this choice: only a small area of paint has issues—do you polish just that spot, or do the entire car?
A scratch on the door handle—will spot polishing cause color mismatch? Is full-car polishing too damaging to paint? What are the key differences between spot and panel polishing?
Today’s article uses one chart to clearly explain the differences, application scenarios, and key points for spot vs. panel polishing.
1. When to Spot Polish, When to Panel Polish
1.1 One Simple Judgment Standard
Remember one core principle: polish only where the problem is.
This principle comes from automotive body coating industry standards. It means: the standard approach is to also polish surrounding areas, but the correct principle is that polishing range should match the problem area—not “conveniently” treating paint that has no issues.
Why?
Because every polishing pass wears clear coat. The clear coat is the outermost transparent protective layer, only 50-150 microns thick (about 1/5 to 1/3 the thickness of an A4 paper). Polishing removes a tiny amount of this layer to achieve flatness.
Polish as little as possible—this is the basic logic of preserving factory paint.
1.2 When Spot Polishing Is Appropriate
Spot polishing (also called “spot grind and spot polish”) means only polishing the specific defective point after local grinding correction.
Scenarios suited for spot polishing:
| Scenario | Reason |
|---|---|
| Door handle scratches | High-frequency friction area, scratches concentrated on lower handle |
| Mirror edge scuffs | Small-area collision, only damages局部 paint |
| Emblem/letter edge scratches | Fingernail scratches from opening doors |
| Door crease line scratches | Raised edges prone to bumps |
| Fender局部 collision | Spot repainting after accident |
| Touch-up paint blending | Junction treatment between new and original paint |
Spot polishing advantages are clear: minimal paint loss, lowest cost, shortest time. Only treating problem areas, leaving good paint untouched.
1.3 When Panel Polishing Is Required
Panel polishing (also called “full grind and full polish”) means polishing the entire paint surface after full grinding.
Scenarios requiring panel polishing:
| Scenario | Reason |
|---|---|
| Full-car oxidation and dullness | Oxidation covers entire body |
| Whole panel color inconsistency | New vs. old paint or gloss differences between areas |
| Large-area swirl marks | Full paint damaged by washing tools |
| Preparing for coating | Protection needs absolutely flat paint surface |
| Full restoration leveling | Unified treatment after repainting |
The traditional approach is full-car polishing for any problem, but panel polishing’s costs are obvious: higher paint loss, higher cost, longer time. But if paint problems are inherently “global,” spot polishing can’t solve them.
1.4 Between the Two: Spot Grind, Panel Polish
There’s a third option called “spot grind, panel polish.”
Meaning:局部 areas need grinding correction, but after correction, the entire panel is polished together.
A typical scenario: newly sprayed paint has slight color or gloss mismatch with original paint—only one panel was painted (like the hood), and the new paint and surrounding old paint “don’t look like they belong together.”
Spot polishing the new paint would actually cause color mismatch. The correct approach is grinding correction followed by polishing the entire panel (the whole hood), blending new and old paint into unity.
2. One Chart Explaining Spot vs. Panel Polishing
| Comparison | Spot Polishing | Panel Polishing |
|---|---|---|
| Definition | Only problem area treated | Entire paint surface polished |
| Paint loss | Low, ~5-10μm/pass | High, ~5-10μm/pass (whole car) |
| Cost per session | Low (by area) | High (full car labor) |
| Work time | 30 min - 2 hours | 4-8 hours |
| Application | Local scratches, spot damage | Full-car oxidation, color inconsistency |
| Mismatch risk | Risk exists (poor edge blending visible) | No mismatch (uniform treatment) |
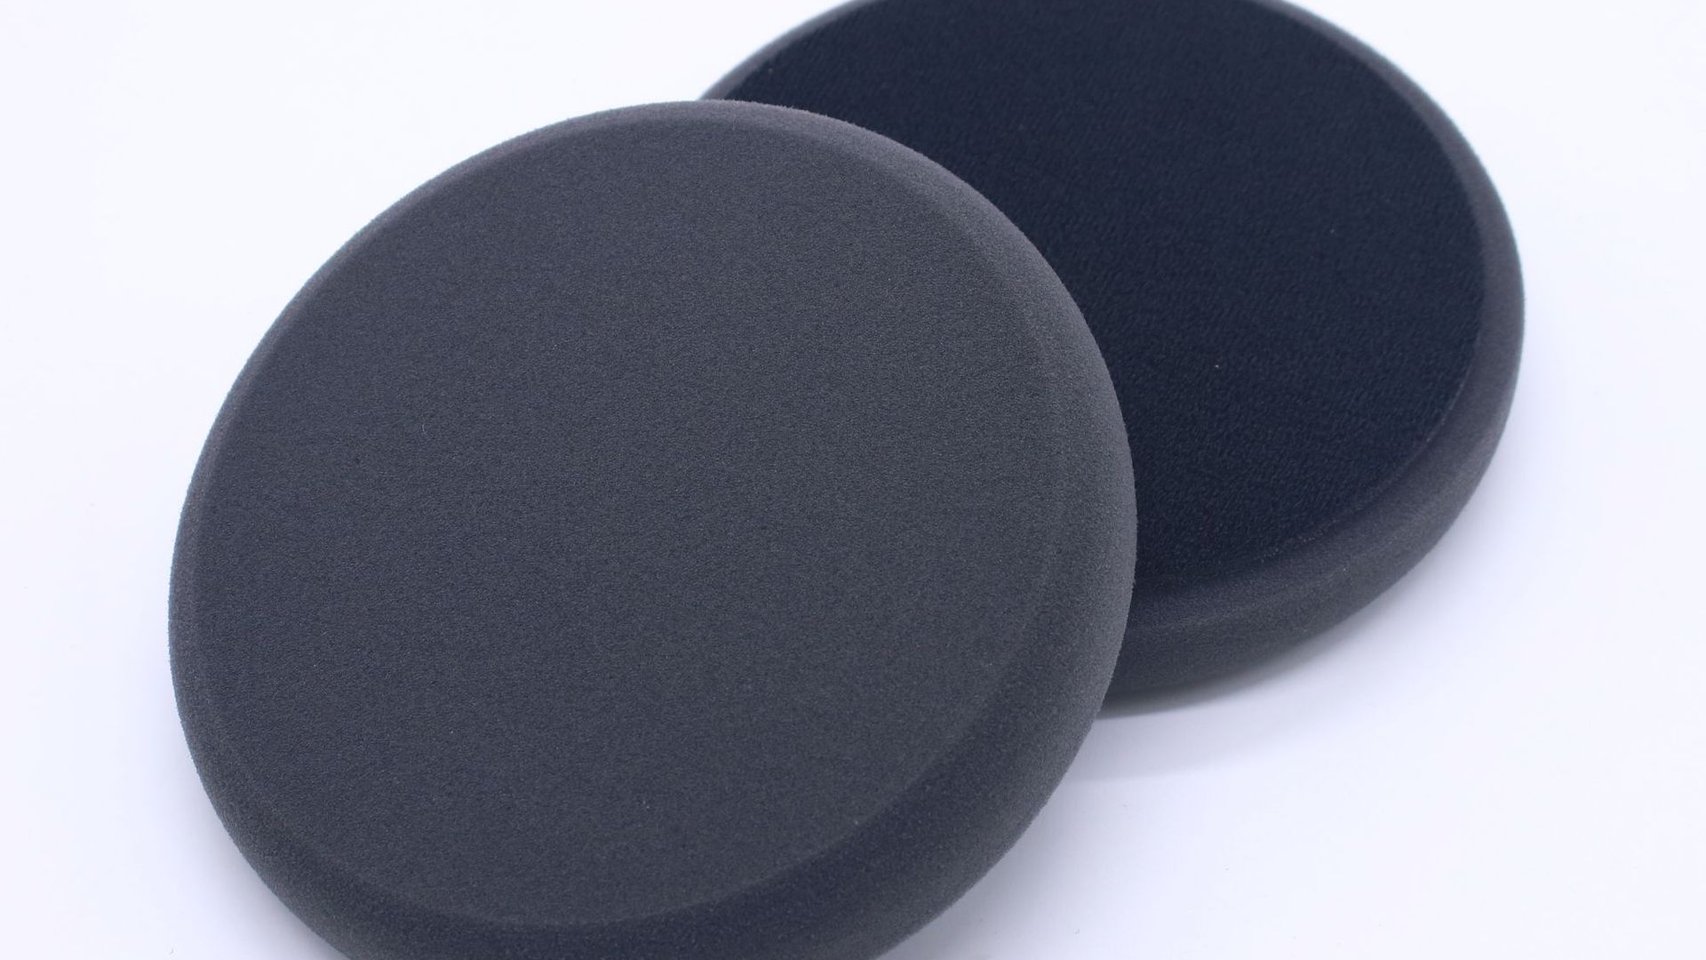
| Recommended tools | 3” small polishing pad | 5-6” standard pad |
| Difficulty | Higher (edge blending difficult) | Lower (flat surface operation) |
3. Correct Spot Polishing Method
3.1 Must Use Small Polishing Pads
The biggest tool difference between spot and panel polishing: pad size.
Panel polishing uses 5” or 6” pads because large flat areas need efficiency. Small pads on large areas are slow and produce poor edge blending.
But spot polishing must use 3” small pads.
Why?
Door handles, mirror edges, and emblems have: high curvature, narrow space, and many edges. A 6” pad simply can’t reach in—forcing it causes “boundary violation”—polishing good paint that had no problems.
3” small pads precisely conform to irregular contours, treating only the problem area.
3.2 Speed Must Be Reduced
Spot polishing has smaller pad-to-paint contact area—friction heat is more concentrated. Using the same speed as panel polishing causes faster local temperature rise, increasing burn risk.
Correct approach: 1-2 gears lower than panel speed.
Specifically:
- Panel coarse: typically 1500-1800 rpm
- Spot polish: reduce to 1200-1500 rpm
3.3 Masking Is Mandatory
Before spot polishing, surrounding areas must be masked with painter’s tape.
Masking serves two purposes:
- Prevent accidental polishing: Pad edge contacts good paint
- Mark boundaries: Operator knows clearly “where to stop”
Masking film should extend 2-3 cm beyond problem area edges, leaving room for polishing transition.
3.4 Post-Polish Blending Is Required
The biggest fear in spot polishing: color mismatch and gloss transition lines.
If you only polish a small spot on the door handle, the polished area is mirror-bright while surrounding paint is dull—immediately obvious that “something was done here.”
Solution: After polishing, use fine compound to lightly pass over the entire panel (like the whole door), blending gloss naturally between new and old paint.
4. Areas That Must Use Spot Polishing
These areas can only be spot polished—panel polishing with large pads causes problems:
4.1 Door Handles
Door handles are scratch hotspots—fingernails, keys, rings all leave marks here.
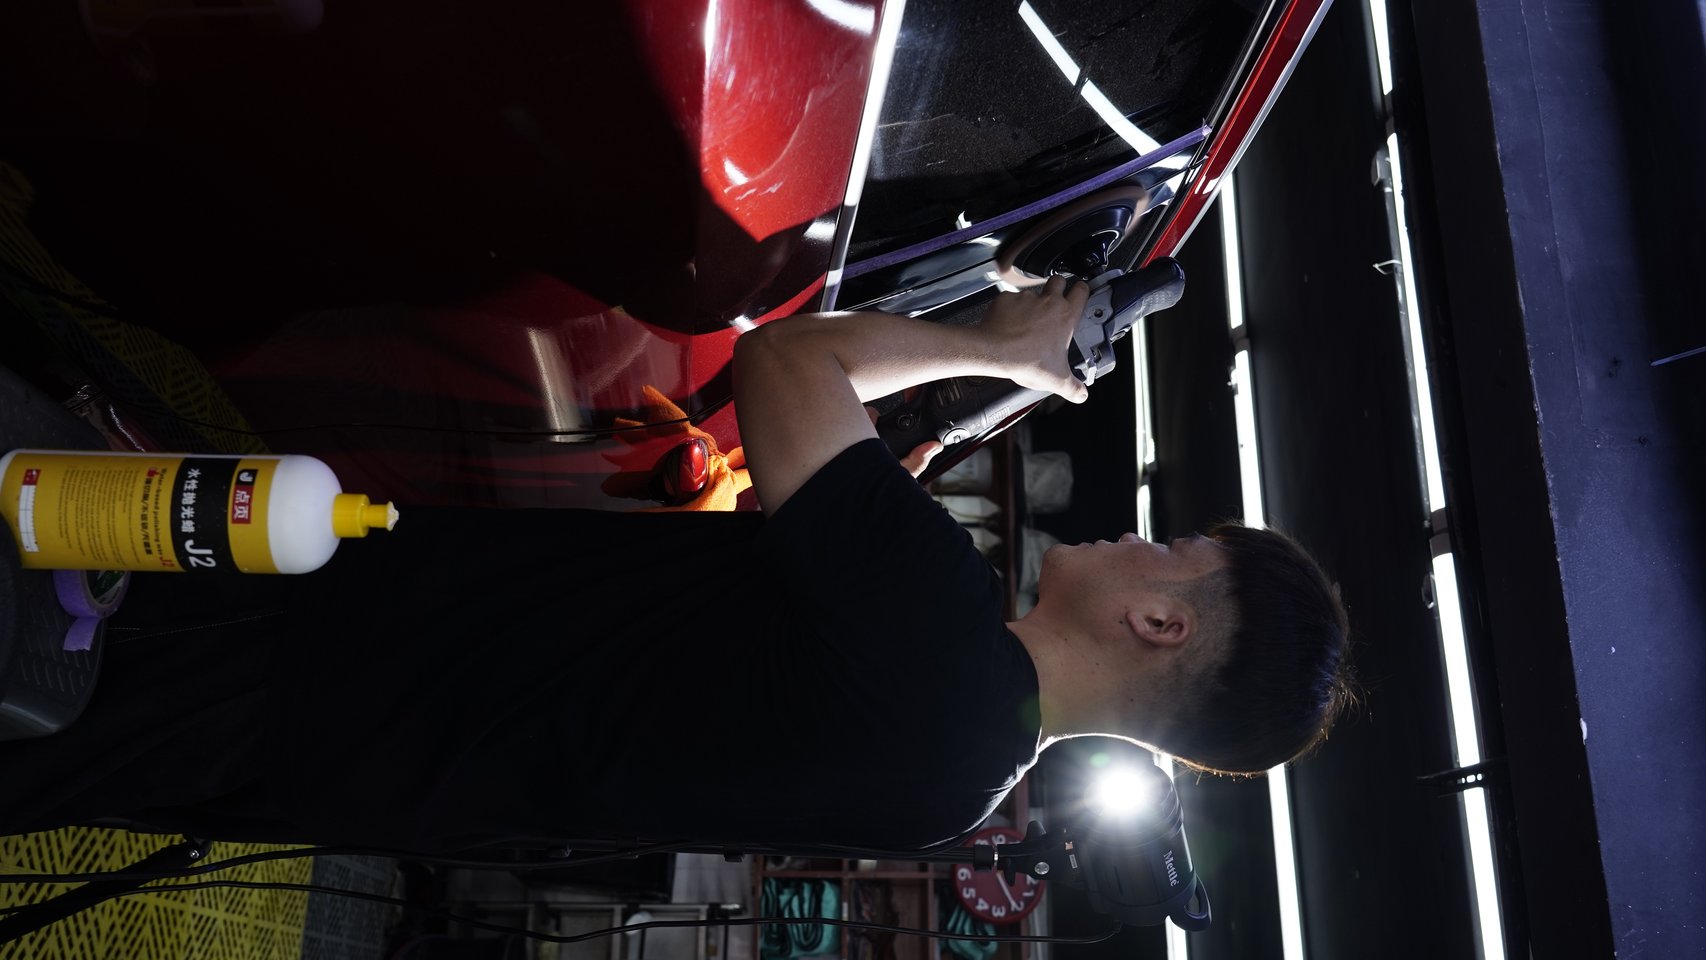
Door handles have many curves, small areas, complex edges. Use 3” small pad at low speed with DianYe J2 Water-Based Polishing Wax, treating each scratch individually, then overall fine compound pass for blending.
4.2 Emblems and Letters
Paint around car logos and letters is very thin, and metal/plastic material differs from car paint. Direct pad contact easily polishes onto the emblem itself.
Correct approach: Wrap the emblem completely with masking tape—polishing pad must not contact the emblem at all. If scratches exist around the emblem, only treat paint portions—never polish the emblem itself.
4.3 Door Crease Lines
The raised ridge along the middle of a door is the “crease line”—a structural feature. Paint angles differ on both sides of the crease; large pads easily “cross the line.”
Key technique: Small pad for crease line scratches first, then fine compound for overall blending.
4.4 Plastic Bumpers
Bumpers are plastic—hardness completely different from metal paint.
Plastic parts require light polishing, low speed, soft pad throughout. Regular oily coarse compound is a major no-no here. Use ultra-fine foam pad + fine compound—no need for and no tolerance of coarse compound or heavy pressure.
If bumper scratches are too deep for polishing, plastic filler must be applied before repainting.
5. Full-Car Polishing Standard Process
If your car truly needs full-car polishing (full-car oxidation, preparing for coating, etc.), here’s the standard process:
5.1 Cleaning and Diagnosis
- Thoroughly wash the car, removing surface mud
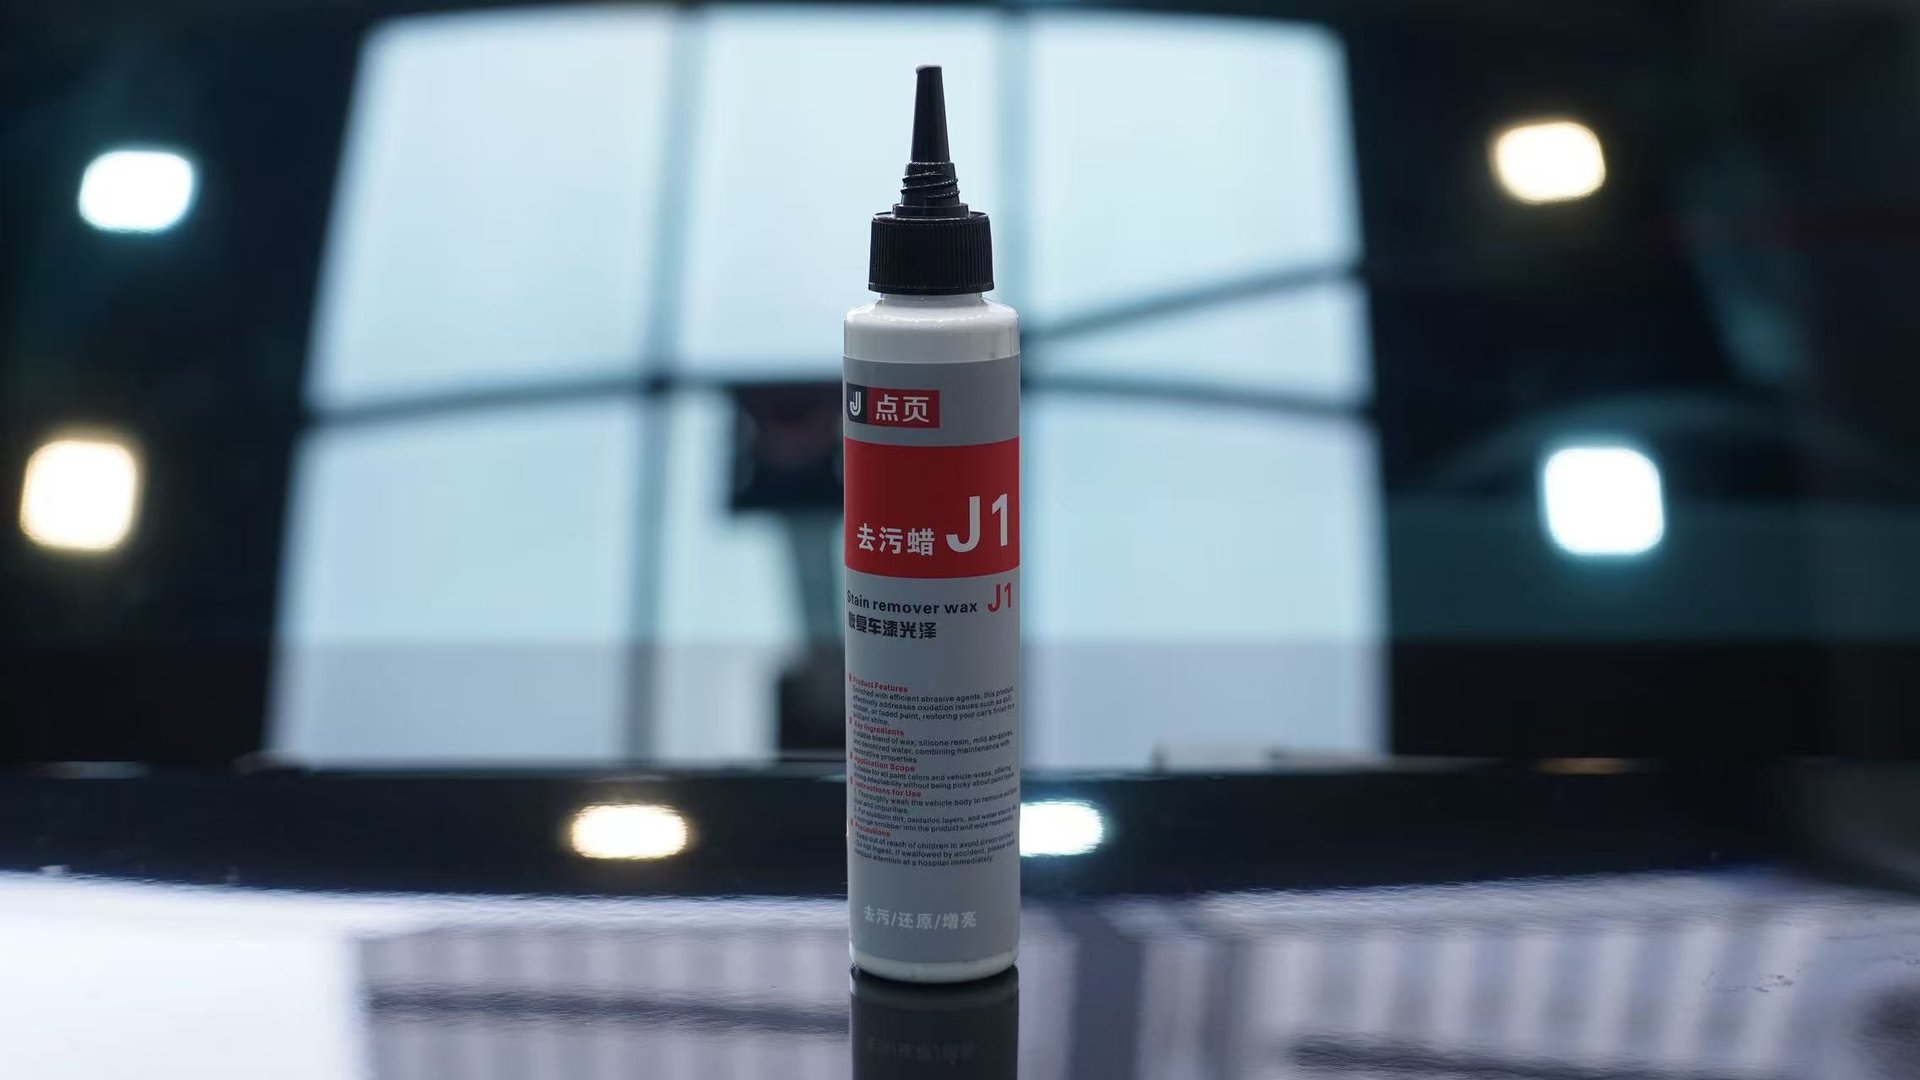
- Clay bar treatment to remove iron particles and stubborn contaminants
- Degreasing inspection to ensure absolute cleanliness
- Strong flashlight inspection of entire car, documenting scratch distribution and paint condition
5.2 Area Division and Masking
Divide the body into sections: hood, roof, doors, trunk, fenders, bumpers.
Each section’s paint condition differs, requiring different polishing approaches.
Mask emblems, seals, headlights, taillights, and other non-polishable areas.
5.3 Graded Polishing
Coarse (water-based polishing wax + short wool pad): Heavy oxidation and deep scratches, 1500-1800 rpm.
Fine (water-based polishing wax + fine foam pad): Coarse pad marks, enhanced brightness, 1200-1500 rpm.
Finishing (mirror finishing agent + soft foam pad): Eliminate fine holograms, achieve mirror effect, 1000-1200 rpm.
Each section must be completed individually before moving to the next, preventing paint overheating.
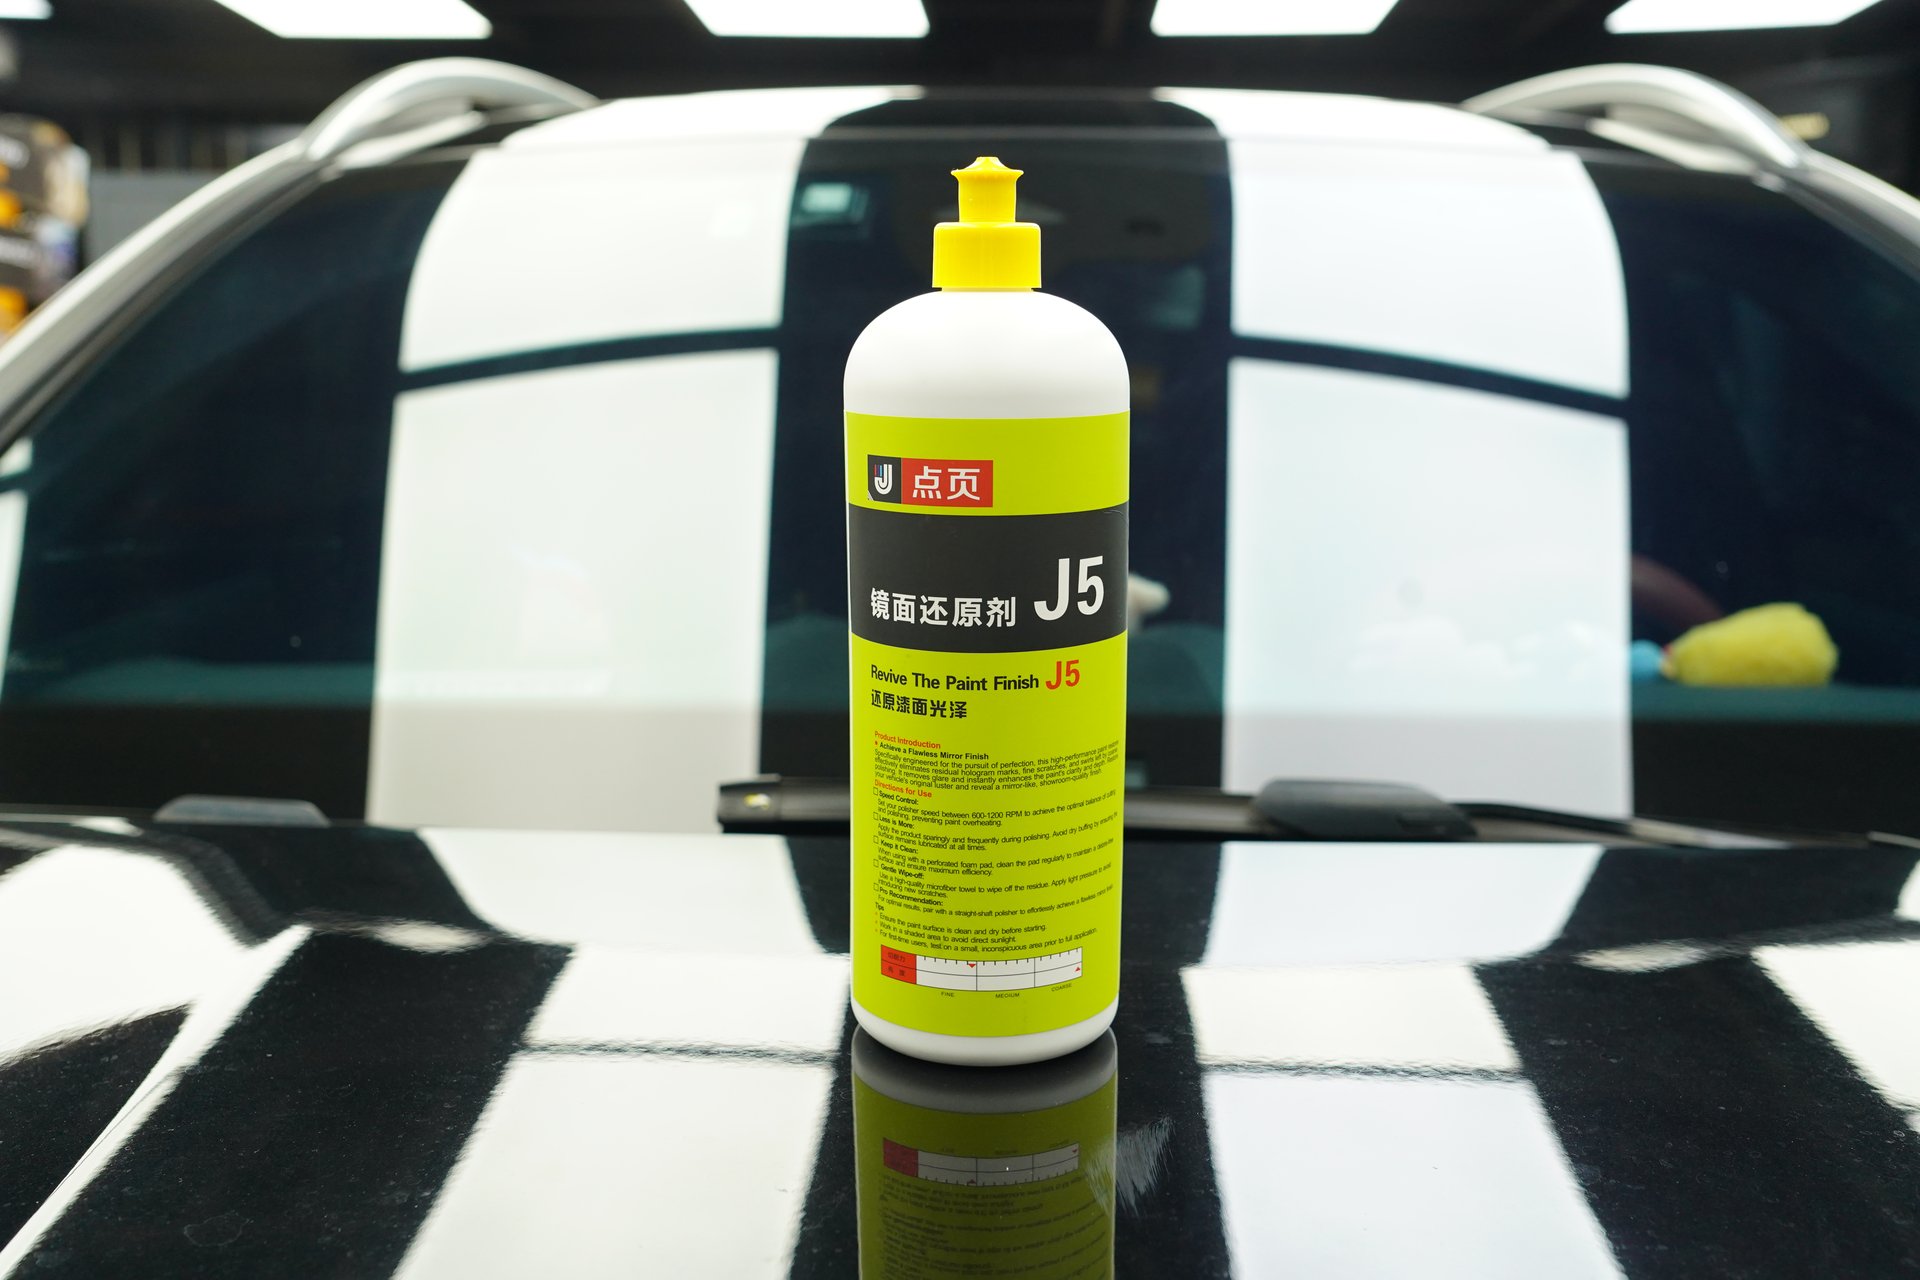
DianYe J2 + J5 combination handles the full range from coarse to fine—J2 handles cutting and brightening, J5 handles final refinement. Together they achieve near-water-clear transparency.
5.4 Inspection and Protection
After polishing, use LED strong flashlight at 30-45 degree angle to check for residual holograms or missed areas.
Once confirmed, immediately apply protection (wax or coating). Post-polish clear coat is “naked”—without protection it oxidizes quickly.
6. Hard Limits on Polishing Frequency
6.1 Full-Car Polishing Should Not Exceed 5 Times
This is industry experience.
Factory clear coat thickness is approximately 50-150 microns (varies by model and paint process). Each full-car polish removes approximately 5-10 microns.
After 5 polishes, clear coat loses 25-50 microns—approximately 1/3 to 1/2 of the clear coat.
Beyond this, paint noticeably thins, losing gloss and contamination resistance. Subsequent wax and coating effectiveness also drops significantly.
6.2 Spot Polish Frequency Limits
Spot polishing causes relatively less paint loss since it only treats局部 areas.
But note: repeated spot polishing on the same location must also be controlled. If the same door handle is repeatedly scratched and polished, clear coat progressively thins.
Recommend no more than 3 spot polishes on the same location. If scratches persist beyond 3 sessions, this area may need alternative treatment (touch-up paint, PPF) rather than continued polishing.
7. Summary
Spot and panel polishing have no absolute good or bad—only “is it appropriate.”
Remember the key points from the chart:
Problems solvable by spot polishing—don’t panel polish—minimal paint loss.
Problems requiring panel polishing—don’t cut costs—local treatment can’t solve global issues.
Spot polishing key points: small pad, low speed, masking, blending—standard professional operation.
Polishing frequency has limits—protecting factory paint is the bottom line.
If unsure whether your car needs spot or panel polishing, start with paint diagnosis—use a strong flashlight to check scratch distribution and paint condition, then decide. Scratches only local? Spot polish. Oxidation or damage is global? Panel polish.
Product selection matters equally. Water-based polishing wax and mirror finishing agent combinations achieve ideal results while protecting paint—the basic principle applying to both spot and panel polishing.