

7 Most Common Polishing Beginner Mistakes — #3 Has the Highest Car-Damage Rate
Many beginners try their first polish full of confidence, picking up the machine—only to leave the paint a mess: swirl marks, holograms, buffer trails, or even burned-through clear coat. Wrong polishing compound, wrong machine settings—these are common beginner pitfalls. Today we systematically review the 7 most common beginner mistakes to see how many you’ve fallen for.
1. Not Assessing Paint Condition Before Starting
This is the first mistake 90% of beginners make.
Receiving a car and seeing scratches, many people’s reaction is “find a compound and grind it.” But paint problems have different grades—professional auto detailing is about targeted treatment.
Light problems: Surface oxidation and gloss loss—hazy from distance, no obvious scratches. No need for coarse polishing at all—mirror finishing agent with light refinement suffices.
Moderate problems: Visible swirl marks, holograms, light scratches visible. Needs one coarse pass to remove scratch layer, then finishing agent for gloss.
Heavy problems: Severe oxidation cracking, obvious orange peel, clear coat damaged. Professional treatment recommended—don’t force DIY.
Why so specific? Each polishing pass consumes approximately 2-3 microns of clear coat. Factory clear coat is about 30-50 microns—not seemingly much, but in practice you should minimize polishing passes. You might think a few extra passes don’t matter, but cumulative thinning becomes significant over time. Light paint restoration can be handled with finishing products directly—don’t go for the harshest option first.
The most common beginner error: using coarse-grit products for any scratch. Coarse grit has strong cutting power—using it on light scratches over-polishes the clear coat, causing unnecessary damage.
Correct approach: Before each polish, touch and visually inspect to determine problem grade, then choose products. Light problems: refine directly. Moderate: coarse + refine. Heavy: professional shop recommended.
2. Speed Set Too High
This is the mistake with the highest car-damage rate, bar none.
Many beginners have a misconception: higher polisher speed equals better results. Completely wrong. Polisher speed must be precisely matched to pad, compound, and paint condition—not the higher the better.
When paint temperature exceeds 60°C, clear coat softens and deforms; above 65°C, irreversible damage occurs. In plain terms: paint burning. This thermal damage is the most feared in paint restoration—far more trouble to fix than regular scratches.
Correct RO machine parameters:
- Coarse stage: 1500-1800 rpm
- Finishing stage: 600-800 rpm
Correct DA machine parameters:
- Coarse stage: 4000-5000 rpm
- Finishing stage: 2000-2500 rpm
An experienced driver shared his story: first time polishing a white BMW 3 Series, the shop manager said “take it easy, beginner practice.” He cranked speed to 6000 rpm and停留 about 5 seconds in one spot—burned straight through the clear coat. The customer claimed damages; three months’ salary was deducted. This is a classic speed control failure causing paint damage.
Correct approach: One hand on the machine, the other constantly feeling paint temperature. If it feels hot, stop immediately for cooling. Don’t stay in one spot for more than 3 seconds. For fine finishing products especially, control speed—high temperature degrades product performance.
3. Using One Pad for Everything
This is the second most common mistake, with damage severity second only to paint burning.
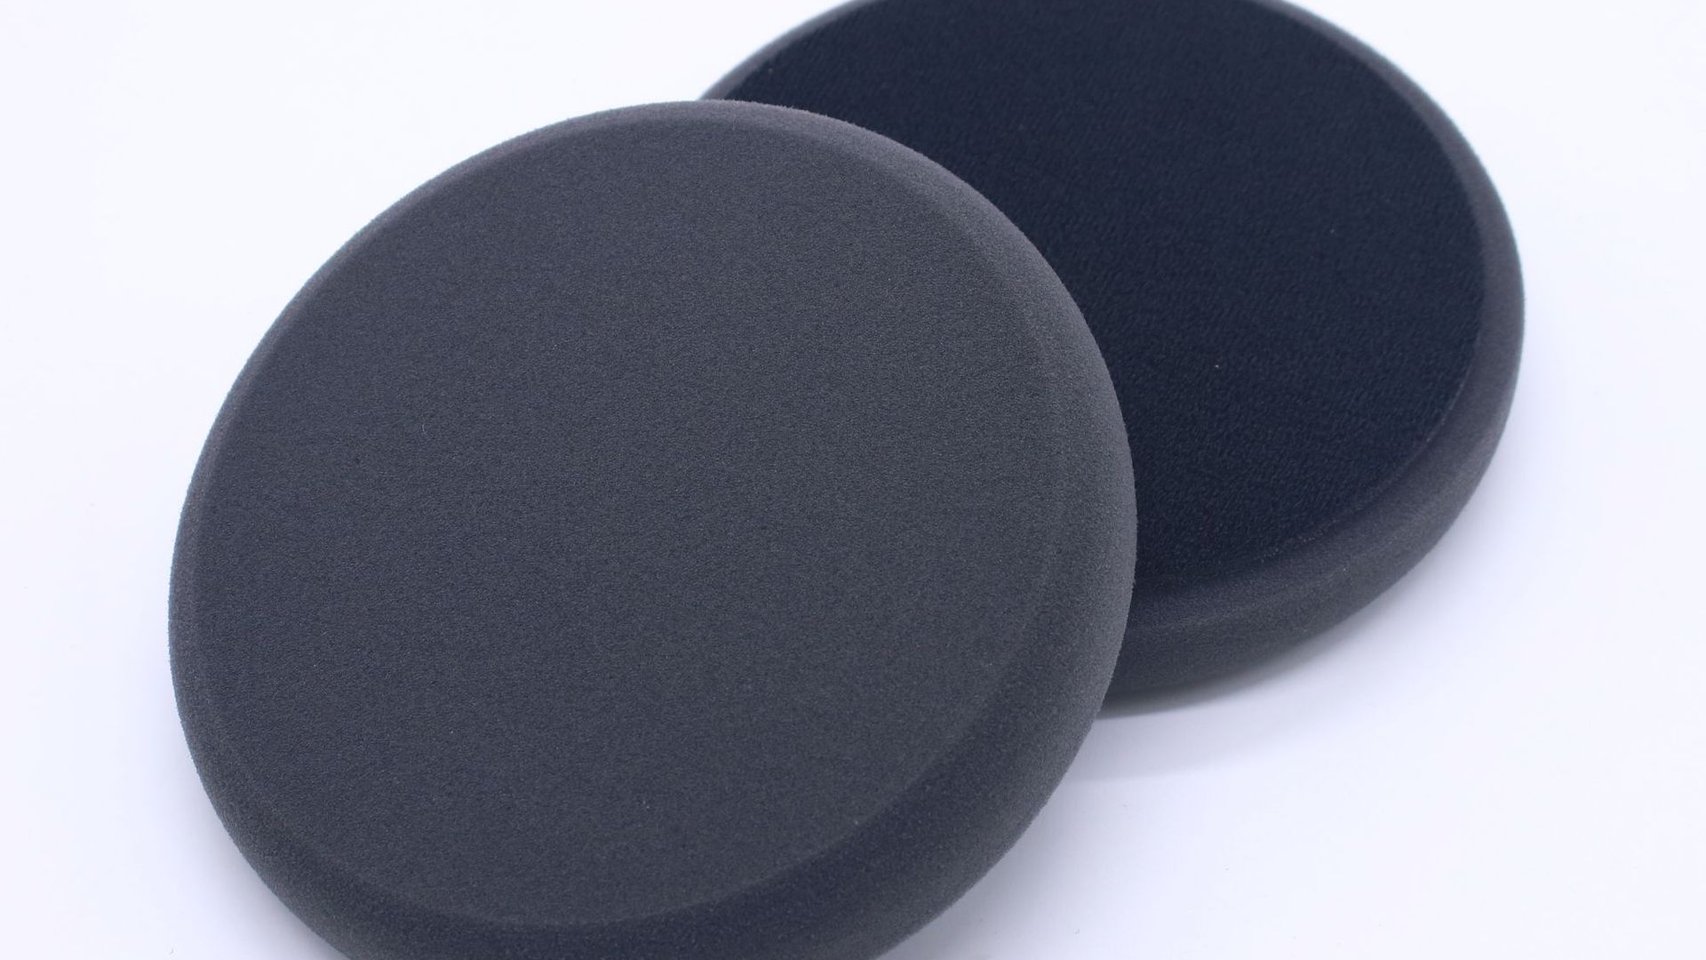
Polishing has three main stages, each requiring different pad types—this is paint care basics:
Wool pad: Strong cutting power, for coarse polishing to remove deep scratches and oxidation.
Foam pad (coarse): Medium cutting, for transition treatment.
Foam pad (fine): Nearly no cutting, for finishing and brightening.
The most common beginner error: one pad from start to finish. Coarse scratches can’t be removed by fine pads; fine polishing with coarse pads creates new scratches. It’s wasted effort and potentially more serious damage.
Even worse is cross-contamination: switching from wool pad directly to finishing stage, residual coarse particles destroy your finishing results.
Correct approach: Different stages require different pads. Prepare at least three pads for coarse, medium, and finishing respectively. Replace when dirty—don’t reuse for convenience.
4. Pressing Too Hard on the Pad
This mistake seems minor but has serious consequences.
Many beginners think pressing harder produces better results—exactly the opposite. Excessive pressure tilts the pad, creating edge pressure that causes holograms and buffer trails.
What are holograms? The polished area is bright in center but dark at edges, looking like a circle. Buffer trails are another issue: rainbow-colored patterns appearing on paint under light. Both problems, once formed, are harder to fix than the original scratches. This secondary damage is what auto detailers fear most.
Correct approach:
- Rest lightly on the paint—let machine self-weight provide pressure
- Keep pad completely parallel to paint surface
- Move at steady pace, don’t停留 at any point
- Movement speed approximately 20-30 cm per second
For fine finishing products especially, light pressure is critical since cutting force is gentle—results depend on speed and movement for finishing effect.
5. Polishing Too Large an Area at Once
Many beginners chase efficiency, treating large areas at once, hoping to finish the whole car in half an hour.
This has two serious problems:
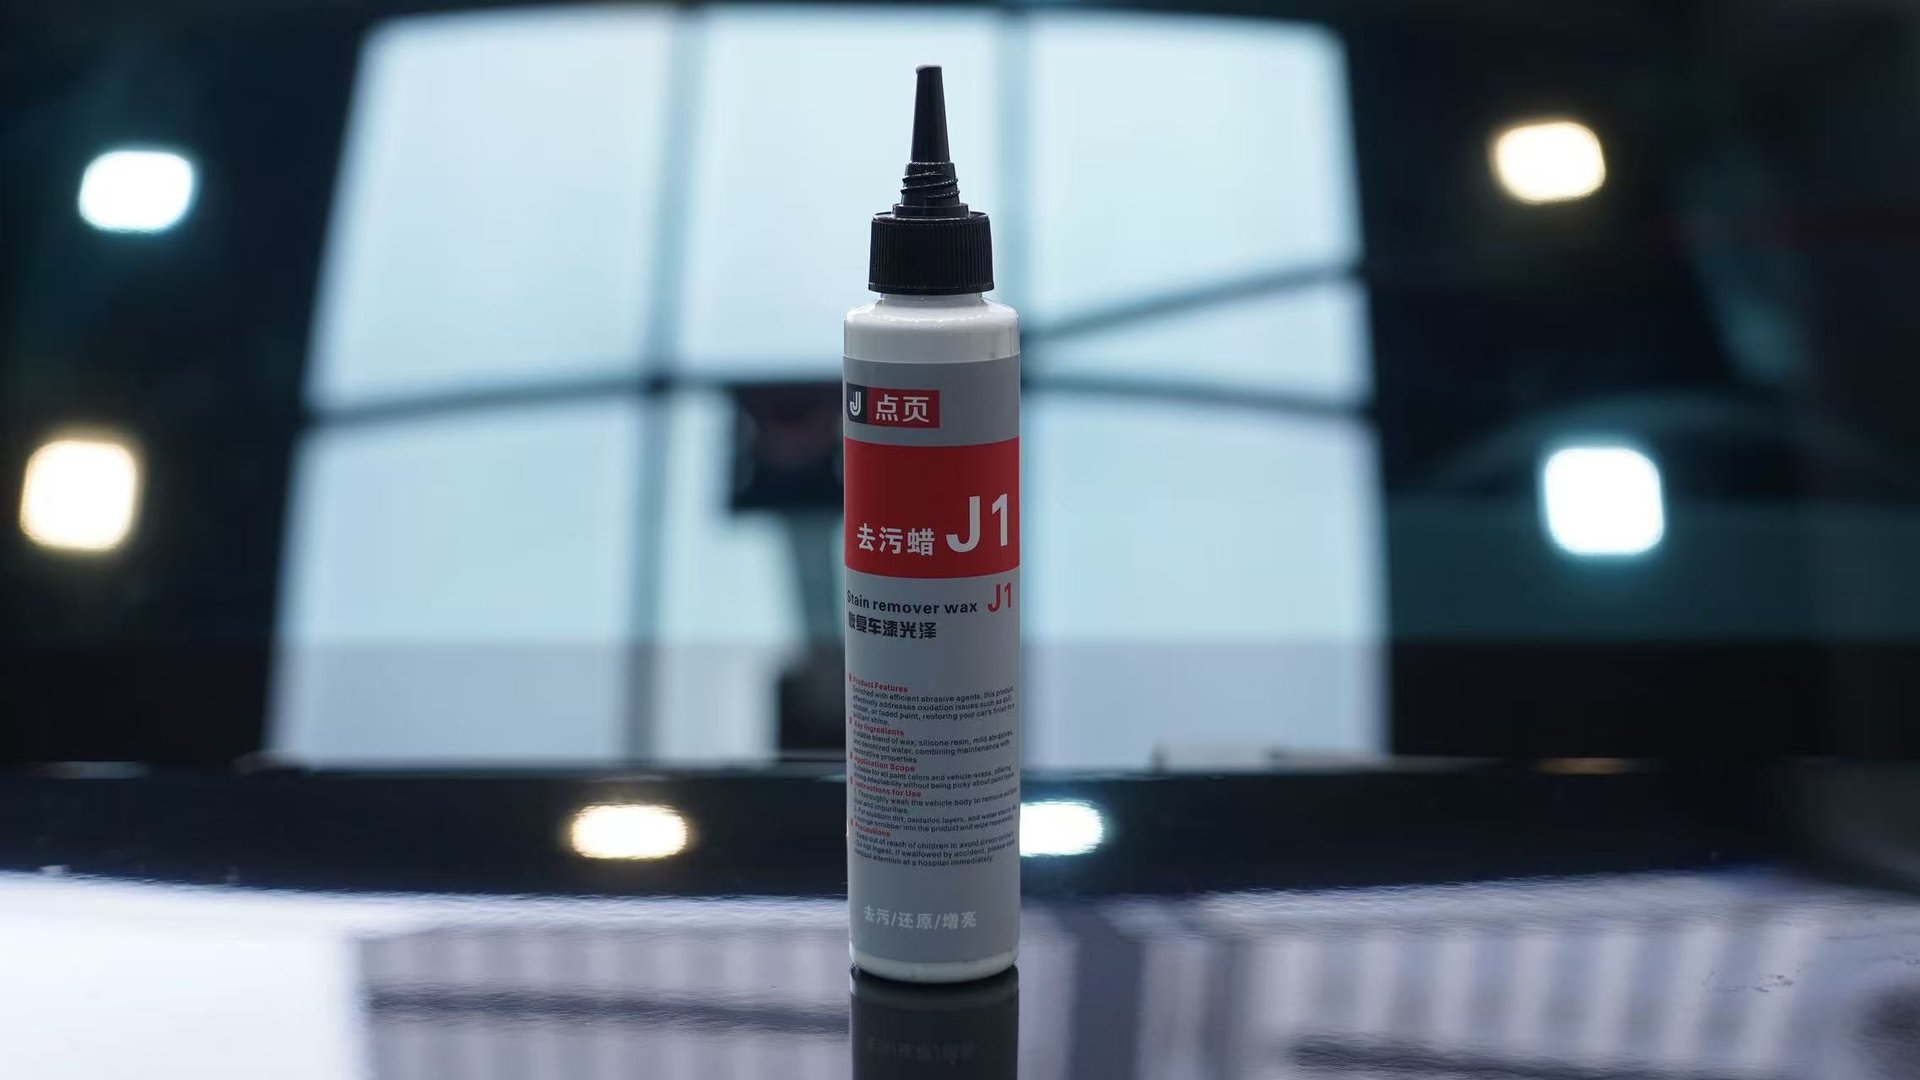
First, compound dries and can’t be wiped off. Polishing products dry quickly—typically 5-10 minutes before curing begins. Once dried into film, towel wiping leaves stains requiring dedicated wax remover to clean.
Second, local overheating. During large-area work, front sections haven’t cooled while back sections are still being polished, causing heat accumulation damage. Scratch restoration demands patience—small sections ensure quality.
Correct approach: Each session covers 40×40 cm to 50×50 cm. After each section, wipe clean and inspect results before proceeding to the next.
Beginners should start with small areas like a hood, advancing to the full body only after gaining experience.
6. Confusing Compound and Polishing Wax Order
This is a theoretical error—many beginners don’t even know there’s a specific order.
Standard polishing sequence: Compound → Polishing Wax → Finishing Agent
Compound: Coarse grit (800-2000), primarily for removing deep scratches, oxidation, and old paint layers. Strong cutting, leaves new micro-scratches.
Polishing wax: Fine grit (2000+), for fine refinement and brightening, eliminating fine traces from compound.
Finishing agent: Nano-grade abrasives (approximately 0.3-micron particle size), for final mirror finishing, achieving reflective effect.
Many beginners grab products without regard for order, using polishing wax as compound—result: insufficient cutting power, can’t handle deep scratches, wasted time and effort.
Others use compound as finishing agent—result: too aggressive, creating new scratches on previously fine areas. This type of paint restoration error is more trouble to fix than the original problem.
Correct approach: Choose products based on scratch depth, treating from coarse to fine sequentially. Light scratches: skip compound, refine directly. Moderate: coarse + refine. Heavy: professional treatment recommended.
7. Skipping Degreasing Before Protection
This is the most easily overlooked pre-step.
After polishing, many beginners think the job is done and wax immediately. But post-polish paint retains compound particles and oils on the surface. Waxing without degreasing seriously affects wax effectiveness and durability. This is basic paint care procedure but many beginners don’t know.
Degreasing serves three purposes:
First, residue removal. Compounds and polishing waxes leave fine particles and oils. Degreasing thoroughly removes these residues.
Second, result verification. Degreasing is the “truth mirror”—it reveals true paint condition. If paint remains bright after degreasing, the polishing result is real; if hazy appears, surface fillers were creating an illusion.
Third, adhesion enhancement. Degreased paint is cleaner—wax and coating adhesion greatly improves, providing more durable protection.
Correct approach: After polishing, use professional degreaser for thorough paint cleaning. Dry before waxing or coating. Complete protection within 1 hour of degreasing to prevent exposed paint from absorbing new contaminants.
8. What Products Are Best for Beginners?
After covering so many mistakes, some owners may be hesitant to try. But with the right products, beginners can polish safely.
Core principle: “fine first, coarse only if needed, fine whenever possible.” This is old industry wisdom, applicable in all situations.
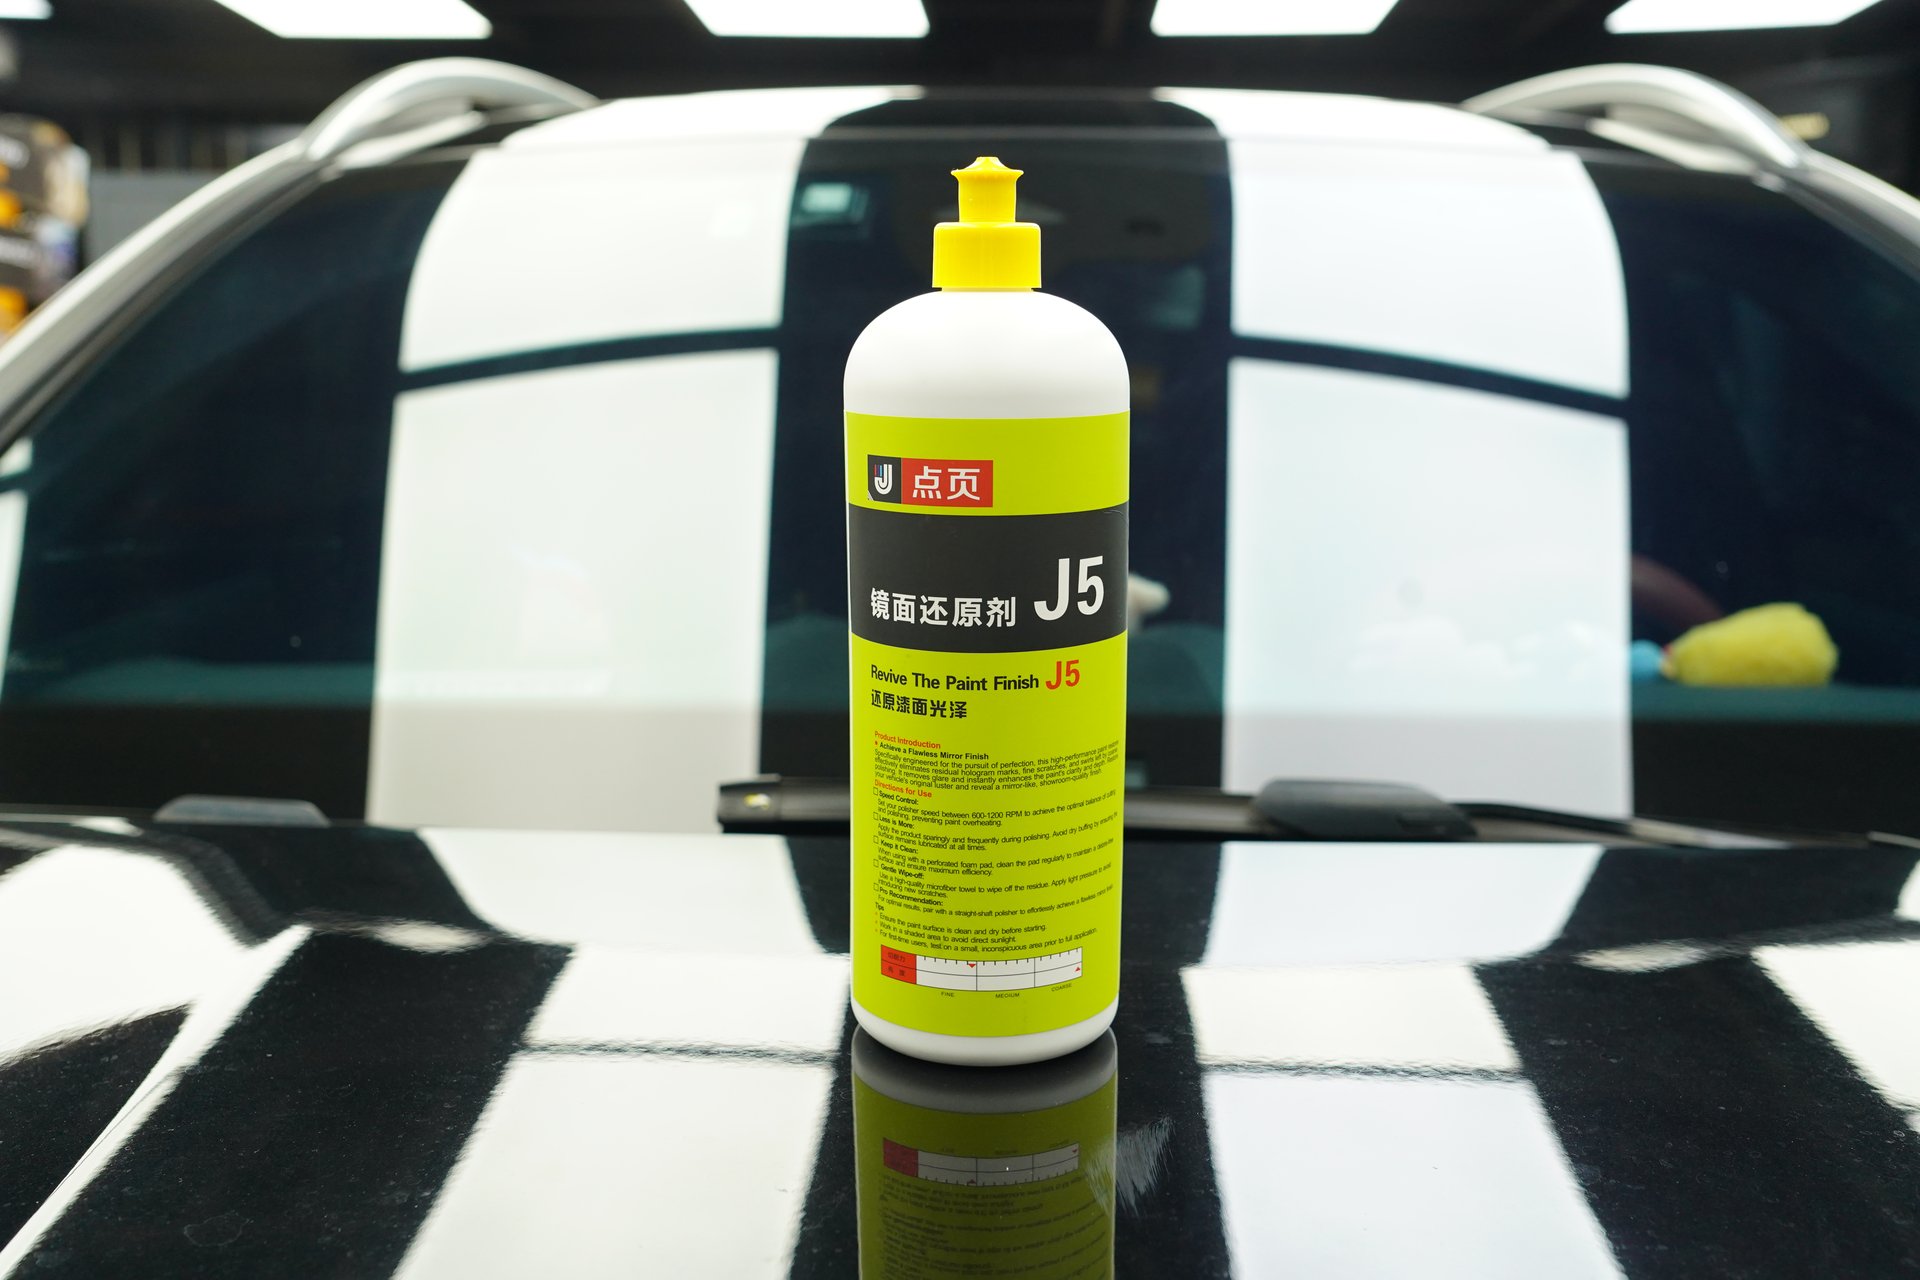
For light scratches and daily care, J5 Mirror Finishing Agent is the first choice. J5’s abrasive particles are only about 0.3 microns—very gentle cutting. Paired with quality car polishing wax, beginners achieve good finishing results.
For moderate scratches, J2 Water-Based Polishing Wax is the appropriate choice. J2 uses pure water-based formula with clear advantages over traditional oily compounds:
- No filling silicone oil—no fallback after degreasing
- Real cutting power—doesn’t mask problems
- Residue easy to remove—no stains
- More beginner-friendly with higher margin for error
Many beginners achieve good results with the right product on first try—the key is controlling speed and pressure. Choose the right product and paint restoration is half accomplished.
9. Post-Polishing Care Recommendations
Completing the polish is only step one—subsequent care determines how long results last.
Waxing frequency:
- Normal environment: every 2-3 months
- Outdoor parking, rainy regions: every 1-2 months
- New cars: factory wax protection, no wax needed for 3-6 months
Judging if wax is needed: Touch the car body—if it feels rough and dry, the wax layer is depleted and needs replenishing.
Wax vs. coating choice:
- Wax: 15-45 day durability, DIY-friendly, 50-200 RMB
- Coating: 6-18 month durability, requires professional application, 800-2000 RMB
For daily care, waxing suffices. For long-term protection with adequate budget, consider coating. Auto detailing is a system—polishing is one part; subsequent care is equally important.
Summary
Polishing isn’t rocket science, but details determine success or failure. Remember these 7 mistakes and beginners can polish safely:
- Assess paint before choosing products
- Speed isn’t the higher the better
- Different stages, different pads
- Rest lightly on the paint
- Small sections—don’t be greedy
- Compound → polishing wax → finishing agent order must be followed
- Degreasing after polishing is mandatory
Polishing requires patience—slower and more meticulous often produces better results. Choose the right products with correct methods, and beginners can achieve professional-grade polishing results.