

Introduction
“How many times can I polish my car paint?” This is the question I get asked most often.
Many car owners, after seeing their paint look brand new after the first polish, assume a few more polishes won’t hurt. Others have driven their cars for five or six years, polishing thinner and thinner, only to regret it when the base coat is finally exposed.
In reality, car paint is not an infinitely renewable resource. The factory clear coat has a fixed thickness, and each polishing removes a layer — once it’s gone, it’s gone. Today’s article uses real data to clarify: how many more times your paint can be polished, why you shouldn’t over-polish, and how to determine when polishing is actually needed.
1. Understanding Paint Structure: Why Polishing Affects Your Paint
1.1 The Four-Layer Structure of Car Paint
Factory car paint is far more complex than a single layer — it consists of a composite four-layer structure:
Electrocoat Layer (anti-rust primer): Applied via electrophoretic deposition after the body panel is phosphated. Its primary function is corrosion prevention.
Primer Layer (bonding coat): Located between the electrocoat and basecoat, it enhances adhesion and provides impact resistance.
Basecoat Layer (color layer): The layer that determines your car’s color.
Clear Coat Layer (outermost layer): A colorless, transparent protective coating. When we talk about “polishing,” this is the layer we’re primarily working on.
The clear coat is the outermost protective barrier of your paint, directly facing UV rays, acid rain, bird droppings, and tree sap. Its thickness directly determines how many more times your paint can be “worked on.”
1.2 What Polishing Does to the Clear Coat
Polishing is essentially physical abrasion: the polishing pad, combined with abrasive compound, friction against the clear coat surface under rotational speed and pressure to remove oxidation and fine scratches. This process “thins” rather than “fills.” In the auto detailing industry, professional abrasive compounds for paint correction come in coarse, medium, and fine grades, each corresponding to different polishing stages — coarse compounds remove oxidation and deep scratches, medium compounds are used for refining and brightening, and fine compounds are used for the final mirror finish restoration.
Each polishing removes a layer of material from the clear coat surface. Under proper technique, 1-3μm is removed; aggressive polishing can remove 10-20μm in a single pass — nearly a 10x difference.
Think of the clear coat like your fingernails — trim a little, and it’s gone a little. It doesn’t grow back.
2. Key Data: How Thick Is the Clear Coat Really?
2.1 Clear Coat Thickness by Vehicle Type
This is the most commonly asked question. Factory clear coat thickness varies depending on the vehicle model, manufacturer, and production batch:
| Vehicle Type | Clear Coat Thickness Range | Typical Examples |
|---|---|---|
| Japanese thin-paint vehicles | 25-35μm | Toyota Corolla, Honda Fit, Nissan Sylphy |
| Medium thickness vehicles | 35-50μm | Volkswagen Golf, Ford Focus |
| German thick-paint vehicles | 40-60μm | BMW 3 Series, Audi A4, Mercedes C-Class |
| Premium vehicles | 50-80μm | Porsche, Land Rover, Jaguar |
Note: μm (micrometer) is a unit of length where 1μm = 0.001mm. The diameter of a human hair is approximately 70μm.
2.2 How Much Is Removed per Polishing
This data is critical as it determines how much “balance” your paint has left:
| Polishing Method | Material Removed per Pass | Impact |
|---|---|---|
| Proper technique (fine compound + low speed + correct pressure) | 1-3μm | Safe range, manageable impact |
| Coarse cut + high speed (professional technician) | 5-8μm | Frequency must be strictly controlled |
| Aggressive polishing (coarse compound + high speed + heavy pressure) | 10-20μm | Excessive damage per pass |
Many roadside shop polishing jobs remove over 10μm per pass — you spend a few hundred bucks on polishing, but you’re actually “borrowing against” your paint’s lifespan. As an auto detailing professional, I always recommend car owners choose professional-grade car polishing wax products, such as DianYe J2 Water-Based Polishing Wax, which features a gentle formula with precise cutting ability. Under proper technique, material removal is controlled, resulting in less clear coat damage.
2.3 How Many Polishes Can a Car Handle?
Based on industry data and multiple source verification, the safe number of full paint polishes is limited:
| Clear Coat Thickness | Maximum Safe Polish Count | Notes |
|---|---|---|
| Japanese thin paint (25-35μm) | 4-6 times | Extra caution required each time |
| Medium thickness (35-50μm) | 6-8 times | Standard data |
| German thick paint (40-60μm) | 6-10 times | Relatively forgiving |
| Premium vehicles (50-80μm) | 8-12 times | Thicker clear coat, but still limited |
These counts refer to “full car polishing.” If only spot polishing specific scratch areas, the material removal is much lower — which is why professional technicians recommend “spot polish whenever possible instead of full car polish.”
3. Decision Criteria: When to Polish and When Not To
3.1 When Polishing Is Recommended
When your paint shows the following conditions, polishing intervention is genuinely needed:
Overall dull, lost gloss: Paint looks flat even after washing and waxing, with no mirror-like reflection in sunlight. This usually indicates oxidation has built up to a level that regular cleaning cannot restore.
Dense shallow scratch patterns: Swirl marks visible in sunlight, or fine hairline scratches distributed across the hood and roof. These cannot be removed by wiping with a damp cloth.
Stubborn stain penetration: Tree sap marks, bird dropping stains, or water spots that have penetrated the clear coat and cannot be removed after multiple attempts with professional cleaners.
Severe orange peel: After repainting, significant orange peel texture affects appearance and further paint correction.
3.2 When to Postpone or Avoid Polishing
New cars within the first 2-3 years: The factory clear coat is in optimal condition — regular waxing is sufficient. Premature polishing wastes valuable “polishing budget.”
Clear coat thickness below safe threshold: Use a paint thickness gauge. When thickness reads below 30μm, polishing is strictly prohibited. Choose touch-up paint or other paint correction alternatives.
Only mild roughness: If the paint feels slightly rough but has no visible scratches, it may be iron fallout or industrial dust buildup — prioritize clay bar treatment; polishing may not be necessary.
Deep scratches that have penetrated the clear coat: Scratches where your fingernail catches noticeably have likely gone through the clear coat. Assess whether polishing is appropriate first; otherwise, it may get worse. For such severe scratch repair, sand first and then use polishing wax — never start directly with a coarse compound.
3.3 Using a Thickness Gauge: The Most Scientific Method
For uncertain situations, a paint thickness gauge is the most accurate assessment tool:
| Reading | Condition Assessment | Recommended Action |
|---|---|---|
| ≥120μm (total paint thickness) | Excellent | Normal polishing OK, test regularly |
| 90-120μm | Healthy | Light correction OK, avoid heavy compounding |
| 70-90μm | Thin | Light spot treatment only, prioritize protection |
| <70μm | Danger | No machine polishing — maintenance protection only |
Professional detailing shops typically have paint thickness gauges. Asking the technician to measure thickness before polishing is the correct way to protect your paint. If you’re a DIY enthusiast planning paint correction, invest in an entry-level thickness gauge first — don’t guess whether polishing is safe.
4. Polishing Frequency Recommendations: Planning by Vehicle Age
4.1 Polishing Schedule by Vehicle Age
0-3 year new cars: Normally no polishing needed. The factory protective layer is still intact; regular waxing maintenance is sufficient. For light scratches, use scratch remover wax by hand first.
3-5 year mid-life vehicles: Decide based on paint condition. If significant oxidation or dense scratches appear, the first full-car polish can be performed; afterward, recommend 1-2 year intervals.
5+ year old vehicles: Extend polishing intervals to 2+ years. Paint thickness must be measured before each polish. When thickness is insufficient, choose spot treatment or protection only.
4.2 Adjustments Based on Usage Environment
| Usage Environment | Recommended Polishing Frequency | Notes |
|---|---|---|
| Indoor parking + good maintenance | Once every 2-3 years | Paint stays in good condition, minimize polishing |
| Outdoor parking + regular waxing | Once every 1-2 years | Accelerated oxidation requires regular maintenance |
| Coastal high-salt environment | At most once per year | Severe salt spray corrosion |
| PPF/ceramic coating protection | Based on protective layer condition | Protection layer can extend polishing intervals |
4.3 Mandatory Post-Polishing Steps
After each polish, there is one step that must never be skipped: apply protection immediately.
A freshly polished clear coat is completely “naked” with zero protection. Exposed to air, the clear coat will begin re-oxidizing within days. Professional paint care should always include immediate post-polish protection.
Standard protection process:
- Degrease immediately after polishing (verify the surface is truly clean)
- Complete waxing/sealant/ceramic coating application within 2 hours
- Do not expose to water before the protective layer has fully cured
Polish + no protection = wasted polish, and may even accelerate aging. For paint maintenance, polishing is the corrective step; subsequent protection is what maintains the results.
5. How to Extend Paint Life and Reduce Polishing Frequency
5.1 Daily Maintenance to Reduce Polishing Needs
Polishing is a “remedial measure” for already-damaged paint. The key to reducing polishing frequency is proper daily paint care and scratch prevention:
Regular waxing: Every 2-3 months, using quality carnauba wax or synthetic polishing wax. Wax forms a protective film on the clear coat, isolating contaminants and delaying oxidation.
Prompt contaminant removal: Bird droppings, tree sap, and insect residue are corrosive. The longer they remain, the deeper the damage. Clean them up as soon as possible.
Proper washing: Use pH-neutral car wash soap and soft tools. Avoid products containing abrasive particles, and never dry-wipe sandy surfaces.
Parking choices: Park indoors or in shaded areas whenever possible to reduce UV and extreme weather damage to the paint.
5.2 Using Protective Layers to “Trade” for Polish Count
Paint Protection Film (PPF): One application lasts 3-5 years, during which minor scratches won’t reach the paint. Can reduce polishing needs by 80%, but is costly.
Ceramic coating: Forms an inorganic protective layer on the clear coat, enhancing hardness and contamination resistance. Reduces daily oxidation and polishing frequency.
Paint sealant: A relatively cost-effective option with effects lasting 6-12 months.
5.3 Spot Polish Instead of Full Car Whenever Possible
This is the consensus among professional technicians and a key principle for paint protection.
If only the door handle has scratches, only polish the door handle. If the roof has swirl marks, only treat the roof. One full-car polish consumes the “polishing budget” of every panel simultaneously.
Spot polishing covers a smaller area with lower material removal, maximizing the use of your limited polish count. Spot polishing requires fine small-diameter polishing pads, paired with mild compounds and professional paint correction tools, such as J2 Water-Based Polishing Wax with controllable cutting ability — completing paint repair while maximizing protection of surrounding good paint.
6. Polishing Efficiency Tips: Making the Work Less Tiring
(These tips apply to both DIY enthusiasts and professional technicians)
6.1 Posture Determines Fatigue Level
How tiring polishing is depends greatly on your posture. Many people experience shoulder and back soreness after polishing — usually due to poor posture.
Standing posture essentials:
- Feet shoulder-width apart, body weight evenly distributed
- Maintain a natural lumbar curve; don’t hunch or lean excessively forward
- Working surface height between chest and waist is most efficient
When polishing the roof: Use a step stool to elevate yourself so the working surface drops to a comfortable height. Don’t polish the roof with arms raised for extended periods.
When polishing the lower body: Squat down or use a smaller polishing machine. Don’t bend over awkwardly to reach.
6.2 Core Principle: Let the Machine Do the Work, Don’t Use Brute Force
This is the most overlooked point.
The weight of the polishing machine itself provides sufficient downward pressure. Your job is simply to guide the direction, not to press the machine down.
Consequences of excessive force:
- Generates excess heat, potentially burning the paint
- Accelerates operator fatigue
- Actually worsens polishing results (dry buffing, increased marring)
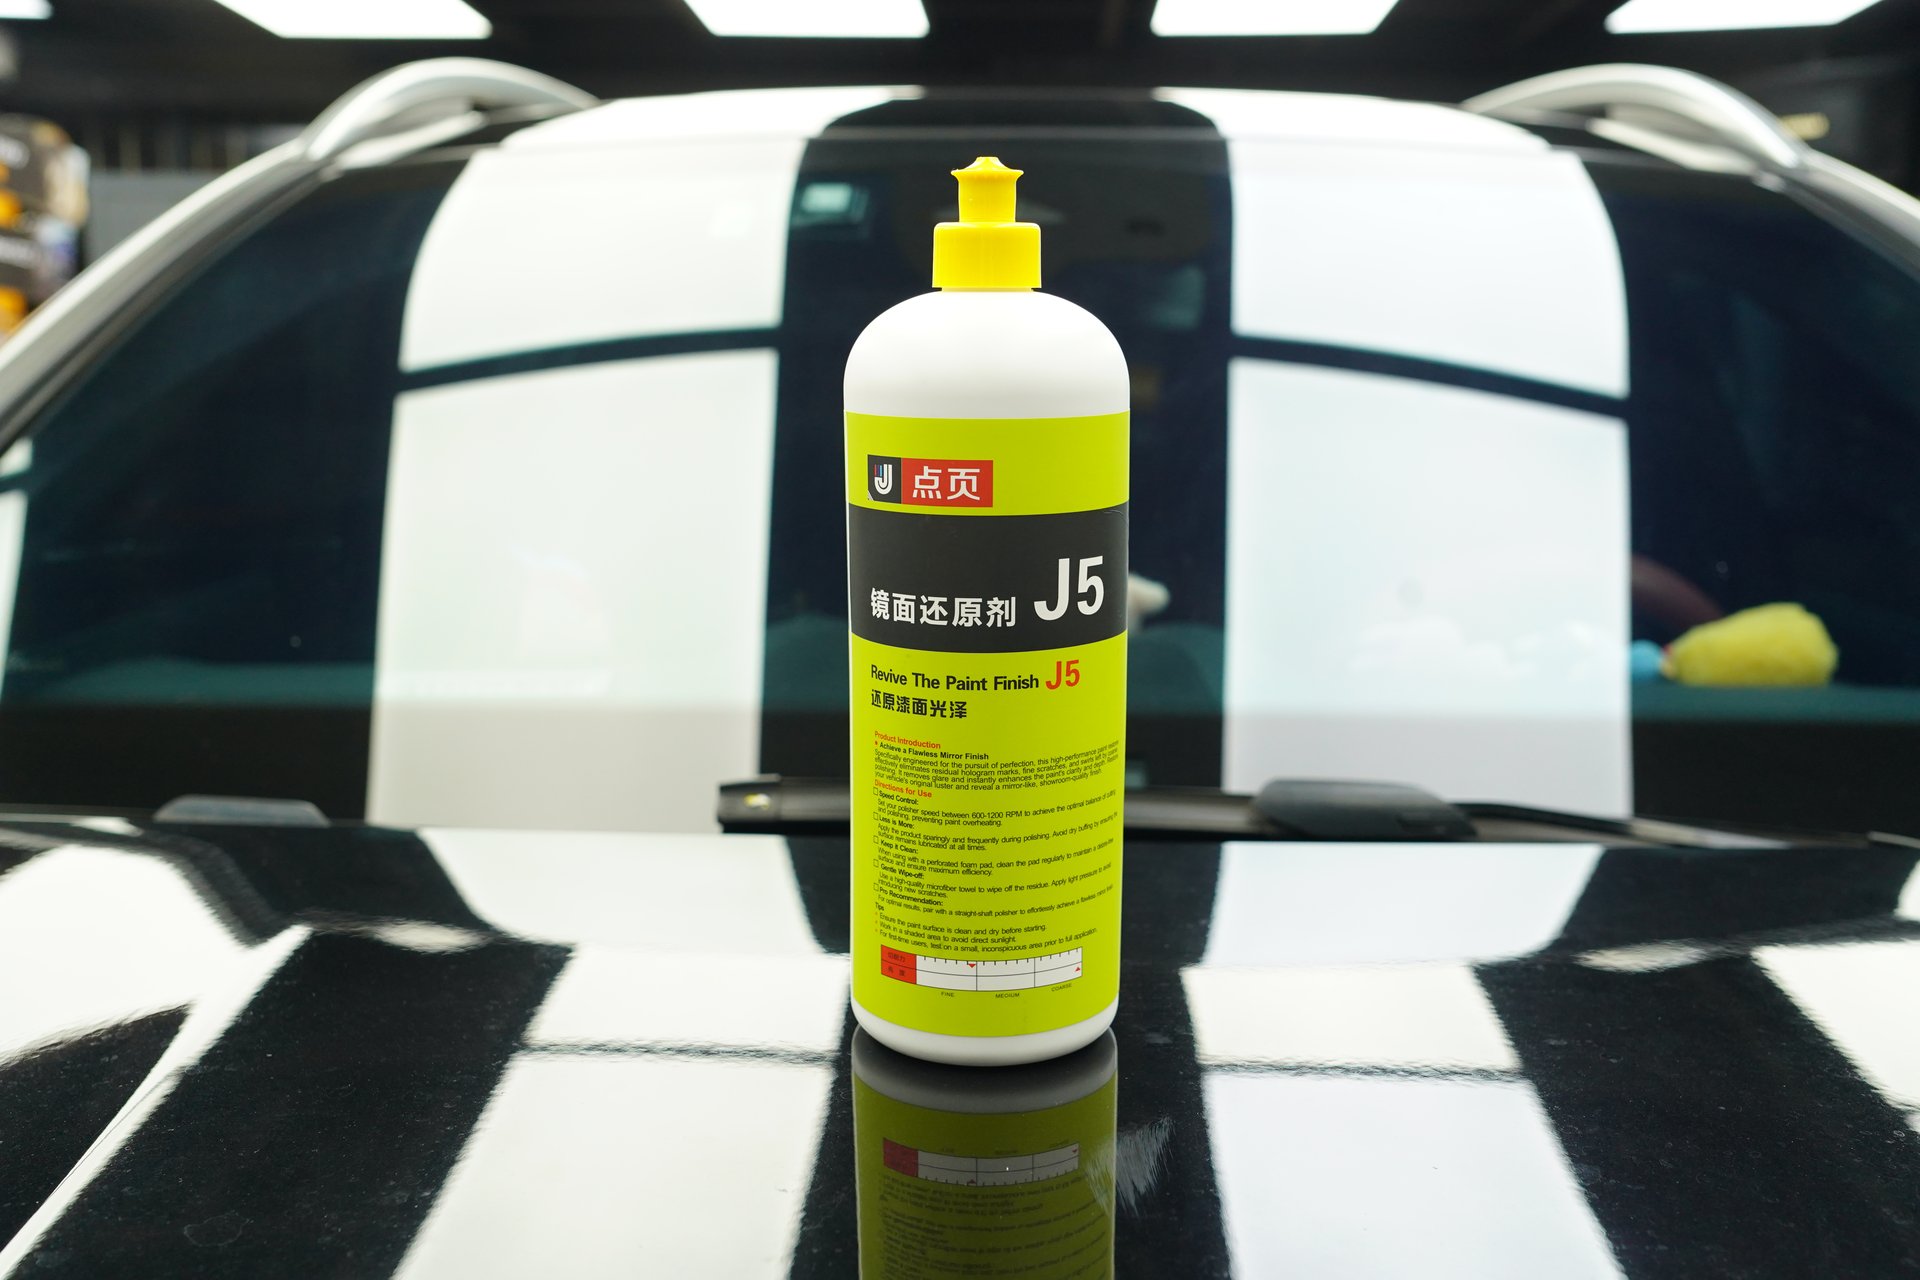
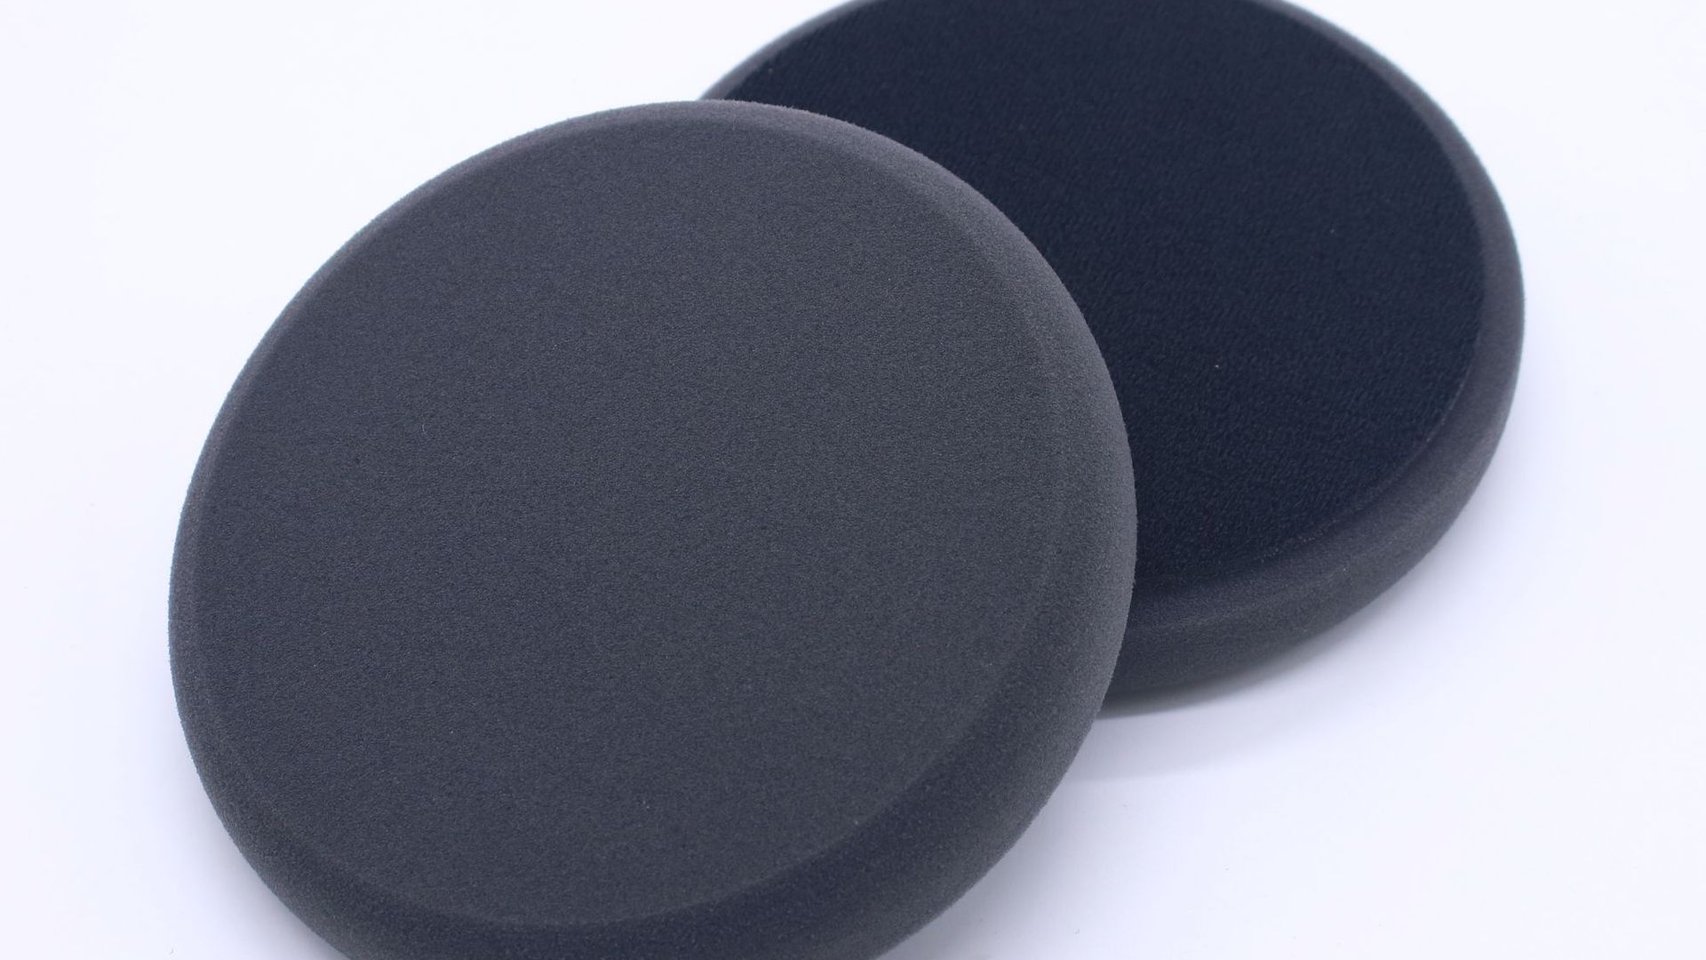
Correct pressure feel: During the refining stage, simply rest your palm lightly on the machine handle; during the finishing stage, you can even just guide with your fingertips. Choosing the right compound is also important — for example, DianYe J5 Mirror Finish Restorer, designed specifically for the finishing stage, paired with a soft foam pad, can achieve a water-like gloss on the paint surface while making the work easier.
6.3 Dynamic Positioning to Reduce Static Posture Fatigue
Don’t stand in one spot polishing. Move your body with the polishing position.
- When polishing the left side, left foot forward
- When polishing the right side, right foot forward
- When polishing the roof, do a 180° turn instead of overreaching
Hang the power cord over your shoulder — this prevents the cord from rubbing against the paint and leaving marks, while also reducing cable drag resistance.
6.4 Pad Maintenance Extends Service Life
The condition of your polishing pad directly affects results and pad lifespan:
Wool pads:
- After each panel, use a brush to remove residual wax and paint debris
- Periodically wash with warm water + neutral detergent
- Air dry in shade; never expose to direct sunlight
- Normal service life: 20-30 cars
Foam pads:
- Rinse with water, squeeze out moisture
- Gently brush the surface with a soft brush
- Lay flat to dry in shade
- Normal service life: 30-50 cars
Dirty pads lead to reduced cutting ability, faster heat buildup, and secondary marring. Make it a habit to clean the pad after every panel.
7. Summary: Manage Your Paint’s “Remaining Balance”
7.1 Remember These Key Numbers
| Metric | Value |
|---|---|
| Japanese car clear coat thickness | 25-35μm |
| German car clear coat thickness | 40-60μm |
| Proper polish material removal per pass | 1-3μm |
| Maximum safe polish count | 6-8 times (mid-range) |
| Must apply protection after polishing | Yes |
7.2 Action Checklist
- Measure before deciding: Use a thickness gauge before polishing; skip polishing if thickness is insufficient
- Spot polish instead of full car: Treat local scratches locally — saves paint and money
- Always protect after polishing: Wax/ceramic coating/PPF — pick one and do it immediately
- Daily maintenance is fundamental: Regular waxing, proper washing, reduce polishing needs
- Use professional technicians: Proper technique results in 10x less material removal
Your car’s polishing capacity is limited — every polish is a “consumption.” The smart approach is: polish less, maintain more, and let your paint last longer.
Appendix: Frequently Asked Questions
Q: Can new cars be waxed but not polished? A: New cars typically don’t need polishing for the first 2-3 years. The factory clear coat is at its best — focus on paint maintenance through waxing.
Q: What’s the difference between scratch remover wax and polishing? A: Scratch remover wax contains fine abrasive particles for treating superficial hairline scratches, can be applied by hand, and doesn’t compromise the clear coat. Polishing is a professional machine + compound operation with greater removal capacity but consumes clear coat. For light scratches, try scratch remover wax first.
Q: Do I still need to polish after ceramic coating? A: The ceramic coating layer itself provides some protection, but its effectiveness diminishes over time. When the coating is in good condition, no polishing is needed; once the protective layer ages, polishing followed by reapplication of ceramic coating can be considered.
Q: How soon after polishing can I wax? A: Protection should be applied immediately after polishing (within 2 hours). If only basic cleaning was done without protection at the time, wait 24 hours for the surface to stabilize before waxing. Daily auto detailing care starts with these small details.
Q: Is furniture polishing the same as car paint polishing? A: The principle is similar — both use abrasion to remove surface imperfections for a smooth finish. But the materials differ: car paint has a clear coat; wood has solid wood or wood finish. J2/J5 water-based polishing wax features a gentle formula safe for car paint and equally suitable for wood surfaces. Home solid wood furniture maintenance can follow a similar approach. Brands like DianYe, focused on water-based formulas, offer greater product versatility and broader application range.