
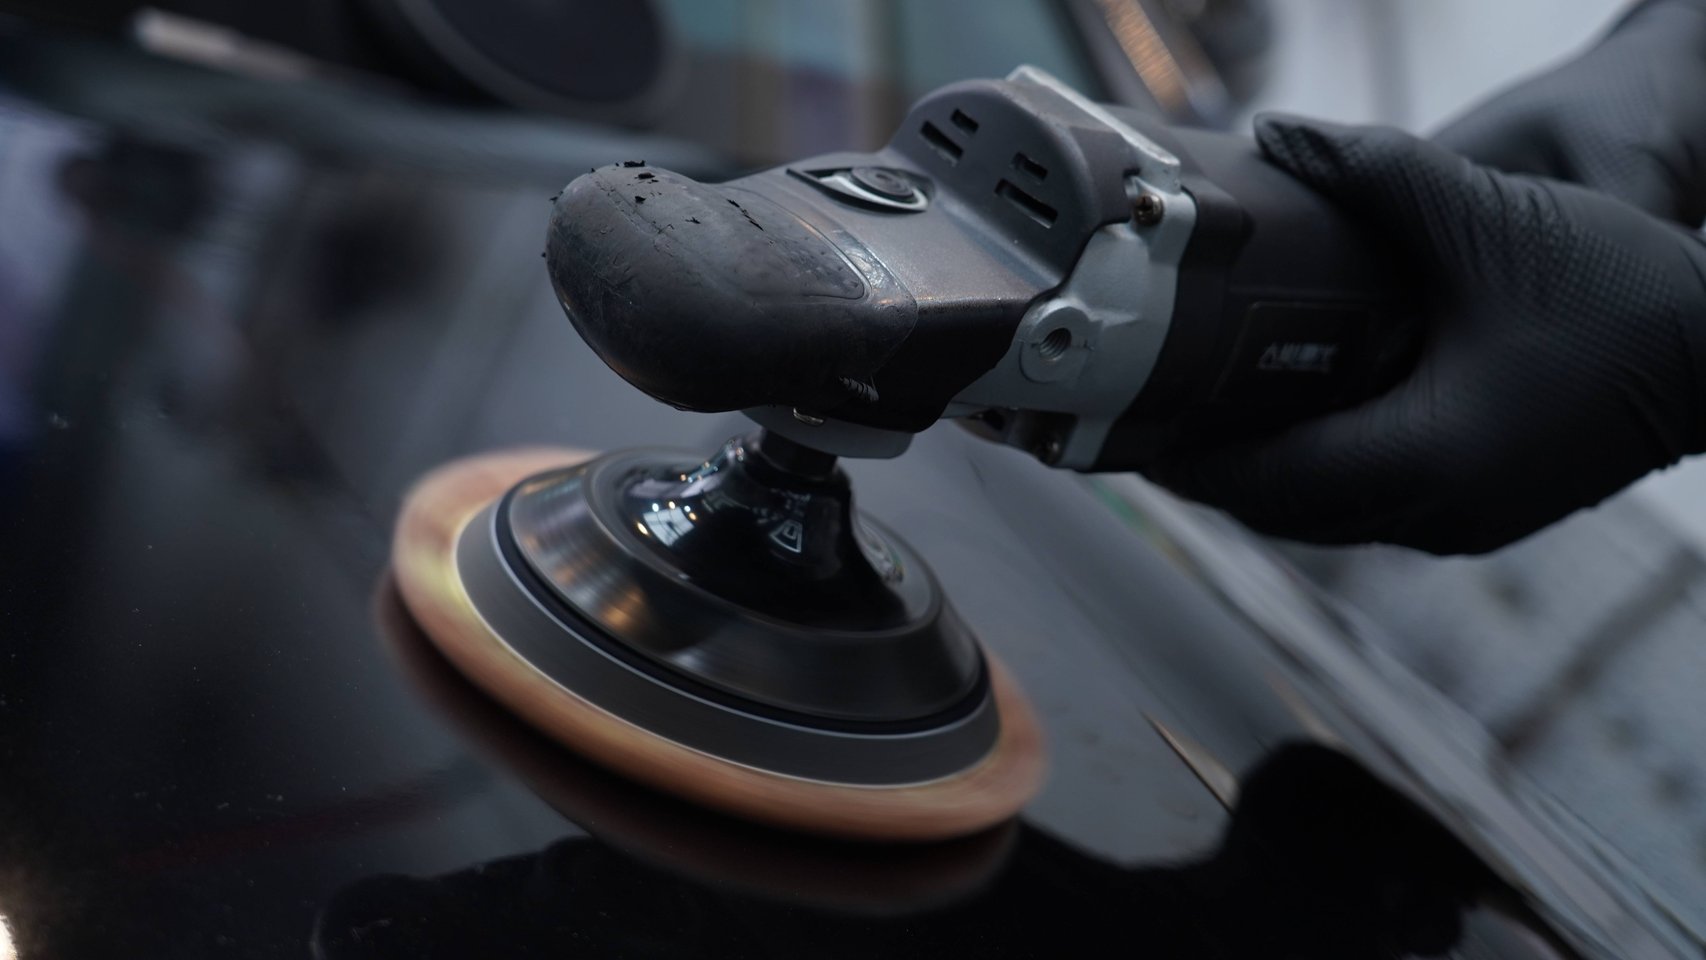
Polishing Pressure Guide: How to Control Pressure? 90% of People Get It Wrong from the Start
When it comes to polishing, many people focus on what car polishing wax to use, what pad, what machine — but few seriously consider one question: how should you actually control the force in your hands?
Pressure is the most overlooked yet most impactful variable in the polishing process. Too light, and the cutting force is insufficient — you polish for hours and the scratches are still there. Too heavy, and at best you cause secondary marring; at worst, you grind right through the clear coat.
Today we’ll cover pressure from start to finish: how much force for each stage, how to position your hands, and how to judge whether your pressure is correct.
1. First, Understand the Fundamentals: Where Does Polishing Force Come From?
Many people’s polishing technique goes like this: grip the machine with both hands, push down as hard as possible, practically trying to “press” the machine into the paint.
This is the most typical and most dangerous mistake.
Polishing force should come from the combination of three components:
- Machine weight — DA polishers typically 700-1000g, RO polishers 1500-2500g
- Natural gravity from relaxed arms — not actively pressing, just “resting” on the machine
- Active downward pressure — only lightly applied during the compounding stage
The correct hand position: one hand grips the rear of the machine to control direction, the other hand lightly rests on the machine head or handle, with arms naturally relaxed. The force you give the machine should be “guiding” not “pressing.”
Think of it like ironing clothes. You only need to guide the iron in the right direction — you don’t put your entire body weight into it. Car polishing wax works similarly — the abrasive particles roll and cut between the paint and pad, not through brute force.
2. Pressure Standards for Each Stage
The complete polishing process consists of three stages: “compounding → refining → finishing,” each with different pressure requirements.
Compounding Stage: Machine Weight + Light Downward Pressure
The goal of compounding is rapid cutting — removing deeper scratches and oxidation. This is where the most force can be applied, but it’s still not “pressing with all your might.”
Standard: Machine weight plus your arm’s natural gravity, totaling approximately 1.5-2 kg of pressure.
How to judge? A simple method: place the machine on the paint without turning it on, and feel how heavy it is. When running, the additional pressure you apply should not exceed 50% of that weight.
Key points:
- Travel speed 20-25cm/s, never stay in one spot for more than 3 seconds
- Work in 40×40cm sections, advancing panel by panel
- RO machine: 1200-1500rpm, DA machine: 4000-5000rpm
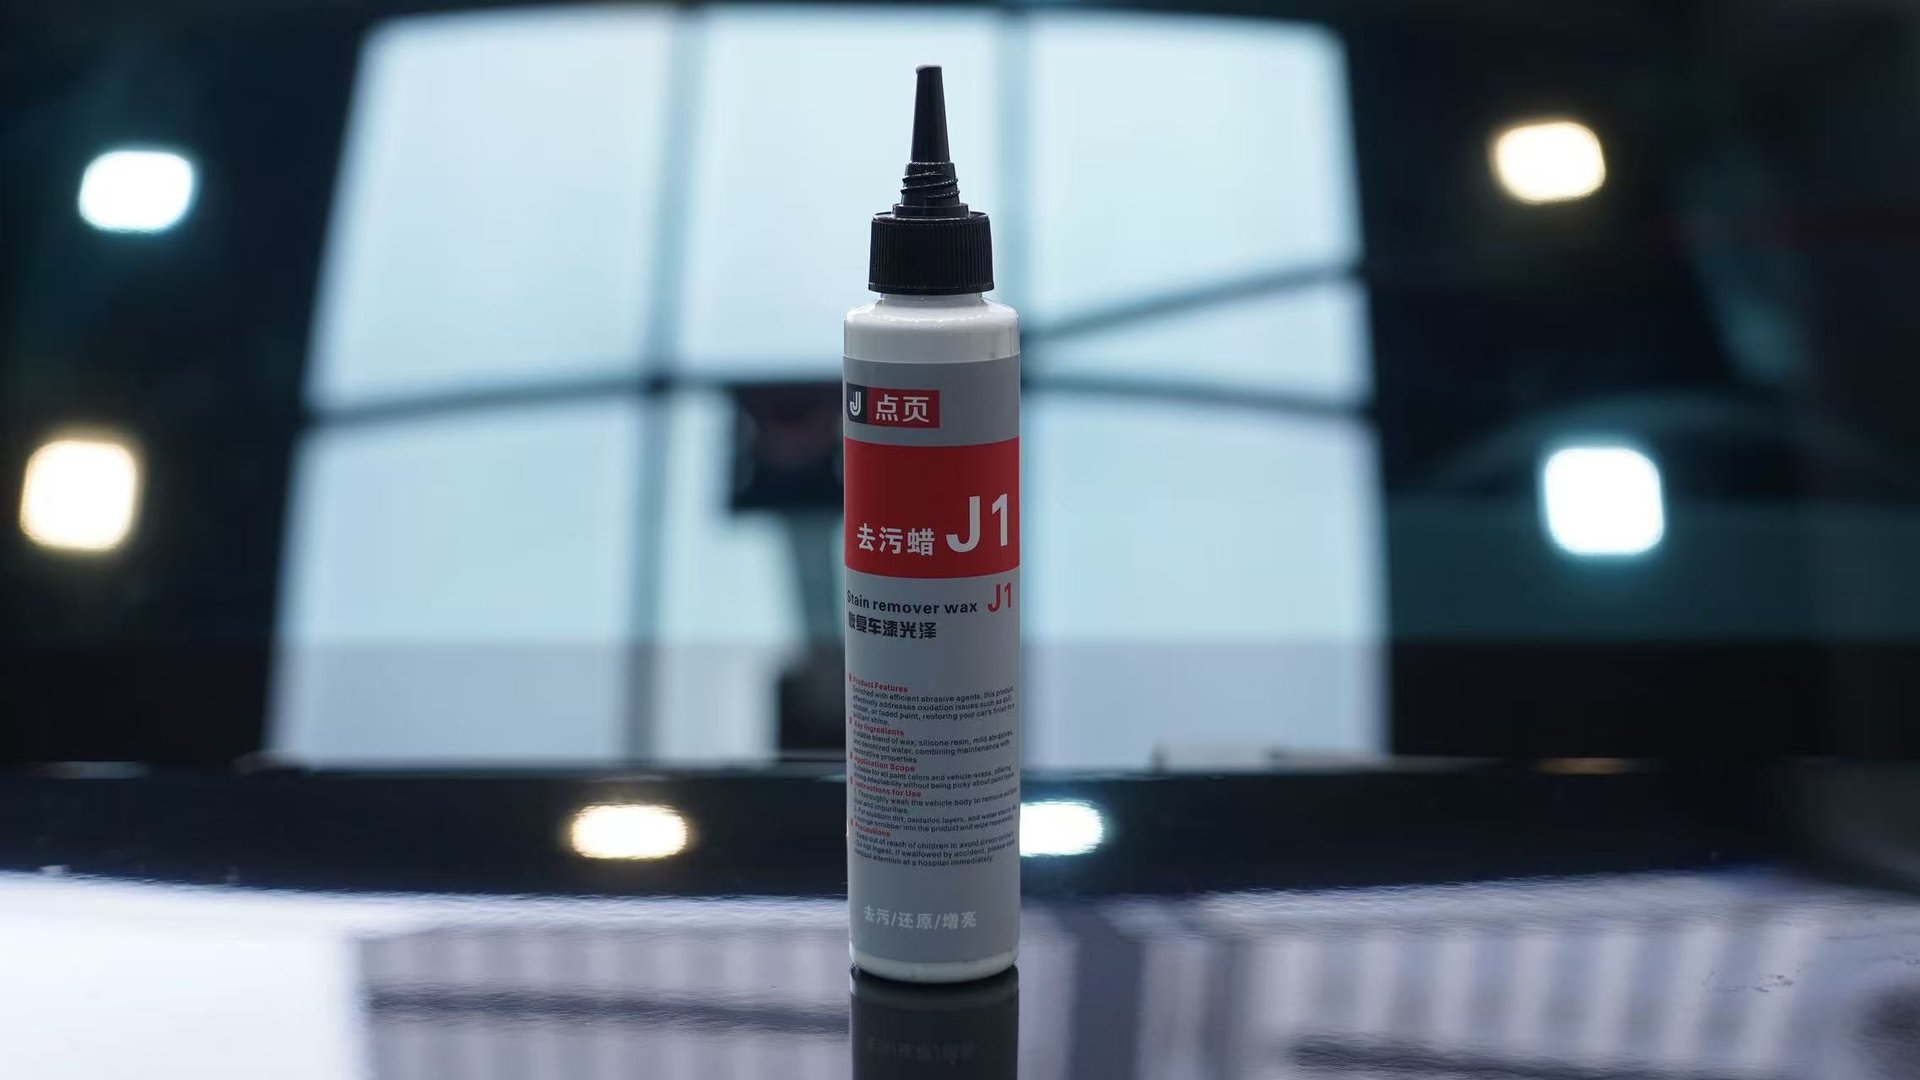
- Use coarse compound from car polishing wax, such as DianYe J2 Water-Based Polishing Wax
Here’s a key distinction: water-based car polishing wax and traditional oil-based wax differ significantly in pressure tolerance. Traditional oil-based wax, when pressure is too high, has its lubricating layer easily breached, causing abrasive particles to grind directly on dry paint. In contrast, water-based formulas like DianYe J2 have a liquid carrier that provides more sustained lubrication and cushioning — even if pressure fluctuates slightly, the protection isn’t instantly lost. This is why professional detailing shops increasingly prefer water-based polishing wax — it’s not just about being eco-friendly, but also higher tolerance for operational errors.
Refining Stage: Machine Weight Only
Refining is the transitional stage, aimed at removing sanding marks and machine trails left by compounding. No additional pressure is needed — machine weight alone is sufficient.
Standard: Your hand merely “guides” the machine, approximately 1 kg of pressure.
Key points:
- Slightly slower travel speed: 15-20cm/s
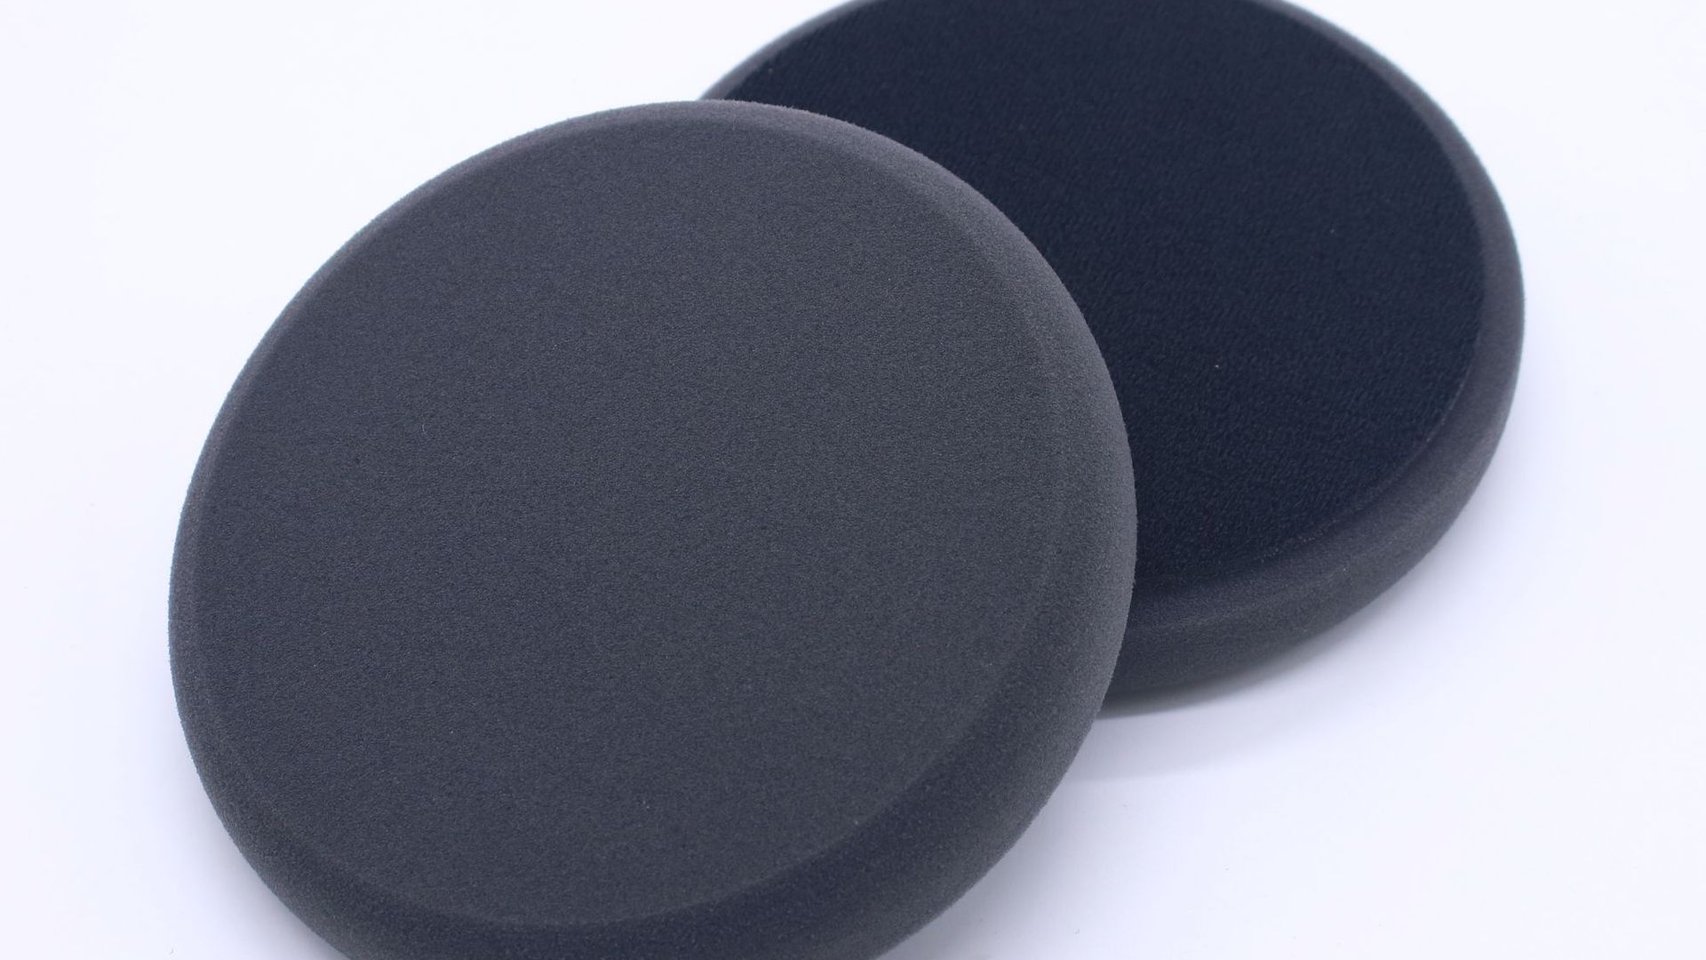
- Medium foam pad, woven or fine face
- RO: 1000-1200rpm, DA: 3000-4000rpm
- Continue using J2 Water-Based Polishing Wax, but reduce the amount by about 30% compared to compounding
A common mistake at this stage: feeling that refining “isn’t doing anything,” and unconsciously increasing pressure. In reality, refining naturally works slower than compounding — it’s “refining” not “cutting.” Pressing harder won’t make it faster and may actually introduce new scratches.
Finishing Stage: Light Contact with the Paint
Finishing is the final step in the polishing process and the stage requiring the least pressure. The goal is to eliminate the microscopic marks left by the previous two steps and restore the paint’s mirror-like gloss.
Standard: Machine weight alone, or even slightly less — your hand is more “supporting” the machine, approximately 0.5-0.8 kg.
Key points:
- Travel speed 15-20cm/s
- Fine foam pad or finishing pad
- RO: 800-1000rpm, DA: 2000-3000rpm
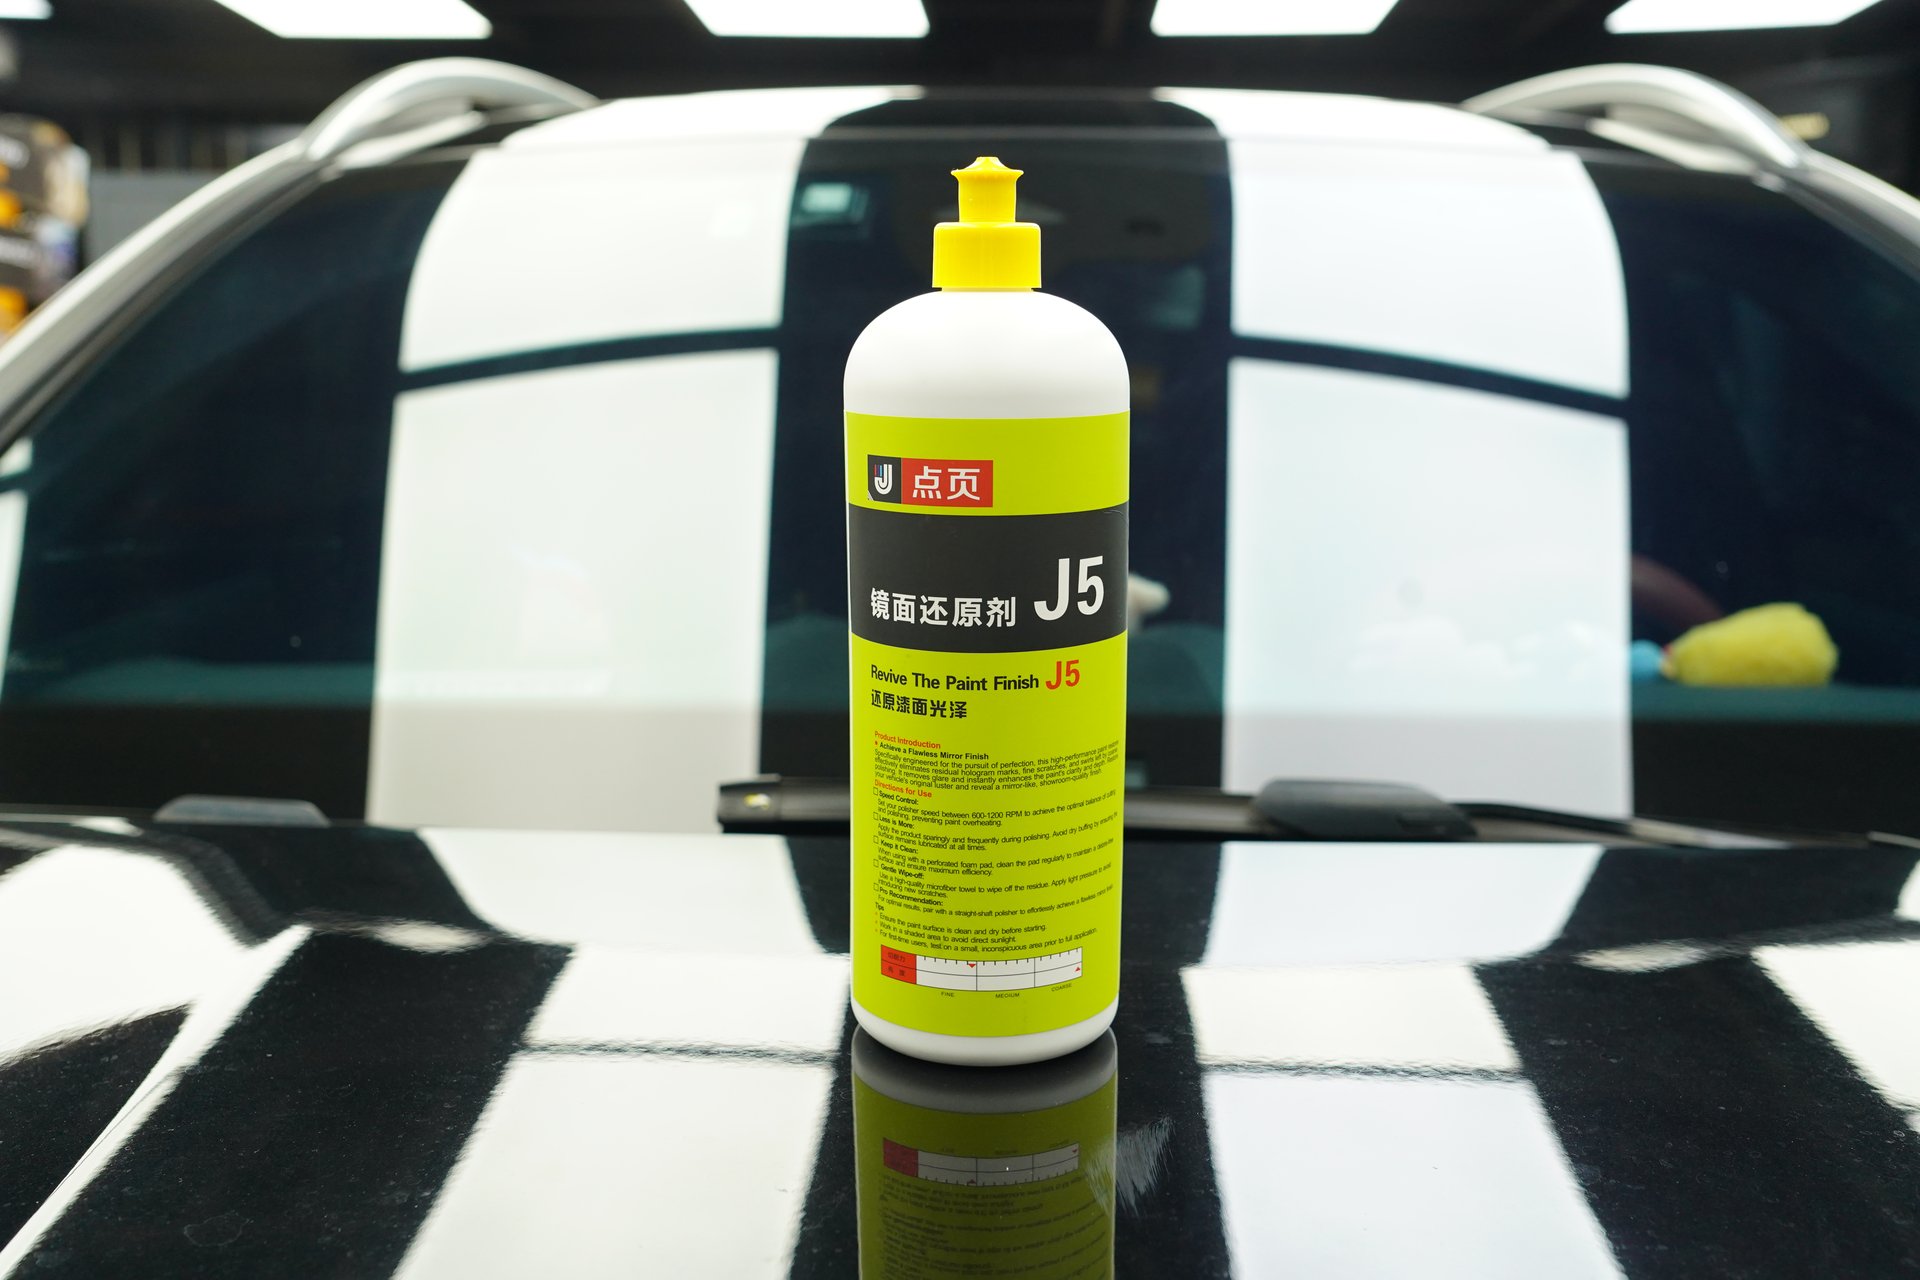
- Use a mirror finish restorer such as DianYe J5
The key mindset here is patience. Finishing doesn’t rely on force — it relies on time and fine particles gradually smoothing microscopic roughness. Two light passes with J5 Mirror Finish Restorer produce far better results than one heavy pass. This is the core logic of automotive paint care — precision work always depends on “light, slow, even,” never “heavy, fast, aggressive.”
3. Different Machine Types, Completely Different Pressure Logic
DA Polisher (Dual Action) — More Forgiving with Pressure
A DA polisher combines rotation + eccentric oscillation, creating a random abrasive path on the paint. This means:
- Even if pressure is slightly high, particle movement direction remains random, preventing directional scratches
- Heat builds up more slowly; the paint is less likely to overheat
- Ideal for DIY beginners and paint care novices
DA pressure recommendation: Rely primarily on machine weight throughout; light additional pressure during compounding is acceptable; no added pressure for refining and finishing.
RO Polisher (Rotary) — Pressure Must Be Precisely Controlled
An RO polisher uses pure rotary motion, with abrasive particles moving in concentric circles. If pressure is too high:
- Particles are pressed into the paint, creating holograms (a type of secondary marring)
- Heat concentrates and may exceed the clear coat’s glass transition temperature (Tg: 180-200°C), causing thermal damage
- In automotive body shop scenarios, RO machine operators must be especially mindful of this
RO pressure recommendation: Up to 50% additional pressure beyond machine weight during compounding; reduce to 20% for refining; zero additional pressure during finishing. When RO speed exceeds 1800rpm, the risk from every additional 100rpm of pressure doubles.
This also explains why many auto body shops are more cautious during paint correction — RO machines are efficient but demand higher skill from the operator. If you have newcomers on your team, start them with a DA machine paired with water-based compound for practice. Once they’ve mastered pressure feel, then move to the RO.
4. The Triangle Relationship: Pressure, Pad Condition, and Compound Volume
Pressure doesn’t exist in isolation — it forms a mutually constraining triangle with pad condition and compound application amount.
A Dirty Pad Completely Changes the Pressure Effect
With a clean pad, pressure and cutting force have a linear relationship — the more force you add, the more cutting power increases. But with a pad that hasn’t been cleaned after several panels, the situation is entirely different:
- Dried compound on the pad forms hard particles
- The harder you press, the deeper these hard particles embed into the paint
- Result: you’re not “polishing” — you’re “scratching”
This is why professional auto detailing standards require: clean the pad after every panel (or every 2×2 foot section).
Insufficient Compound = Effectively Increased Pressure
Compound serves not only as “abrasive” but also as lubricant and coolant. When insufficient:
- The lubricating layer between paint and pad is absent
- At the same pressure, friction increases dramatically
- Temperature spikes, and secondary marring risk skyrockets
Application reference: For a 40×40cm area, dispense 4-5 pea-sized dots of compound. Top up if needed — don’t skimp.
Here’s a practical pairing logic: with a well-lubricating car polishing wax (such as DianYe J2’s water-based formula), even if the amount is occasionally insufficient, protection isn’t immediately lost. But with dry-buff traditional oil-based wax, once the amount is insufficient, you’ll almost immediately hear a squealing sound — that’s the paint screaming for help.
5. How to Judge Whether Your Pressure Is Correct?
Given all these numbers, how do you actually feel it in practice? Here are three self-assessment methods:
Listen to the Sound
- ✅ Correct: Light “shushing” sound, like sandpaper gently rubbing wood
- ❌ Too heavy: Sharp “squealing,” harsh friction noise
- ❌ Too light: Almost no sound; compound is spinning freely
Observe the Splatter
- ✅ Correct: Compound splatters evenly, forming a fine mist
- ❌ Too heavy: Compound is instantly thrown off; the paint is nearly dry-buffed
- ❌ Too light: Compound pools without spreading;局部 area is overly wet
Feel the Temperature
- After each panel, touch the paint surface with the back of your hand
- ✅ Correct: Warm but not hot (approximately 40-50°C)
- ❌ Overheated: Hot to touch (exceeding 60°C) — stop immediately! Check pressure and speed
- ❌ Too cool: Almost no temperature change, indicating insufficient cutting force — slightly increase pressure
6. The Four Most Common Pressure Control Mistakes
| Mistake | Cause | Consequence | Correction |
|---|---|---|---|
| Pressing hard throughout | Believing “more force = more effective” | Secondary marring, burned paint | Differentiate by stage; no pressure during finishing |
| Single-hand operation | Taking shortcuts | Uneven pressure | Two-hand coordination: one guides, one supports |
| Continuing without changing pads | Rushing | Dirty pad worsens scratches | Clean pad after each panel |
| Repeatedly working the same spot | Feeling “it’s not done yet” | Localized overheating | Advance section by section; no more than 3 seconds per spot |
Summary
Pressure control comes down to one sentence: Let the machine do what it’s designed to do; your hands only guide the direction.
Compounding can use slightly more pressure, refining relies on machine weight, finishing requires only light contact. Different machines have different pressure sensitivity, and different compounds offer different tolerance windows. Choose the right car polishing wax (water-based formulas are more forgiving), keep pads clean, and control compound volume — get these three things right, and pressure control becomes much easier.
Remember: great paint correction results aren’t achieved by “pushing hard” — they’re achieved by “pushing smart.”