
Polishing Takes Real Effort — Waxing Is What Truly Finishes the Job
Many car owners spend hundreds on paint polishing, watching the paint become so shiny it looks like a mirror, feeling quite pleased. Then within a week, the gloss visibly drops and swirl marks start reappearing.
Where did things go wrong? Most likely, the waxing step after polishing wasn’t done properly.
Polishing only removes the oxidation layer and fine scratches — it’s like “treating the disease.” But after polishing, the paint’s original protective layer has also been removed, leaving the bare clear coat exposed to air. Oxidation actually accelerates. Without timely wax protection, all the hard work put into paint correction with car polishing wax is essentially wasted.
Industry testing data shows that paint left unprotected within one week after polishing loses 15%-20% of its gloss. So the waxing step directly determines how long your paint correction results will last.
First, Understand the Difference: Removing Wax Residue ≠ Applying Wax
Many people confuse “removing wax residue” and “applying wax” — in professional application processes, these are two entirely different steps:
- Removing wax residue: After polishing, use a clean microfiber towel to wipe away remaining compound and wax residue from the paint surface. This is a cleaning/finishing action.
- Applying wax: After the paint is clean, apply a protective layer of wax to isolate air and moisture, preventing paint oxidation.
The correct sequence is: Polish → Remove residue (wipe clean) → Apply wax (apply protective layer) → Buff to shine.
Before Waxing, the Paint Must Be Perfectly Clean
Waxing isn’t just grabbing a product and spreading it on the car. Pre-wax paint preparation is the foundation of the entire process — if the foundation isn’t right, no wax will work properly.
Step 1: Wash and Decontaminate
Use pH-neutral car wash soap to wash the entire car, removing dirt, bird droppings, tree sap, and other surface contaminants. Never use dish soap or laundry detergent — the high alkalinity damages the paint and affects wax adhesion. After washing, dry with a microfiber towel, ensuring no water spots remain.
Step 2: Degreasing
This step is often overlooked. After polishing, the paint surface often retains compound oils and wax residue. If you wax without removing these, the new wax layer mixes with old residue, adhesion drops significantly, and gloss becomes uneven.
The correct approach is to use a dedicated degreaser (or diluted isopropyl alcohol) to wipe down the entire car, thoroughly removing all polishing residue. After wiping, the paint should feel “completely clean, with nothing left on it” — this is when wax adhesion is optimal.
Step 3: Inspect the Paint
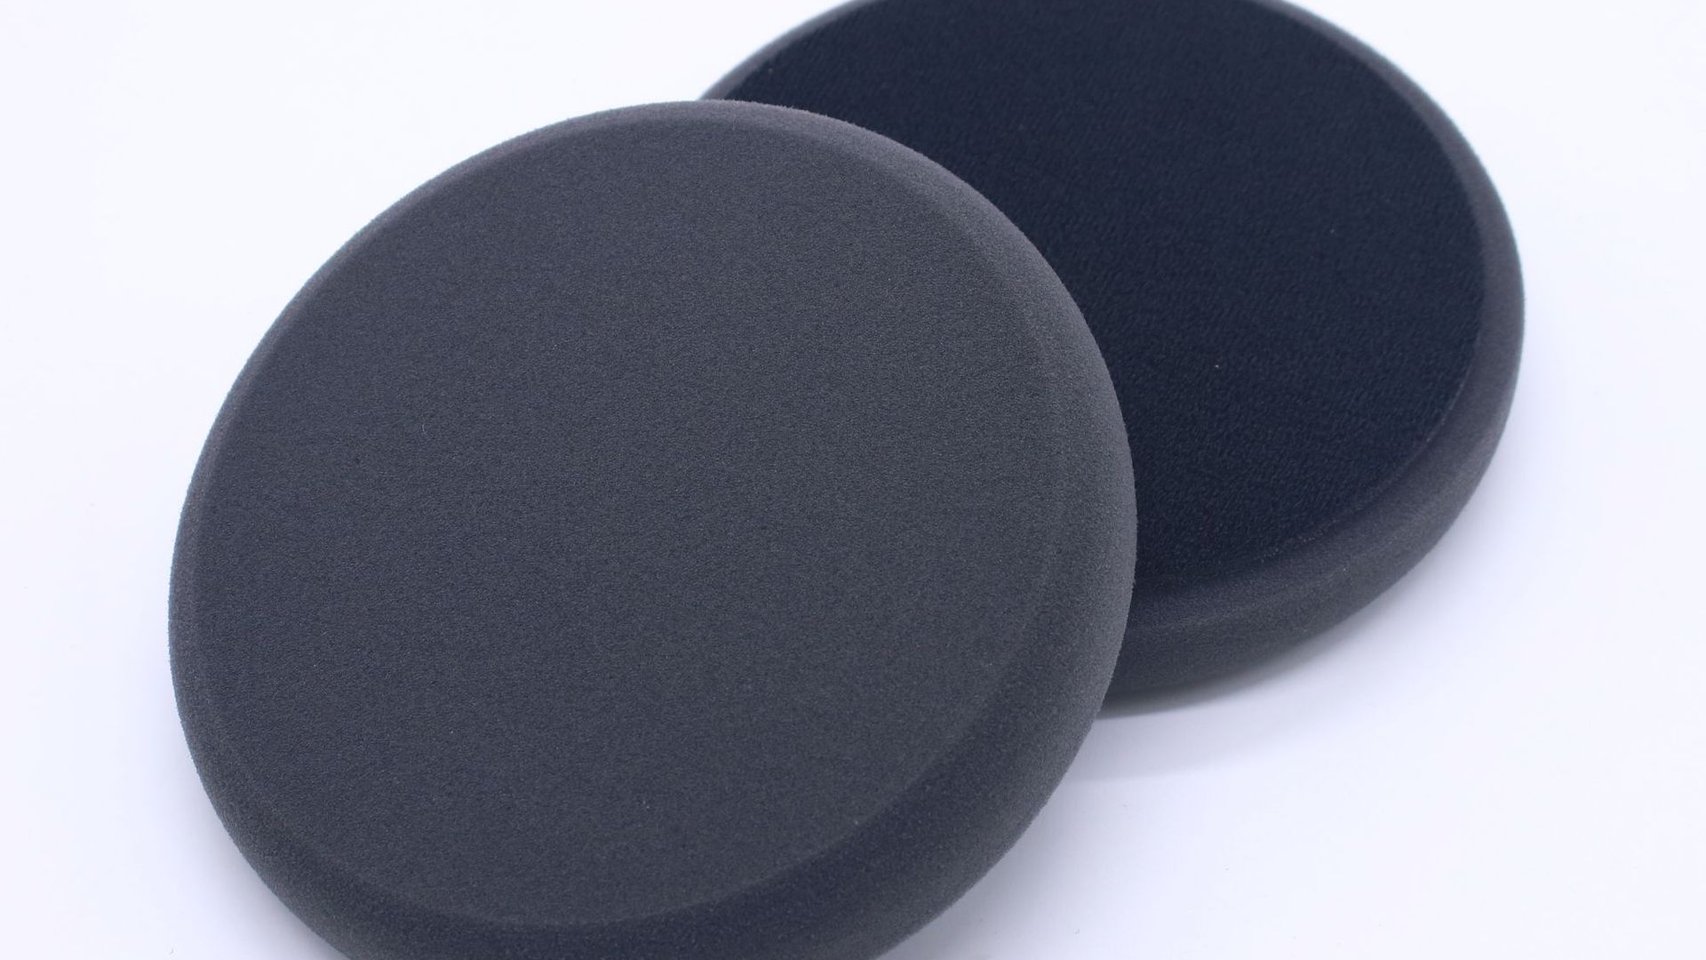
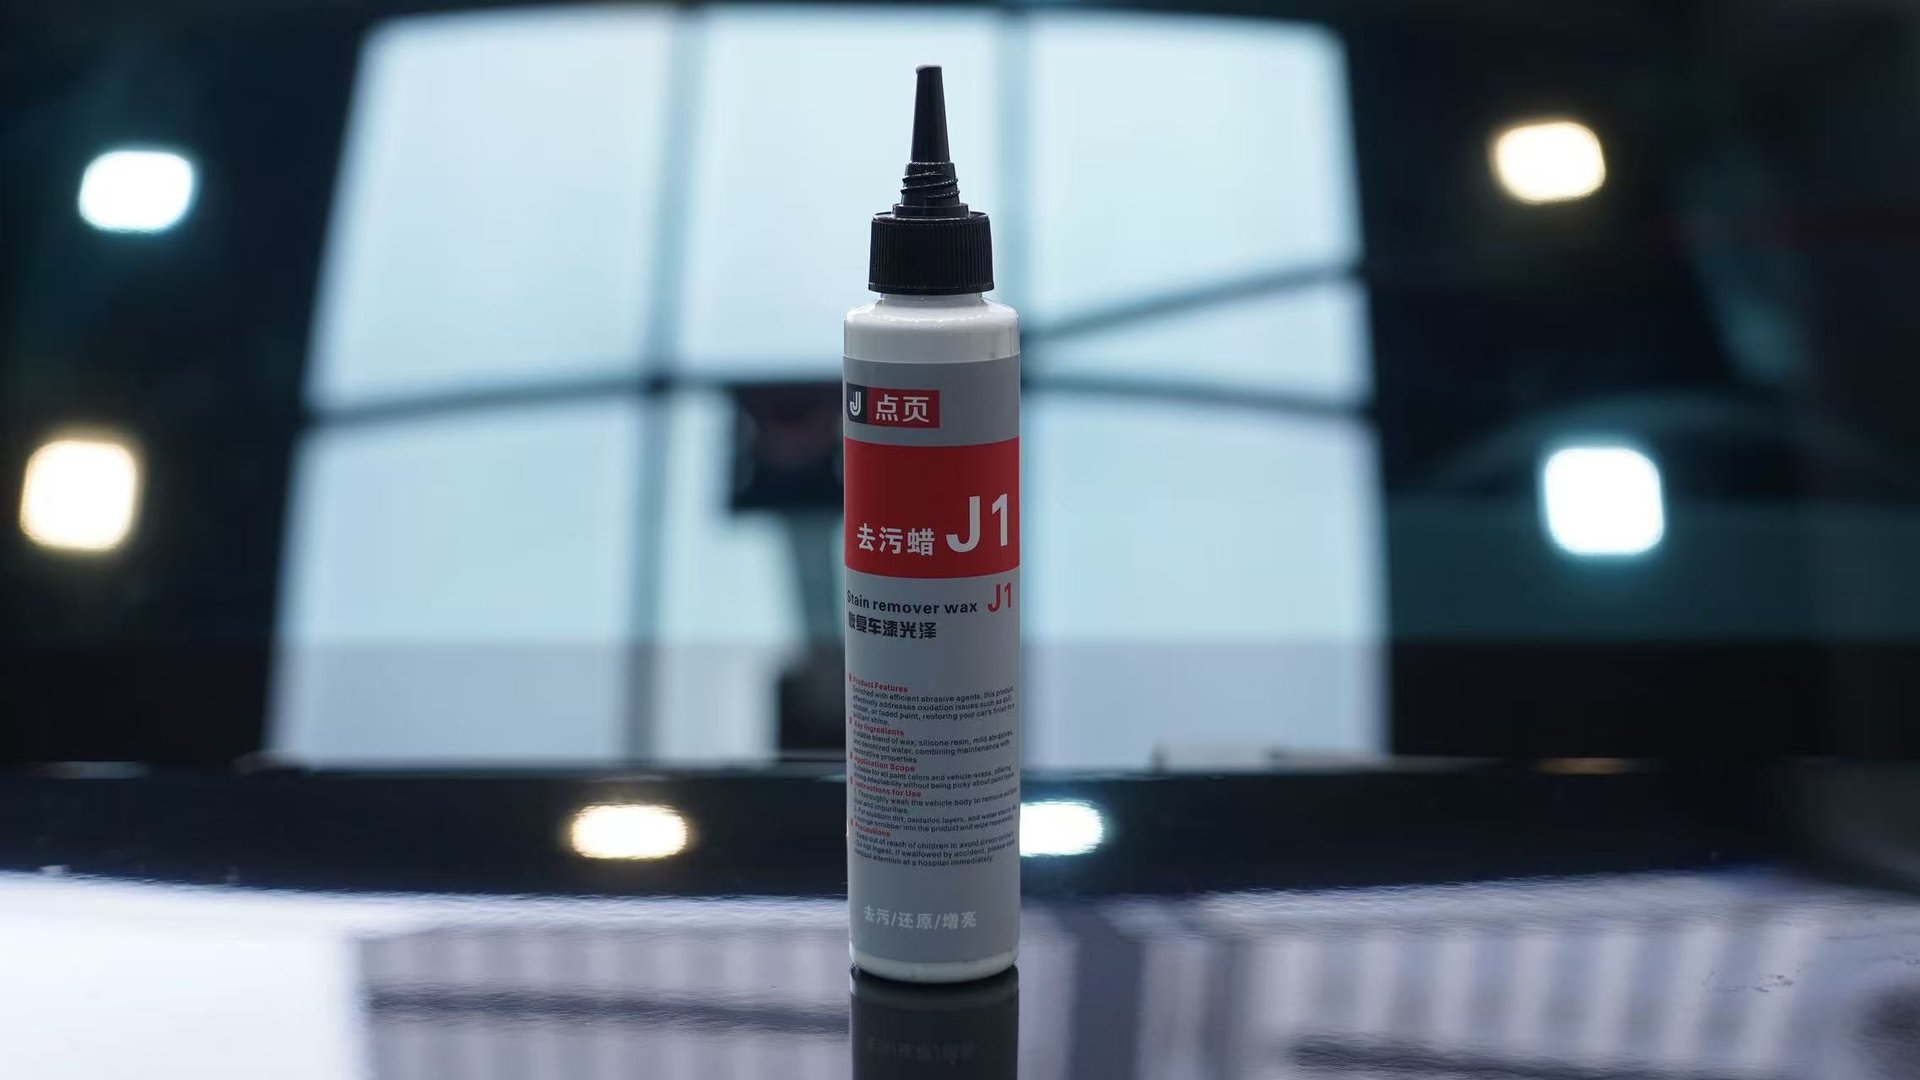
After degreasing, observe the paint from multiple angles under different lighting. If the polishing result isn’t ideal — such as missed scratches or remaining orange peel — you can do spot touch-ups now. Polishing uses water-based polishing wax with the appropriate pad, achieving paint correction through true abrasive cutting. Once you’re satisfied with the polishing result, proceed to waxing.
Remember: Polishing is correction; waxing is protection. Rushing to protect before correction is complete seals the problems in.
Three Waxing Methods Compared — Choose Based on Your Needs
Car waxes on the market fall into three main types, each with pros and cons. Whether it’s DianYe Auto Technology or other brands, the principles are similar.
Method 1: Liquid Wax — Fast Application, Ideal for Daily Use
Take DianYe X1 Quick Liquid Wax as an example — this type of liquid synthetic wax is the easiest to apply:
- Ensure the paint is completely clean and dry
- In a shaded area, evenly spray or apply the liquid wax onto the paint
- Wait 5-10 minutes for the wax layer to initially cure
- Buff with a clean microfiber towel in straight-line motions
Protection duration: 1-2 months
Liquid wax is ideal for DIY users and日常 paint maintenance — easy to learn and efficient. For car owners who regularly use car polishing wax for paint correction, liquid wax is the most hassle-free follow-up protection solution.
Method 2: Solid Carnauba Wax — Longer Lasting, Better Quality
Solid wax requires slightly more involved application:
- Dip a dedicated applicator pad into a small amount of solid wax (less is more)
- Apply in thin, straight or small circular motions, controlling each section to 50cm×50cm
- Wait 10-15 minutes until the wax turns from translucent to a white powdery haze and is no longer tacky
- Buff evenly with a microfiber towel in straight-line motions until the paint shines
Protection duration: 2-3 months
Solid wax provides warm, deep gloss with strong durability — ideal for car owners seeking long-lasting paint care. The downside is longer application time; better suited for weekends when you have time.
Method 3: Ceramic Coating — Most Durable, but Higher Barrier
Ceramic coating protection can last 1-3 years, but application requirements are very demanding:
- Requires a professional dust-free environment
- No water contact for 24 hours after application
- Generally recommended to be done by a professional auto detailing shop
Ideal for premium vehicles or owners wanting long-term hassle-free protection — leave it to the professionals. For DIY, the first two methods are more practical.
Three Critical Waxing Details
Waxing looks simple, but many people fail on these details, leading to unsatisfactory results.
Detail 1: Wait for the Wax to Dry Before Buffing
This is the most common beginner mistake. Wiping before the wax is fully dry leads to smeary, hazy streaks all over the paint.
How to tell if wax is dry: Lightly touch the edge of the wax layer with your finger — if it doesn’t stick and appears powdery or matte, it’s ready to buff. Drying times vary by product: liquid wax typically 5-10 minutes, solid wax 10-15 minutes — refer to product instructions. Products like DianYe X1 liquid wax dry relatively quickly; be careful not to let it over-dry.
Detail 2: Thin Layers Only, Never Thick
Many people assume thicker wax means better protection — quite the opposite. Wax applied too thick is not only wasteful but extremely difficult to buff off, leaving hazy residue that actually reduces gloss.
The correct approach: use a small amount each time, spreading a thin, even layer. Work in 50cm×50cm sections, one at a time — don’t rush.
Detail 3: Unidirectional Wiping
When buffing, use a microfiber towel and wipe in straight lines (top to bottom, left to right) — don’t wipe randomly back and forth. Random wiping creates wax haze and fine swirl marks.
For edges, crevices, and around badges, fold the towel to use the edge for precision, ensuring no wax residue remains.
Environment Matters Too
The waxing environment significantly affects results, but many people don’t pay attention.
Avoid direct sunlight: High temperatures cause the wax to dry too quickly and unevenly, making it difficult to buff and prone to leaving marks. Always work in the shade — an indoor garage is ideal.
Avoid windy, dusty conditions: On windy days, dust particles easily stick to the freshly waxed surface. When buffing, these particles act like sandpaper, creating fine marks on the paint — undoing all the scratch repair work.
Moderate temperature: Below 5°C in winter, wax becomes harder to spread evenly; in summer, just find a shaded spot.
How Long After Waxing Can I Wash the Car?
- Liquid wax / solid wax: Wait at least 24 hours before washing, allowing the wax layer to fully cure and bond
- Ceramic coating: Must wait the full 24-hour curing period; absolutely no water contact during this time
- Routine washing: Use pH-neutral car wash soap + gentle water flow; avoid alkaline cleaners and abrasive wash products, as they accelerate wax breakdown
After washing, if you want to quickly restore gloss, you can use a spray wax for a quick touch-up. But spray wax protection only lasts 2-4 weeks and cannot replace proper waxing.
Polishing → Waxing: Complete Process Summary
A complete paint correction and care process should look like this:
- Wash → Remove surface contaminants
- Polish → Use compound (such as water-based polishing wax) to remove oxidation and scratches, restoring paint flatness
- Remove residue → Wipe clean with a towel to remove polishing compound residue
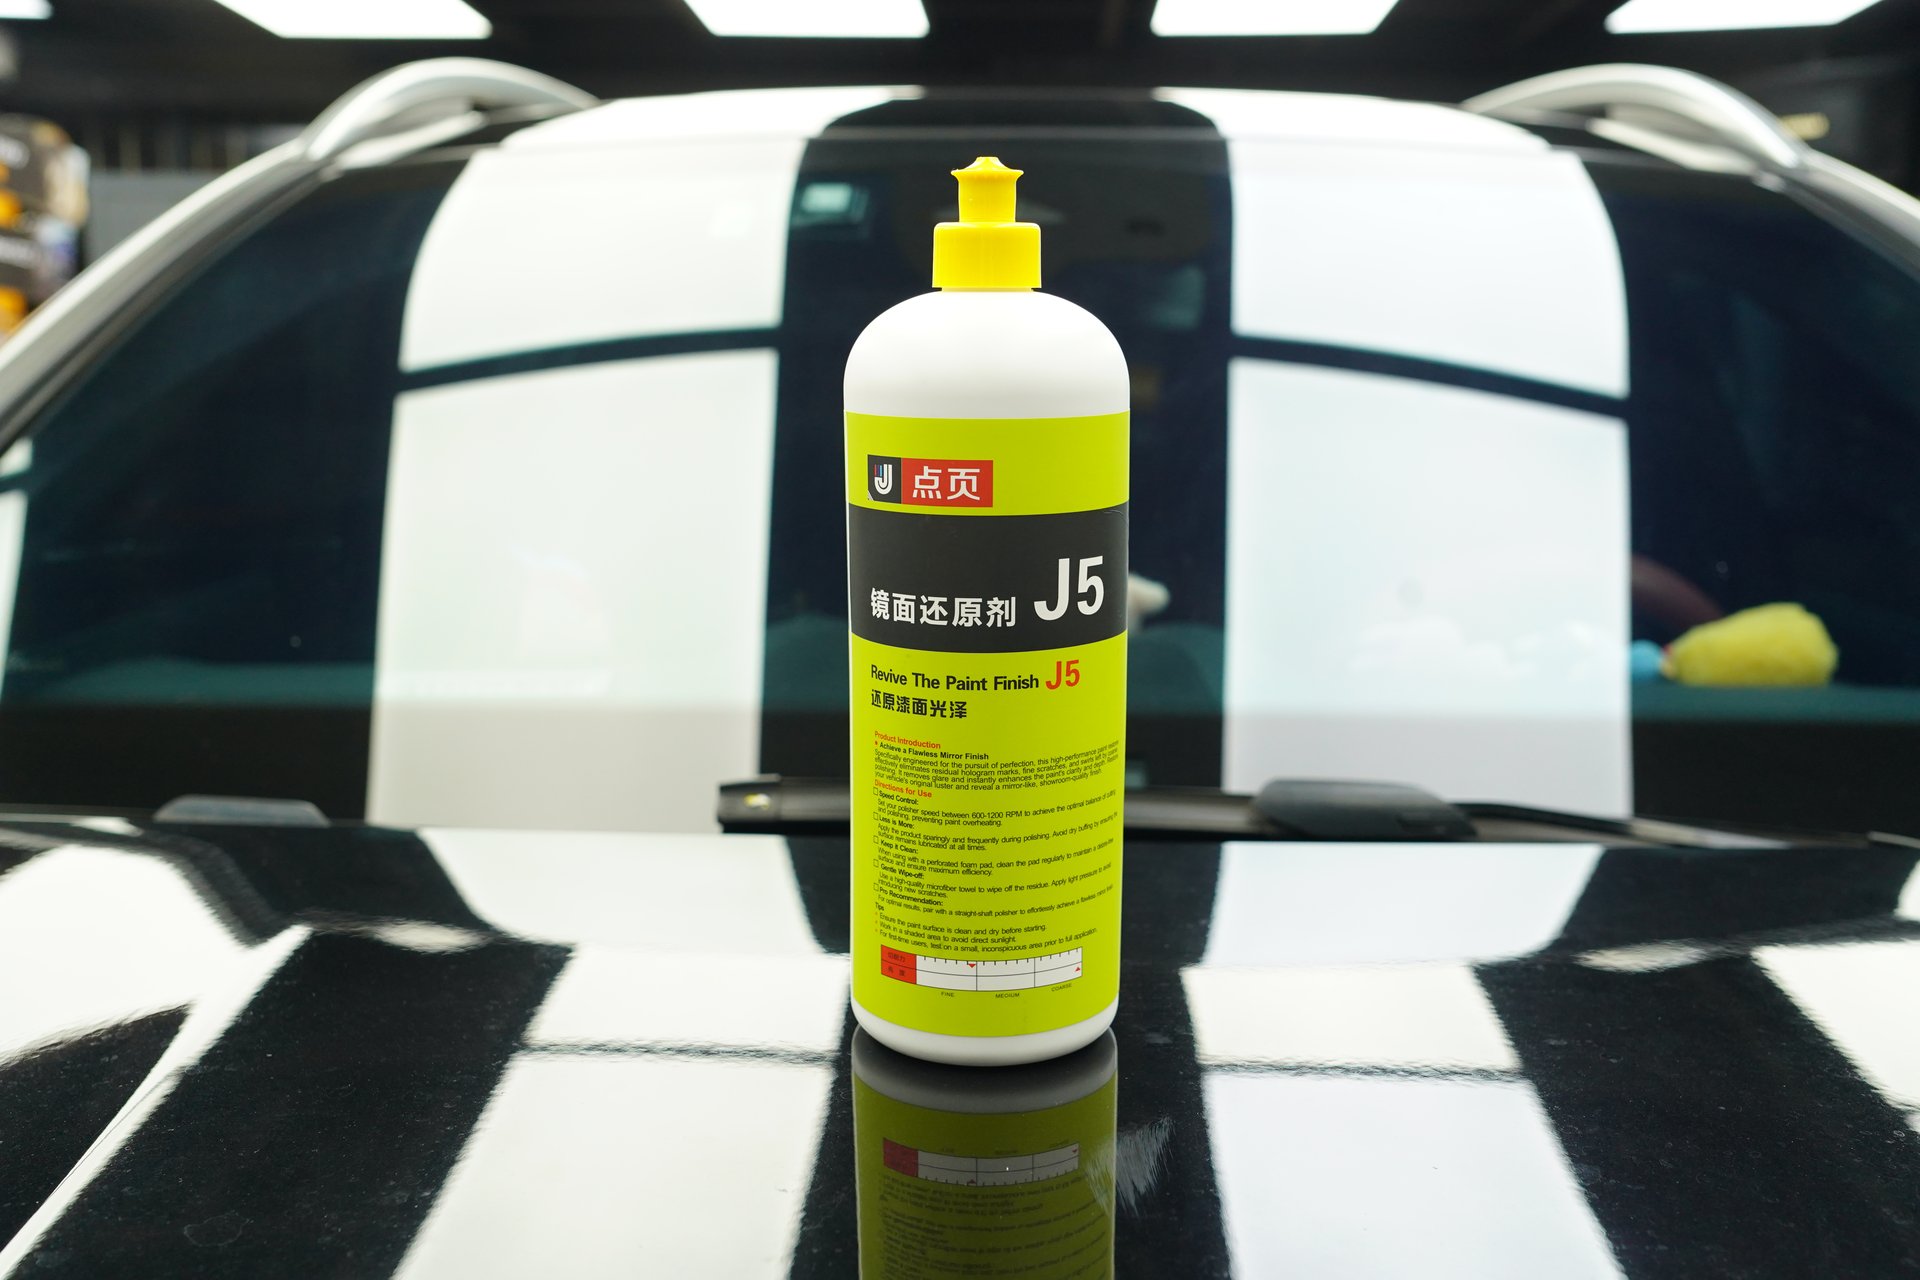
- Restore → Fine-polish with a mirror finish restorer to achieve mirror-like gloss. The mirror finish restorer further refines the patterns left by the compound, achieving true mirror-level clarity
- Degrease → Wipe with degreaser to remove all residue, ensuring a clean paint surface
- Wax → Apply wax protection, locking in the polishing results. Whether using solid or liquid wax, apply, wait for drying, then buff to shine
Complete all six steps, and the paint correction results will be lasting. Polish without wax — the mirror finish won’t last two weeks. Wax without polishing — the wax layer covers imperfections, and the gloss lacks depth. DianYe Auto Technology’s product line covers the entire process from polishing to waxing — J2 Water-Based Polishing Wax handles abrasive correction, J5 Mirror Finish Restorer handles fine finishing, and X1 Quick Liquid Wax handles wax protection.
One-Sentence Summary
After polishing, use the right wax, apply thin layers, wait for full drying, and buff clean — do these four things, and your paint correction results will last far more than just a few days.
For more auto polishing knowledge, search “DianYe Auto Technology.”