
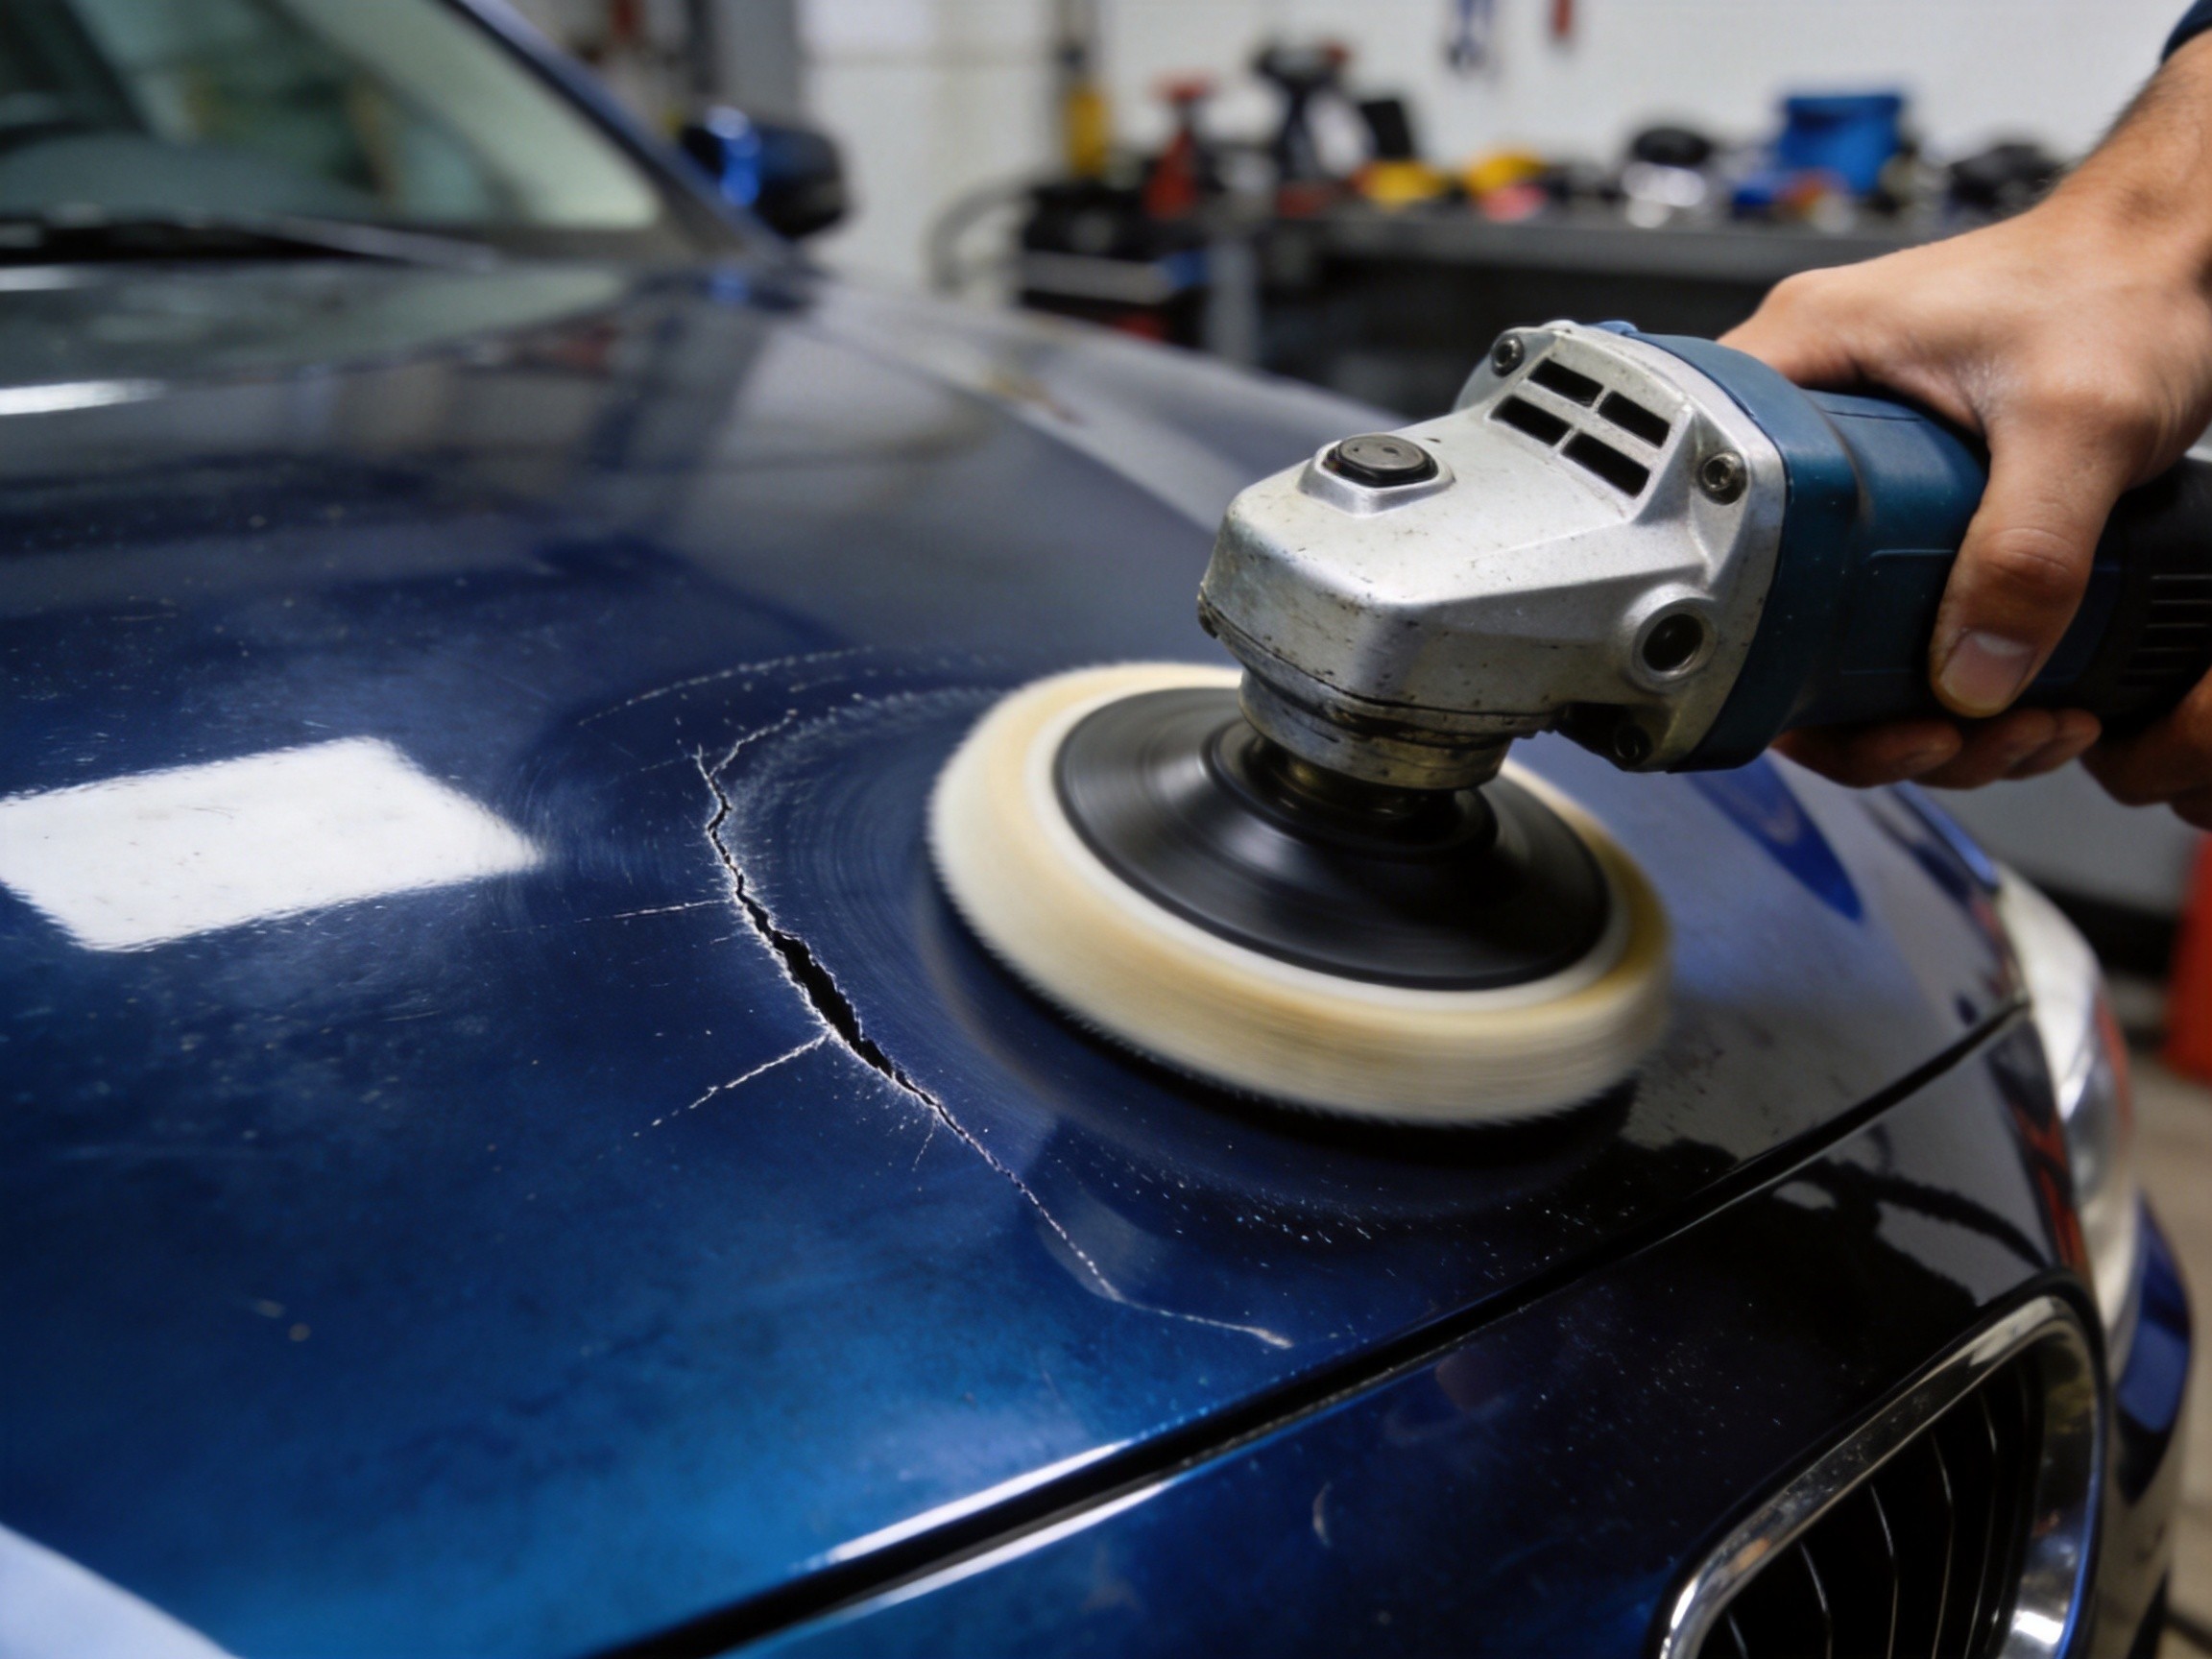
Deep Car Paint Scratches Don”t Need a Respray — Three Steps with Polishing Wax Can Save Them
You”re driving and someone scrapes your car, leaving a clear white mark on the paint. Most people”s first reaction is “now I need to get it resprayed.” Not necessarily.
Scratches look scary, but as long as they haven”t penetrated through the clear coat, there”s still a chance to save them with automotive polishing wax. In this article, I”ll walk you through how to identify deep scratches, how to treat them, and which steps you absolutely cannot skip.
1. First, Determine: Is Your Scratch Really a “Deep Scratch”?
Not every scratch that looks deep is actually a deep scratch, and not every deep scratch needs a respray. Get the diagnosis wrong, and your entire treatment approach will be off.
1.1 The Fingernail Test
Run your fingernail laterally (perpendicular to the scratch direction) across the scratch:
- Smooth, no resistance: Extremely shallow — swirl marks or hairline scratches. Fine polishing will handle it.
- Slight resistance but no catching: Light scratch. Medium cut + finishing polish will fix it.
- Slightly catches: Deeper, approximately 10-20μm, approaching the clear coat”s limit. Requires a full three-step polishing process.
- Catches significantly: Most likely penetrated through the clear coat, damaging the base coat or primer. Needs touch-up paint before polishing.
1.2 Water Test for Confirmation
Spray some water on the scratch and observe:
- Scratch disappears or fades significantly: The scratch is within the clear coat. Polishing can remove it.
- Scratch remains clearly visible, no color change: The scratch has penetrated through the clear coat, possibly reaching the primer.
Tip: Use both methods together for higher accuracy. If the fingernail doesn”t catch and the water test shows fading, you can be confident polishing will work.
1.3 Key Metric: Clear Coat Thickness
Clear coat thickness varies significantly between vehicle types, directly determining how many polishing sessions it can withstand:
| Vehicle Type | Clear Coat Thickness | Safe Polishing Limit |
|---|---|---|
| Japanese thin-coat vehicles | 25-35μm | 4-6 times |
| Medium thickness vehicles | 35-50μm | 6-8 times |
| German thick-coat vehicles | 40-60μm | 6-10 times |
Data source: Comprehensive industry testing data. If possible, use a thickness gauge to measure remaining clear coat before polishing.
Deep scratch definition: Depth of 10-20μm or more, still within the clear coat but approaching its limit. Fingernail catches noticeably, water test shows fading but not disappearance, and there”s a detectable step edge — these are typical characteristics of deep scratches.
Note: If the scratch exposes primer color (gray/white/black) or metallic sheen, it has penetrated through the clear coat. Touch-up paint is needed first — this is outside the scope of this article.
2. What Happens If You Ignore Deep Scratches
Leaving deep scratches untreated has consequences worse than you might think.
First, corrosion risk. The clear coat is the outermost protective layer of your paint. Once scratched through, moisture and acidic substances directly contact the base coat. Over time, the metal substrate will rust. Corrosion spreads from within, and repair costs can be several times higher than fixing it early.
Second, accelerated oxidation. Where the clear coat is damaged, the surrounding paint loses gloss protection and begins to oxidize, creating visible color difference with adjacent areas. This oxidation is irreversible — the sooner you treat it, the better.
Third, doubled repair costs. A deep scratch left to corrode may need spot touch-up at best, or full panel respray at worst. A problem solvable for a few dollars initially can balloon into hundreds later.
So once you spot a deep scratch, first determine if it can be polished, and if so, don”t delay.
3. Standard Deep Scratch Polishing Process: Three Steps
Deep scratch polishing differs from light scratch treatment. Light scratches might only need medium cut + finishing, but deep scratches require a complete three-step process. Skip any step and you”ll have visible remnants.
3.1 Step One: Cleaning and Assessment (Never Skip)
Deep cleaning:
- Wash thoroughly with neutral car wash soap to remove surface dirt and oil.
- Use a clay bar or clay mitt to remove embedded contaminants like iron particles and tar.
- Use IPA degreaser (isopropyl alcohol 1:1 with water) to remove old wax and oil film.
Polishing without proper cleaning causes dirt particles to create secondary scratches during polishing — even harder to fix than the original scratch.
Scratch assessment:
- Confirm depth range with the fingernail test.
- Use a bright flashlight at 45° to observe scratch characteristics.
- If available, use a paint thickness gauge to measure remaining clear coat.
Determining if wet sanding is needed: If the scratch is extremely deep (fingernail catches significantly and water test still shows clear marks), coarse polishing alone won”t remove it. Wet sand with 3000-5000 grit sandpaper using a DA machine first, leveling the clear coat around the scratch, then proceed with polishing.
⚠️ Wet sanding is high-risk. Not recommended for DIY unless absolutely necessary.
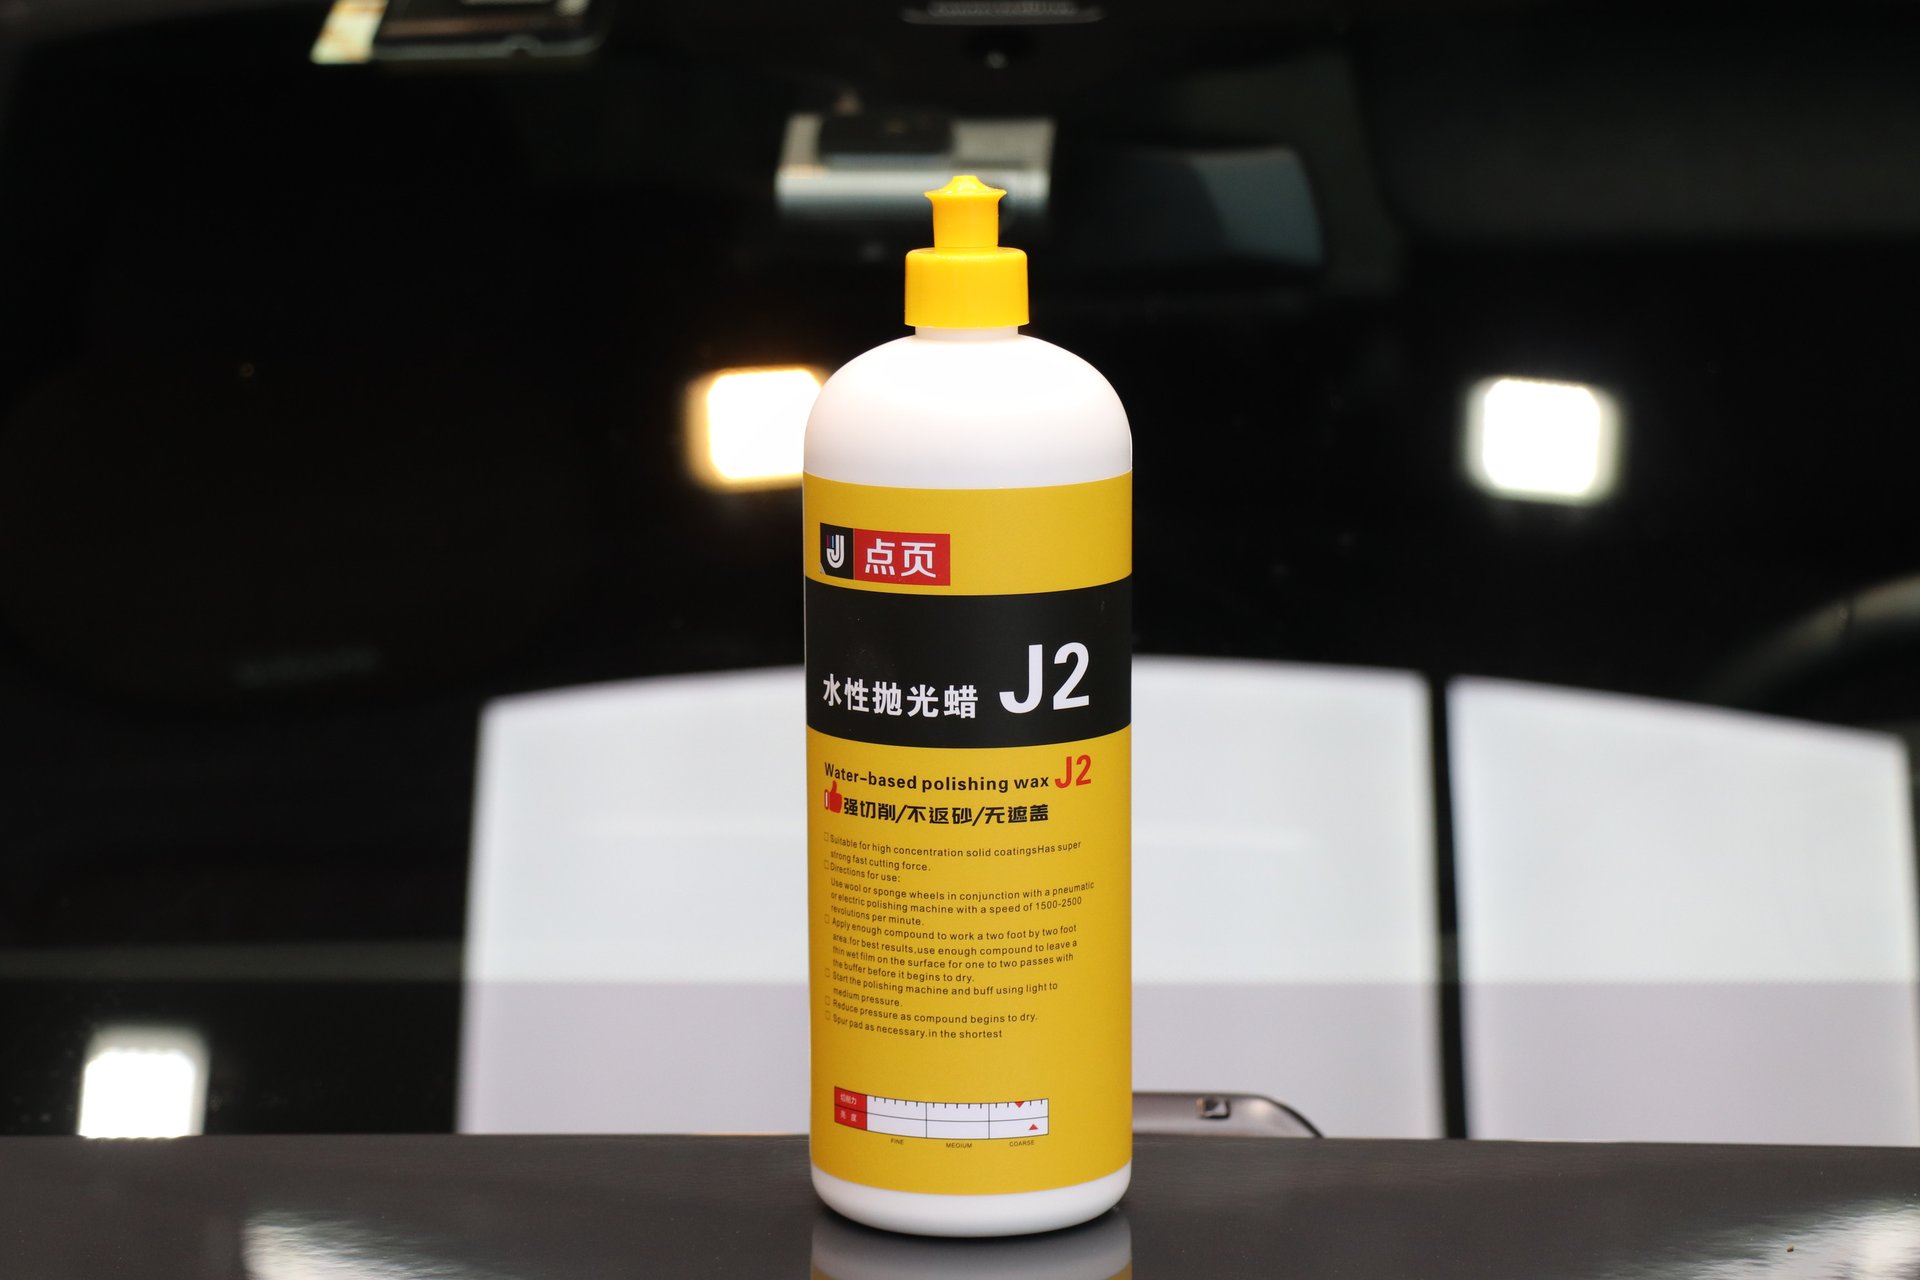
3.2 Step Two: Coarse Cutting — Leveling (J2 Coarse Polishing Wax + Short Wool Pad)
Coarse cutting is the core of deep scratch treatment. The goal is to remove the main scratch and any wet sanding marks.
Products:
- DianYe J2 Water-Based Polishing Wax: Abrasive particles >10μm, designed for coarse cutting. 1000g capacity. Efficiently cuts the clear coat to level scratch grooves.
- Short wool pad: Strong cutting power with elasticity for curved surfaces.
Operating parameters:
| Parameter | Recommended Value |
|---|---|
| Machine | RO or DA |
| Pad | Short wool pad |
| Speed | RO 1200-1500rpm / DA gear 5-6 |
| Pressure | Medium |
| Pattern | Straight-line overlapping, no circles |
| Section size | 60cm×60cm |
| Completion cue | Abrasive breaks down clear, haze disappears |
Key points:
- Keep pad parallel to paint surface.
- Each pass overlaps about 50% of pad diameter.
- Polish each section until haze disappears before moving on.
- Check paint temperature with back of hand. Too hot = stop immediately.
After coarse cutting, the scratch should be significantly reduced but the finish will appear dull — this is normal. Medium and fine polishing still needed.
3.3 Step Three: Medium Cut — Gloss Restoration (J3 + Fine Foam Pad)
Medium cut eliminates pad marks and haze from coarse cutting.
Products:
- DianYe J3 3-in-1 Polishing Wax: Abrasive particles 3-10μm, water-based paste. The “3-in-1” eliminates a separate finishing step.
- Fine foam pad: Medium hardness for effective haze removal.
| Parameter | Recommended Value |
|---|---|
| Machine | DA (recommended) |
| Speed | 1000-1200rpm |
| Pressure | Light |
| Completion cue | Haze disappears, uniform gloss |
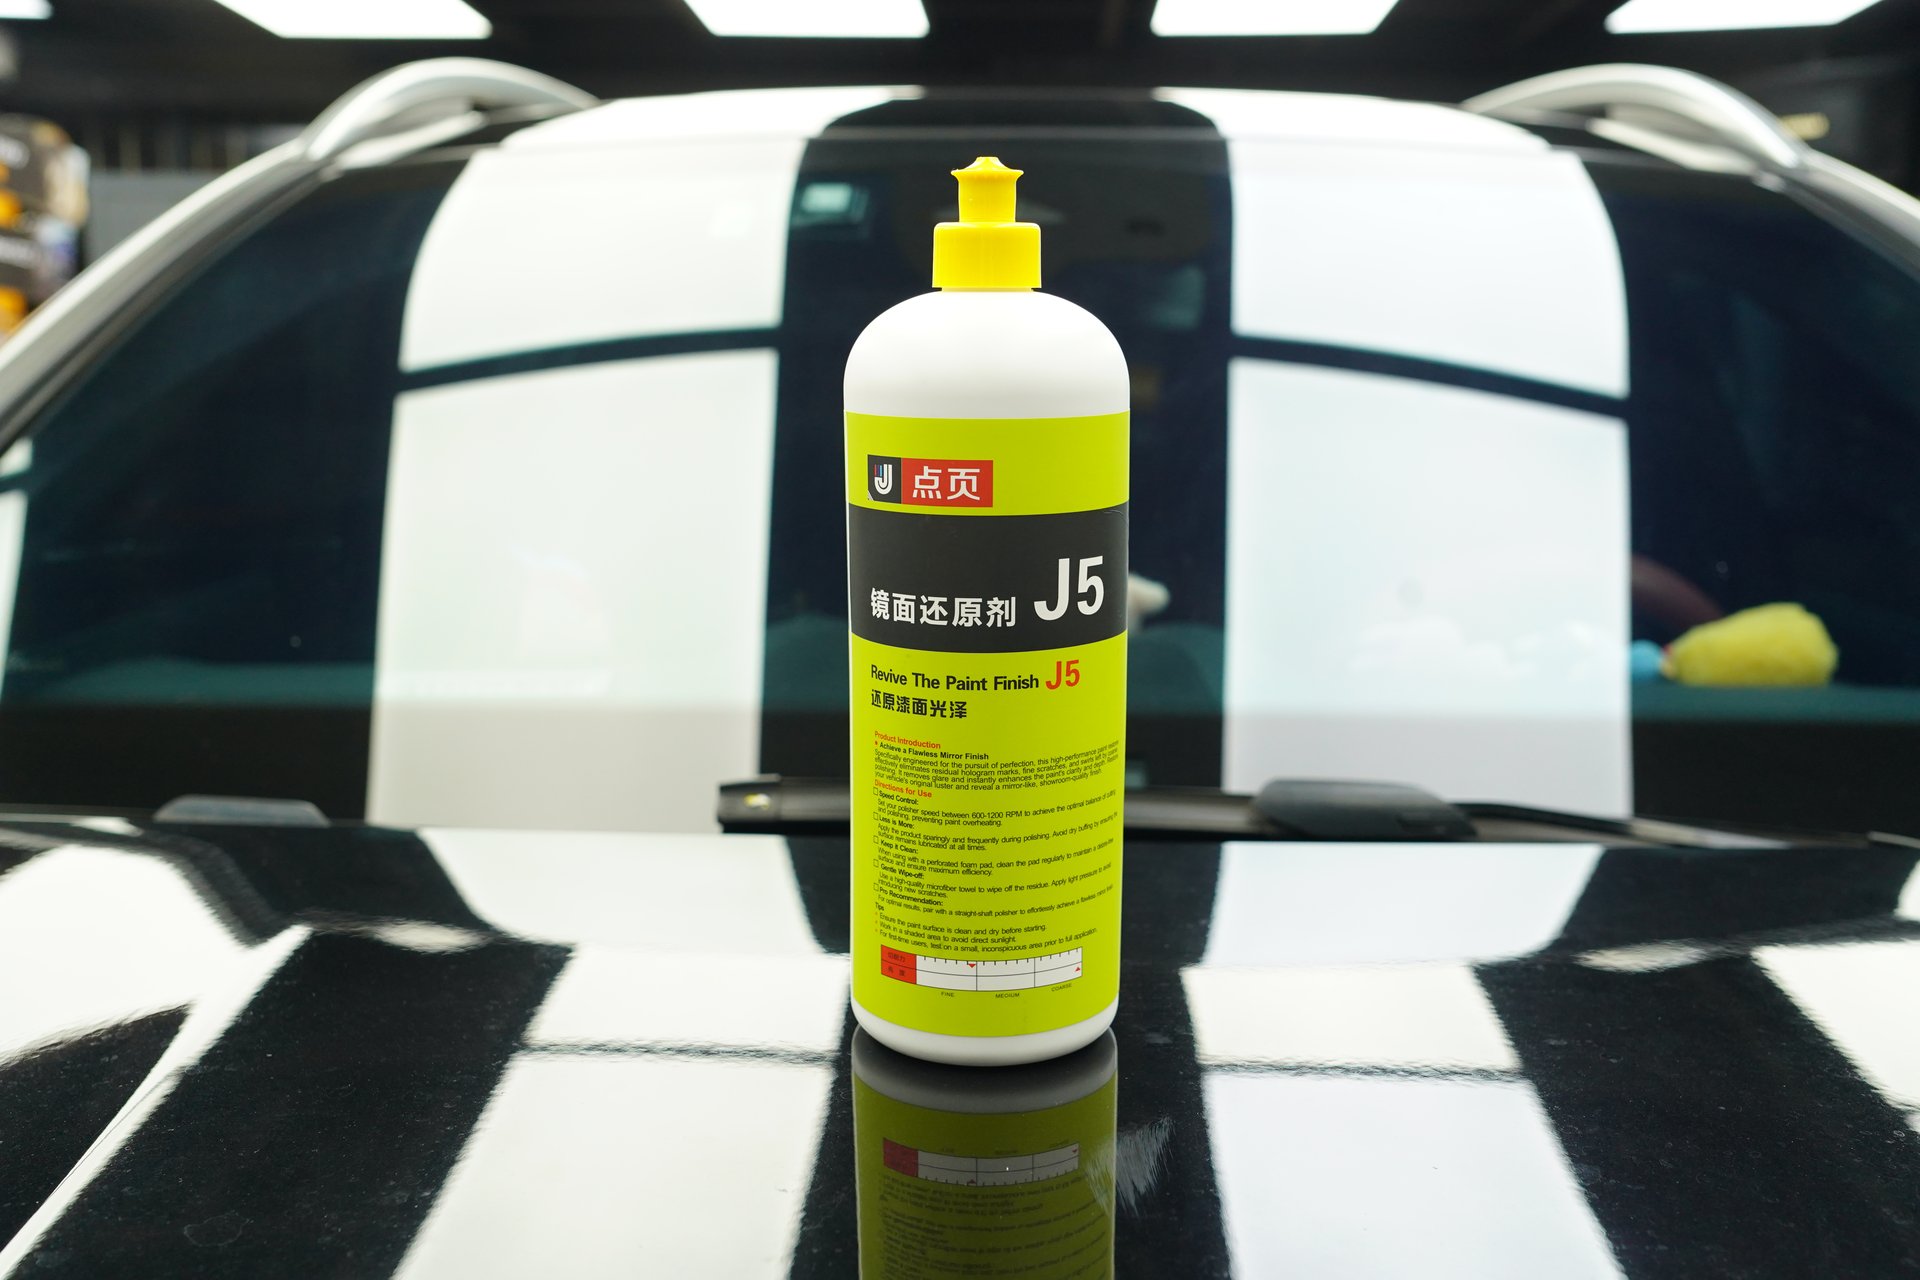
3.4 Step Four: Finishing — Mirror Restoration (J5 + Ultra-Fine Foam Pad)
Products:
- DianYe J5 Mirror Glaze Restorer: Abrasive particles <3μm, for fine finishing.
- Ultra-fine foam pad or microfiber pad: Extremely soft for mirror effect.
| Parameter | Recommended Value |
|---|---|
| Machine | DA |
| Speed | 800-1000rpm |
| Pressure | Extremely light — machine weight only |
| Completion cue | Mirror gloss, no marks |
After finishing, wipe with IPA degreaser to inspect:
- Good gloss after degreasing = true mirror restoration.
- Gloss drops after degreasing = filler illusion, needs more work.
J5 is physical polishing (contains abrasives), removing approximately 0.5-1μm of clear coat.
3.5 Degreasing Verification and Protection
After finishing and degreasing, apply a protective layer — otherwise the exposed clear coat will re-oxidize within days.
- Apply DianYe X1 Quick Liquid Wax: Spray and wipe, no waiting. Dual gloss and protection.
- Or apply ceramic coating for longer-lasting protection.
4. Deep Scratch Polishing Pitfall Guide
4.1 The Most Dangerous Risk: Burning Through the Clear Coat
Once burned through, clear coat cannot be regenerated. Only a respray can fix it.
Why it happens:
- Clear coat is thin (Japanese cars 25-35μm), each coarse cut removes 3-5μm.
- Edges and body lines have naturally thinner clear coat.
- Excessive heat softens clear coat, accelerating removal.
Prevention:
- Measure clear coat thickness before polishing.
- Follow “as much correction as necessary, as little as possible.”
- Never use high speed on edges. RO ≤1200rpm, DA ≤2000rpm.
- Check temperature frequently. Too hot = stop.
- Accept slight residuals rather than risking burn-through.
4.2 Operation Prohibition List
| Prohibition | Consequence |
|---|---|
| Polishing in direct sunlight | Clear coat softens, easy burn-through |
| Staying on one spot >3 seconds | Localized heat, burns through |
| Using a dirty pad | Secondary scratches |
| Mixing pads between stages | Coarse residue scratches paint |
| Touching unde-greased paint | Oil contamination |
| Not measuring thickness first | Operating blindly |
4.3 Quick Reference Table
| Stage | Product | Pad | Speed | Pressure |
|---|---|---|---|---|
| Coarse | J2 coarse wax | Short wool pad | RO 1200-1500rpm | Medium |
| Medium | J3 medium wax | Fine foam pad | 1000-1200rpm | Light |
| Fine | J5 mirror restorer | Ultra-fine foam pad | 800-1000rpm | Very light |
| Protection | X1 quick liquid wax | — | — | — |
Hard pad for coarse, soft pad for fine. This is the iron rule of pad-and-wax pairing.
5. What If Marks Remain After Polishing
Scratch still faintly visible: May exceed safe clear coat removal. Use a glaze with fillers to temporarily mask it.
Scratch at body line edges: Clear coat too thin to continue polishing. Accept partial removal, fill with glaze, or touch up.
Light haze appears: Uneven medium cutting. Spot-polish and re-finish.
6. The Right Timing for Treatment
Best: When scratch is fresh. Acceptable: Weeks old, slight oxidation, no rust. Don”t polish directly: Rust present or primer exposed — treat rust/touch up first.
Post-polish protection is mandatory: Without it, the exposed clear coat re-oxidizes quickly.
Conclusion
Deep scratches are manageable as long as they”re within the clear coat. Coarse wax for leveling, medium wax for gloss, mirror restorer for finishing — with proper technique, you eliminate the scratch without respraying.
Three rules:
- Judge depth first. Only proceed if polishable.
- Three steps: coarse, medium, fine. Skipping any leaves residuals.
- Better a faint mark than burned-through paint.