
Car Got Scrape Marks? Remove Paint Transfer Yourself with Polishing Wax and Clay Bar
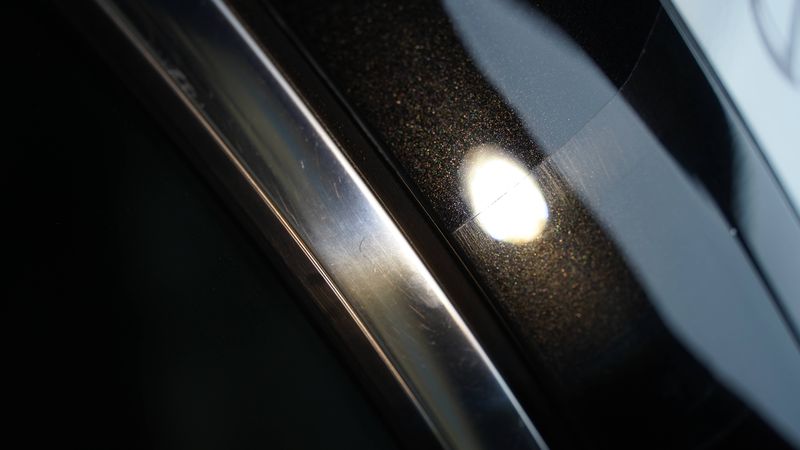
You open your car door in a parking lot and it bumps another car — now there”s a streak of someone else”s paint color on your door. Or you parked too close to a barrier and your bumper has a black smear on it. Sound familiar?
Your first reaction is probably “great, now the paint is chipped.” But look closer — most likely, your paint isn”t damaged at all. What you”re seeing is someone else”s paint rubbed onto your car. In the auto detailing industry, this has a specific name: Paint Transfer.
The good news? Paint transfer is the easiest paint problem to fix. No repainting, no trip to the body shop. With a polishing wax, a clay bar, and a bottle of IPA, you can handle it at home for under $15.
But the bad news — if you use the wrong method, like the “magic eraser” trick floating around social media, the problem will end up far worse than the original scrape mark.
In this article, I”m going to walk you through paint transfer from start to finish: how to identify it, how to remove it, which mistakes to absolutely avoid, and how to protect the paint afterward.
1. First, Understand: What Are Those “Color Marks” on Your Car?
1.1 The Nature of Paint Transfer
When a scrape happens, the two surfaces rub against each other, and material from the other object transfers onto your clear coat. If you scrape against another car”s bumper in a parking lot, their plastic paint (on a PP/ABS substrate) sticks to your clear coat surface. Scrape against a rubber parking stop? Carbon black and rubber particles smear onto your bumper. Hit a metal guardrail? Their metal paint leaves a colored stripe on your car.
These materials don”t “penetrate” your paint — they”re adhered to the surface of your clear coat. Think of it like getting someone else”s lipstick on your hand — your hand isn”t hurt, it”s just dirty.
1.2 How to Tell If It”s Paint Transfer
The method is simple: use your fingernail.
Run your fingernail across the scrape mark (perpendicular to the mark, not along it):
- If your nail feels smooth with no catching, but the color is clearly wrong (red/black marks on a white car) → most likely paint transfer
- If your nail catches noticeably and you feel a groove → paint transfer combined with actual scratching
- If your nail catches badly and you can see gray/white primer or bare metal → deep scratch that has penetrated through the clear coat
Paint transfer has a classic “deceptive” quality: it looks bad but feels fine. A layer of someone else”s red paint covering your white car looks like “chipped paint” from a distance, but your clear coat may be completely undamaged.
I”ve seen too many car owners panic at scrape marks, rush to the dealership for a respray — spending $500–$1,000 — when the mark could have been removed with a $5 clay bar.
2. The Decision Logic for Paint Transfer Removal: Clear the Foreign Material First, Then Assess Damage
This point is critical, but 90% of car owners overlook it.
After a scrape, the first step isn”t evaluating how deep the scratch is — it”s removing the transferred material first.
Simple reason: with foreign material covering the surface, you can”t see the true condition of the paint underneath. The fingernail test is measuring the thickness of the transfer layer, not the depth of damage to your clear coat. Trying to decide “do I need a respray?” with transfer material still on top is like making decisions blindfolded.
The correct sequence is:
- Wash the scraped area (remove loose dirt)
- Remove the paint transfer (using a clay bar or solvent)
- After removal, inspect the actual paint condition
- Decide on further treatment based on real damage
Many times you”ll find that after removing the transfer, the paint looks brand new. The whole process is done — you just need to apply a layer of protective wax.
2.1 The 48-Hour Threshold
The longer paint transfer sits on your paint, the harder it is to remove.
Fresh transfer (within 24 hours): Car wash soap and water can remove 60–70%; clay bar removal rate exceeds 95%.
After 48–72 hours of curing: Clay bar removal rate drops to 70–80%, usually requiring IPA or tar remover as a supplement.
After a week or more: The foreign material may have chemically bonded with the clear coat — even solvents won”t work, and only polishing compound can resolve it.
In hot, high-UV summer conditions (especially in southern climates), this process accelerates further. My standing advice: handle it as soon as possible, don”t wait.
3. Five Levels of Removal — From Gentle to Aggressive
There”s an iron rule for paint transfer removal: start with the gentlest method and escalate only if needed. Each step up increases the risk to your clear coat. Don”t jump straight to the strongest option — this isn”t a battle.
3.1 Level 1: Water + Neutral Car Wash Soap
Fresh paint transfer might wash right off with a thorough wash. Use neutral car wash soap with a soft brush or wash mitt, focusing on the scraped area.
Zero risk at this stage. When car owners say “I washed it with soap and it still won”t come off,” the issue isn”t the soap — the transfer has already cured, and you need to step up.
3.2 Level 2: Clay Bar (Top Recommendation)
If car wash soap doesn”t work, bring out the clay bar. The clay bar is the “gold standard” for removing surface-contaminated material in auto detailing — this is undisputed across the global detailing industry.
The clay bar works through physical adsorption: the slightly tacky surface of the clay lifts foreign particles off the clear coat and wraps them inside the clay. It doesn”t consume clear coat and doesn”t cause chemical reactions.
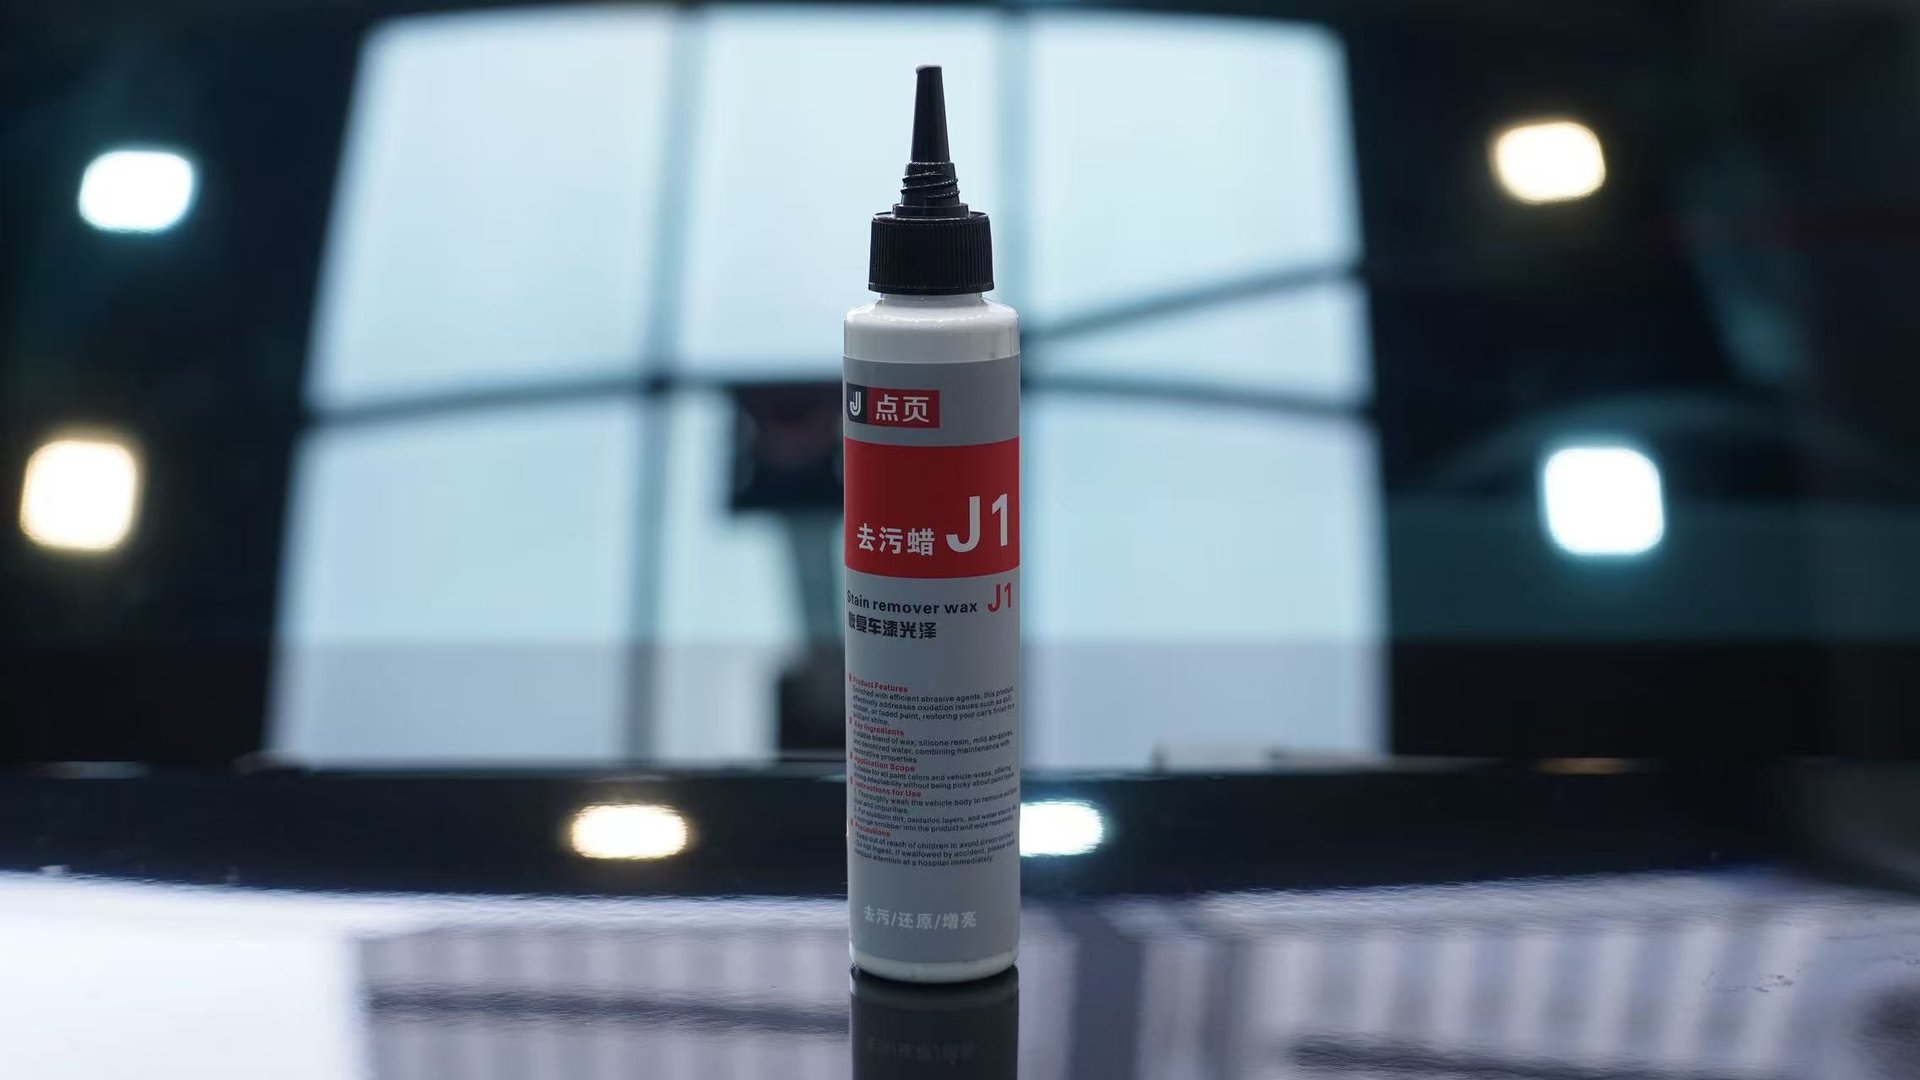 ▲ DianYe J1 3-in-1 Cleaning Wax — apply and wipe directly; can be used before clay bar treatment for initial cleaning and softening of transferred material
Procedure:
- Generously spray clay lubricant on the scraped area (car wash soap diluted in water works in a pinch)
- Flatten the clay bar into a patty shape and glide it in straight lines across the paint — do not use circular motions, which can cause swirl marks
- Keep pressure light; let the clay do the work
- Frequently fold the clay to expose a clean surface
- Wipe clean with a microfiber towel after treatment and inspect the result
Clay bar vs. clay towel: Clay towels are gentler and more beginner-friendly with lower risk of error; traditional clay bars have stronger cutting power for stubborn contamination. For parking lot bumper paint marks, a clay towel is usually sufficient; for black rubber residue from parking stops, a traditional clay bar works better.
3.3 Level 3: IPA (Isopropyl Alcohol)
If the clay bar doesn”t get everything off, move to IPA. IPA (isopropyl alcohol) is particularly effective on rubber and resin-type paint transfer — scrapes against rubber guardrail posts, tree branch resin, and similar contaminants respond faster to IPA than to clay.
Operating guidelines:
- Use 50–70% concentration (standard rubbing alcohol strength); do not use 95%+ high concentration
- Apply IPA to a microfiber towel and wipe gently — do not spray directly on the paint surface
- Rinse immediately with clean water after wiping
- Keep total contact time under 30 seconds
A note: 70% rubbing alcohol from the pharmacy is essentially an IPA solution and works fine for this. But don”t use it for soaking or repeated large-area wiping — IPA has mild degreasing properties and overuse will strip your wax layer.
3.4 Level 4: Tar Remover
For stubborn foreign material like metal guardrail paint marks or overspray from spray paint, clay bar and IPA may not be strong enough. This is when you reach for tar remover.
Tar remover is a petroleum-based solvent with strong dissolving power for oil-based paints and asphalt-type substances. Spray it on, wait 1–2 minutes for the transfer to soften, then wipe it off. But you must rinse immediately with plenty of water afterward — prolonged contact with tar remover will soften the clear coat.
3.5 Level 5: Polishing Compound (Last Resort)
If none of the first four methods work, the foreign material has partially fused with the clear coat and only physical abrasion will remove it. This is when you reach for automotive polishing wax.
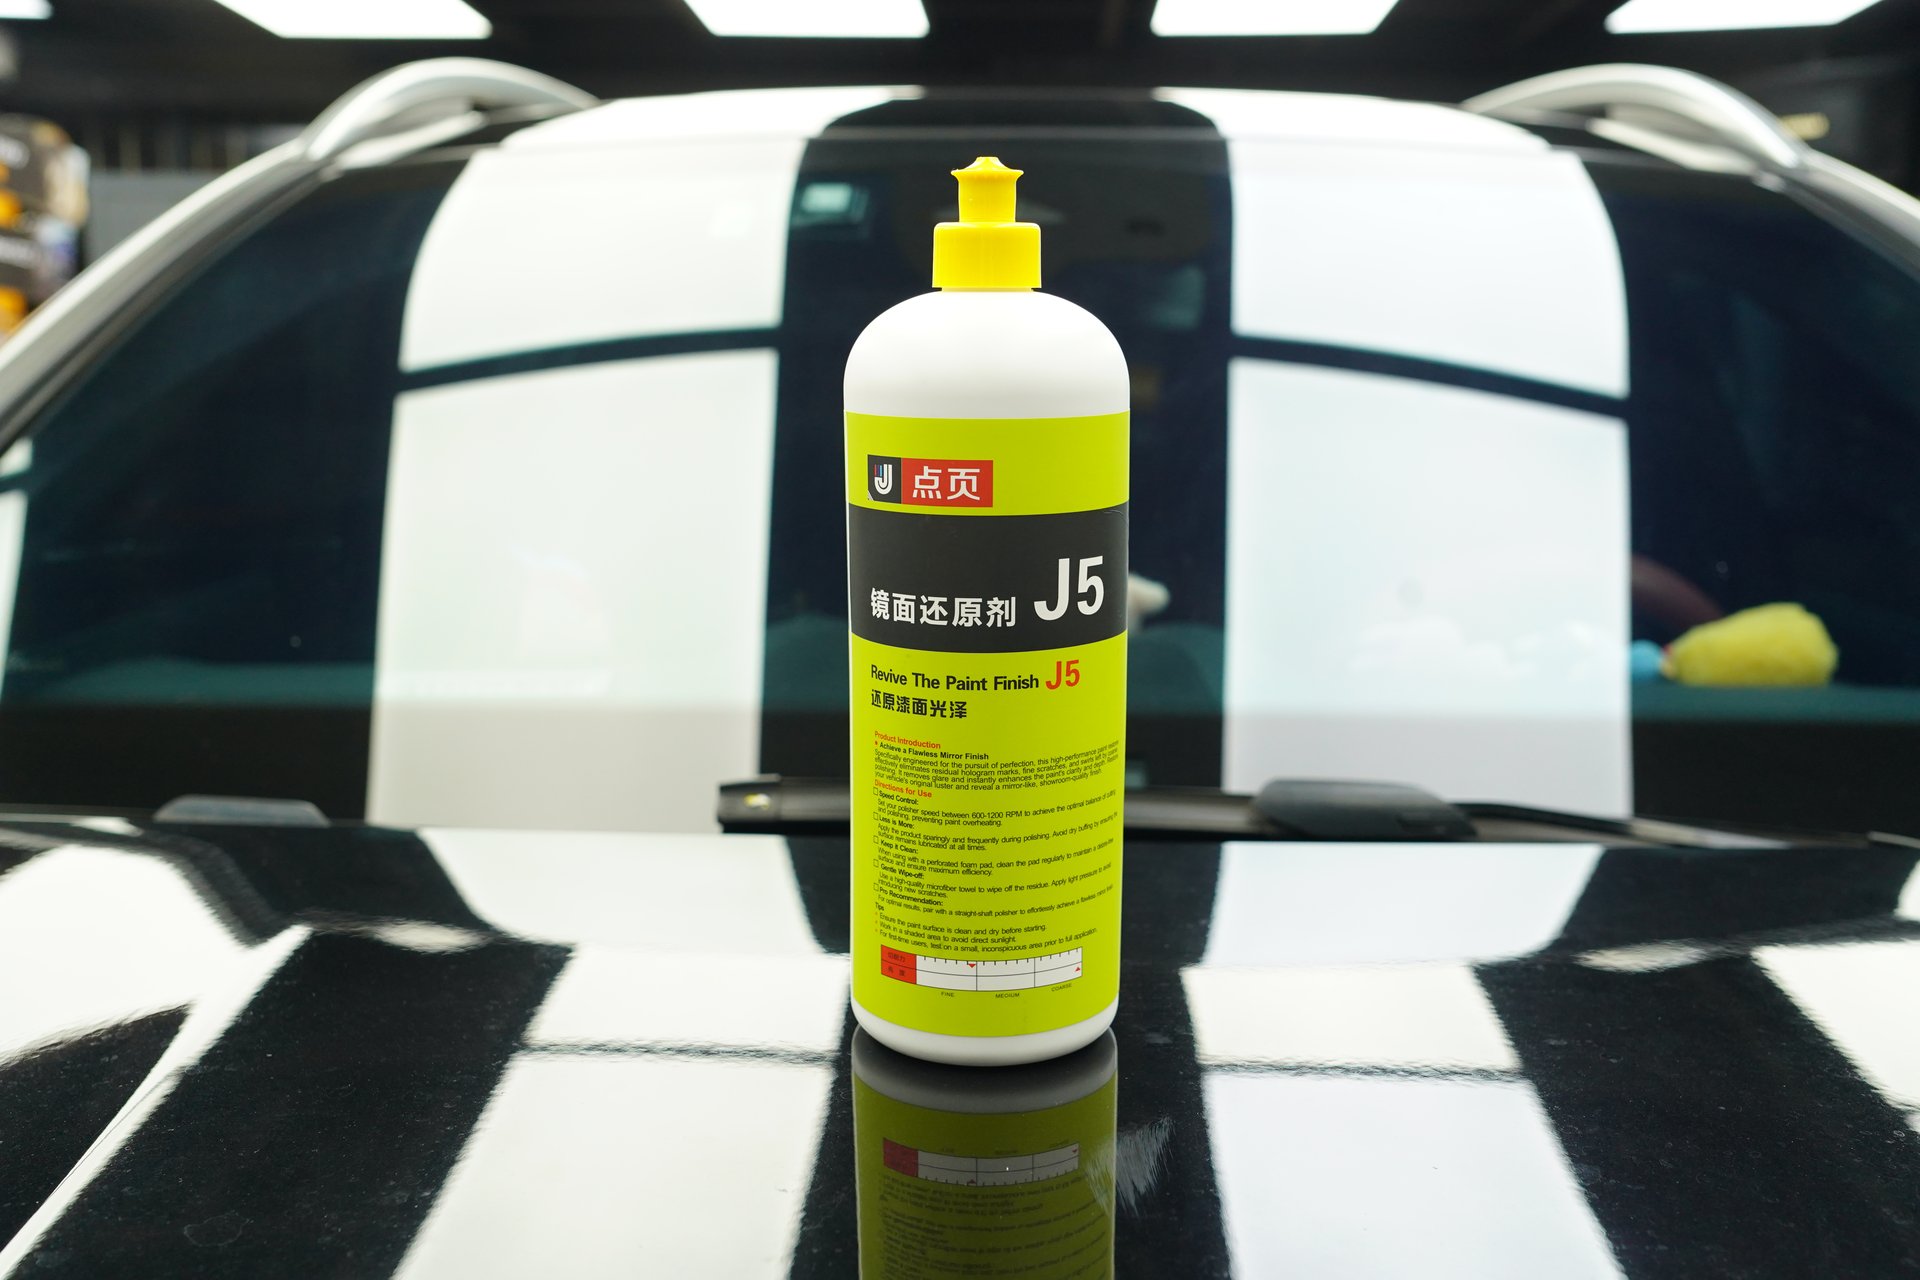 ▲ DianYe J5 Mirror Restorer — fine abrasive particles remove residual contamination while restoring paint gloss
Use a polishing compound with a DA polisher and an ultra-fine foam pad at low speed (1,000–1,200 rpm) with light pressure over the contaminated area. The abrasive particles will remove a thin layer of clear coat surface, taking the residual contamination with it.
This step consumes clear coat (approximately 1–2μm), so it should only be used when all gentler methods have failed.
4. Three Things You Must Never Do
Before getting into the correct procedure, I need to call out the three most common mistakes first. These methods are widely promoted on short video platforms and look effective, but they”re actually destroying your paint.
4.1 Don”t Use a Magic Eraser
“Magic eraser for scrape marks” is probably one of the most widespread DIY solutions on the internet. The problem — a magic eraser (melamine sponge) has a microstructure of rigid glass fibers, with an abrasiveness equivalent to 3,000–4,000 grit sandpaper.
Your clear coat is only 30–60μm thick. You”re sanding it with sandpaper, removing 1–3μm per pass. After just 5 uses, you can measure a drop in gloss. Both Chemical Guys and 3M (the manufacturer of Mr. Clean Magic Eraser) explicitly advise against using it on automotive paint.
Why does it seem to work? Because the foreign material does get removed — but at the cost of leaving a whole field of micro-scratches on the clear coat that turn hazy and dull in sunlight. You think “the scrape mark is gone,” but you”ve actually replaced a transfer mark with a blanket of micro-scratches.
Correct alternative: Clay bar + lubricant — zero abrasion, zero chemical impact.
4.2 Don”t Use Nail Polish Remover (Acetone)
Nail polish remover contains 30–70% acetone. Acetone dissolves acrylic resin and alkyd resin — the two main components of your clear coat.
Pure acetone causes observable gloss loss after just 60 seconds of contact with automotive paint; acetone-based nail polish remover causes whitening/hazing after 30+ seconds of contact. Acetone damage to clear coat is irreversible.
Correct alternative: IPA (isopropyl alcohol) at 50–70% concentration, safe for clear coat.
4.3 Don”t Apply Nail Polish to “Seal” the Scrape Mark
Some car owners skip removing the foreign material and just paint nail polish over the mark, thinking “if I seal it, it won”t matter.” This permanently locks in the contamination — nail polish chemicals are completely incompatible with automotive paint. After a few days it peels and discolors, and removing it requires solvents that damage the paint all over again.
5. The Complete Post-Removal Treatment Process
Once you”ve cleaned off the foreign material, you can finally see the true condition of the paint. There are two paths depending on what you find:
5.1 Paint Is Intact (Most Common Case)
Good news — your clear coat isn”t damaged. But the clay bar, IPA, and other steps have stripped away the existing wax/sealant layer, leaving that area completely unprotected.
Treatment steps:
- Full IPA degreasing — remove all residual solvent and oil film, exposing clean clear coat
- J5 Mirror Restorer fine polish — use a DA polisher with an ultra-fine foam pad at 1,000–1,200 rpm to remove any light marring left by the clay bar and restore mirror gloss
- X1 Quick Liquid Wax protection — spray on, wipe evenly to form a protective layer
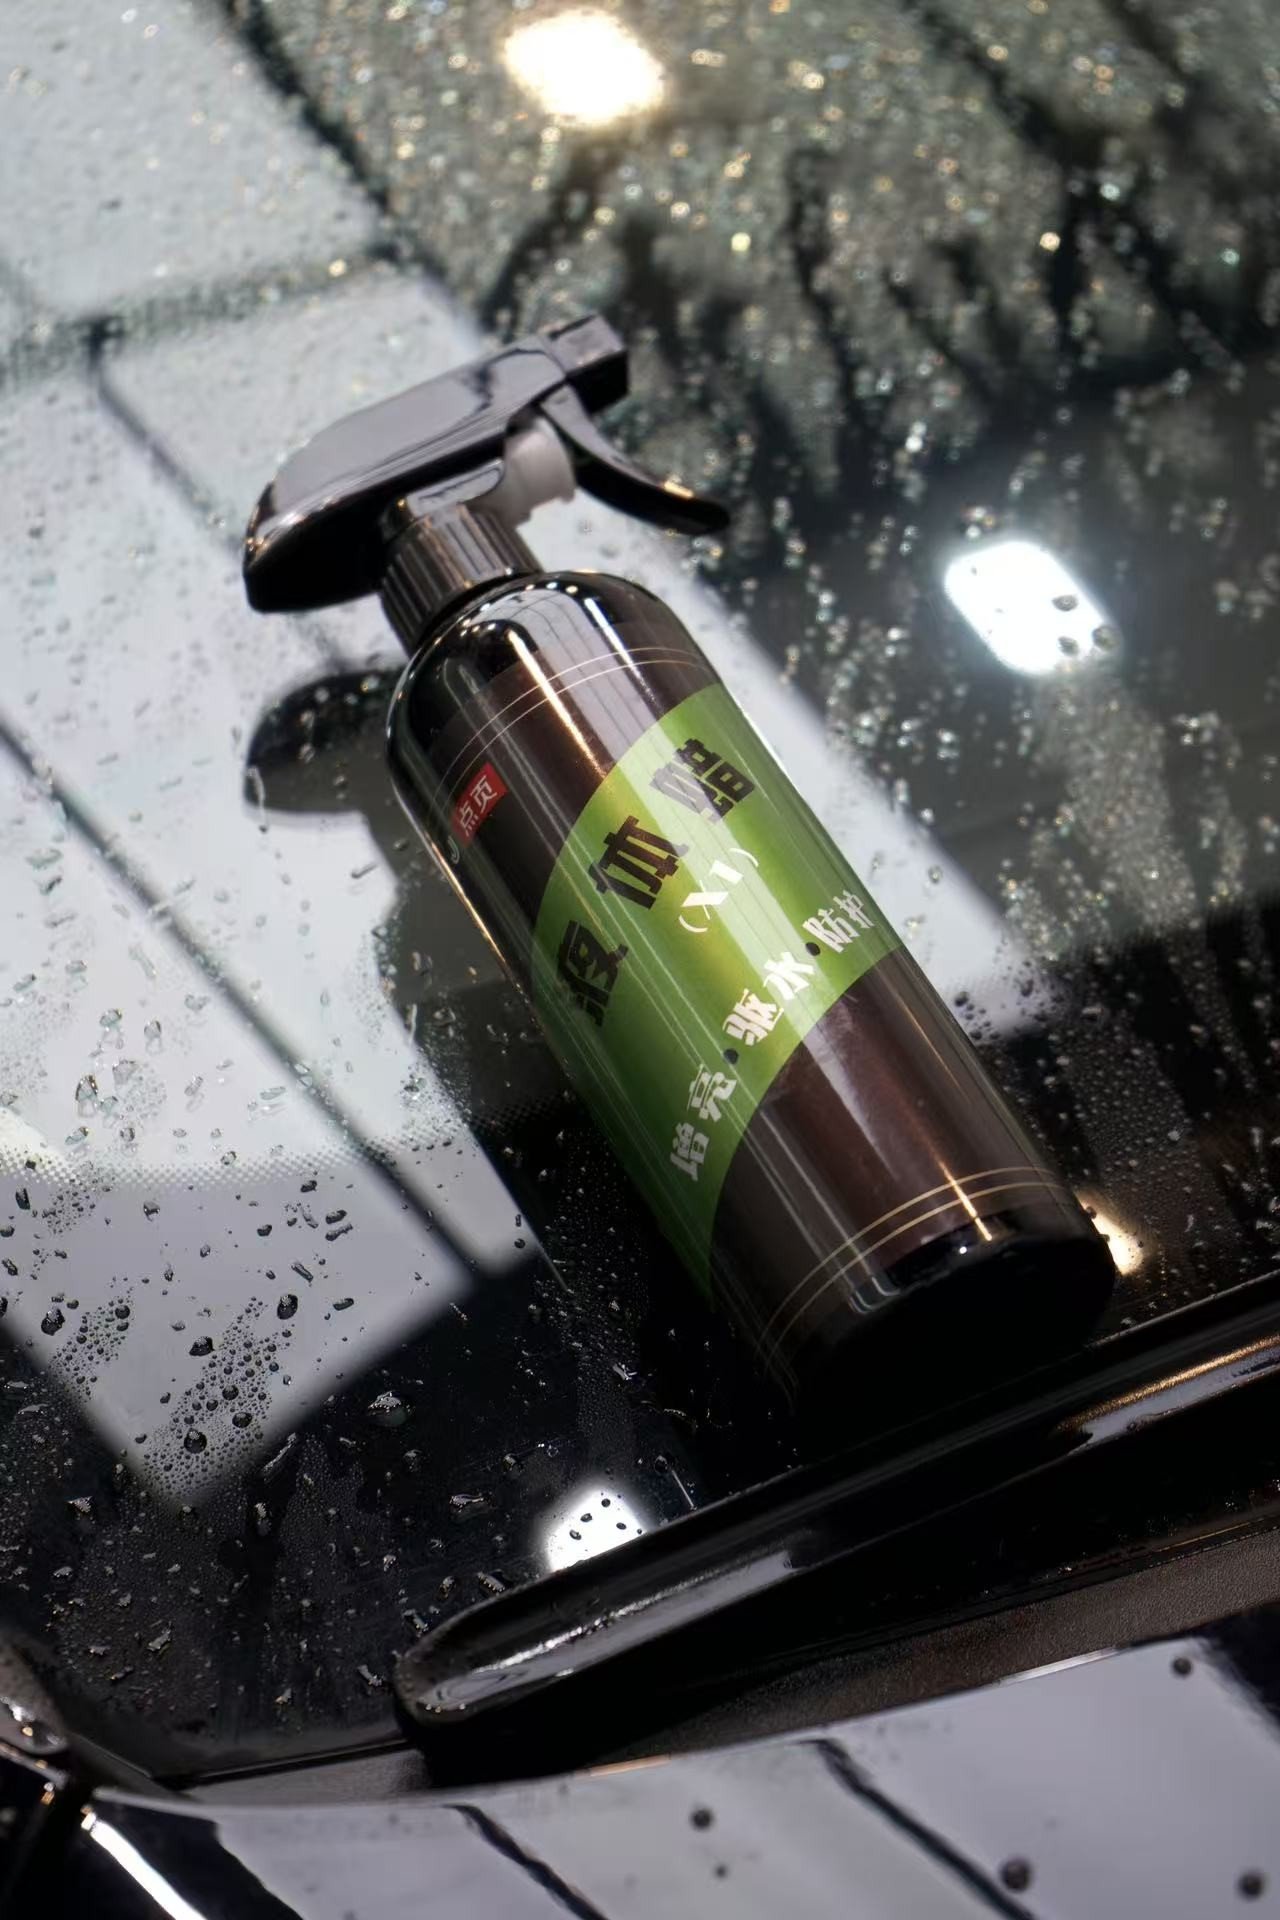 ▲ DianYe X1 Quick Liquid Wax — spray and wipe for instant protection, preventing oxidation on unprotected clear coat
X1 uses a water-based formula that”s extremely straightforward to apply — just spray it on the paint and wipe it evenly with a clean microfiber towel. No curing time needed. The protection lasts for several weeks, providing a shield against UV rays and contaminants.
5.2 Paint Has Residual Micro-Scratches
Sometimes after removing the transfer, you can see faint scratch marks underneath — your fingernail doesn”t catch, but they”re visible to the eye. This requires an additional medium-cut polishing step.
Treatment steps:
- IPA degreasing
- Use J3 medium-cut polish with a fine foam pad, DA polisher at 1,500 rpm on the scratched area
- J5 Mirror Restorer for finishing gloss
- X1 Quick Liquid Wax for protection
The entire process costs under $15 in materials (clay bar $5 + IPA $3 + you probably already have polishing wax and X1 at home). Compare that to $50–$150 for a spot polish at a detail shop or $500–$1,500 for a respray per panel.
6. Solvent Matching for Different Scrape Scenarios
Not all paint transfer is the same. What you scraped against determines the optimal removal method:
| Scrape Source | Transfer Material | Primary Removal Method | Alternative |
|---|---|---|---|
| Another car”s bumper (parking lot) | Plastic paint (PP/ABS substrate) | Clay bar + lubricant | IPA |
| Rubber parking stop | Rubber + carbon black | IPA 50–70% | Tar remover |
| Metal guardrail | Metal paint (alkyd/acrylic) | Tar remover | Clay bar → IPA |
| Tree branches | Tree resin + dirt | Eucalyptus oil or IPA | Clay bar |
| Construction site overspray | Spray paint / latex paint | Tar remover (oil-based paint) | Water (for wet latex paint) |
| Shopping cart bump | Powder coating (epoxy-based) | Clay bar → IPA → light polish | Tar remover |
The core logic of this table is: clay bar first (physical adsorption, safest) → IPA if needed (chemical dissolution of rubber/resin) → tar remover if still not clean (dissolves oil-based paint) → polishing compound only as the last step.
7. Environmental Considerations for the Operation
7.1 Always Work in the Shade
When paint surface temperature exceeds 100°F (40°C), solvents evaporate much faster, increasing the risk of residue, and you can”t accurately judge the treatment result. In summer, work in an underground garage or under a shade structure.
7.2 Cold Weather Treatment
In winter, paint transfer becomes brittle and hardened, reducing clay bar effectiveness. You can warm the scraped area slightly with a hair dryer on the low setting (don”t use a heat gun — that will bake the paint), then proceed with the clay bar.
7.3 Always Test Solvents in an Inconspicuous Area First
This is a non-negotiable safety rule. No matter how mild the solvent seems, test it first on a hidden area like the lower door edge or inside of the bumper to confirm it won”t damage the clear coat before applying it broadly. This is especially important if your car has been repainted (non-factory paint), which has lower solvent resistance.
8. Final Thoughts
Paint transfer from scrape marks is honestly the most “paper tiger” of all paint problems. It looks terrifying, but it”s really just someone else”s paint stuck on your car — your paint might be completely fine.
Remember three key points:
- Remove the transfer first, then assess — don”t make respray decisions blindfolded
- Gentle to aggressive — clay bar → IPA → tar remover → polishing, escalate step by step
- Protect after treatment — unprotected clear coat starts oxidizing within days
DianYe”s J1 3-in-1 Cleaning Wax can serve as the first step in this process — apply it and wipe directly (no waiting needed) to soften and pre-clean the surface, preparing it for subsequent clay bar treatment. J1 itself is not a scratch repair product; its role is cleaning and decontamination. The actual transfer removal relies on the clay bar, fine restoration on J5, and protection on X1.
The total material cost for the entire process is under $15. But if you use a magic eraser or nail polish remover, the cost to fix the gloss damage afterward could be many times that amount.
Got a scrape? Don”t panic. Check whether it”s foreign material or real damage first. Most of the time, you”re luckier than you think.
This article was written by the DianYe Auto Technology team. For more automotive paint care knowledge, visit DianYe Auto Technology Official Website. For product inquiries, follow our official account “DianYe Auto Technology”.