
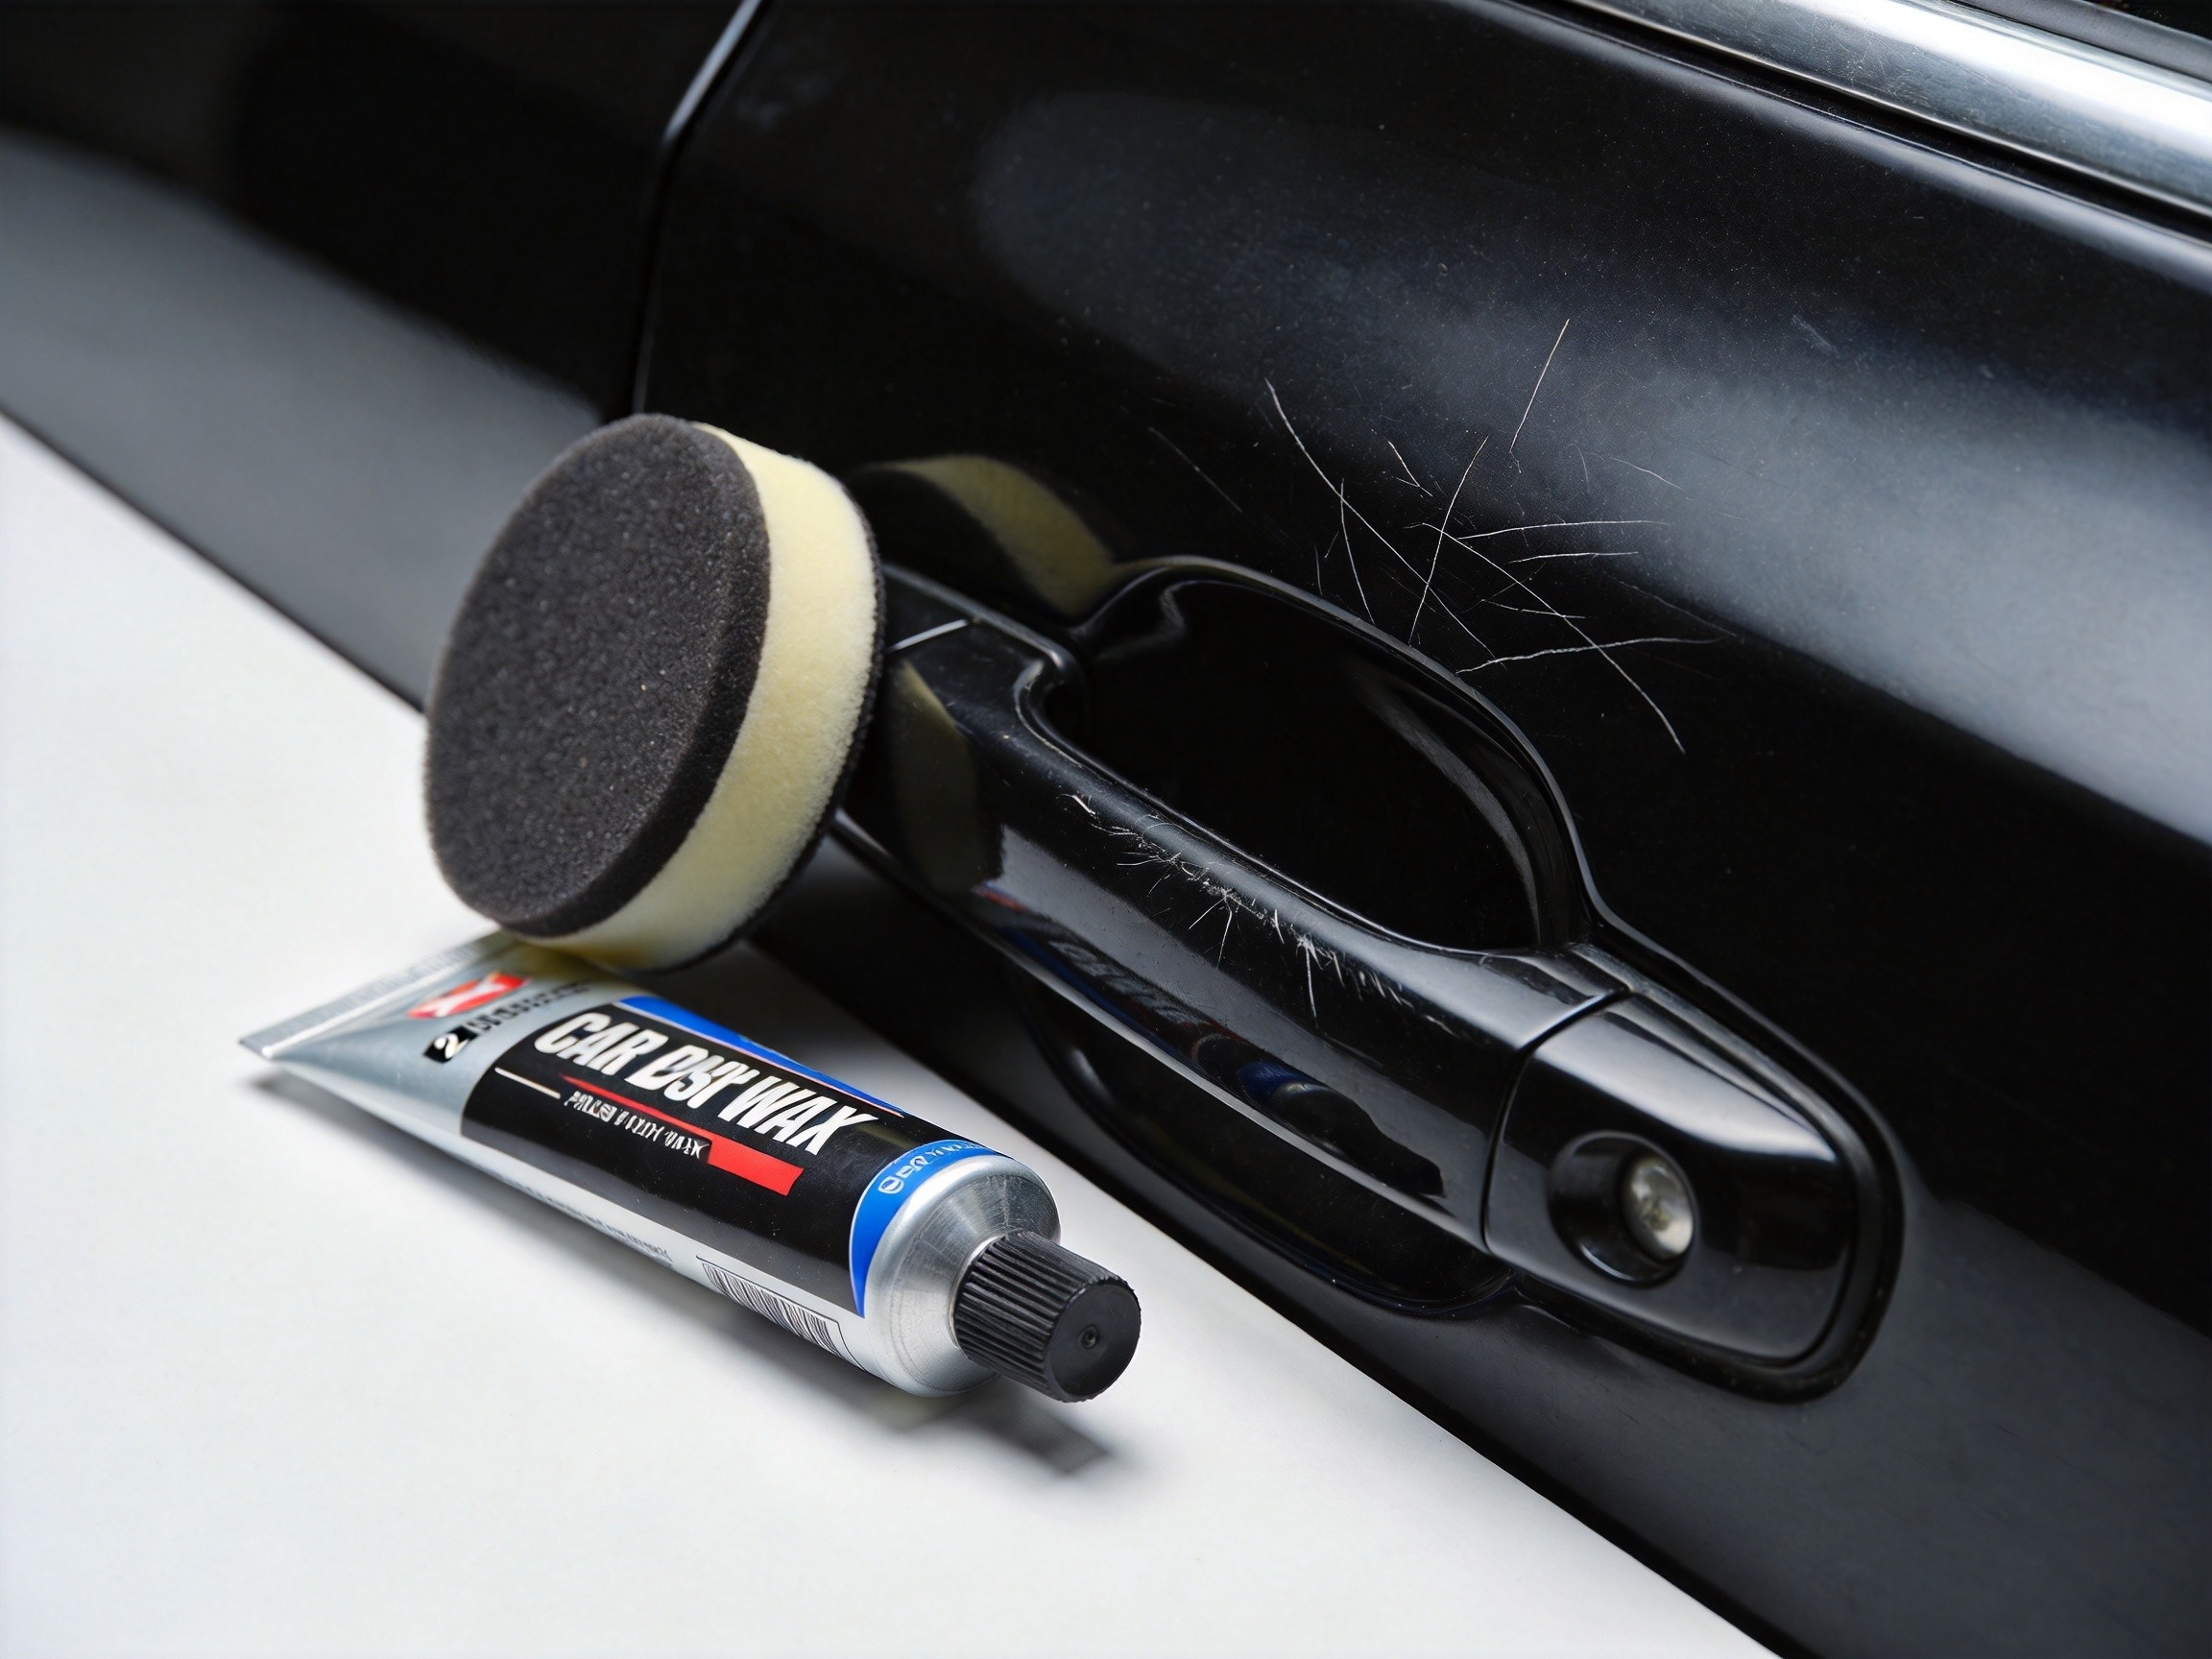
How to Treat Door Handle Scratches? A Complete Guide to Polishing Edge and Corner Areas — 90% of People Overlook These Details
Opening and closing the door a dozen times a day — fingernails, rings, key fobs all take their toll. The door handle area is absolutely the most frequently “injured” zone on any car’s paint. After a year or two of use, you’ll almost always find scratches of varying depth around the door handle. These scratches aren’t just unsightly — the bigger problem is that the door handle has an irregular shape with curves and recesses, making standard large pads completely ineffective. Treating it is ten times harder than flat body panels.
In my years in auto detailing, I’ve seen too many people fail on door handles — some try to force a large pad, missing the edges and burning through the paint elsewhere; some skip proper cleaning, turning polishing into sanding the paint with embedded debris. Today, I’ll break down the complete door handle scratch treatment process — from scratch assessment to product pairing, from speed and pressure to masking protection. All practical, hands-on knowledge.
1. First, Determine: What Level Are Your Door Handle Scratches?
Before treating door handle scratches, the most critical step is assessing scratch depth. Different depths require completely different approaches. Diving in blindly is the fastest way to cause problems.
Quick Assessment Method
Shine a strong flashlight at an angle across the scratch area and observe the light reflection:
- Level 1 (Hairline marks): Scratches appear white with clear boundaries; fingernail passes over with no groove sensation. These are micro-damage only on the clear coat surface, approximately 1-5 micrometers deep — the easiest to treat.
- Level 2 (Fingernail marks): Fingernail catches noticeably when crossing the scratch; it has penetrated the clear coat into the basecoat, width 10-50 micrometers. Requires two-step treatment.
- Level 3 (Deep marks): Different color visible to the naked eye; primer or even metal is exposed. Must touch up paint first, then polish.
Another useful technique: run your fingernail horizontally across the scratch. If you can feel it but the nail doesn’t catch → abrasive polishing can repair it. If the nail catches or you can see metal → needs touch-up paint or professional shop.
Three-Level Treatment Comparison
| Scratch Level | Depth Characteristics | Assessment Method | Treatment Plan |
|---|---|---|---|
| Level 1 (Hairline) | Clear coat surface, 1-5μm | No groove on nail, visible under angled strong light | Finishing agent + ultra-soft foam pad |
| Level 2 (Fingernail) | Through clear coat into basecoat, 10-50μm | Nail catches noticeably | Two-step: compound → restore |
| Level 3 (Deep) | Primer or metal exposed | Different color visible to eye | Touch-up paint → dry → polish |
Assess the level before starting — this saves a lot of trouble. Level 1 is simplest — one pass with finishing agent usually cleans it up. Level 2 requires compound + restore, two steps — don’t skip. Level 3 — don’t bother yourself, touch up the paint first.
2. Why Are Door Handles So Difficult? Three Special Characteristics You Must Know
Door handle treatment is a completely different game from flat body panels. Without understanding these three characteristics, problems are likely.
1. Irregular Structure — Large Pads Simply Don’t Fit
Door handles have obvious curves and recesses. A 5-inch or 6-inch polishing pad can’t conform to the surface at all. Forcing a large pad means edges go untouched while flat areas get over-polished. This is why door handle scratches “never seem to polish out clean” — it’s not the wax, it’s the wrong pad.
Correct approach: Prepare 1-inch, 2-inch, and 3-inch small polishing heads. Small pads are flexible enough to conform to the door handle’s curved structure and inner recesses — these are standard equipment for door handle polishing.
2. High-Friction Zone — Inadequate Cleaning Means Sanding the Paint
Door handles are touched dozens of times daily, bringing oils, dust, and wax residue that all accumulate here. If you don’t thoroughly clean before polishing, these contaminant particles get pressed into the paint during polishing — equivalent to sanding, the more you polish, the more scratches you create.
Correct approach: Use a dedicated degreaser or IPA isopropyl alcohol solution with a microfiber cloth to thoroughly wipe the inside and outside of the door handle. After cleaning, press the back of your hand against the paint — if it feels grippy with no oily film, you’re good.
3. Surrounding Trim Is Sensitive — Skip Masking at Your Peril
Door handles typically have rubber seals, window frame trim, and chrome strips nearby. Polishing wax splatter is hard to clean, and the polisher bumping sensitive areas can cause irreversible damage.
Correct approach: Use solvent-resistant masking tape to protect all chrome trim, rubber seals, and plastic pieces. When applying, leave a 1-2mm gap along the trim edge.
3. Complete Treatment Process: Every Step Matters, From Cleaning to Finishing
Step 1: Thorough Cleaning and Degreasing
IPA isopropyl alcohol solution or degreaser + microfiber cloth — wipe the entire door handle area inside and out. Pay special attention to the inner side of the handle — it accumulates the most oil and wax residue, and is most often overlooked.
Step 2: Masking Protection
Use masking tape to protect all surrounding chrome trim, rubber seals, and plastic pieces. Don’t think it’s a hassle — skipping this step costs more time cleaning up later.
Step 3: Polish According to Scratch Level
Level 1 scratches (hairline):
- Product: DianYe J5 Mirror Finish Restorer
- Pad: Ultra-soft finishing foam pad
- Machine: DA at medium-low speed (2000-3000 RPM)
- Technique: Light pressure, even movement covering the treatment area
J5 Mirror Finish Restorer has abrasive particles under 3 micrometers, specifically designed to eliminate clear coat surface micro-damage and holograms. Paired with an ultra-soft foam pad, it cleans up hairline marks effectively.
Level 2 scratches (fingernail marks):
- Step 1 (compounding): DianYe J2 Water-Based Polishing Wax + coarse foam pad, RO or DA at medium speed (1500-1800 RPM), no more than 30 seconds per area
- Step 2 (restoring): DianYe J5 Mirror Finish Restorer + ultra-soft foam pad, low speed for final gloss
Key logic: compound handles cutting depth, restorer handles gloss recovery — both steps working together achieve the standard. Don’t expect one-step miracles — that’s a sales pitch. J2 Water-Based Polishing Wax is the weapon for the compounding stage, with abrasive particles over 10 micrometers, sufficient cutting force for Level 2 scratch depth. After compounding, restore with J5 to eliminate compounding swirls and recover the mirror finish.
Step 4: Final Inspection and Protection
Wipe away residue with a clean microfiber cloth. Use a strong flashlight at multiple angles for inspection — viewing straight-on has blind spots; angled side lighting reveals subtle marks.
Finally, apply a layer of DianYe X1 Quick Liquid Wax for protection. X1 provides shine and protection in one step, forming a protective barrier on the paint to delay new scratch formation. After each wash, applying a thin layer of X1 to the door handle area is an excellent daily maintenance habit.
4. Special Techniques for Recessed Areas
The recessed area of the door handle is the hardest part of the entire polish — poor heat dissipation, tight space, awkward angles.
Tool Selection
- 1-3 inch small pads: Essential. Can reach into the door handle’s curved structure and inner recesses
- Cone-shaped polishing heads: For the deepest areas — cone-shaped foam tips can reach narrow gaps and recesses
Speed and Pressure
- RO machine at edges: Keep at 800-1200 RPM (much lower than flat areas)
- DA machine can go to 1500-2000 RPM
- Pressure: Let the machine’s weight do the work; fingers lightly guide the handle. Excessive pressure causes over-cutting in recessed areas, forming depressions
Wet Polishing Strategy
Recessed areas dissipate heat poorly. Keeping the pad moist effectively cools and prevents wax from drying and caking. If you notice the wax starting to dry, replenish immediately.
Dwell Time
No more than 30 seconds per area. Edge paint is already thin, heats up quickly — lingering too long risks burning through.
5. Six Common Mistakes — How Many Have You Made?
| Common Mistake | Consequence | Correct Approach |
|---|---|---|
| Using 5-inch+ pads on edges | Edges untouched, junction marks or burn-through | Must use 1-3 inch small pads |
| Same speed as flat areas | Edge paint is thin, heats fast — holograms or burn-through | RO: 800-1200 RPM, DA: 1500-2000 RPM |
| Using wool pads on edges | Cutting force too strong,极易 over-cut | Use foam pads only for edges |
| Skipping cleaning before polishing | Residual particles cause secondary scratching | Must degrease and clean before polishing |
| Checking only from front view | Front has blind spots, easy to miss areas | Strong flashlight at multiple angles |
| Lingering on one spot | Localized overheating causes burn-through | No more than 30 seconds per area |
Especially the first and last — thinking a large pad is “close enough” or that lingering a bit longer gives better results — and the paint gets burned through, with repair costs multiplying tenfold.
6. Protecting and Treating Door Handle Chrome Trim
Chrome trim around door handles requires special care — chrome plating is only 0.5-5 micrometers thick, thinner than clear coat, extremely easy to polish through.
- Paste wax is better than liquid for paint polishing near chrome: Paste car polishing wax doesn’t run, avoiding contamination of adjacent chrome areas
- Don’t use power tools on chrome itself: For oxidation or light scratches on chrome, use dedicated chrome repair paste by hand. Power tool heat can deform the thin chrome layer
- Ultimate prevention: For door handles that repeatedly develop scratches, apply PPF door handle protection film — a permanent solution
7. Daily Prevention Recommendations
Treatment done doesn’t mean you’re finished — door handles are used so frequently that without prevention, scratches will return.
- Regular cleaning: Weekly microfiber cloth cleaning of door handles to remove oils and dust
- Regular protective wax: After washing, apply a thin layer of DianYe X1 Quick Liquid Wax to door handles, forming a protective barrier
- Mind your opening habit: Use finger pads rather than nails to contact the paint; remove hard rings
- Consider protection film: PPF door handle protection film is the most effective preventive solution
Summary
Door handle scratch treatment comes down to three things: right tools (1-3 inch small pads), right products (Level 1: J5 restorer; Level 2: J2 compound + J5 restorer), proper protection (cleaning, masking, temperature control). Edge area polishing is more challenging than flat panels, but with the right methods, you can handle it yourself.
If you’re not confident or the scratches are Level 3 (reaching primer), consult a professional shop. The professional DianYe car polishing wax series (J2 compounding → J3 refining → J5 finishing) paired with the correct pads and machines delivers reliable correction results.
DianYe Auto Technology specializes in automotive polishing. J2 Water-Based Polishing Wax (coarse cut), J3 3-in-1 Polishing Wax (medium cut), J5 Mirror Finish Restorer, J1 Cleaning Wax, X1 Quick Liquid Wax — full product line covering compounding → refining → finishing → protection.