
1. Why Does Hazing Appear After Polishing?
1.1 What Is Post-Polish Hazing
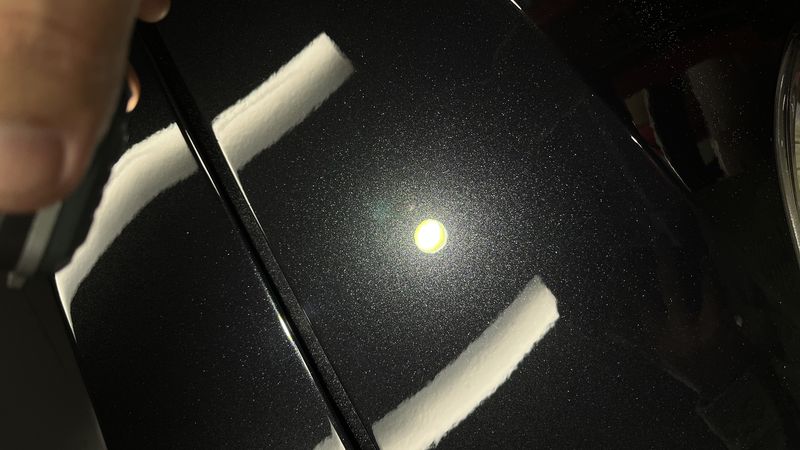
Post-polish hazing, commonly called “holograms” or “fogging,” refers to the paint appearing blurry and unclear under strong light, affecting the final mirror finish. This is one of the most common problems in polishing, encountered by both beginners and experienced technicians.
1.2 Hazing vs. Normal Gloss
- Normal mirror finish: Sharp, clear reflections under strong light with distinct object outlines
- Hazed state: Blurry reflections, like looking through frosted glass, with a visible halo effect
2. Five Core Causes of Hazing
2.1 Cause 1: Incomplete Polishing Steps — Skipping the Finishing Stage
This is the most common cause! Many people think they’re done after compounding with coarse wax. But the paint after compounding is actually covered with extremely fine micro-scratches — these create the hazy appearance under strong light.
- Typical signs: Looks very bright in natural light, but hazy under direct sun or strong light
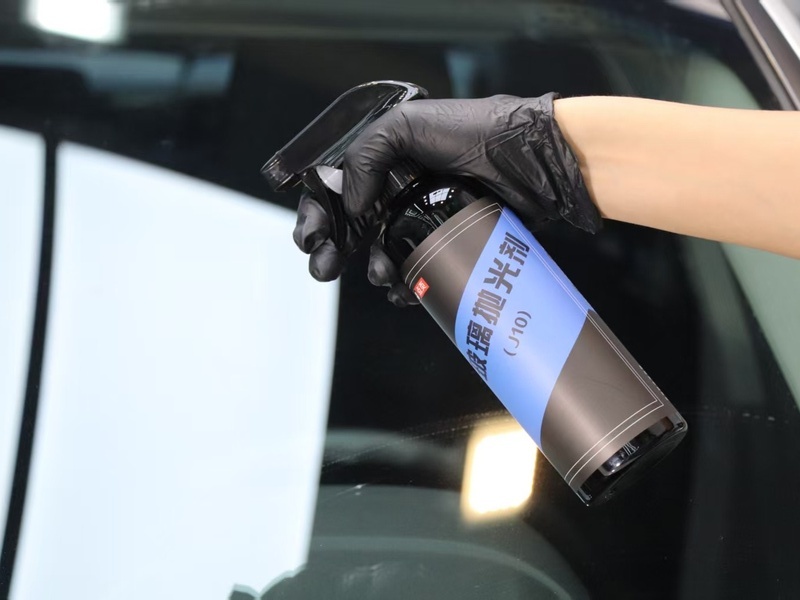
- Solution: After compounding, must use J5 Mirror Finish Restorer for the finishing step
2.2 Cause 2: Polisher Speed Too High
Excessive speed causes paint temperature to spike and polishing wax to break down too quickly, forming a burned haze layer on the paint.
- Dangerous speeds: RO above 2000rpm, DA above 4000rpm
- Recommended parameters: J2 compounding 1500-1800rpm, J5 finishing 600-800rpm
2.3 Cause 3: Pad-Wax Mismatch
Wrong pad-and-wax combinations also cause hazing:
- Coarse compound with fine foam pad → Insufficient cutting force; repeated friction generates heat haze
- Finishing wax with wool pad → Excessive cutting force creates new scratches
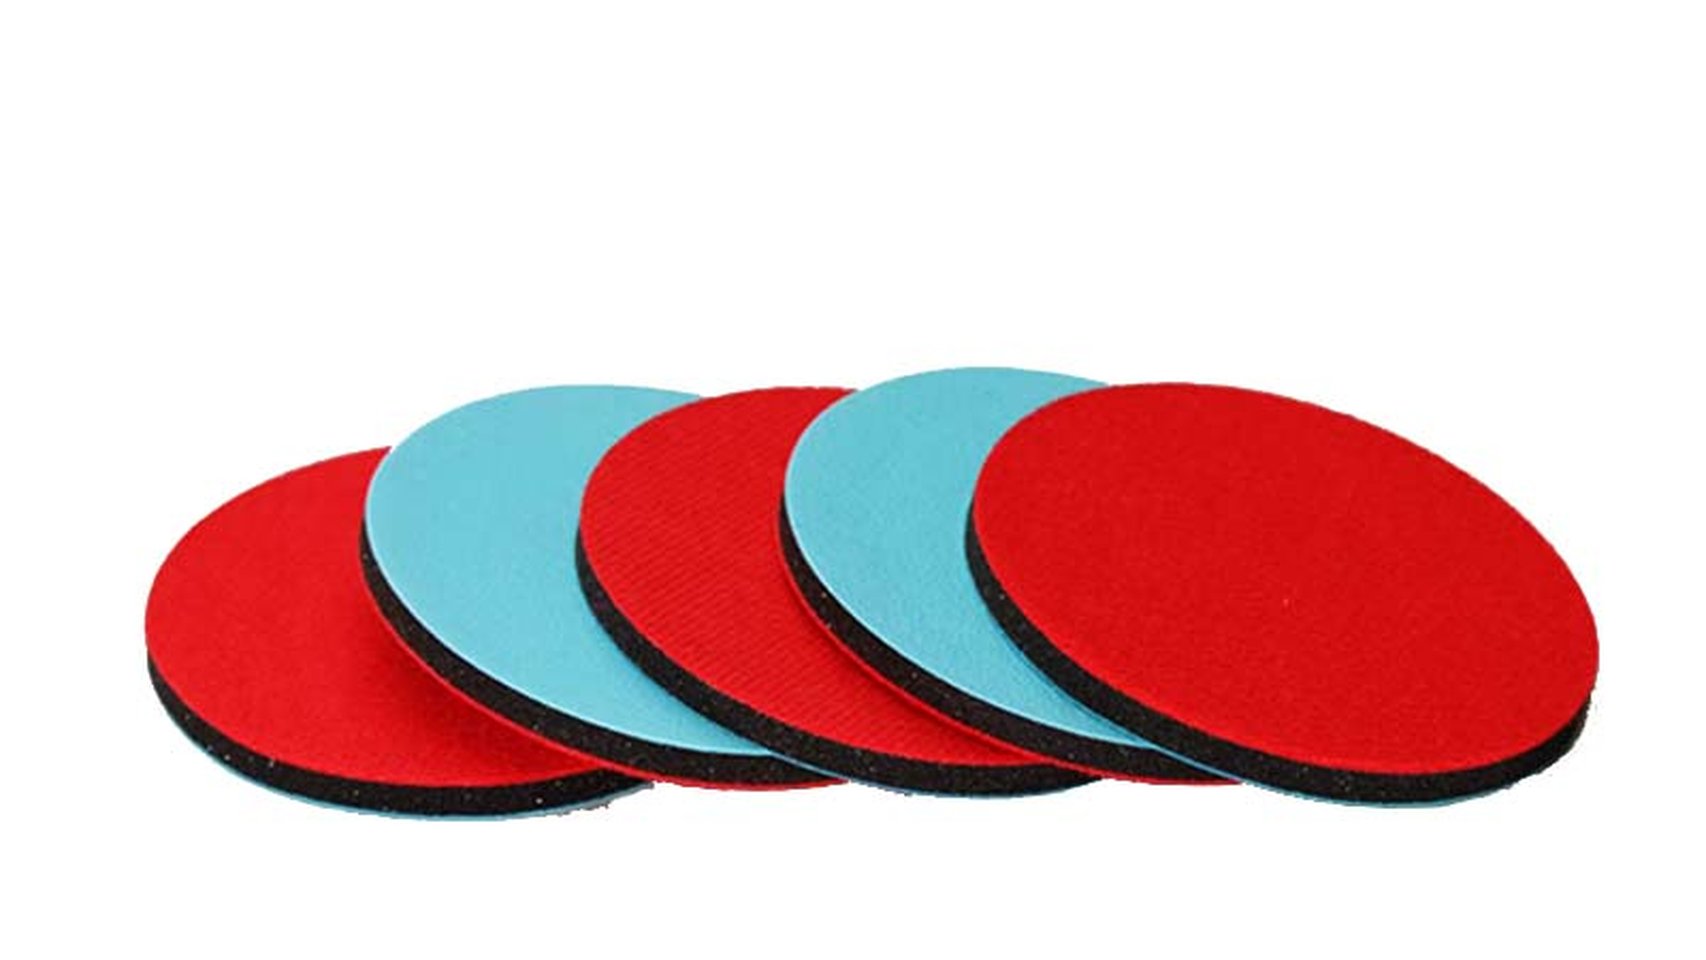
- Correct pairing: J2 + long wool pad for compounding, J5 + fine foam pad for finishing
2.4 Cause 4: Polishing Residue Not Wiped Clean
Failing to promptly wipe away residue with a clean towel after polishing allows the wax to dry on the paint, forming a hazy film.
- Critical timing: Must wipe clean within 1-2 minutes after polishing
- Check method: Wipe horizontally with a clean microfiber towel — clear wipe marks indicate no residue
2.5 Cause 5: Incomplete Paint Degreasing
Old wax, oil film, and other contaminants on the paint before polishing mix with the polishing compound during the process, forming a composite residue layer.
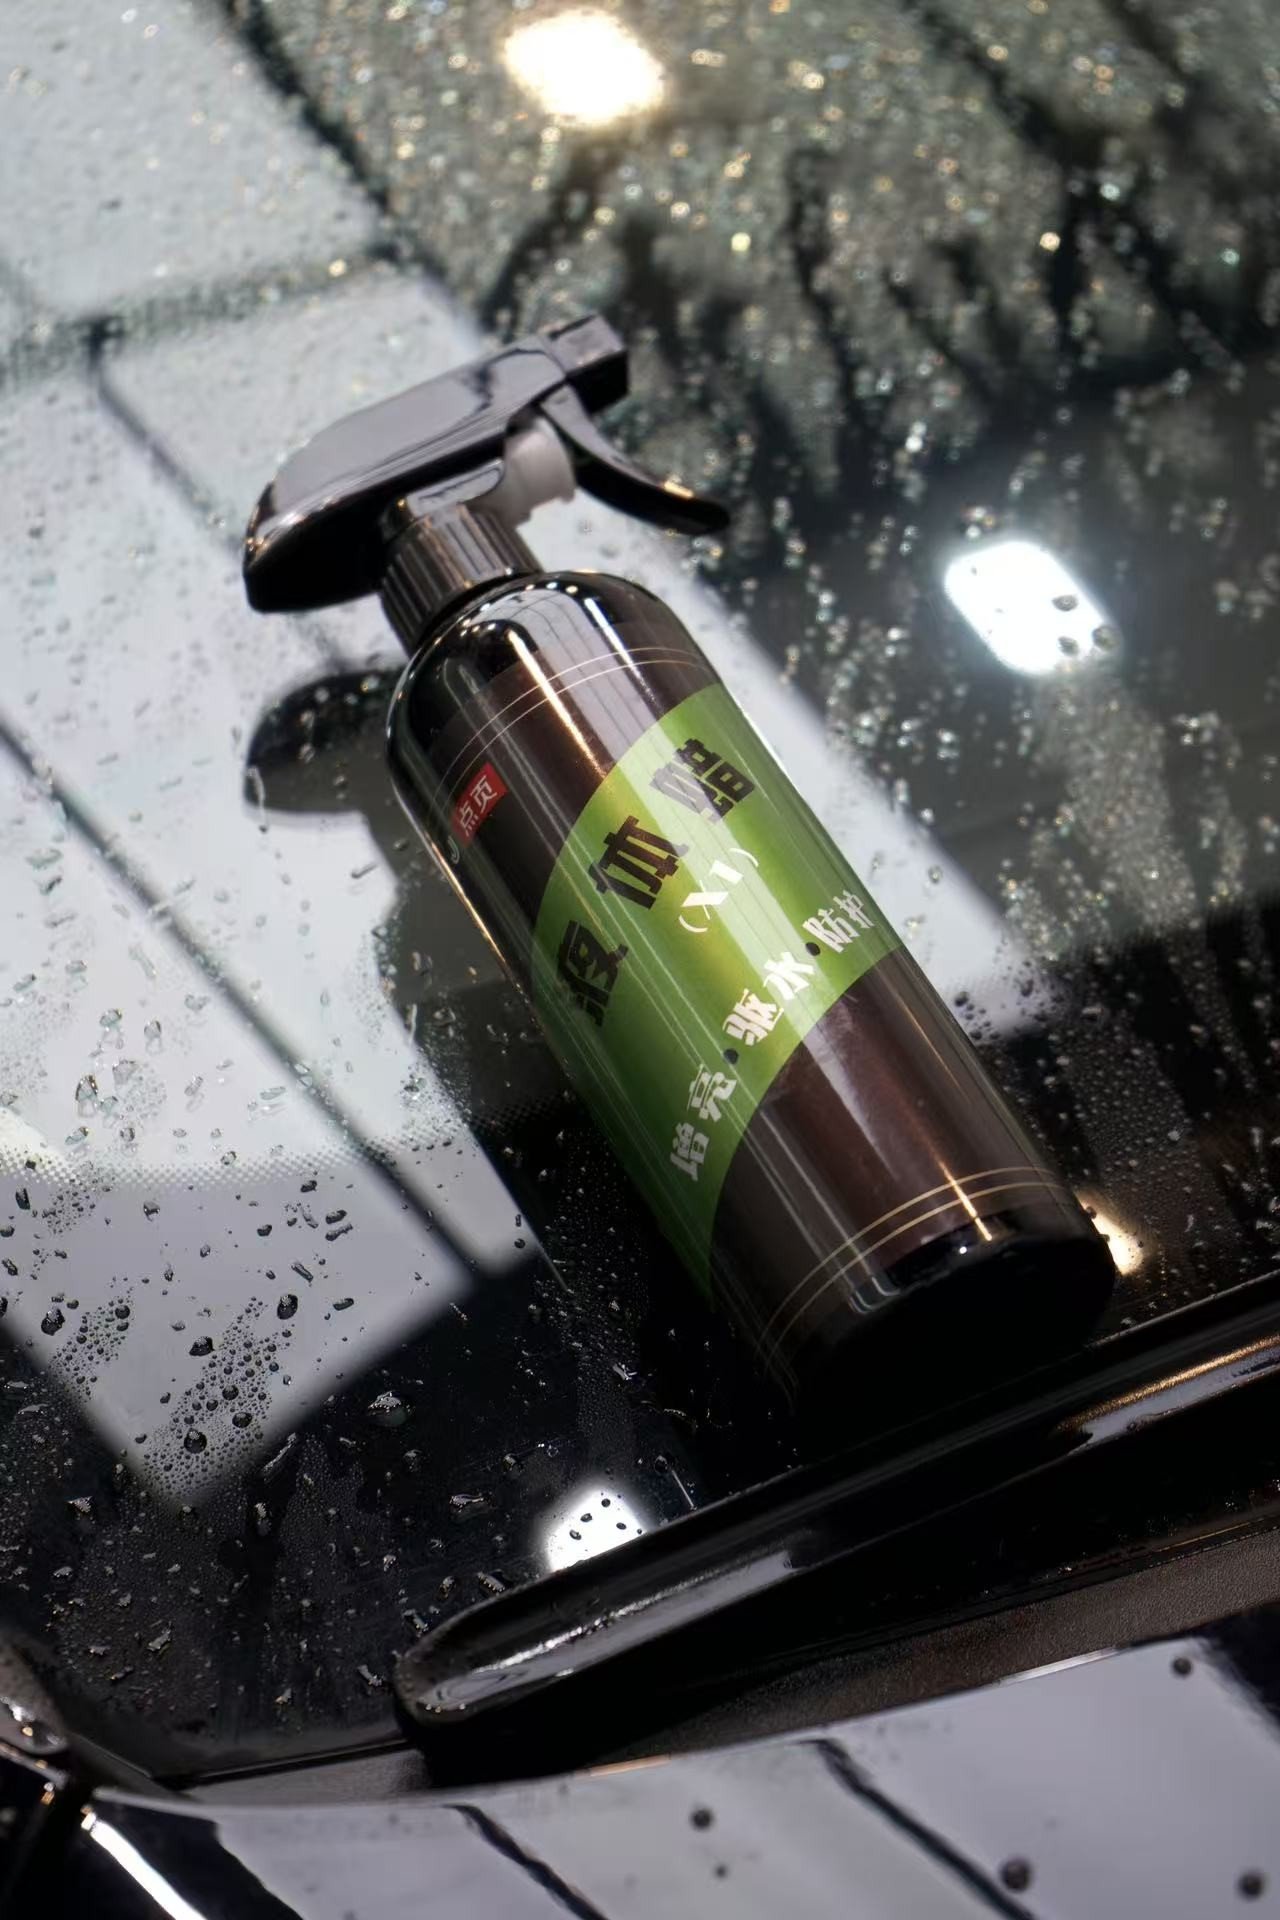
- Correct approach: Degrease after polishing — verifies results and ensures a clean paint surface
3. Targeted Solutions
3.1 Light Hazing: Direct Finishing Treatment
If it’s only mild haziness with no obvious scratches:
- Thoroughly clean the paint with degreaser
- J5 Mirror Finish Restorer with fine foam pad
- Speed 600-800rpm, moderate pressure
- 2-3 passes per area, ensuring micro-scratches are fully removed
- Wipe clean promptly and inspect results
3.2 Moderate Hazing: Re-polish + Finish
If haziness is obvious with visible micro-scratches:
- Degrease and clean first
- J2 Water-Based Polishing Wax with long wool pad — one light pass (focus on removing the surface haze layer)
- Immediately restore with J5 Mirror Finish Restorer
- Check reflection under strong light; repeat steps if unsatisfied
3.3 Severe Hazing: Start Over
If the entire panel is hazy with no mirror feel at all:
- Thoroughly degrease and assess the original paint condition
- Reduce speed and re-plan the polishing steps
- Recommend working section by section, inspecting each area immediately after treatment
4. Preventive Operating Standards to Avoid Hazing
4.1 Equipment Parameter Standards
| Process | Product | Pad | Recommended Speed |
|---|---|---|---|
| Compounding | J2 Water-Based Polishing Wax | Long wool pad | 1500-1800rpm |
| Finishing | J5 Mirror Finish Restorer | Fine foam pad | 600-800rpm |
4.2 Process Standards
- Test a small area first: Try an inconspicuous spot first to confirm results and parameters
- Work in sections: Treat only 40×40cm at a time; don’t be greedy
- Inspect frequently: After each section, check under strong light for haziness
- Progressive approach: Coarse to fine — don’t skip steps; execute each one properly
4.3 Environmental Requirements
- Avoid working in direct sunlight — sunlight impairs judgment
- Well-lit work area, ideally with a dedicated inspection lamp
- Moderate temperature; avoid high-heat environments
5. Frequently Asked Questions
5.1 Does hazing mean I ruined the paint?
Not necessarily! 90% of hazing can be fixed through the finishing process. Don’t panic — simply re-treat using the methods above. Only in rare cases has the clear coat actually been burned through.
5.2 Why did it look fine at the time but hazy the next day?
This is a classic “masking effect.” The polishing wax itself has filling properties that temporarily mask micro-scratches. Once the wax fully dries, the scratches become visible again.
Solution: Degrease and inspect — refinish where needed. This is exactly why we emphasize degreasing after polishing — degreasing reveals the true paint condition.
5.3 My black car seems especially prone to hazing. What to do?
Dark cars (black, dark blue, dark red) are more sensitive to micro-scratches and indeed more prone to showing haze.
Recommendation: Dark cars should always get an extra finishing pass — even two finishing passes — to ensure all micro-scratches are eliminated.
6. Summary
Post-polish hazing is not a mystery — find the cause, use the right method, and it’s completely solvable.
Remember three key points:
- Don’t skip steps: Compounding must be followed by finishing — this is the most critical principle
- Control speed: Lower is better than higher — high temperature is the root cause of hazing
- Inspect constantly: Don’t wait until everything is done to check — inspect as you go, adjust promptly if issues arise