
How to Choose Abrasive Particle Size for Polishing Compound? Coarse/Medium/Fine Guide — Match Your Paint Condition and Avoid Mistakes
Introduction
Have you ever bought a bunch of polishing compounds, had no idea which to use first, grabbed one at random, and ended up with either no change or a mess of new swirl marks?
The problem is almost certainly not your technique — you chose the wrong abrasive particle size.
The most fundamental difference between polishing compounds is abrasive particle coarseness. Coarse particles cut aggressively but leave marks; fine particles produce mirror finishes but cannot remove deep scratches. Different paint conditions require different particle sizes — just like sandpaper comes in different grits; you would not start polishing with 80-grit.
This article explains the particle grading logic. After reading, you will be able to assess your paint condition and determine where to start.
1. How Are Abrasive Particles Graded? — The µm System
The abrasives in polishing compound are essentially ultra-fine solid particles. Their size determines the compound’s cutting ability. The industry uses micrometers (µm) to measure particle diameter — 1µm = 0.001mm.
Compounds are classified into three grades:
| Grade | Particle Diameter | Cutting | Paint Result | Process Stage |
|---|---|---|---|---|
| Heavy-Cut | >10µm | Strong | Leveling, removes scratches, leaves trails | First step |
| Medium-Cut | 3-10µm | Medium | Brightening, removes coarse marks | Second step |
| Fine/Finishing | <3µm | Light | Mirror finishing, eliminates fine marks | Third step |
Key insight: coarser particles cut faster but leave deeper marks; finer particles cut slower but produce smoother surfaces. It is not about “coarser is better” or “finer is better” — it is about progressive refinement based on paint condition.
2. Where Should You Start? — The 4-Step Assessment
Not every car needs all three stages. Depending on paint condition, one or two steps may suffice:
Assessment method: fingernail cross-scratch test
Drag your fingernail across the scratch. Note whether it “catches”:
| Nail Test | Scratch Depth | Condition | Recommendation |
|---|---|---|---|
| Nail catches clearly | >20µm, through clear coat | Deep scratch, possibly through to primer | Touch-up paint / respray — polishing cannot fix this |
| Nail catches slightly | 10-20µm, within clear coat | Moderate scratches, visible in sunlight | Heavy-cut → medium → fine (all three steps) |
| Nail does not catch but visible | 3-10µm | Swirl marks, fine scratches, oxidation | Medium → fine (two steps) |
| Barely visible, paint looks dull | <3µm | Light oxidation, loss of gloss | Fine finishing + protection wax |
Real example: A 3-year-old black sedan with the owner saying “it never looks clean.” Inspection reveals swirl marks and light oxidation across the paint, but the fingernail test shows no catching. This does not need heavy cutting — medium compound (3-10µm) with a medium foam pad for two passes, followed by finishing polish, restores full clarity. Starting with heavy-cut would unnecessarily remove an extra layer of clear coat.
3. How to Choose and Match the Three Grades?
Choosing the right particle size is only the first step — pad and compound pairing is equally critical. Coarse compounds need aggressive pads; fine compounds need soft pads for mirror results:
| Stage | Abrasive | Recommended Product | Pad | Purpose |
|---|---|---|---|---|
| Heavy cutting | >10µm | DianYe J2 Polishing Compound (Water-Based) | Short wool or long wool pad | Remove deep scratches, oxidation, level surface |
| Medium cutting | 3-10µm | DianYe J3 Polishing Compound (3-in-1) | Fine foam or long wool fine pad | Remove heavy-cut trails, boost brightness |
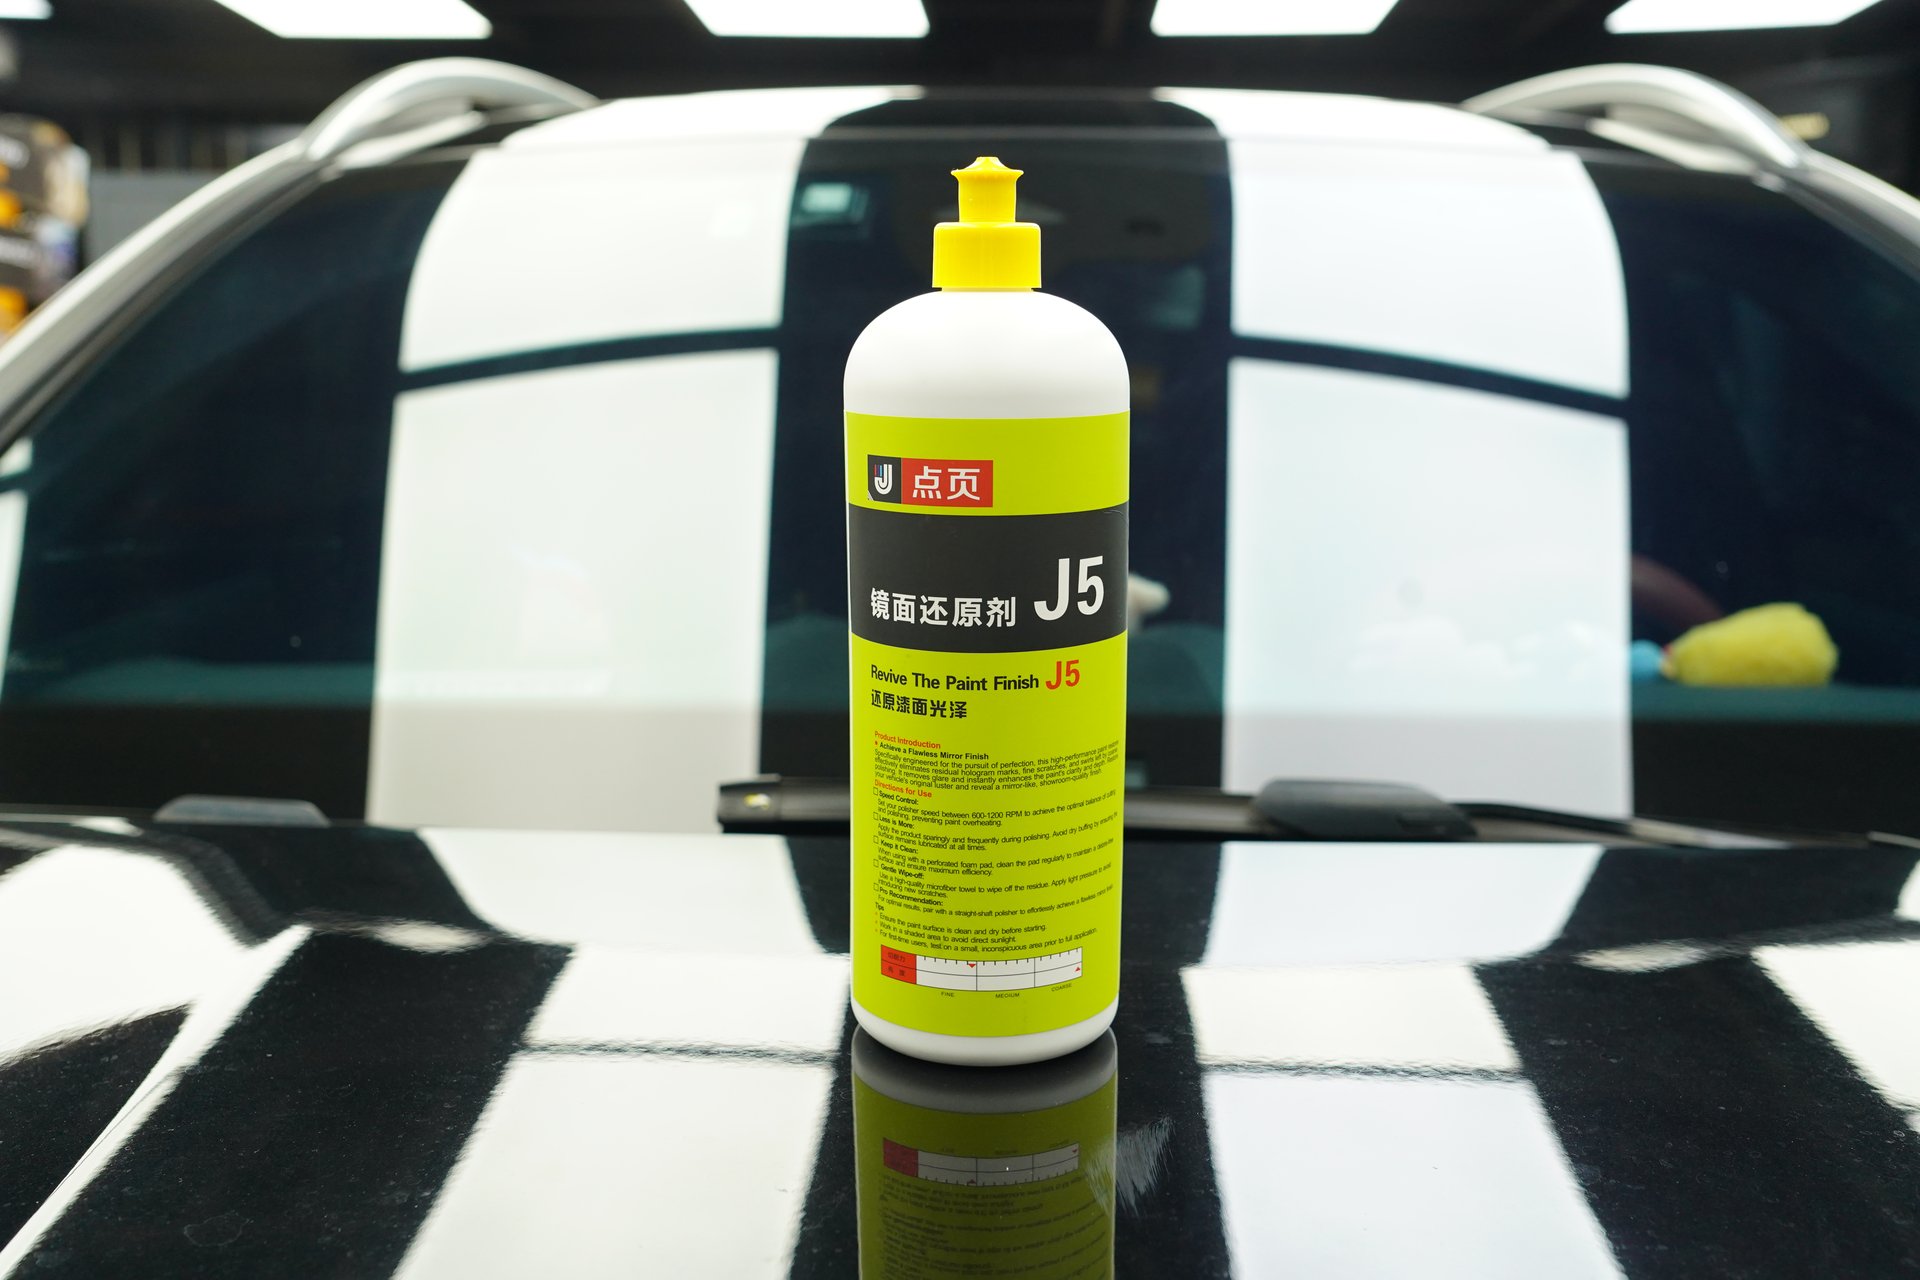
| Fine finishing | <3µm | DianYe J5 Mirror Glaze | Fine foam pad | Eliminate fine marks, achieve mirror finish |
| Protection | None | DianYe X1 Liquid Wax | Microfiber towel | Lock in results, provide lasting protection |
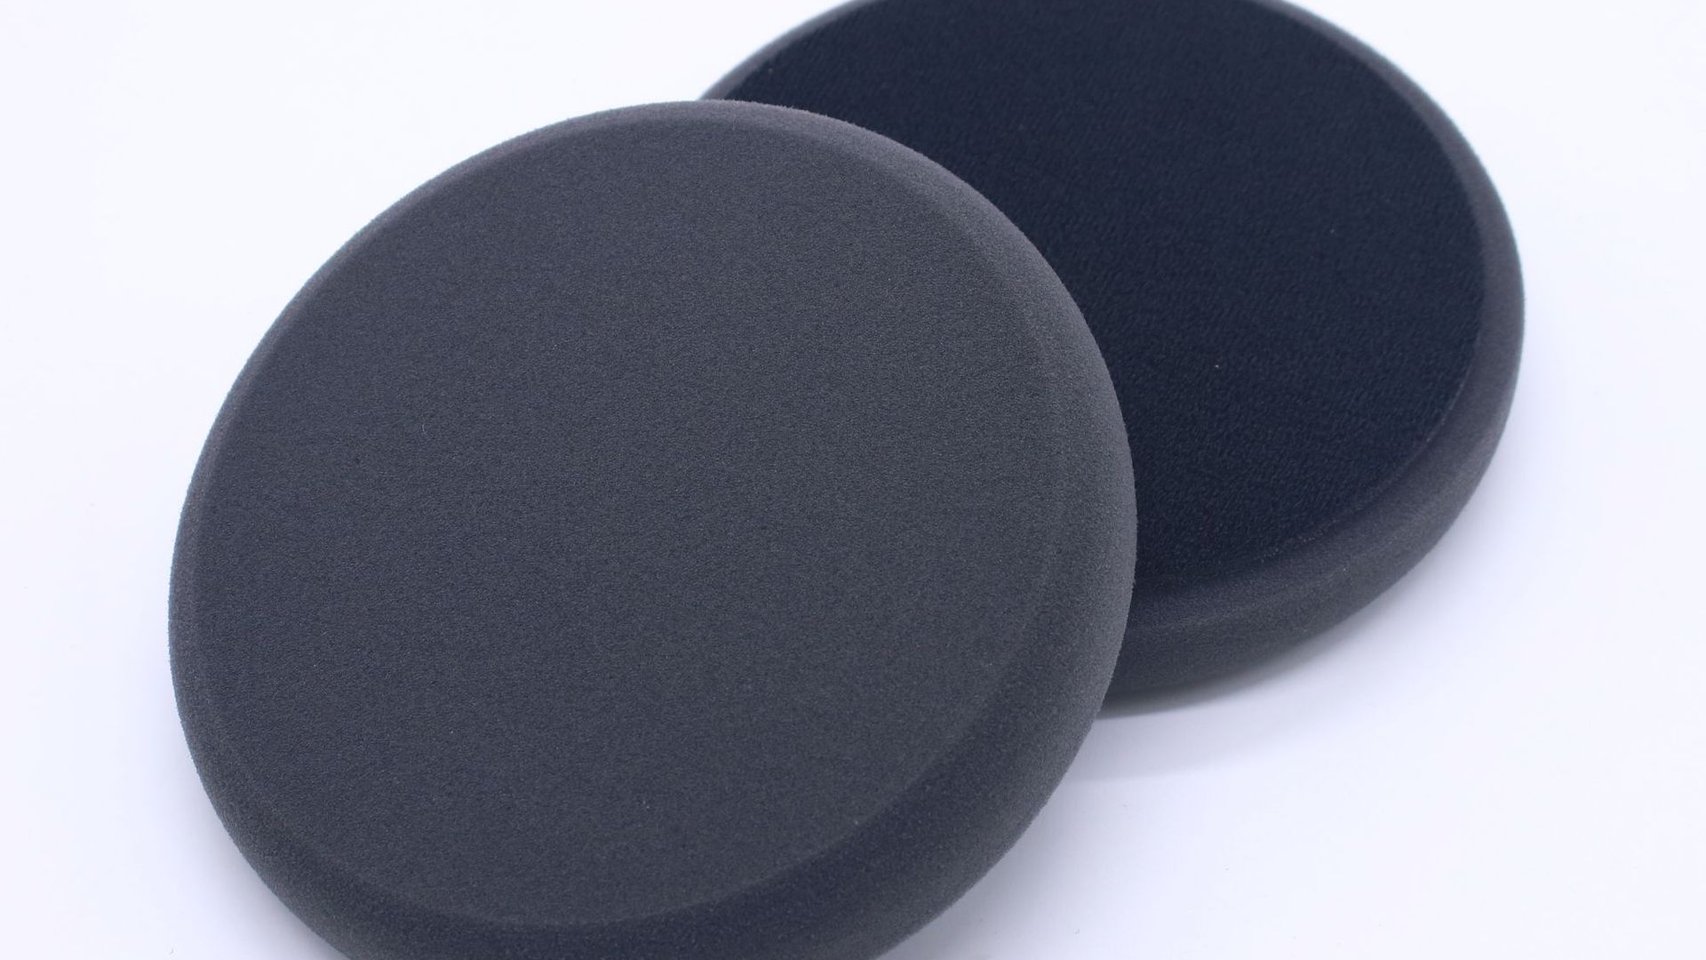
Pairing logic: Wool pads are used for compounding because wool fibers are stiff and aggressive, transmitting coarse abrasives effectively for rapid leveling. Foam pads are used for medium and fine stages because foam is soft and conformable, spreading fine compound evenly without creating new marks.
Common mistake: Some people pair heavy-cut compound with a foam pad, thinking “foam is safer.” In reality, coarse abrasives need firm pressure to cut; a soft foam pad cannot transmit force, so the compound slides on the paint with no effect and wastes product.
4. When Can You Skip Steps? When Must You Do All Three?
Two steps (medium + fine) are sufficient when:
- No obvious deep scratches, only swirls and light oxidation
- Regularly maintained vehicles (polished every 3-6 months)
- First-time polish on a new car (factory paint intact)
All three steps are necessary when:
- Visible scratches (nail catches slightly)
- Severely oxidized older vehicles (dull, white paint)
- Blending areas after touch-up painting
Case study: A white SUV with visible bird dropping etch marks on the hood — fingernail shows slight indentation. The hood needs all three steps: compound to level the etch marks, medium to brighten, fine to finish. But the doors and fenders have only light oxidation — fingernail does not catch — so medium + fine is enough. Different panels on the same car can use different strategies.
5. Common Pitfalls
1. “Coarser is better?” — Wrong
Coarse particles cut fast, but each compounding pass removes more clear coat. The total clear coat is only 100-150µm thick — one heavy pass removes 5-15µm. Use the finest grade that gets the job done. Two steps if possible, not three.
2. “One compound for everything?” — Unrealistic
Some “all-in-one” products claim to handle everything in one step. In reality, they compromise on particle size — not aggressive enough for deep scratches, not fine enough for true mirror finishes. For real results, graded processing is the way.
3. “Polish without protection?” — Wasted effort
After polishing, the paint is “naked” — unprotected. Without a protective layer, it starts re-oxidizing within 1-2 weeks. Always apply protection — a product like DianYe X1 Liquid Wax forms a protective film that locks in your polishing results.
4. “Wrong pad is worse than wrong compound”
Data suggests about 25% of polishing failures are directly caused by wrong pad selection. Heavy-cut on a soft foam pad gives no results; finishing on a wool pad leaves new marks. Pad-compound matching is more important than the compound itself.
5. “Skip the IPA wipe-down — how do you know it is really polished?”
Paint looks shiny after polishing, but that may not be the true result. Use an IPA (isopropyl alcohol) panel wipe or professional prep spray at 1:1 ratio with water — spray on a towel and wipe the panel. If it stays shiny, the polish is genuine. If it looks dull, the shine was just compound fill — you need to re-polish.
6. Polishing Other Materials
The abrasive grading logic applies beyond car paint. Furniture polishing and wood finishing follow the same principle: coarse sandpaper first for leveling, fine sandpaper for smoothing, then wax for protection. Solid wood furniture with scratches follows the same approach — assess scratch depth, then select the corresponding abrasive grade. The principle is universal — any surface polishing follows progressive refinement; do not skip steps.
Summary: One Table to Help You Choose
| Your Paint Condition | Starting Point | Compound | Pad |
|---|---|---|---|
| Deep scratches (nail catches) | Heavy → Medium → Fine | J2 → J3 → J5 | Wool → fine foam → fine foam |
| Swirls / light oxidation | Medium → Fine | J3 → J5 | Fine foam → fine foam |
| Dull, loss of gloss | Fine + Protection | J5 + X1 | Fine foam + towel |
| Regular maintenance | Medium → Fine | J3 → J5 | Fine foam → fine foam |
Core principles: assess paint condition to determine particle size, progress from coarse to fine, match pad to compound, and always finish with protection.
Before buying polishing compound next time, run the fingernail test on your paint first. Knowing where to start means you will never choose wrong.