
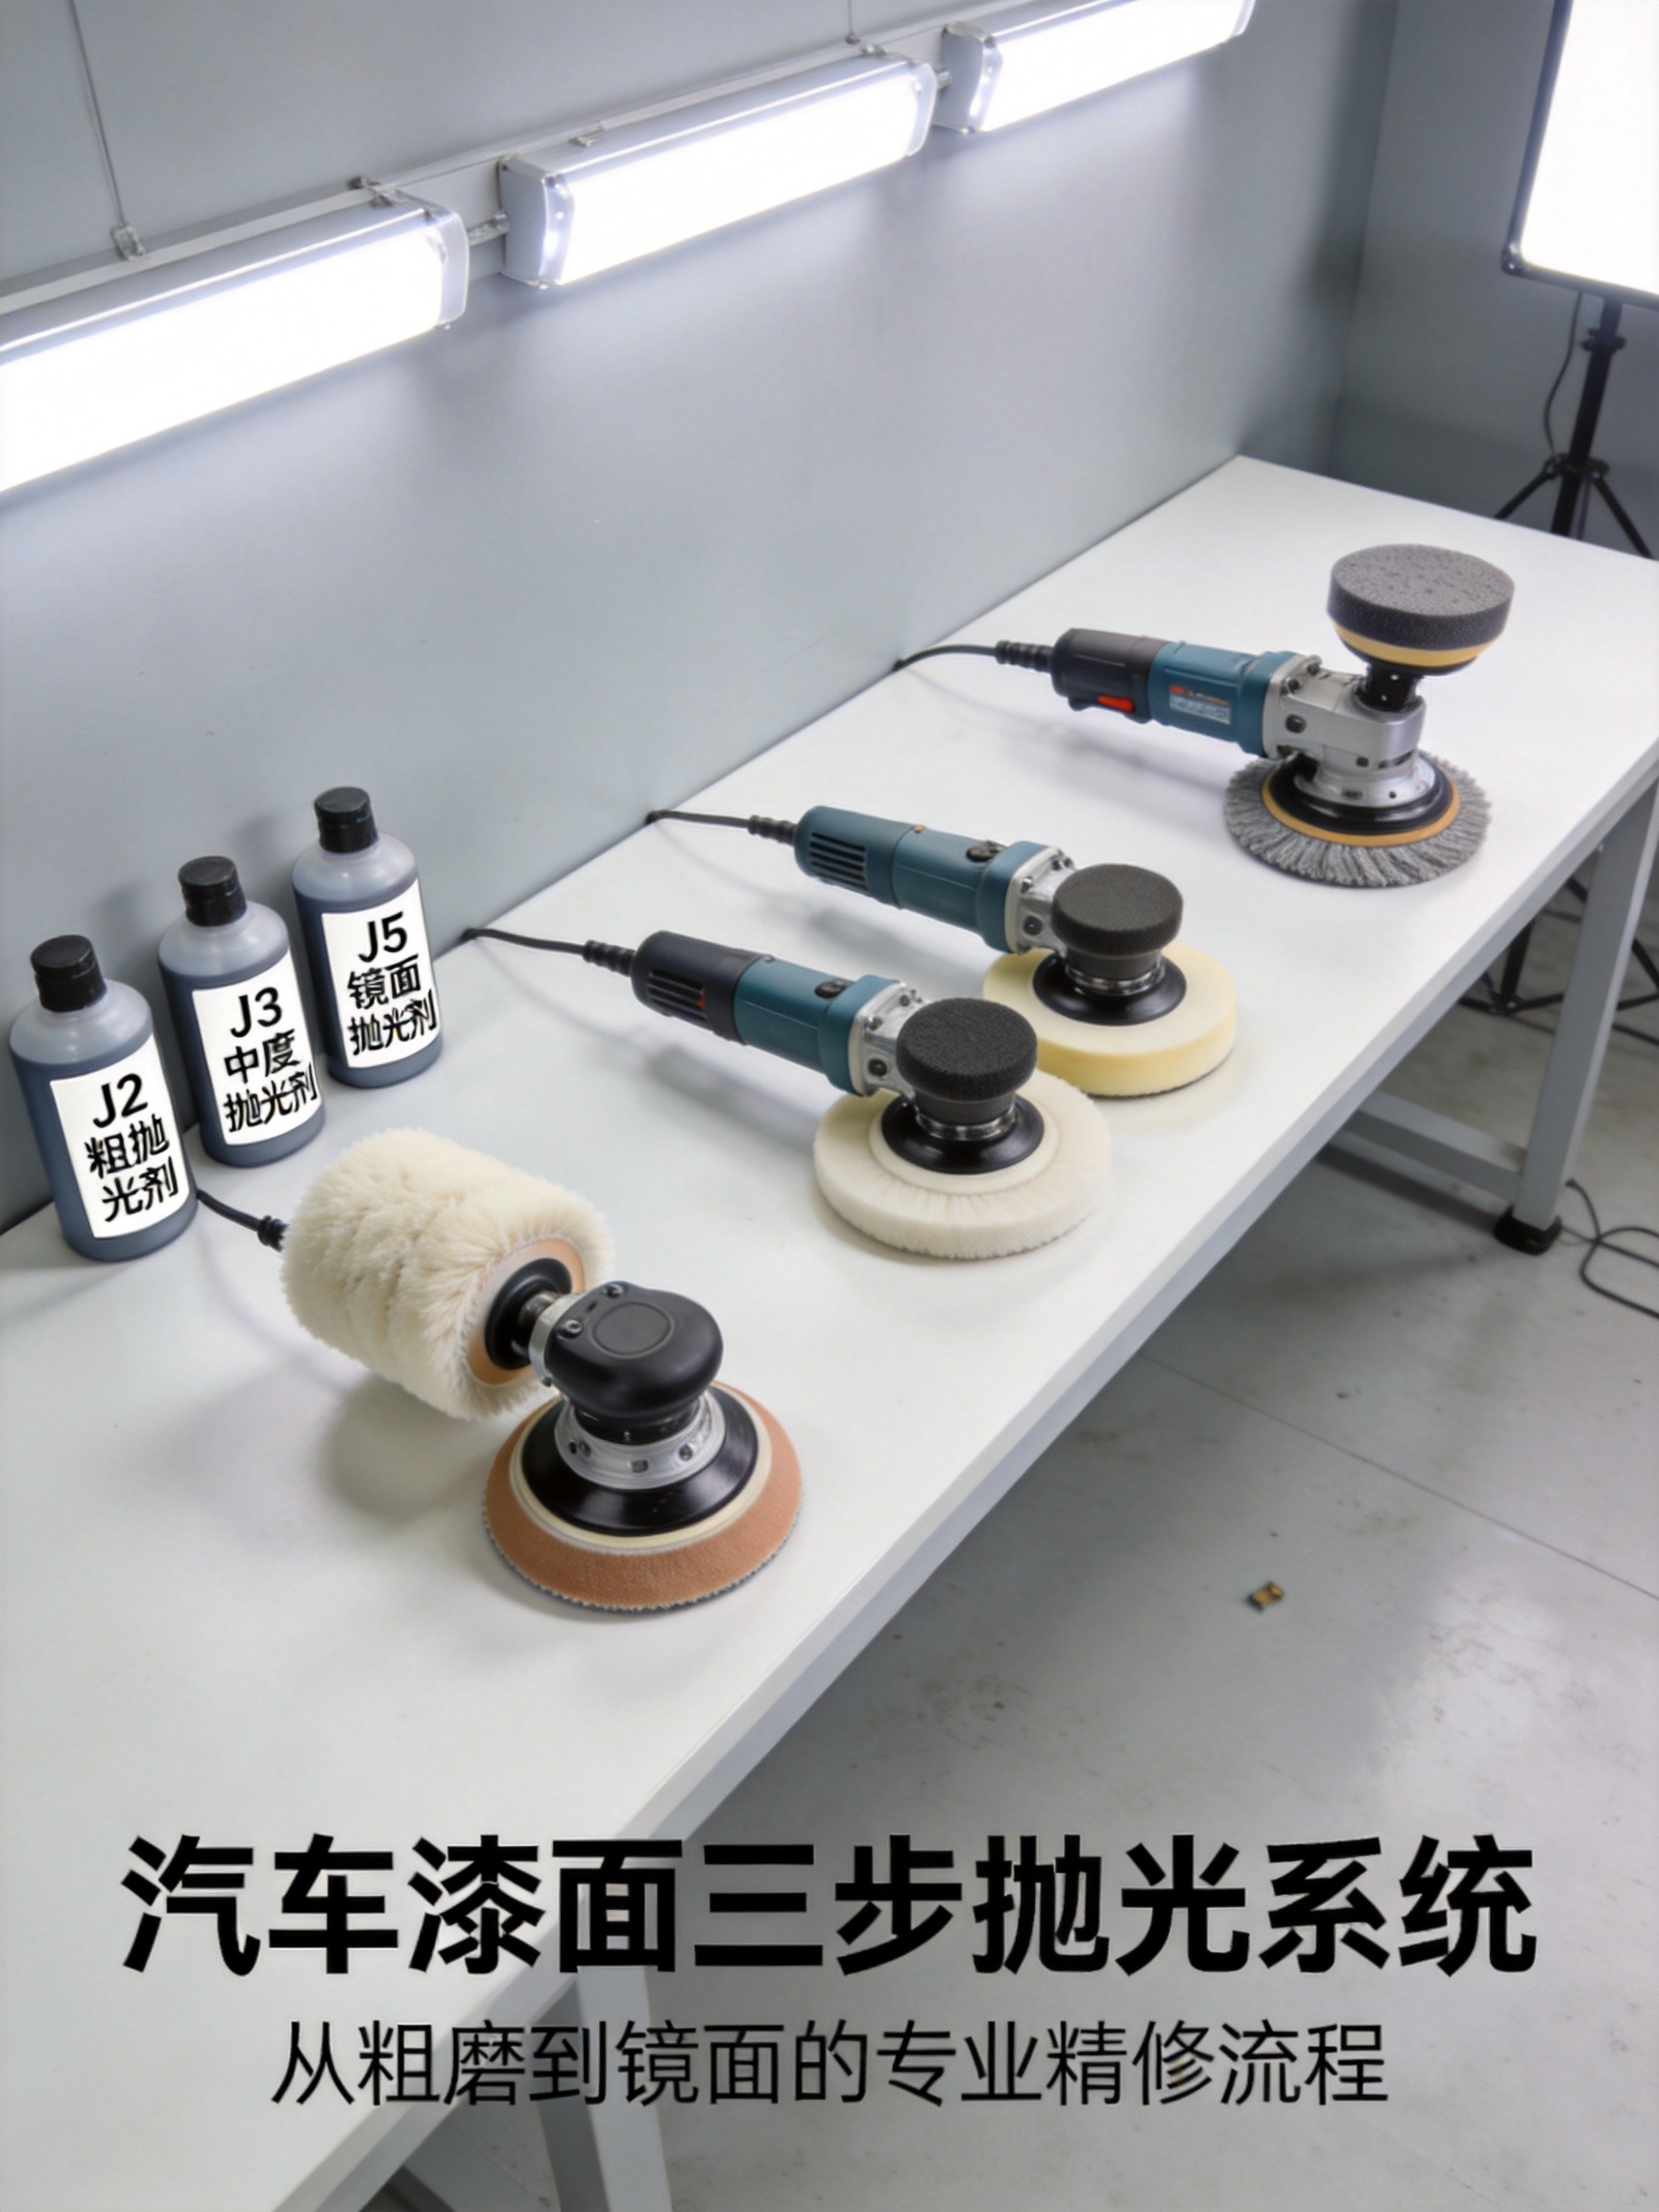
Polishing Machine + Pad + Compound: The 3-Step Matching Formula — Master Cutting Power and Get It Right
When it comes to automotive paint polishing, two questions come up most often: which car polishing compound delivers the best results, and how exactly should you match the machine, pad, and compound?
Honestly, these two questions are really the same one — polishing results are not determined by any single factor; they are the product of the machine, pad, and compound working together. Get any one of them wrong and the results suffer, or you may even make things worse.
In our technical support work, we have seen countless examples: a detailer using a heavy-cut compound with a soft foam pad, working for ages but the scratches are still there; a DIY enthusiast pairing a finishing polish with a wool pad, only to leave fresh swirl marks on dark paint. The problem is not the compound — it is that the pad-and-compound logic is reversed.
This article breaks down the complete matching formula for polishing machine + pad + compound.
1. The Core Formula: Cutting Power = Machine × Pad × Compound
Polishing is essentially micro-cutting of the clear coat using abrasive particles. The final cutting force applied to the paint is determined by three variables:
- Machine Type: Rotary polishers (RO) deliver the strongest cutting force, dual-action polishers (DA) are the gentlest, and forced-rotation gear-driven polishers (GA) sit in between
- Pad Hardness: Wool pads are the hardest and transmit cutting force most aggressively; foam pads range from coarse to fine; microfiber pads are the softest
- Compound/Abrasive Particle Size: Heavy-cut compounds have particles >10μm for maximum cutting, medium compounds are 3-10μm, and finishing polishes are <3μm for the finest work
These three factors multiply each other — they do not simply add up. This means if any one factor is too aggressive, the overall cutting force becomes excessive; if any one is too mild, the overall result is dragged down.
Example: Using an RO machine (high cutting) + long wool pad (hard) + heavy-cut compound (coarse particles) creates a massive combined cutting force — ideal for deep scratch repair. But using an RO machine + soft foam pad + finishing polish means the machine is powerful while the pad and compound are too fine; the actual cutting effect is near zero because the soft foam pad cannot transmit the rotational force.
The underlying logic: all three must be matched in the same direction — coarse with coarse, fine with fine. Never mix and match.
2. The Golden Rule: Coarse Pads for Heavy Cut, Soft Pads for Finishing
Every veteran detailer will tell a beginner this rule:
Compounding stage uses hard pads (wool pad / coarse foam pad) with coarse-particle compound — hard pads effectively transmit the cutting force of coarse abrasives to the paint surface.
Finishing/refining stage uses soft pads (fine foam pad / microfiber pad) with fine finishing polish — soft pads do not introduce new marks, and fine abrasives only need to refine gloss rather than cut.
Reverse this — heavy-cut compound on a soft foam pad — and the sponge is too soft to transmit the coarse abrasives; the compound slides on the paint with virtually no cutting. Finishing polish on a wool pad — the stiff wool fibers combined with fine abrasives create new micro-scratches on the paint.
Remember: pad hardness determines cutting force transmission. Pad softness must match compound coarseness.
3. The 3-Step Matching Formula: Compound → Medium Cut → Finishing — How to Choose at Each Stage
A complete polishing process has three phases, each with different cutting objectives and different machine/pad/compound combinations. Using DianYe products as examples:
3.1 Step 1: Compounding (Remove Deep Scratches / Heavy Oxidation)
| Item | Recommended Choice | Reason |
|---|---|---|
| Machine | RO (Rotary Polisher) | Strongest cutting force, highest efficiency for deep damage |
| Pad | Short wool pad or long wool pad | Hard pad with coarse compound maximizes cutting transmission |
| Compound | J2 Water-Based Polishing Compound (Heavy-Cut) | Abrasive particles >10μm, designed for compounding |
| Speed | 1500-1800 RPM | Safe upper limit for RO, balancing cutting and temperature |
| Pressure | Heavy pressure (200-300% of machine weight) | Compounding requires sufficient pressure for force transmission |
| Movement Speed | Slow (10-15 cm/s) | Ensures coarse abrasives cut fully |
Goal of compounding: Quickly remove deep scratches and heavy oxidation to establish a base for subsequent steps. This will leave deeper buffer trails and possible holograms — do not worry, the next two steps will address them.
⚠️ Important: RO machines heat up quickly; do not stay on one spot for more than 3 seconds; reduce to 800-1000 RPM at edges and corners. Clear coat temperature must not exceed 50°C — if it feels hot, stop. For Japanese soft-clear vehicles, reduce speed by 200-300 RPM throughout; never use wool pads.
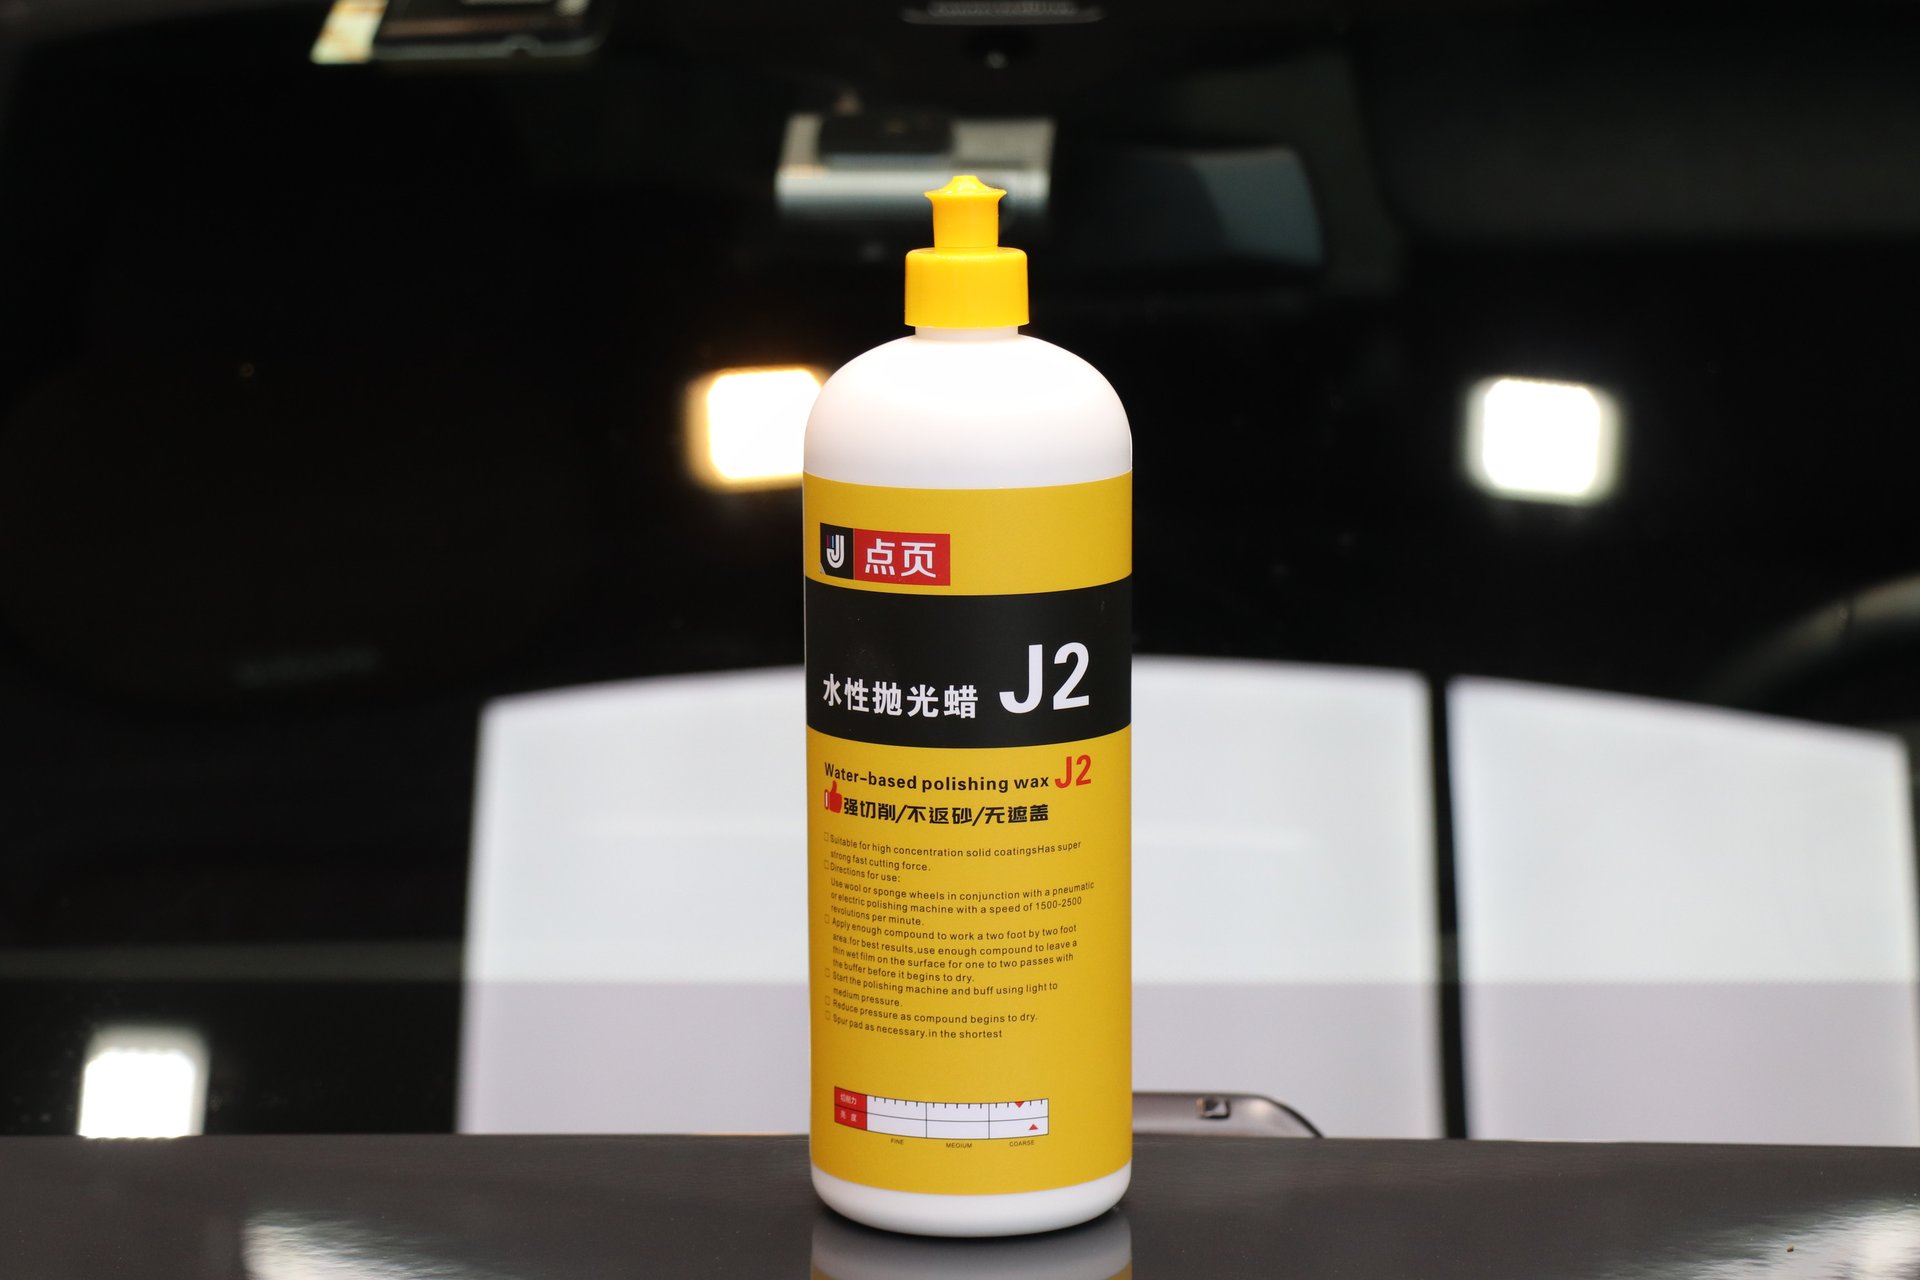
3.2 Step 2: Medium Cutting (Remove Compound Traces / Moderate Scratches)
| Item | Recommended Choice | Reason |
|---|---|---|
| Machine | DA (Dual Action Polisher) | Safer, excellent at removing holograms |
| Pad | Medium foam pad | Medium hardness, can handle moderate-depth marks |
| Compound | J3 3-in-1 Polishing Compound (Medium-Cut) | Abrasive particles 3-10μm, removes compounding marks |
| Speed | 3000-4000 OPM | Standard DA speed for medium cutting |
| Pressure | Light pressure (150% of machine weight) | Medium cutting does not require heavy pressure |
| Movement Speed | Medium (20-25 cm/s) | Even coverage |
Goal of medium cutting: Eliminate buffer trails left by compounding, address moderate scratches and swirl marks, and establish a uniform base for final finishing. This is the critical bridge step — if medium cutting is not done properly, finishing cannot compensate.
Can you skip medium cutting? No. Compound trails are typically 5-15μm deep, while finishing polish particles are <3μm with limited correction ability. Skipping straight to finishing means the polish cannot “bite” into the deep trails, resulting in an even worse finish.
3.3 Step 3: Finishing / Refining (Mirror Finish)
| Item | Recommended Choice | Reason |
|---|---|---|
| Machine | DA (Dual Action Polisher) | Zero holograms, best final result |
| Pad | Fine foam pad or microfiber pad | Softest option, no new marks |
| Compound | J5 Mirror Glaze (Finishing Polish) | Abrasive particles <3μm, designed for mirror finishing |
| Speed | 2000-2500 OPM | Low DA speed for fine gloss refinement |
| Pressure | Machine weight only (100%) | No extra pressure needed for finishing |
| Movement Speed | Slightly fast (>25 cm/s) | Even coverage, avoid over-working any area |
Goal of finishing: Remove all microscopic trails from previous steps to achieve a perfect mirror finish. When done correctly, the paint should show flawless diffuse reflection in sunlight with no swirls or rainbow marks.
3.4 Protection Step (Optional but Recommended)
After finishing, apply a protective layer with DianYe X1 Quick Liquid Wax. X1 is a pure protection wax with no abrasives — apply by hand or at low speed with a DA machine. Without post-polish protection, the exposed paint will re-oxidize quickly — rendering all the polishing work wasted.
For routine cleaning and maintenance (non-polishing scenarios), apply DianYe J1 Cleaning Wax and wipe directly — no waiting required, just apply and wipe off. J1 contains mild abrasives (≤5μm) to handle light dirt and dullness but is not a polishing compound — it is a daily maintenance product.

4. Simplified Matching for Two Common Scenarios
4.1 Daily Maintenance (Light Dullness / No Obvious Scratches)
No need for three steps — two will do:
| Step | Machine | Pad | Compound | Notes |
|---|---|---|---|---|
| Step 1 | DA | Medium foam pad | J3 3-in-1 Polishing Compound (Medium-Cut) | Remove light oxidation and dullness |
| Step 2 | DA | Fine foam pad | J5 Mirror Glaze (Finishing Polish) | Restore mirror finish |
Finish with X1 Quick Liquid Wax for protection. If there is only light dirt with no scratches, J1 Cleaning Wax applied and wiped by hand is sufficient.
4.2 Heavy Restoration (Deep Scratches / Full-Car Oxidation / Orange Peel)
Standard three-step process + protection:
RO + Long Wool Pad + J2 Heavy-Cut Compound (compounding) → DA + Medium Foam Pad + J3 Medium-Cut Compound (medium cutting) → DA + Fine Foam Pad + J5 Mirror Glaze (finishing) → X1 Liquid Wax (protection)
This approach is suitable for:
- Full-car heavy oxidation with white, dull paint
- Deep scratches (nail catches noticeably)
- Multi-year-old vehicles needing full restoration
- Severe orange peel texture
5. Eight Common Matching Mistakes — How Many Have You Made?
| Wrong Combination | Consequence | Correct Approach |
|---|---|---|
| Heavy-cut compound + soft foam pad | Near-zero cutting, wasted effort | Use hard pads (wool/coarse foam) for compounding |
| Finishing polish + wool pad | Wool fibers create new marks | Use fine foam pads for finishing |
| No finishing after RO polishing | Holograms appear on dark paint | Always follow RO with DA finishing |
| Skipping medium cutting | Compound trails cannot be removed | Three progressive steps, no skipping |
| Using finishing polish for compounding | Particles too fine, no cutting effect | Use coarse-particle compound for compounding |
| Same pad for different compounds | Coarse residue scratches the paint | Use a dedicated pad for each stage |
| RO high RPM + heavy pressure | Burn-through / paint damage | Keep under 1800 RPM |
| Wool pad on Japanese soft clear coat | Excessive cutting, rapid clear coat loss | Use foam pads throughout for soft paint |
Mistakes #1 and #2 are the most common — both stem from not understanding the “coarse with hard, fine with soft” rule. Mistake #6 is easy to overlook: using one pad throughout drags coarse residue into the finishing stage, causing deeper secondary scratches.
6. Professional Shop Equipment Checklist
If you are setting up a polishing bay, here is a basic configuration reference:
| Item | Qty | Purpose |
|---|---|---|
| RO (Rotary Polisher) | 1 | Primary compounding tool |
| DA (15mm throw) | 1 | Primary medium cutting + finishing tool |
| Long wool pads | ×2 | Backup for heavy cutting |
| Coarse foam pads | ×2 | Medium cutting |
| Medium foam pads | ×2 | Fine medium cutting |
| Fine foam pads | ×2 | Mirror finishing |
| DianYe J2 Water-Based Polishing Compound | 2 containers | Compounding |
| DianYe J3 3-in-1 Polishing Compound | 1 container | Medium cutting |
| J5 Mirror Glaze | 2 containers | Finishing |
| J1 Cleaning Wax | 1 box | Daily maintenance |
| X1 Quick Liquid Wax | 1 bottle | Protection sealing |
This setup covers everything from heavy restoration to daily maintenance. You only need two machines (RO + DA), two pads per grade (consumables), and stock compounds by usage frequency.
7. Summary: Remember the 3-Step Matching Formula
Cutting Power = Machine × Pad × Compound — all three must be matched in the same direction.
- Compounding: Hard pad + coarse compound + powerful machine (RO + wool pad + J2)
- Medium cutting: Medium pad + medium compound + safe machine (DA + medium foam + J3)
- Finishing: Soft pad + fine compound + safe machine (DA + fine foam + J5)
- Protection: X1 Quick Liquid Wax sealing coat
Golden rule: Coarse with hard, fine with soft. No skipping steps, no sharing pads, no cross-stage mixing.
Understand this logic, and regardless of paint condition or available equipment, you can quickly determine the right combination. Polishing is not mysticism — it follows clear logic.
DianYe specializes in automotive polishing. The J2/J3/J5 polishing compound lineup covers the full process from compounding to finishing. For polishing advice, search “DianYe” for professional technical support.