
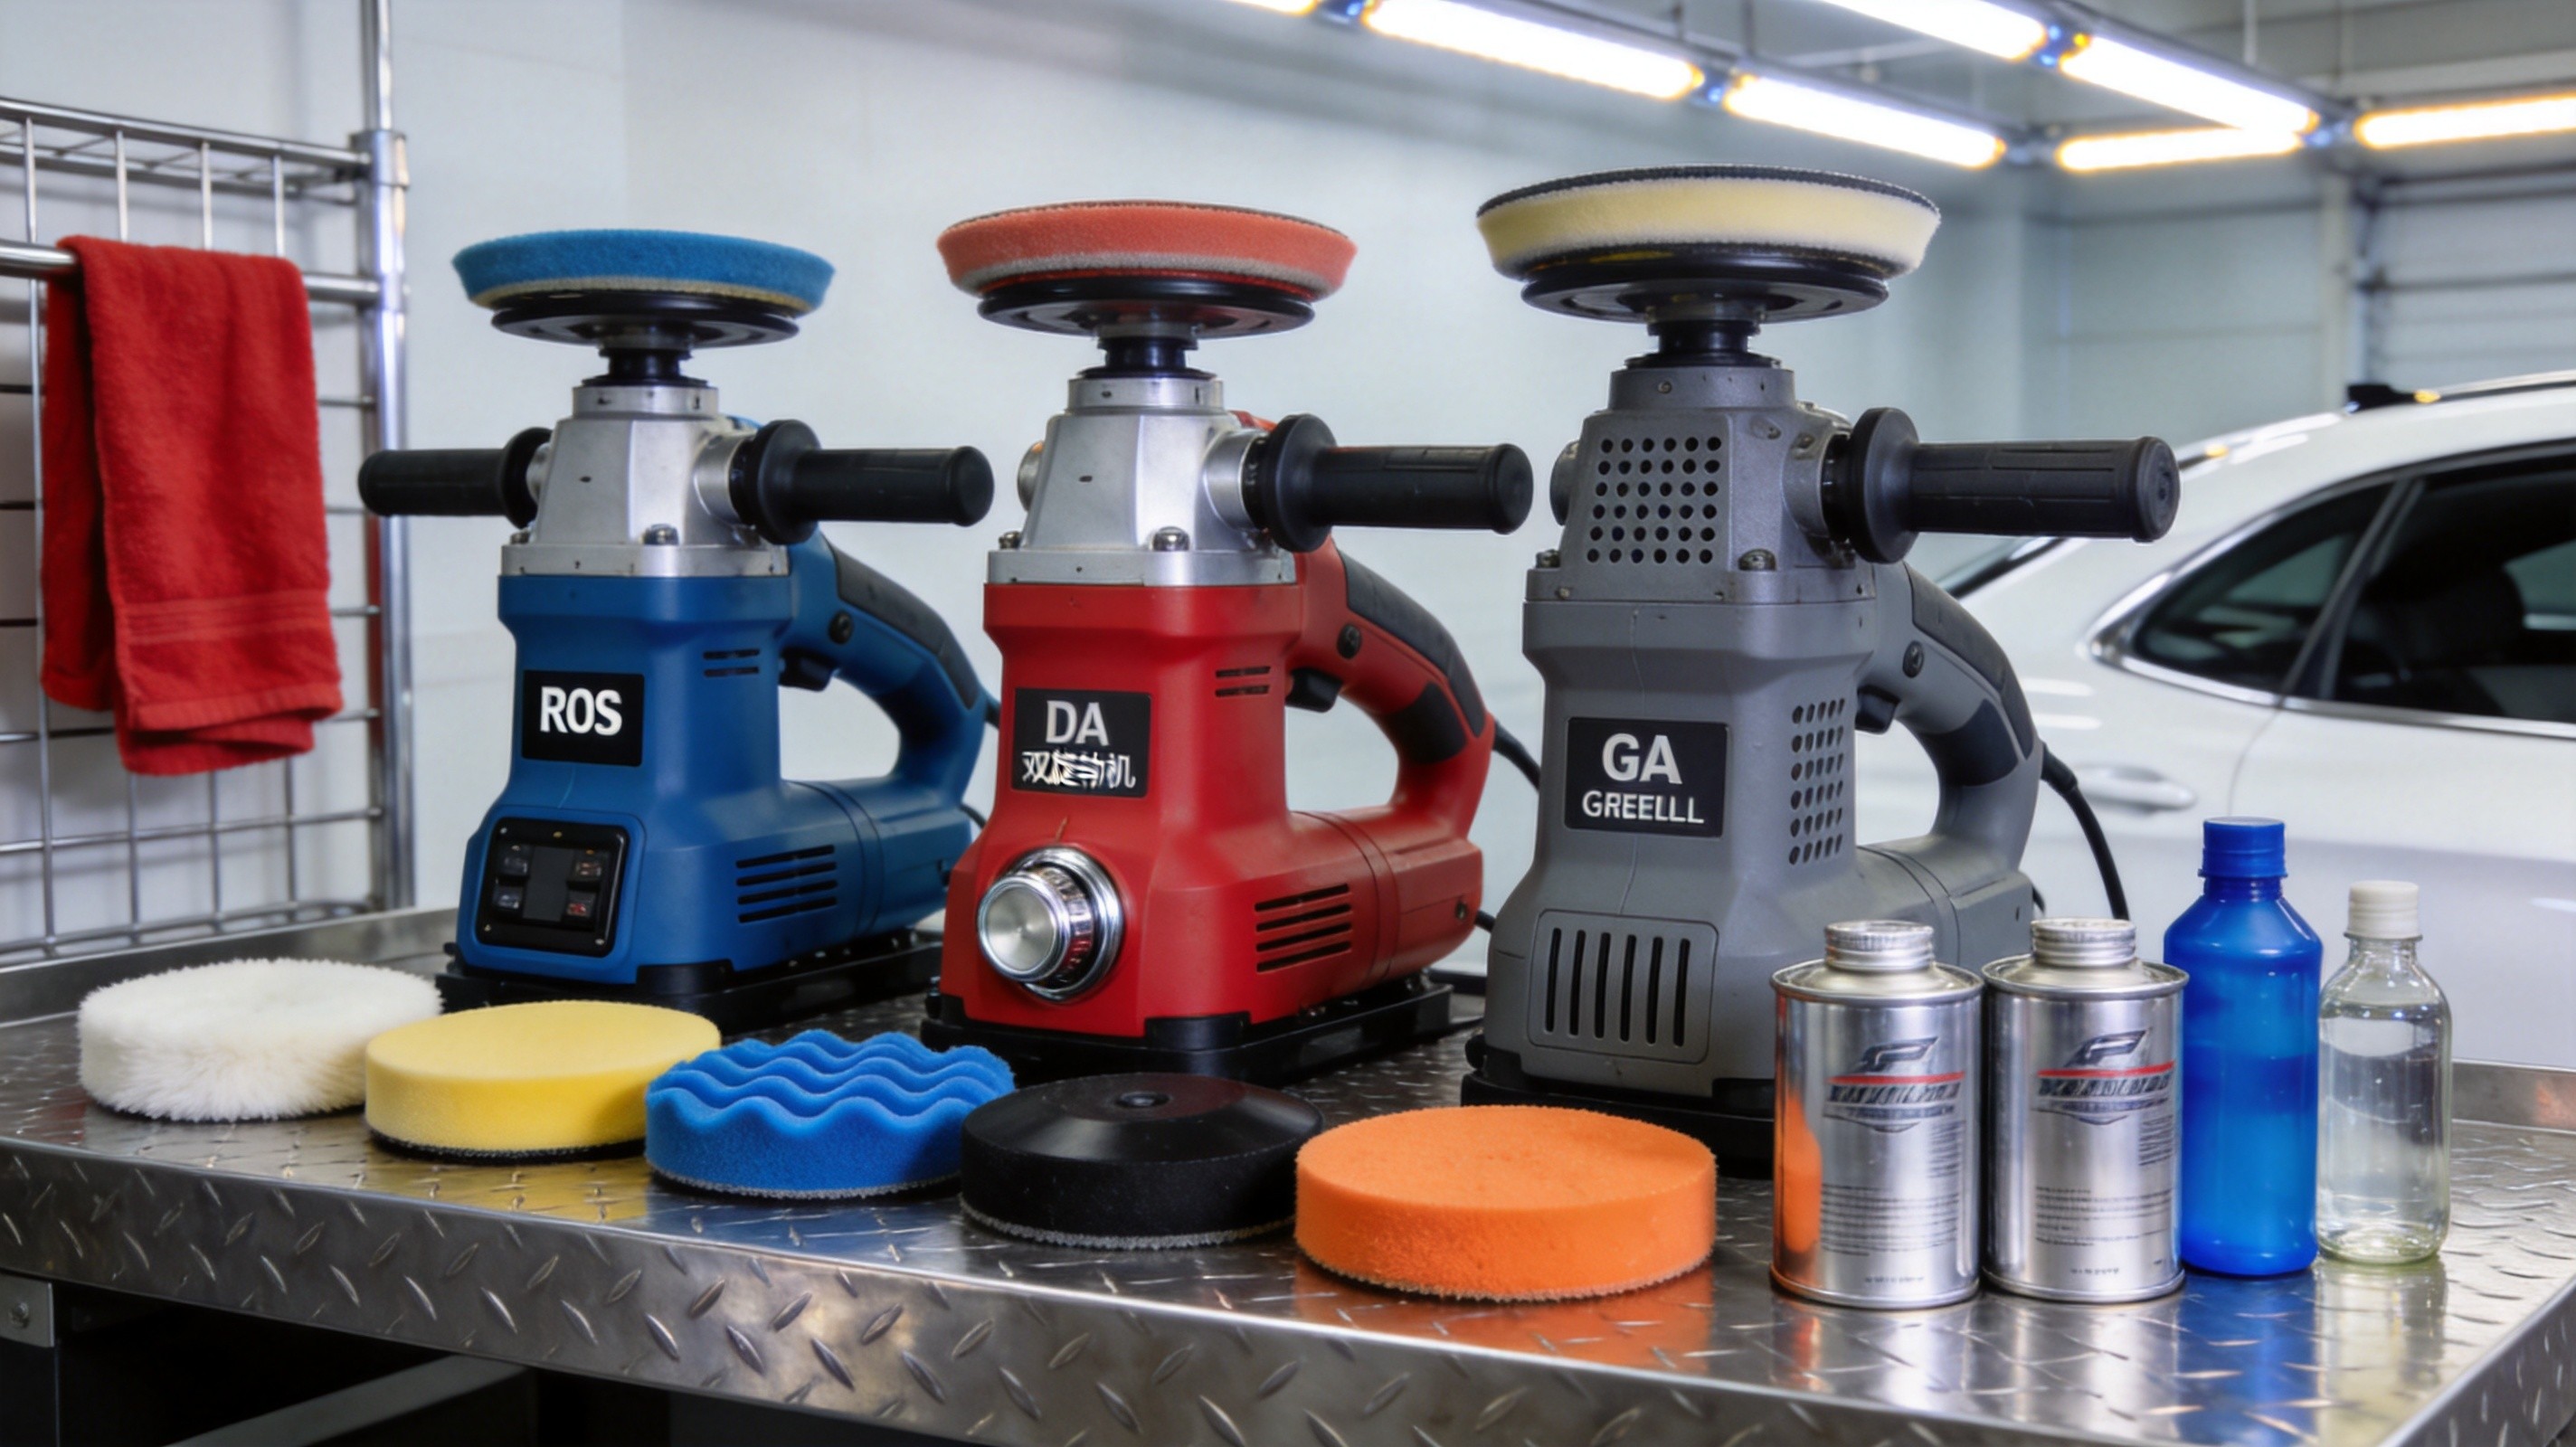
How to Choose a Car Polisher? Complete Guide to RO/DA/GA Polisher Types and Matching
When it comes to automotive paint polishing, many people focus all their energy on choosing the perfect compound, yet overlook a more fundamental issue — if you pick the wrong machine, even the best compound is useless.
In our technical support work at DianYe, we have found that a significant number of paint polishing failures stem not from the compound but from poor machine and pad selection. Some detailers use a DA machine to tackle heavy oxidation, wonder why nothing happens, and blame the compound; others use an RO machine for mirror finishing, only to leave rainbow holograms on dark paint.
This article covers the three main types of car polishers — RO (Rotary), DA (Dual Action), and GA (Forced Rotation Gear-Driven) — from working principles to use cases, and concludes with the machine/pad/compound matching formula. Whether you are a professional detailer or a DIY enthusiast, you will know exactly how to choose and match after reading this.
1. What Really Differentiates the Three Types? One Table Says It All
The core difference lies in motion type, which determines cutting force, safety, and application scenarios.
| Comparison | RO (Rotary) | DA (Dual Action) | GA (Gear-Driven) |
|---|---|---|---|
| Working Principle | Pure rotation, concentric circles | Eccentric orbit + inertive spin, random elliptical path | Gear-driven orbit + forced spin, regular elliptical path |
| Cutting Force | ★★★★★ Strongest | ★★ Gentle | ★★★★ Moderate-Strong |
| Safety | ★★ Lowest (burn-through risk) | ★★★★★ Highest (virtually impossible to burn) | ★★★ Moderate |
| Hologram Risk | High (especially on dark paint) | Very low (zero holograms) | Low but higher than DA |
| Best For | Experienced professionals | Beginners to professionals | Mid-level users with some experience |
| Core Role | Heavy cutting, efficient repair | Safe polishing, mirror finishing | Balancing cutting and safety |
Simply put: RO is the “power tool” — fastest but riskiest; DA is the “safe tool” — beginner-friendly but limited cutting; GA tries to split the difference but has the lowest market acceptance.
2. Deep Dive into Each Type
2.1 RO (Rotary Polisher): King of Efficiency, but Highest Risk
The RO machine has the simplest structure — the motor output shaft connects directly to the polishing pad in pure rotation. All power converts directly into cutting force with maximum energy efficiency.
Core advantages:
- Strongest cutting force: For deep scratches, heavy oxidation, and orange peel, an RO with coarse compound and wool pad corrects 40-50% faster than a DA
- Highest efficiency: In commercial settings, RO machines significantly boost daily throughput
- Irreplaceable for deep restoration: Full-car heavy oxidation, years of accumulated deep scratches — only an RO handles these efficiently
Critical risks:
- Paint burn-through: Above 1800 RPM, paint temperature rises sharply. When clear coat exceeds 180-200°C (glass transition temperature), it softens, melts, and re-solidifies — irreversible damage
- Burn-through: Clear coat is typically only 40-60μm thick; an RO can cut through it in seconds
- Holograms: The single-direction concentric motion leaves micro-arc scratches that appear as rainbow patterns in sunlight
Operating advice: RO machines are standard in professional shops, but operators must be trained. Core principles: never exceed 1800 RPM, no more than 3 seconds on one spot, slow down at edges.
2.2 DA (Dual Action Polisher): Best for Beginners, Virtually Foolproof
The DA machine adds an eccentric shaft to the RO design, creating a combined “orbit + free spin” motion — like Earth rotating on its axis while orbiting the sun. The key is that the spin is free-rotating — when resistance increases, the spin naturally slows, generating heat very slowly.
Core advantages:
- Extremely safe: Beginners can virtually never burn through paint — this is the DA’s biggest selling point
- Zero holograms: Random irregular motion leaves no directional marks; excellent on dark paint
- Highly versatile: From light swirls to moderate scratches, one DA covers 80% of daily polishing needs
Limitations:
- Limited cutting: Heavy oxidation and deep scratches require multiple passes; slower than RO
- Pad and compound quality matters more: Since cutting relies on pad/compound rather than machine speed, quality directly determines results
Throw distance (orbit amplitude) is the key DA parameter:
| Throw | Cutting | Use Case |
|---|---|---|
| 5-8mm | Light | Fine finishing, waxing, light maintenance |
| 12mm | Medium | General polishing, moderate scratches |
| 15mm | Medium-Strong | Efficient correction, moderate to deep scratches |
| 21mm | Strong | Large-area rapid cutting |
Larger throw = more coverage per pass and more cutting, but harder to control on curves and edges. DIY users should choose 12-15mm throw for the best balance of efficiency and control.
2.3 GA (Gear-Driven Polisher): Great in Theory, Awkward in Practice
The GA machine adds a gear system to the DA, making the spin “forced” rather than “free.” This increases cutting over DA but reduces safety, while still not matching RO efficiency.
The GA positioning problem:
- Not as fast as RO for deep scratches
- Not as refined as DA for mirror finishing
- More expensive, more complex maintenance
This is why GA polishers have low adoption in professional shops. For the vast majority of users, an RO + DA combination covers all needs — GA is not essential.
3. How to Choose Based on Your Situation?
3.1 Professional Shops: RO + DA Is the Standard
- RO for compounding: Deep scratches, heavy oxidation, orange peel — RO + wool pad + heavy-cut compound handles them fast
- DA for finishing and refining: Eliminate RO holograms, achieve mirror finish
The logic: RO solves the “quantity” problem, DA solves the “quality” problem.
3.2 DIY / Car Owners: DA Is the Best Choice
Without professional training, using an RO machine risks burn-through. Most failures we see from individual users are caused by beginners using RO machines.
DIY users should go straight to DA, 12-15mm throw, paired with appropriate pads and compound for light to moderate paint issues.
3.3 Beginners: Start with DA
If you want to systematically learn paint polishing, start with a DA to develop feel and technique. Once you can judge paint condition and cutting force, move on to an RO.
4. Machine, Pad, Compound Matching: The 3-Step Formula
Choosing the right machine is just the first step — the combination of machine + pad + compound is what determines the final result.
4.1 Core Formula
Cutting Force = Machine Type × Pad Hardness × Compound Particle Size
The product of three factors determines cutting; changing any one significantly alters the outcome.
Golden rule: Coarse with hard, fine with soft. Hard pads (wool) transmit coarse abrasives; soft pads (fine foam) work with fine finishing polish without creating new marks.
4.2 Full 3-Step Matching Plan
| Stage | Machine | Pad | Compound | Speed | Goal |
|---|---|---|---|---|---|
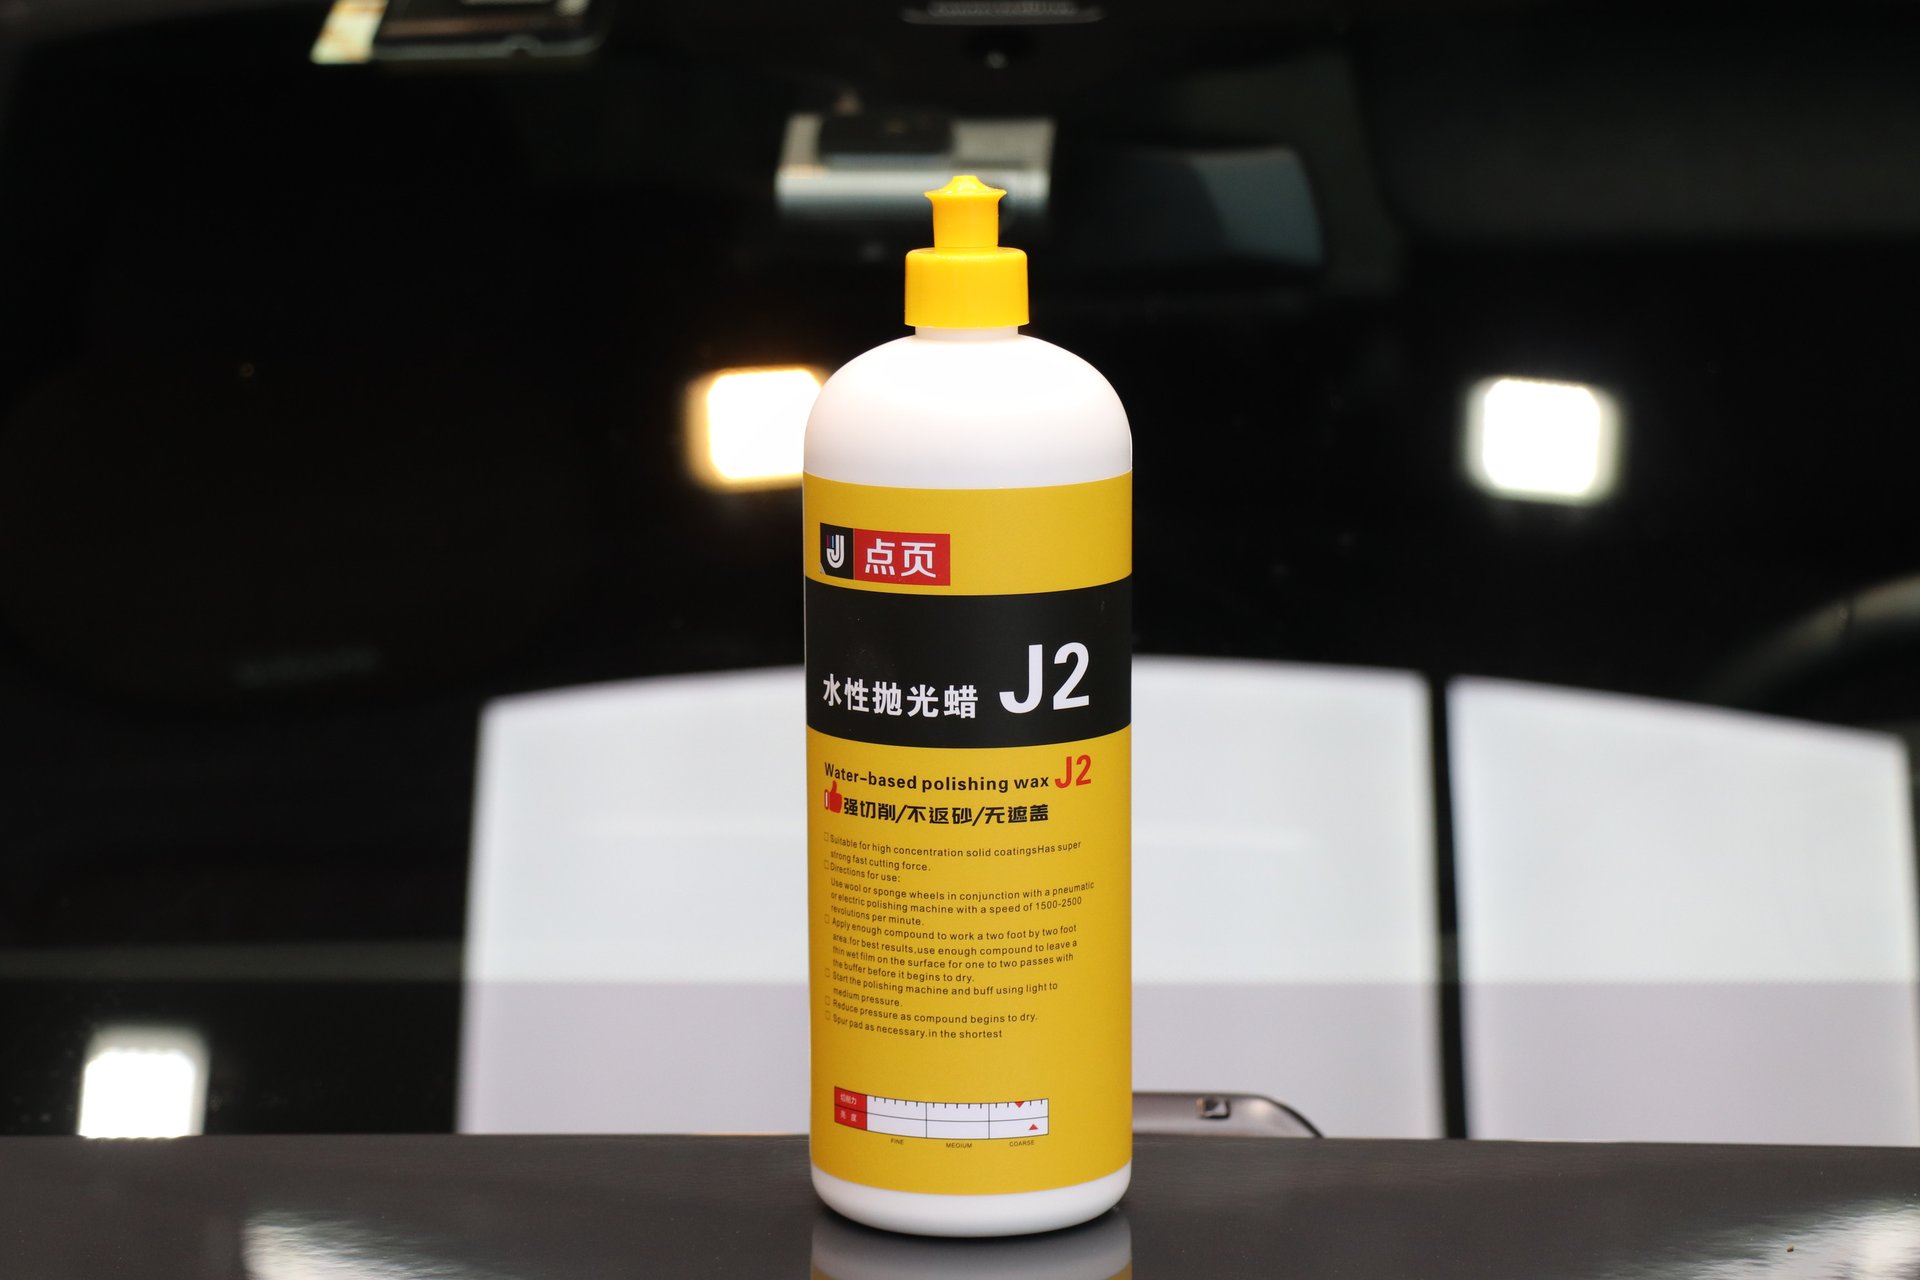
| Compounding | RO | Short wool/coarse foam | DianYe J2 Water-Based Polishing Compound (>10μm) | 1500-1800 RPM | Remove deep scratches, heavy oxidation |
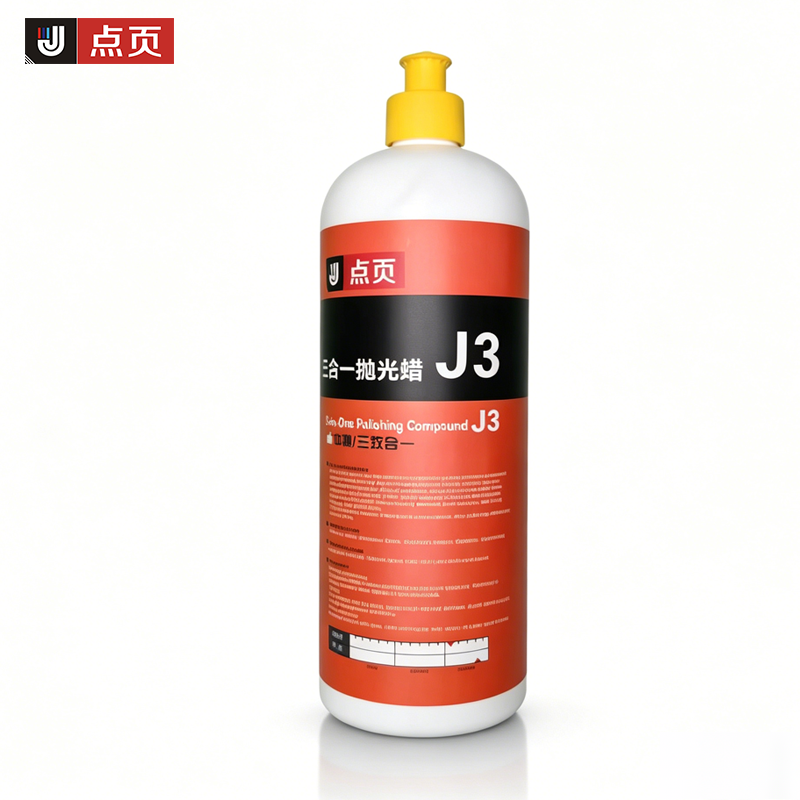
| Medium Cutting | DA | Medium foam | DianYe J3 3-in-1 Polishing Compound (3-10μm) | 3000-4000 OPM | Remove compound trails, treat swirls |
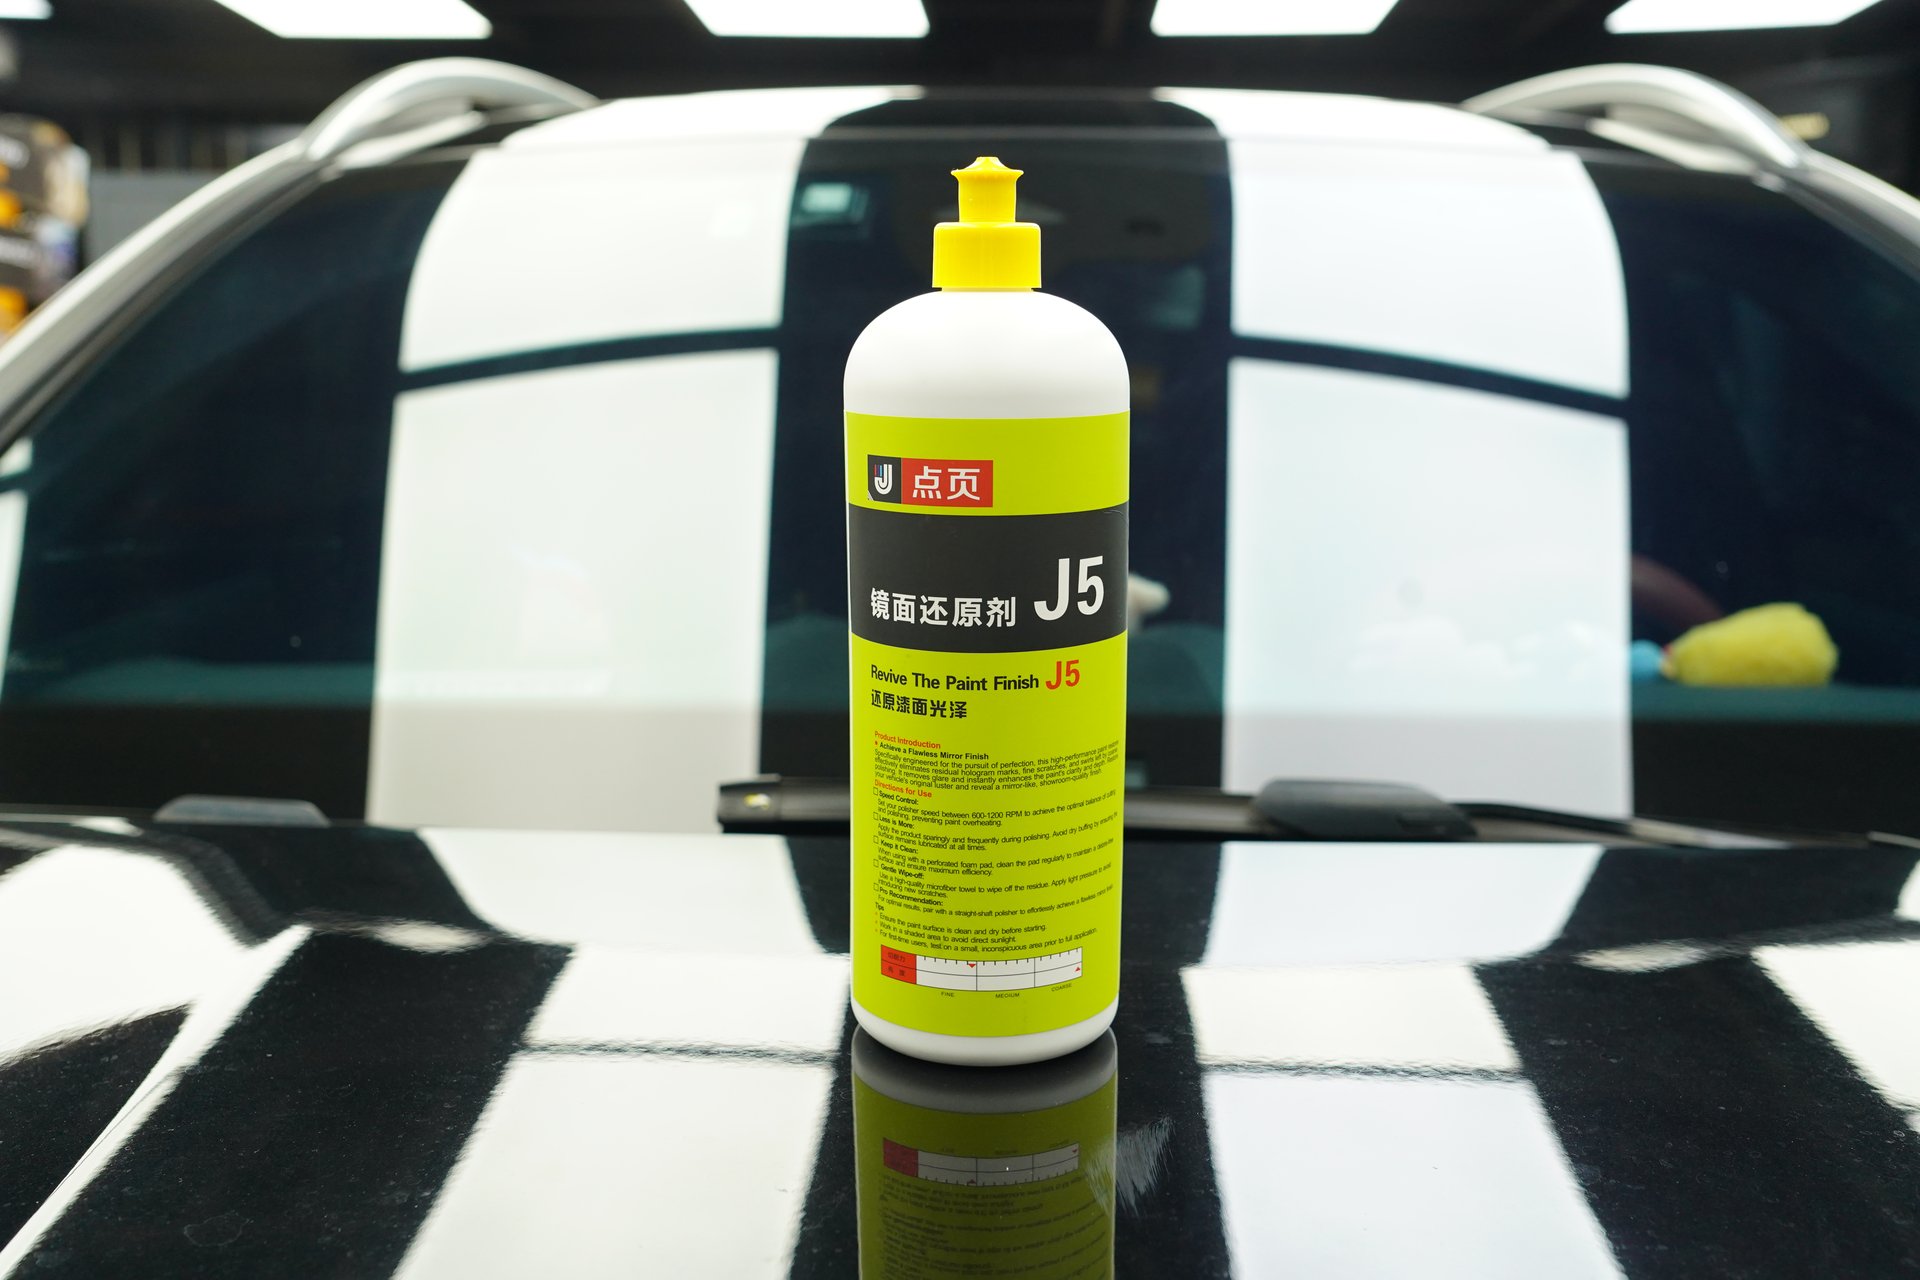
| Finishing | DA | Fine foam | DianYe J5 Mirror Glaze (<3μm) | 2000-2500 OPM | Mirror finish, eliminate holograms |
 | Protection | DA or hand | Microfiber towel | Protection wax | Low speed | Seal and protect, extend polish results |
4.3 Simplified: 2-Step Daily Maintenance
Most light-to-moderate damage only needs two steps:
| Step | Machine | Pad | Product | Speed |
|---|---|---|---|---|
| Step 1 | DA | Medium foam | J3 3-in-1 Polishing Compound | 3000-4000 OPM |
| Step 2 | DA | Fine foam | J5 Mirror Glaze | 2000-2500 OPM |
After polishing, apply X1 Quick Liquid Wax for protection.
4.4 Light Cleaning and Daily Maintenance
For dirt and slight dullness without needing machine polishing, apply J1 Cleaning Wax and wipe directly — no waiting, simple operation, ideal for quick daily cleaning and light correction.
5. Common Matching Mistakes
| Mistake | Consequence | Fix |
|---|---|---|
| Heavy-cut compound + soft foam pad | Near-zero cutting, wasted effort | Must pair with hard pad (wool/coarse foam) |
| Finishing polish + wool pad | Wool fibers leave new marks | Pair with fine foam pad |
| Delivering car right after RO | Holograms on dark paint | Always follow RO with DA + fine pad finishing |
| Skipping medium cutting | Compound trails remain | Follow the strict compound → medium → finishing progression |
| Same pad for all compounds | Coarse residue scratches paint | Use dedicated pad per stage |
| RO high RPM + heavy pressure | Paint burn-through | Keep RPM ≤ 1800, let machine weight do the work |
| Wool pad on Japanese soft paint | Excessive cutting, rapid clear coat loss | Use foam pads throughout, reduce RPM |
6. Quick Product Reference
| Product | Type | Size | Stage | Matching |
|---|---|---|---|---|
| J2 Water-Based Polishing Compound | Heavy-Cut | 1000g | Compounding (Step 1) | RO + wool pad |
| J3 3-in-1 Polishing Compound | Medium-Cut | 1000g | Medium cutting (Step 2) | DA + medium foam |
| J5 Mirror Glaze | Finishing Polish | 1000g | Finishing (Step 3) | DA + fine foam |
| J1 Cleaning Wax | Cleaning Wax | 200g | Daily cleaning / light repair | Hand or DA low speed |
| X1 Quick Liquid Wax | Protection Wax | 500ml | Post-polish protection | Hand or DA low speed |
| J10 Glass Polishing Compound | Glass Polish | 200ml | Glass scratch repair | Dedicated glass pad |
Standard process: J2 compounding → J3 medium cutting → J5 finishing → X1 protection
For daily light maintenance, simplify to: J3 medium → J5 finishing → X1 protection.
All products are from DianYe, strictly graded by abrasive particle size.
7. Summary: Choose the Right Machine to Unlock Your Compound’s Full Potential
The logic is simple:
- Professional shops: RO + DA as standard — one for efficiency, one for quality
- DIY / Car owners: Go with DA — safe and worry-free
- GA: Not essential — RO + DA covers all needs
With the right machine, proper pad, and quality car polishing compound following the “compound → medium → finishing” progression, you achieve a true mirror finish.
Polishing: choosing the right tools is the prerequisite, using the right method is the key. Hope this guide helps you avoid costly detours.