
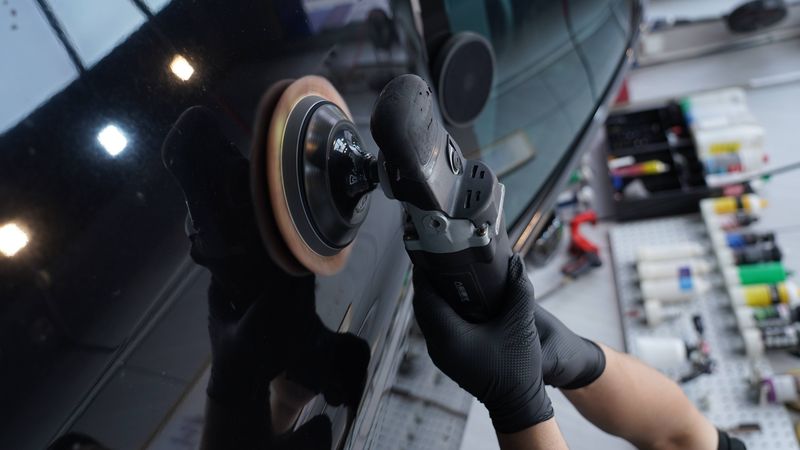
Car polishing is a highly specialized paint correction technique. Mastering the correct polishing steps is an essential skill for every detailing technician and DIY enthusiast. DianYe Auto Technology, with years of automotive paint care product R&D experience, provides a comprehensive walkthrough of the complete polishing process.
1. Pre-Polish Paint Diagnosis
Inspect Paint Condition
Before beginning polishing work, conduct a thorough paint diagnosis:
- Touch the surface to feel smoothness
- Inspect scratch distribution under strong light
- Determine scratch depth (light, moderate, or deep)
- Check for oxidation, orange peel, and other defects
Determine the Work Plan
Based on the diagnosis:
- Light defects: Fine polish with low speed
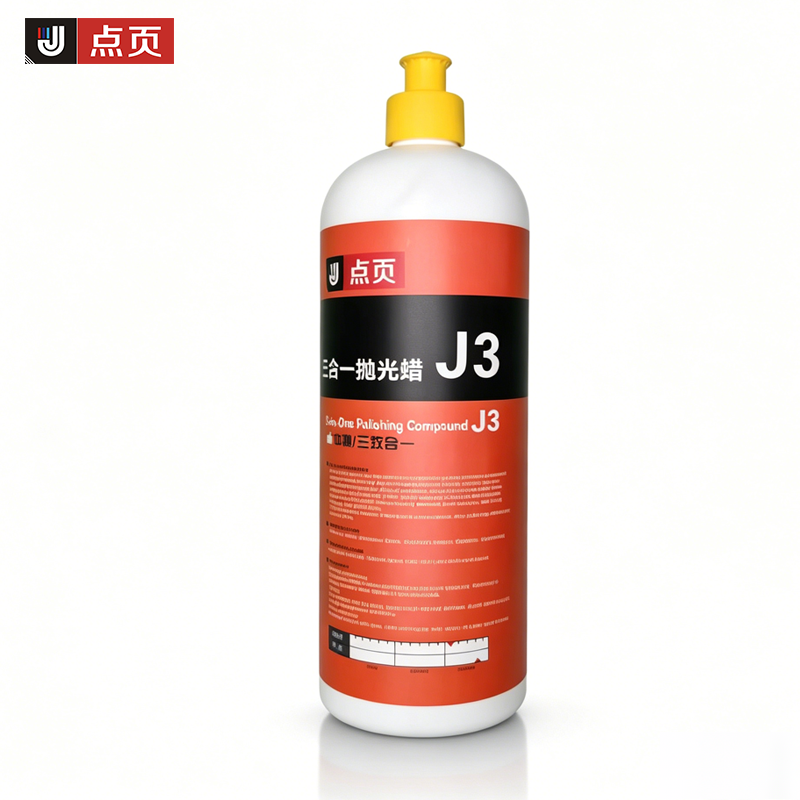
- Moderate defects: Medium compound for cutting
- Severe defects: Multi-step process — heavy-cut first, then progressively finer
2. Paint Cleaning and Preparation
Deep Cleaning
- Pre-wash: High-pressure rinse to remove loose dirt
- Two-bucket wash: Use dedicated car wash solution and wash mitt
- Clay bar treatment: Remove iron particles, tar, and bonded contaminants
- Drying: Use microfiber towels to dry thoroughly
Paint Decontamination
Wipe the paint with a prep spray or IPA solution to remove wax and sealant residue, ensuring the polishing compound makes direct contact with the paint.
3. Masking and Protection
Areas to Mask
- Window weatherstripping
- Front and rear lights
- Badges and trim pieces
- Plastic and rubber components
Working Environment
- Indoor work preferred, avoid direct sunlight
- Keep the work area clean
- Ensure good ventilation
4. Polishing Operation
Step 1: Heavy Cutting
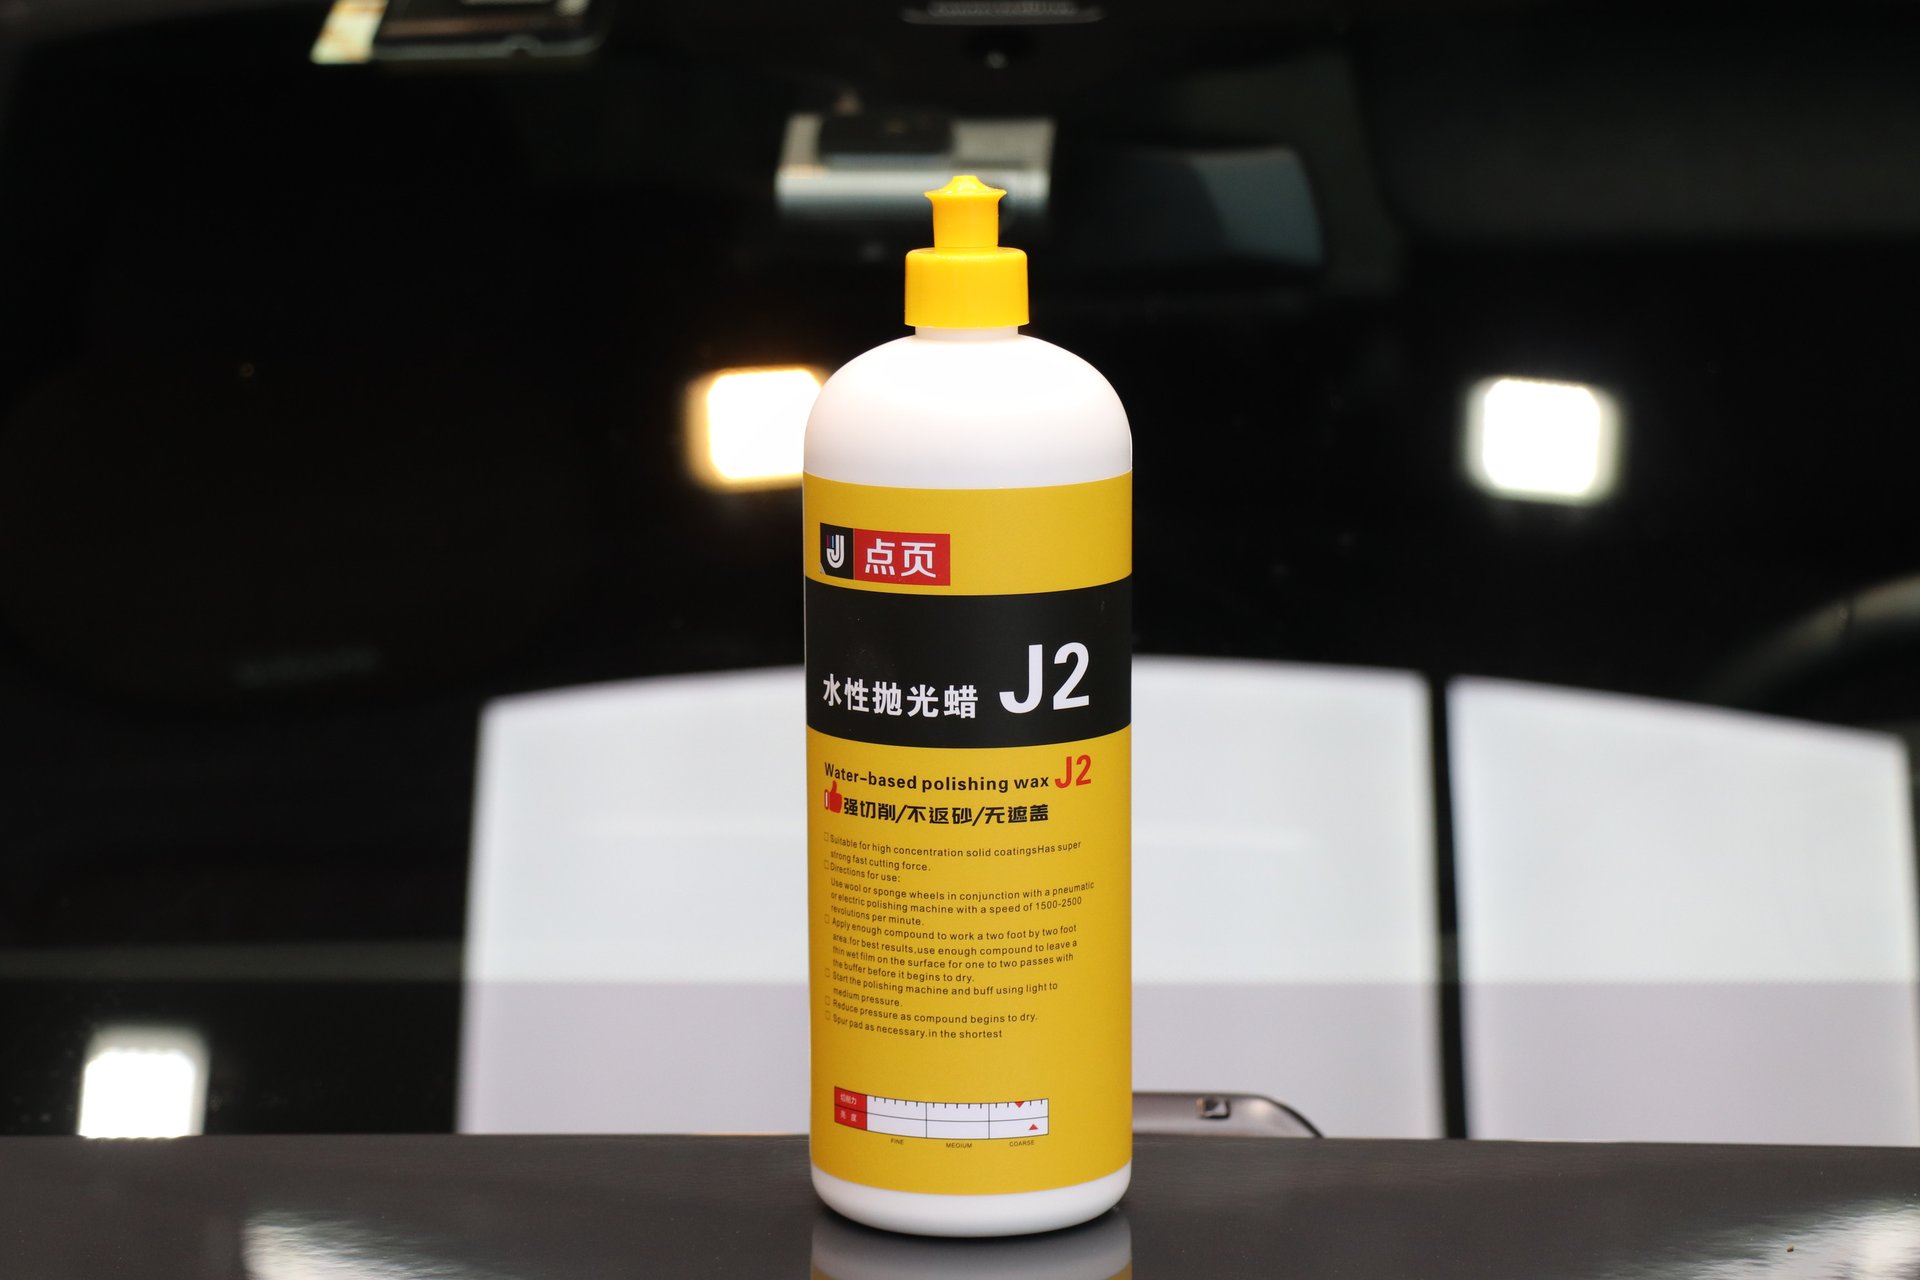
- Use heavy-cut compound (e.g., J2 Water-Based Polishing Compound)
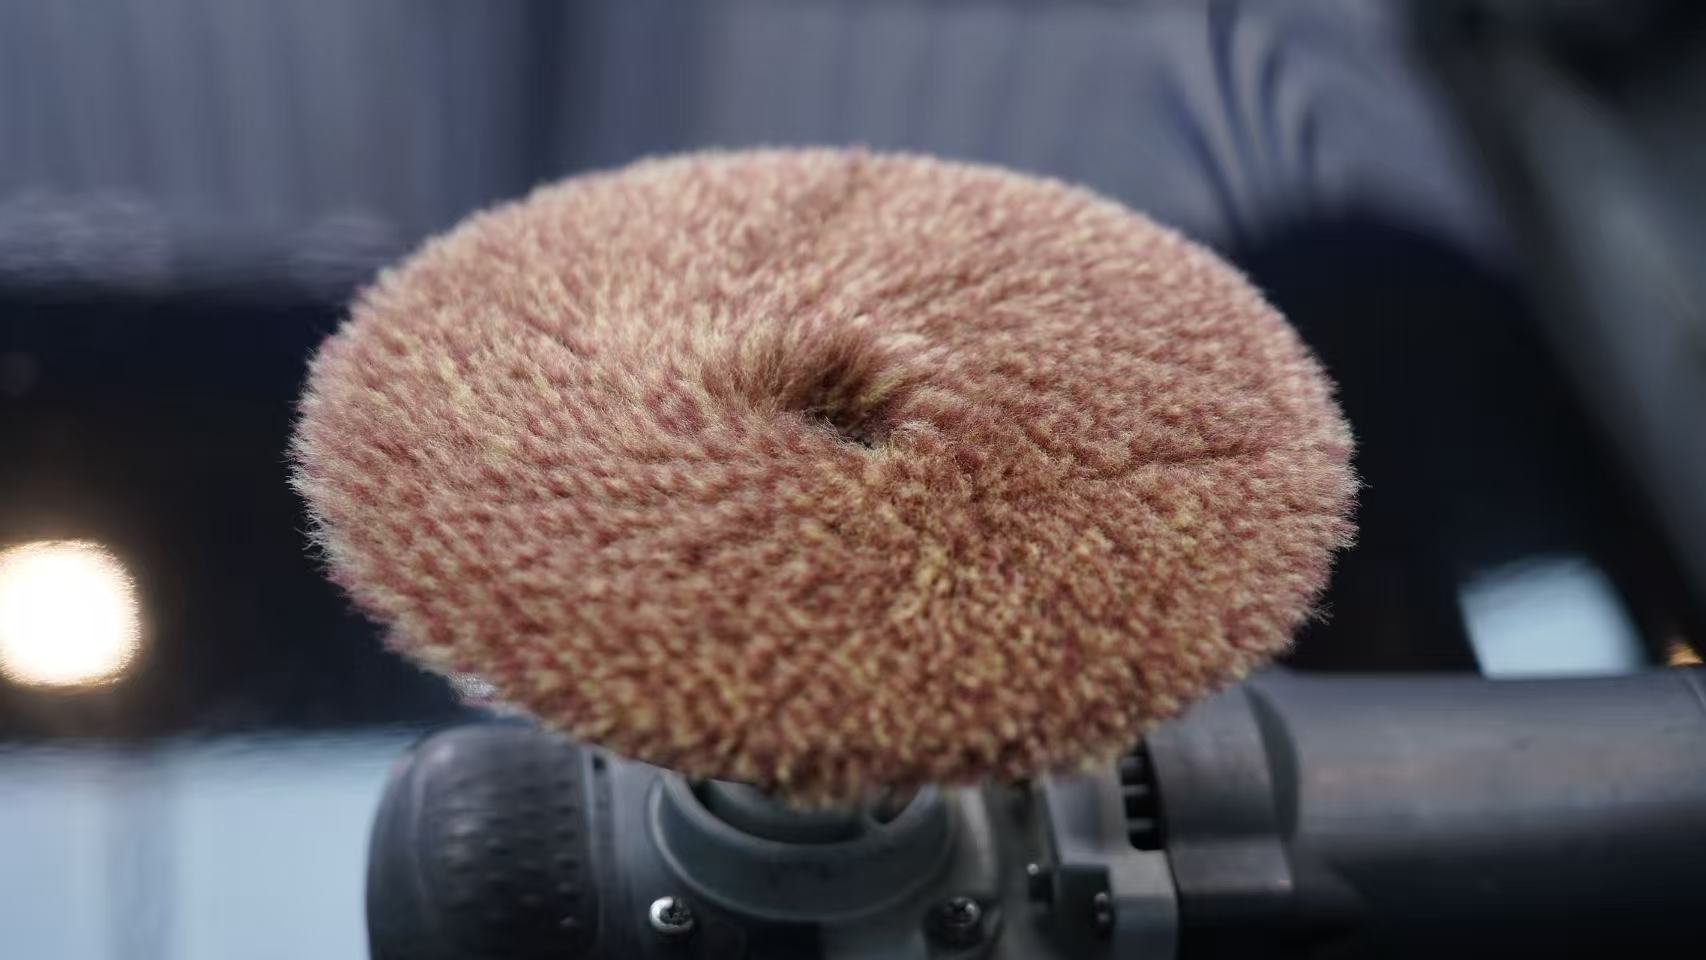
- Pair with foam pad or wool pad
- Speed: 1500-2000 RPM
- Effectively removes moderate to heavy scratches and oxidation
Step 2: Medium Cutting
- Use medium compound for refined correction
- Switch to medium-hardness foam pad
- Speed: 1200-1500 RPM
- Eliminates cutting marks left by the heavy-cut step
Step 3: Fine Polishing
- Use fine polish for final treatment
- Choose soft fine foam pad
- Speed: 1000-1200 RPM
- Restores the paint’s original gloss
5. Post-Polish Treatment
Residue Removal
Wipe the paint with clean microfiber towels to remove all compound residue.
Inspect Results
Check the polish under multi-angle lighting to confirm scratches are fully removed and the paint has achieved mirror quality.
Paint Protection
After polishing, immediately apply protection:
- Waxing: Adds gloss and provides short-term protection
- Sealant: Longer-lasting protection
- Ceramic coating: Professional-grade long-term protection
6. Tool Cleaning and Maintenance
After polishing, clean pads and tools promptly:
- Rinse pads with water and air dry for next use
- Clean polisher spindle and cooling vents
- Inspect all machine components for normal condition
Conclusion
Mastering the correct polishing steps is the foundation of quality paint care. DianYe reminds you: polishing requires patience and experience — do not rush. Beginners should start with small areas and gradually build experience before attempting full-car work.
📞 Technical consultation: 18923492297 📧 Business inquiries: rodger@coze.email