
You can absolutely polish your car yourself. With the right products, basic technique, and proper speed control, DIY enthusiasts can handle basic paint correction and maintenance at home. This guide covers tool selection, product matching, and application steps to help you determine if DIY polishing suits your situation.
When Is DIY Polishing Appropriate?
If your car has any of the following, you can handle it yourself:
- Light swirl marks and hairline scratches
- Oxidized, dull paint that has lost gloss
- Routine maintenance to keep paint in good condition
If your paint has deep scratches (nail catches), seek professional paint shop treatment — DIY results will be disappointing.
Tool Preparation
Essentials
- Polisher: DA (dual action) recommended — beginner-friendly, low paint damage risk
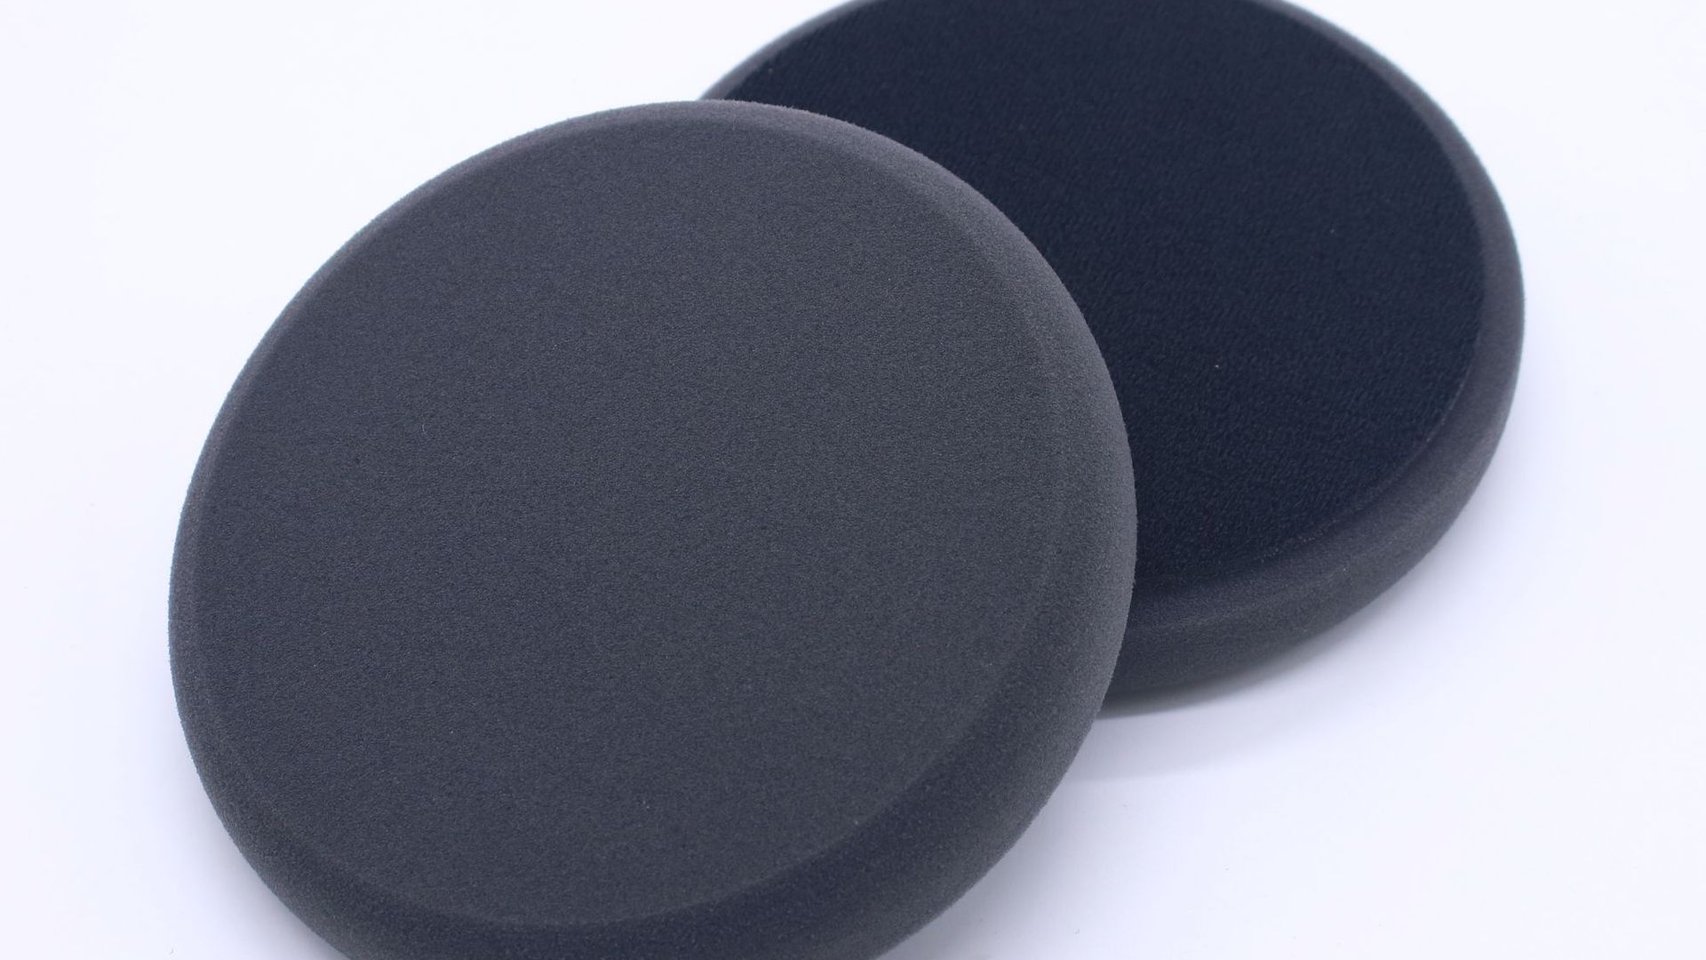
- Polishing pads: Select based on the work stages
- Polishing compound: Select based on paint condition
- Microfiber towels: 2-3 pieces
- Masking tape: Protect plastic trim and rubber seals
Optional
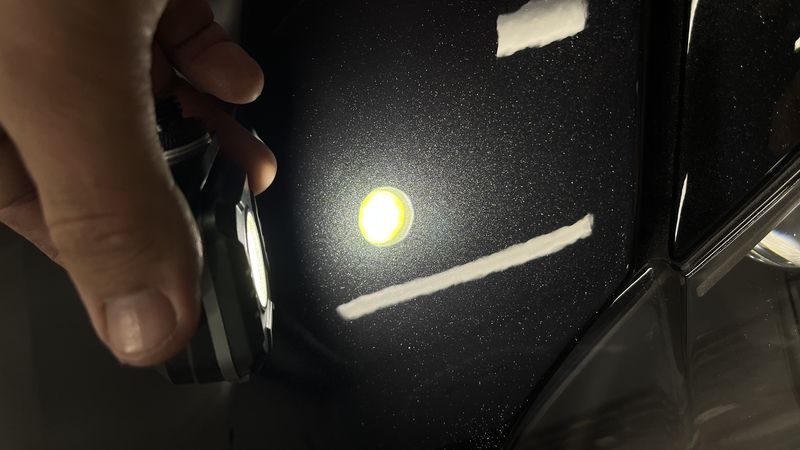
- Work light: For inspecting paint condition
- Prep spray: For pre-polish paint cleaning
Product Matching Plans
Plan 1: Light Maintenance (Good Paint Condition)
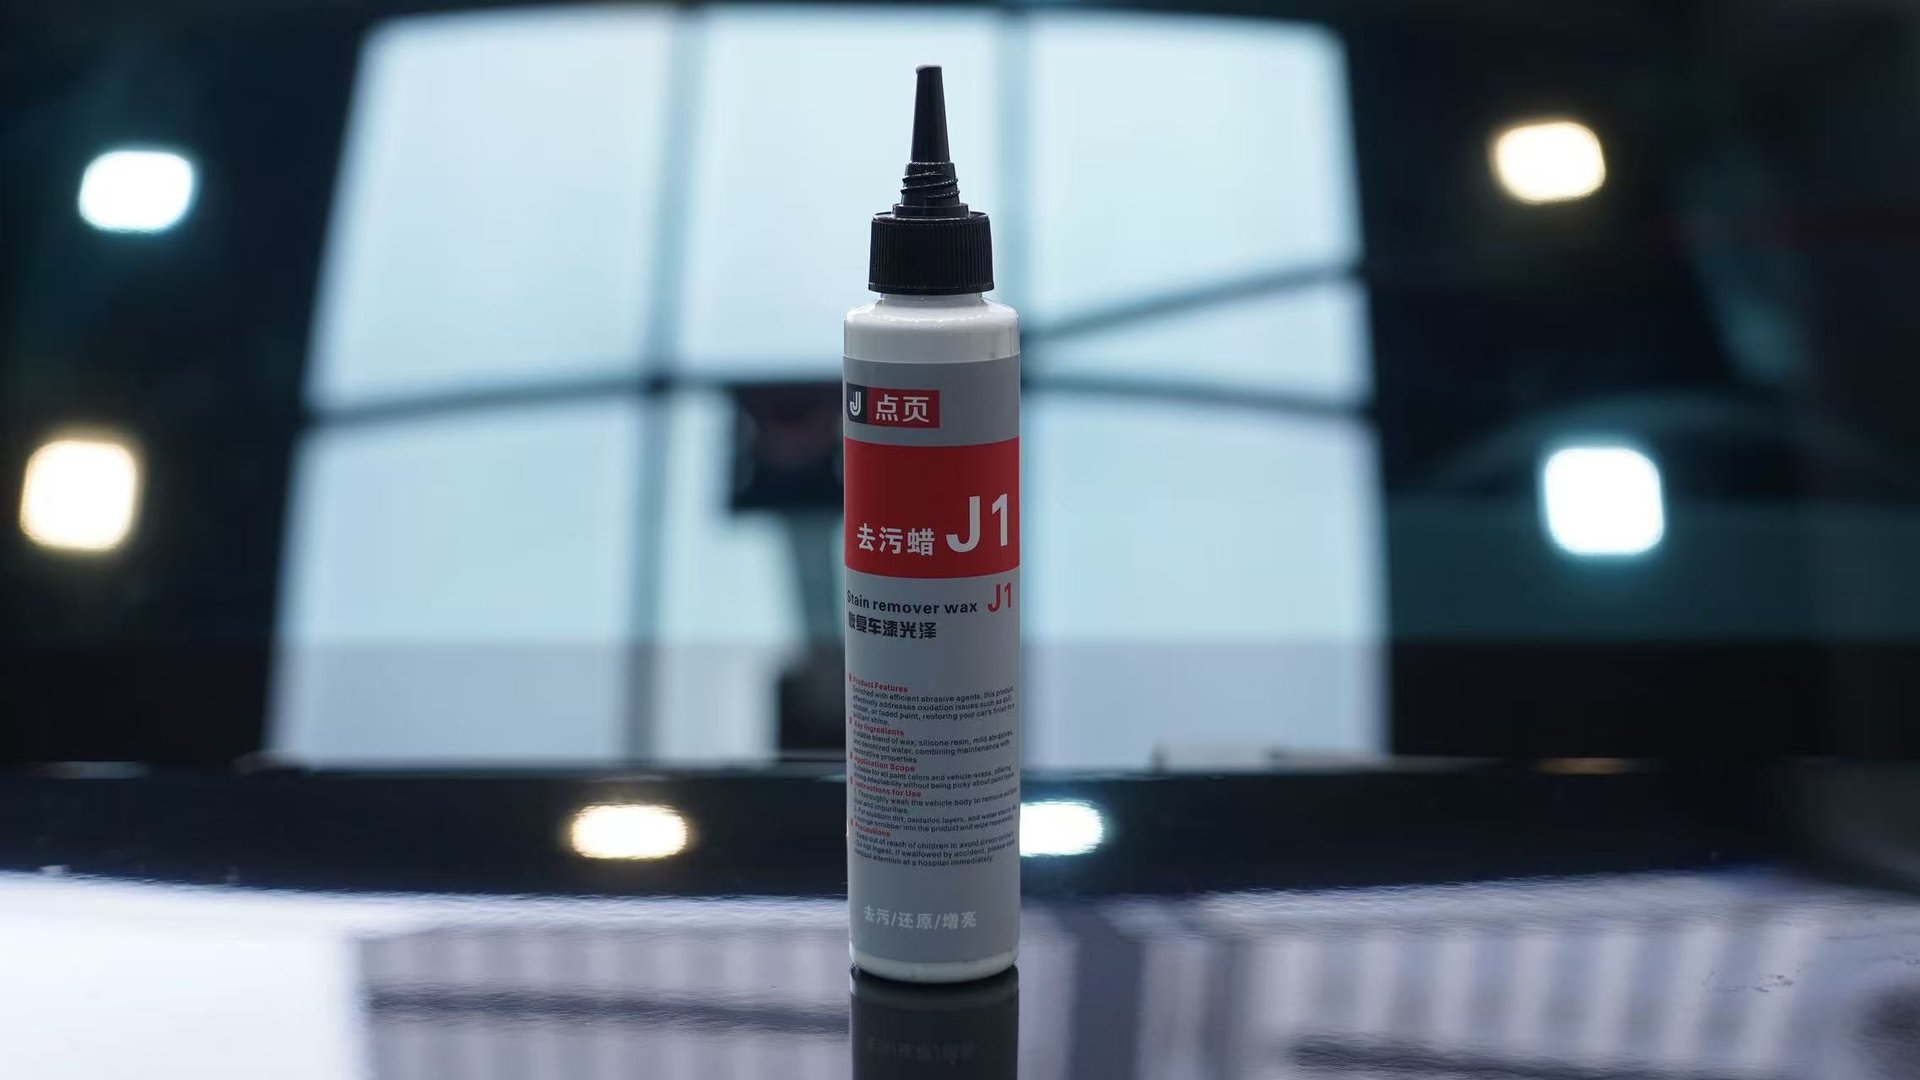
- J1 3-in-1 Cleaning Wax + foam pad
- One-step cleaning, gloss, and protection
- Can be applied by hand — no polisher needed
Plan 2: Moderate Correction (Swirl Marks and Light Scratches)
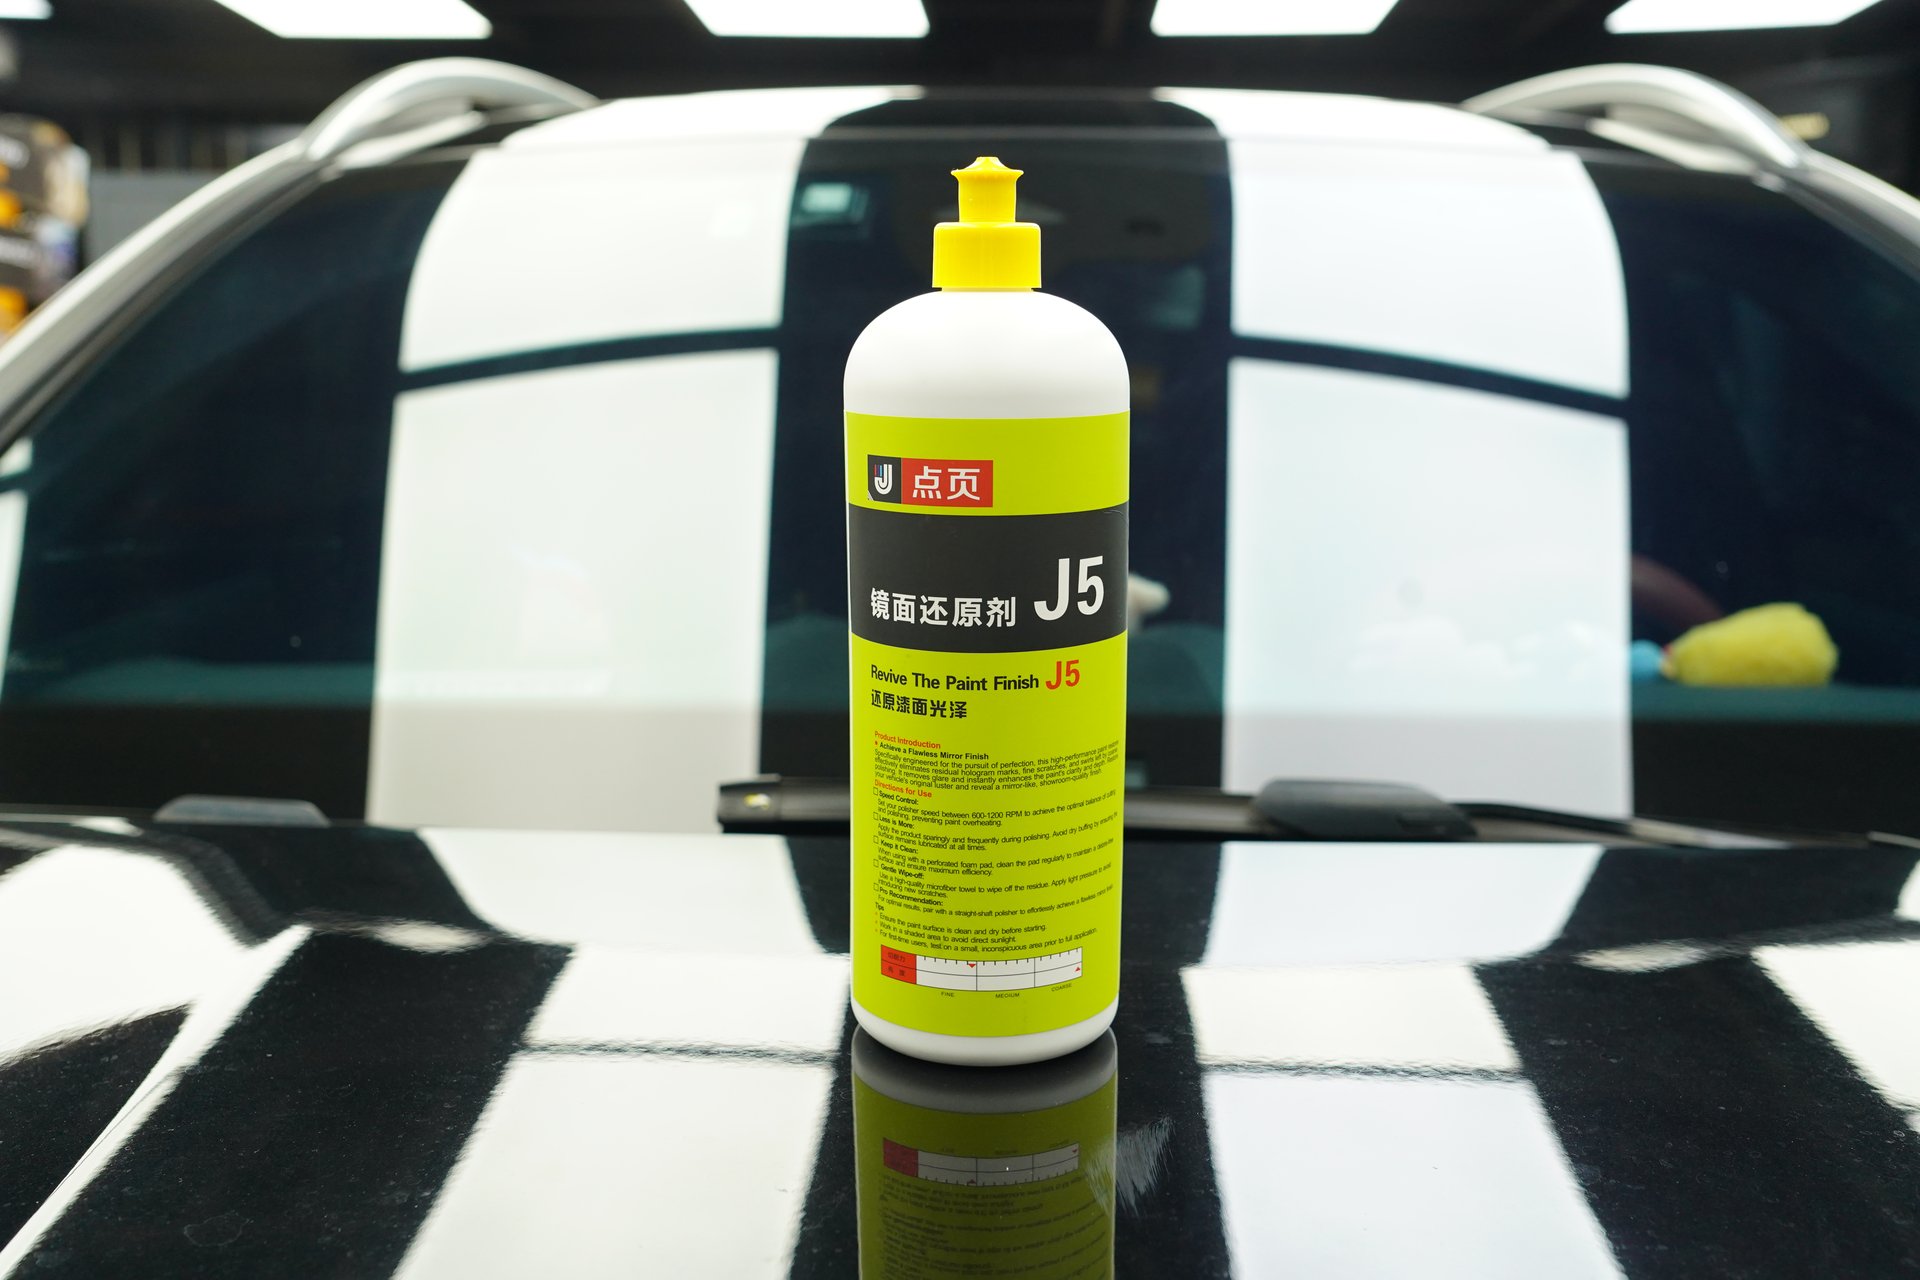
- J5 Mirror Glaze + fine foam finishing pad
- Low speed: 600-800 RPM
- Effectively removes swirl marks, restores mirror gloss
Plan 3: Deep Correction (Poor Paint Condition)
- J2 Water-Based Polishing Compound + long wool pad → heavy-cut to remove scratches
- J5 Mirror Glaze + fine foam finishing pad → mirror finishing
- J2 speed: 1500-1800 RPM; J5 speed: 600-800 RPM
Application Steps
- Wash the paint: Thoroughly clean with car wash solution
- Mask and protect: Tape off plastic trim, rubber seals, and light edges
- Heavy cutting (if needed): J2 + wool pad, 1500-1800 RPM, 3-5 passes per section
- Finishing: J5 + foam pad, 600-800 RPM, 3-5 passes per section
- Wipe and inspect: Remove residue with microfiber towel, check results
- Protection: Apply solid wax after polishing for protection
Common Misconceptions
- Higher speed is better → excessive speed damages paint; J2 works best at 1500-1800 RPM
- Press harder for better results → light pressure is sufficient; let the pad and compound do the work
- One pad for everything → different stages require different pads; wool for cutting, foam for finishing
- Skip protection after polishing → paint needs protection after polishing; apply solid wax
Precautions
- Avoid working in direct sunlight
- Keep each working section to 50x50cm or less
- Keep the pad flat against the paint — never tilt
- Stop if the paint feels hot; wait for it to cool before continuing