
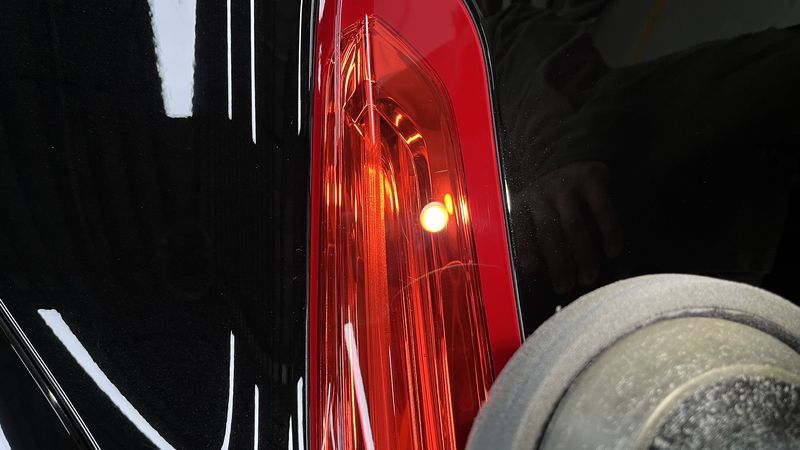
Paint scratches are unavoidable during vehicle use. Deep scratches, if not treated promptly, not only look unsightly but can lead to further paint damage. DianYe Auto Technology provides a detailed guide to assessing and repairing scratches of varying depth.
1. Assessing Scratch Depth
Assessment Methods
1. Visual Assessment
| Scratch Type | Visual Appearance |
|---|---|
| Light scratch | Only visible at specific angles |
| Moderate scratch | Visible in sunlight |
| Deep scratch | Clearly visible, may show primer |
2. Tactile Assessment
- Gently drag your fingernail across the scratch
- Light: No groove felt
- Moderate: Nail catches slightly
- Deep: Nail catches firmly, may reach primer
3. Primer Inspection
- White/silver base visible: Damage has reached the primer layer
- Transparent-looking scratch: Only clear coat affected
- Rust at scratch: Metal layer is compromised
2. Repair Methods by Scratch Depth
1. Light Scratches (Clear Coat Only)
Characteristics:
- Not obvious to the naked eye; requires light reflection to see
- No nail catch
- Primarily swirl marks and wash marks
Repair Method:
- Fine polish: Use fine-grade version of J2 Water-Based Polishing Compound
- Speed: 1000-1200 RPM
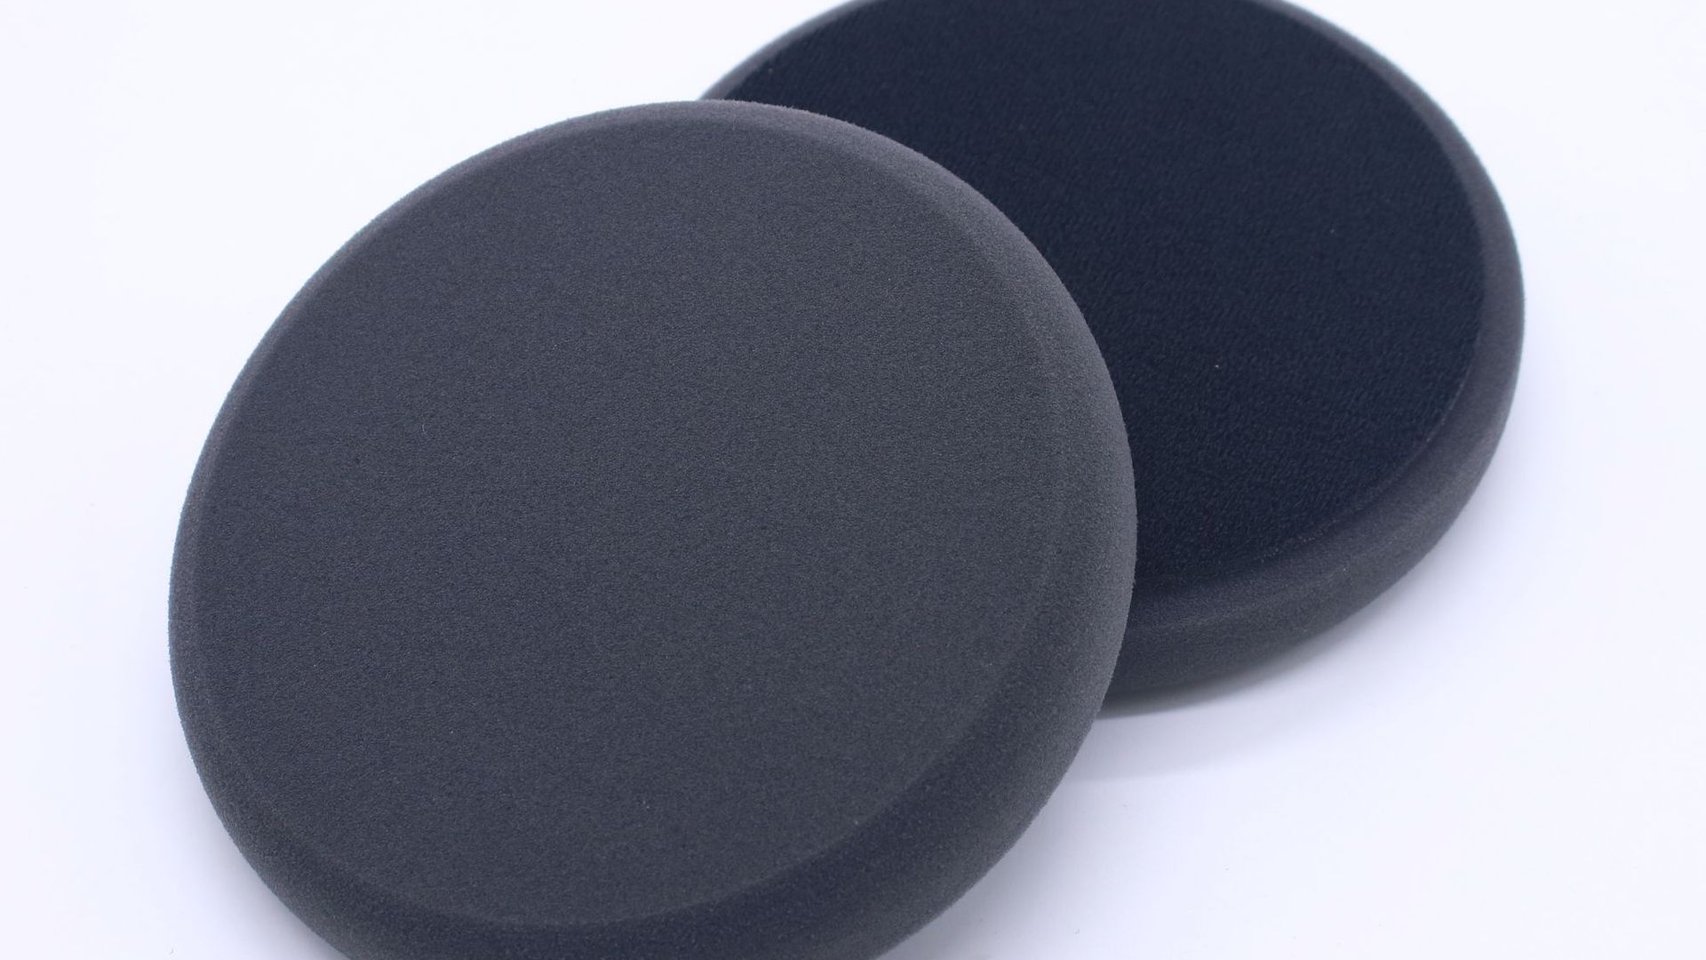
- Pad: Soft foam pad
- Result: Typically fully repairable
2. Moderate Scratches (Edge of Base Coat)
Characteristics:
- Visible under normal lighting
- Nail detects but does not catch
- Still visible after washing
Repair Method:
- Medium compound: Use medium-cutting polishing compound
- Speed: 1200-1500 RPM
- Pad: Medium-hardness foam pad
- Follow-up: May need touch-up paint
- Result: Significant improvement achievable
3. Deep Scratches (Through to Primer)
Characteristics:
- Clearly visible
- Different-colored layers visible
- May have metal rust
Repair Method: Step 1: Assessment
- Determine if the scratch is too deep
- Check primer/metal damage extent
- Evaluate whether bodywork is needed
Step 2: Local Sanding
- Use fine sandpaper (2000-3000 grit) to sand around the scratch
- Create a smooth transition zone
- Clean the sanded area
Step 3: Touch-Up Paint
- Apply matching paint to the damaged area
- Multiple thin coats to avoid runs
- Allow to dry (heat lamp can accelerate)
Step 4: Compounding and Polishing
- Start with heavy-cut compound, progressively refine
- Finish with fine polish to restore gloss
- Ensure smooth transition between new and original paint
3. Detailed Deep Scratch Repair Steps
Materials Needed
- 2000-grit and 3000-grit sandpaper
- Compound/polish series
- Soft cloths, masking tape
- Touch-up paint pen or small-bottle paint
- Thinner, prep spray
Process
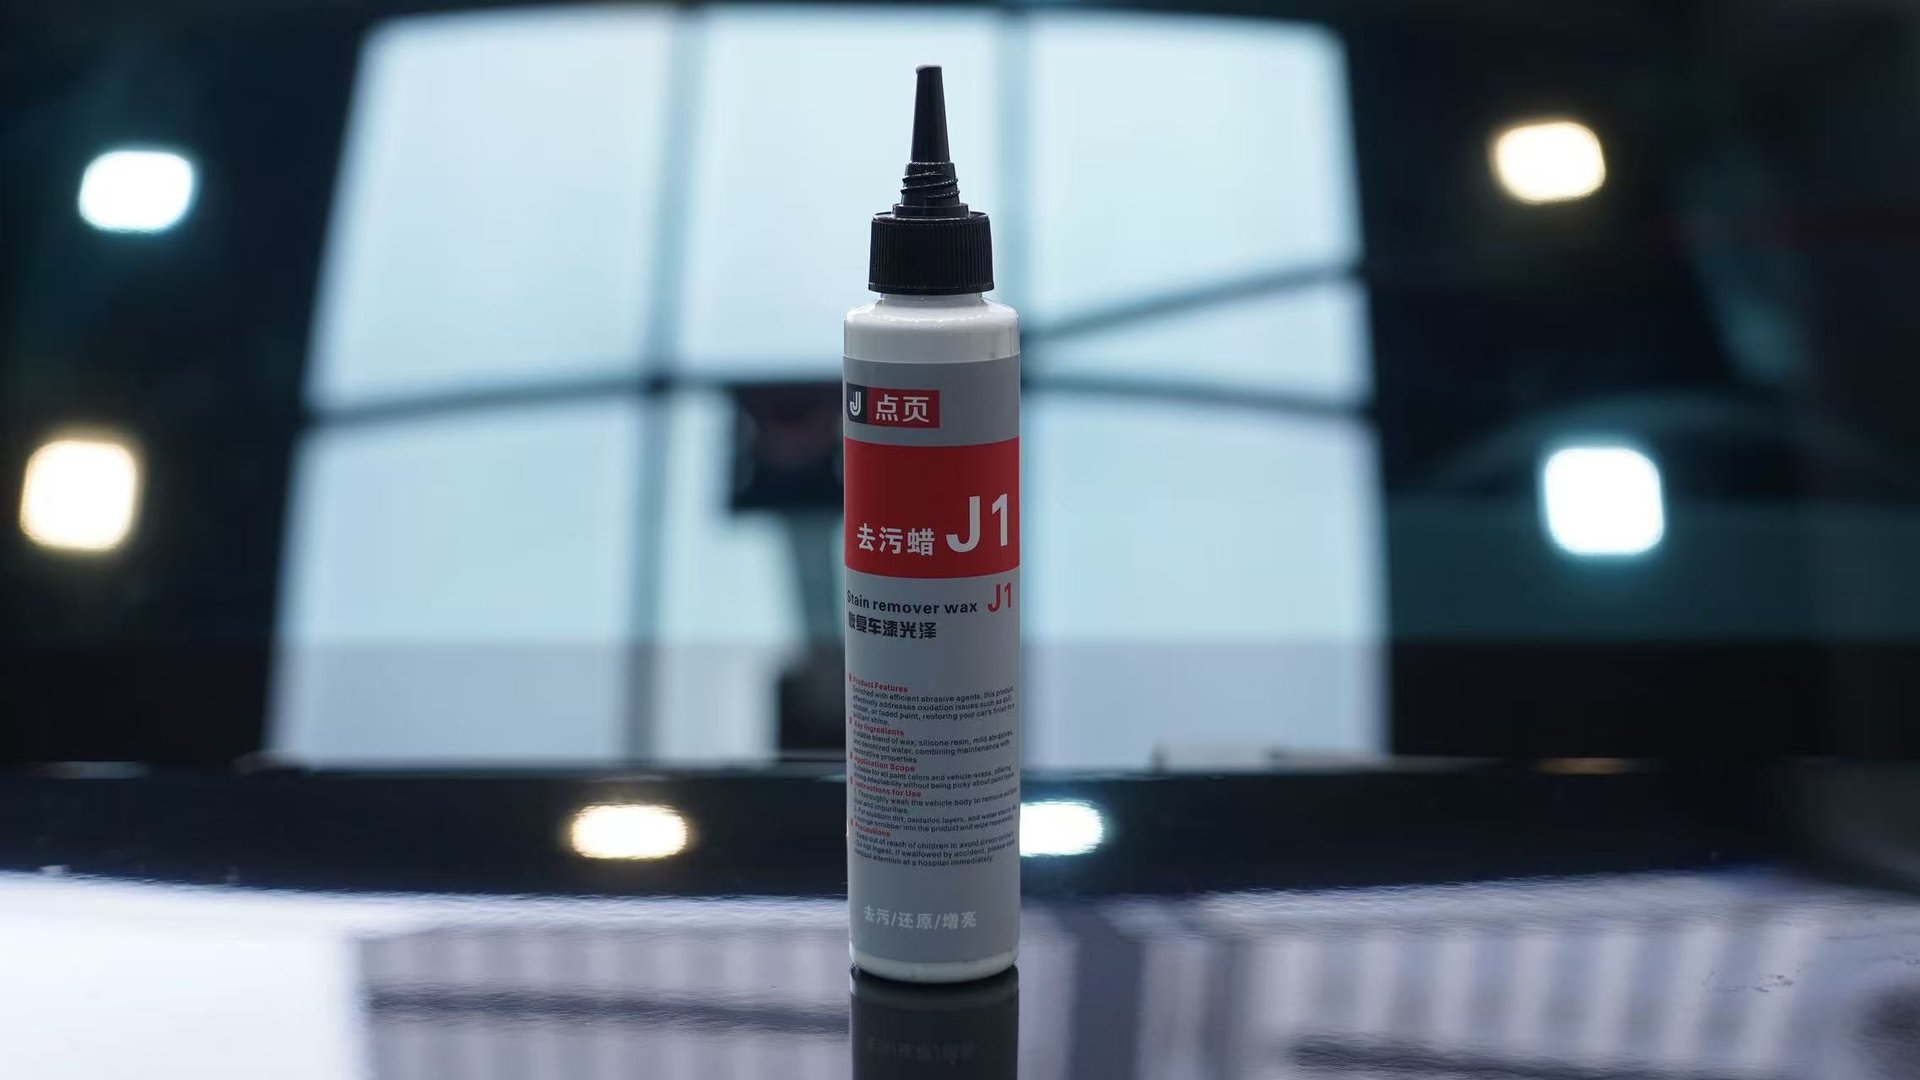
1. Cleaning and Preparation
1. Thoroughly wash the scratched area
2. Clean with prep spray
3. Mask surrounding areas with tape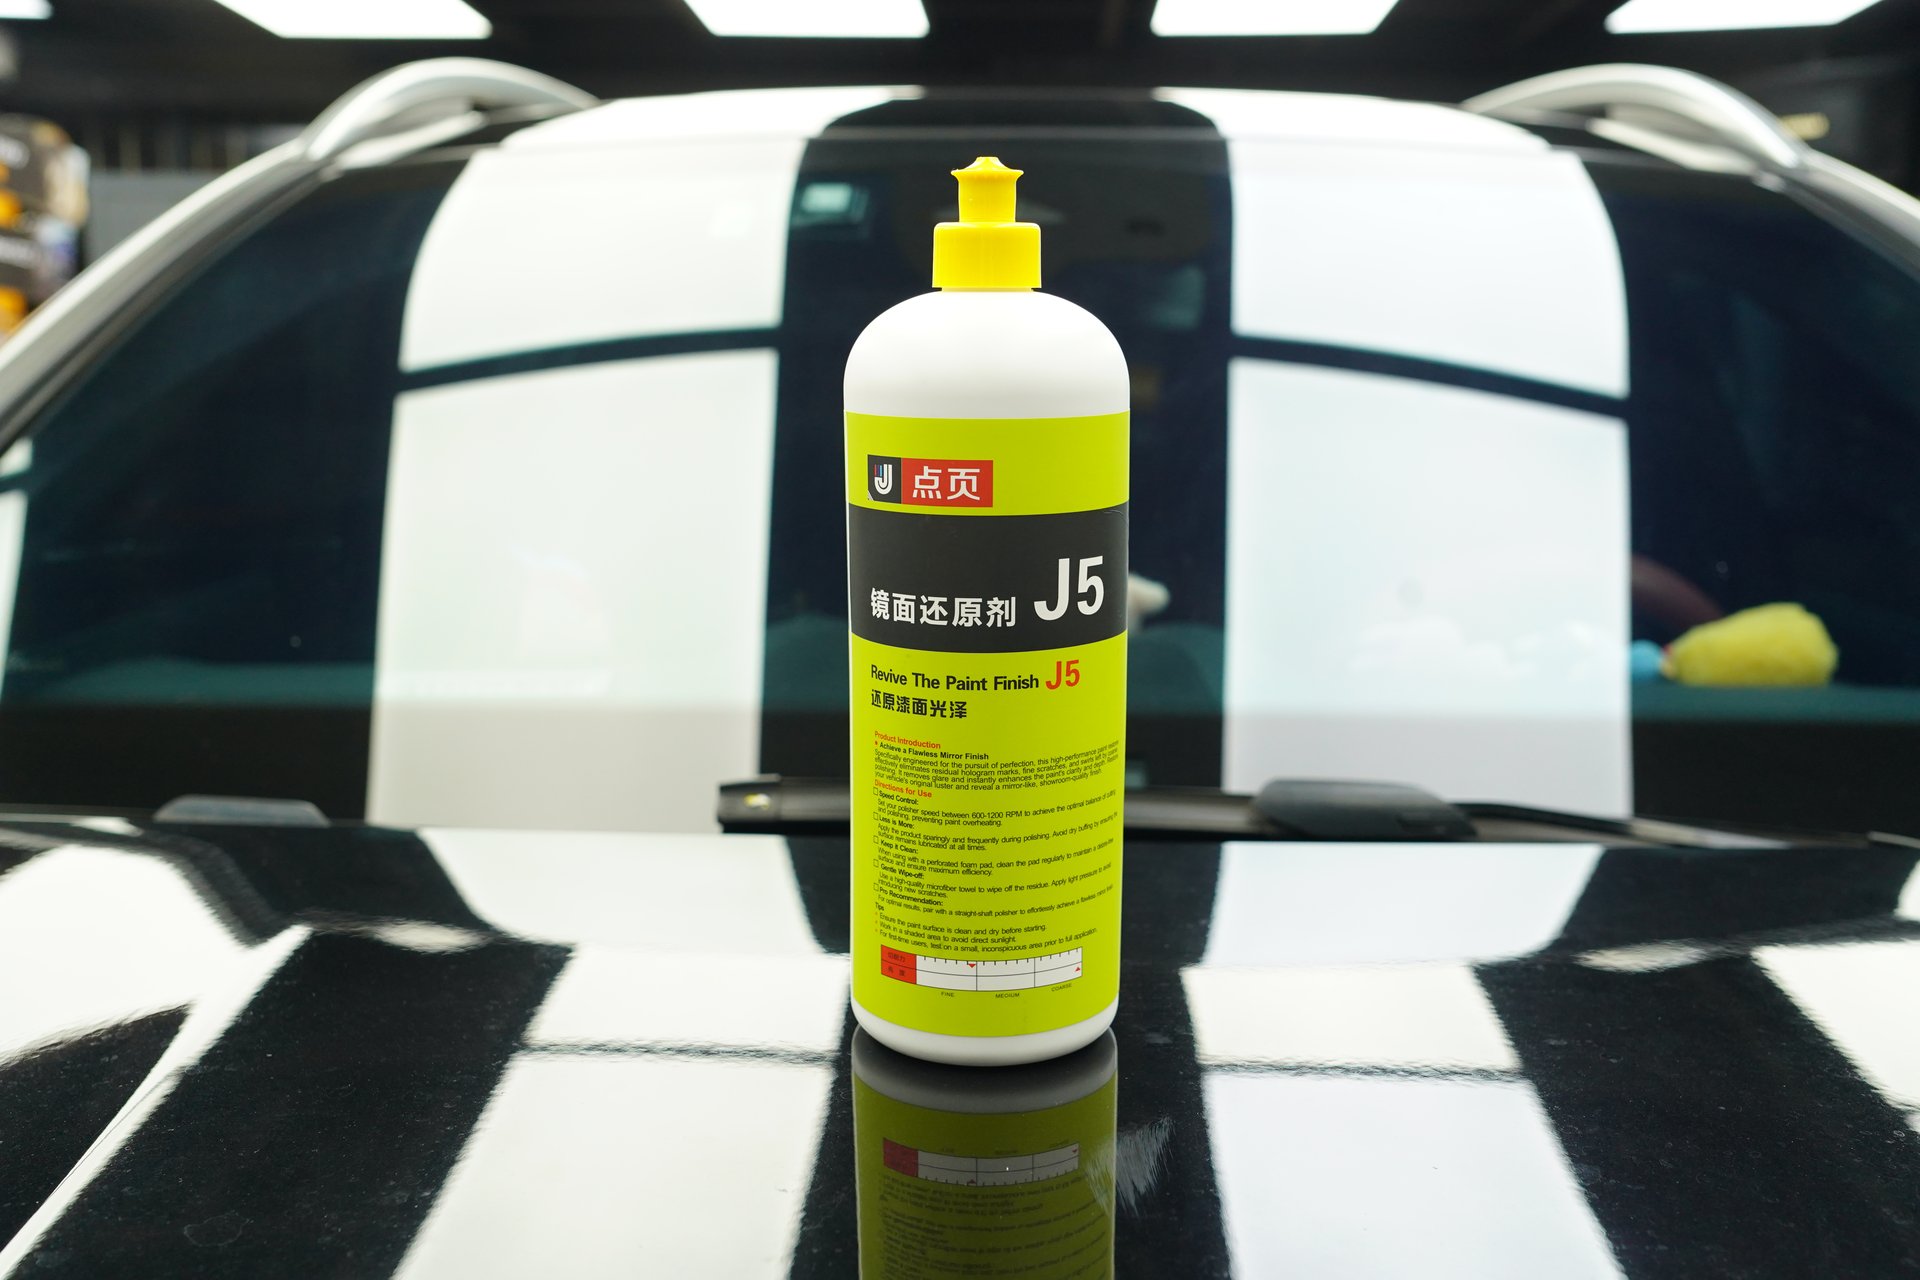
2. Sanding
1. Wet sand with 2000-grit paper
2. Sand gently along the scratch direction
3. Slightly larger than the scratch area
4. Refine with 3000-grit paper
5. Gradually reduce sanding pressure
3. Fill and Prime
1. If primer is exposed, apply primer
2. After primer dries, apply color coat
3. Use thin, multiple coats
4. Allow natural drying between coats
4. Leveling
1. Light sand with 2000-grit after drying
2. Remove orange peel and unevenness
3. Do not sand through the new paint
5. Polishing and Finishing
1. Medium compound for initial treatment
2. Fine compound for refined treatment
3. Mirror glaze for final finishing
4. Check transition area for natural blend
4. Location-Specific Considerations
Hood
- Large area, scratches are prominent
- Watch for color mismatch between OEM and repaint
- Pay attention to edges and body lines during polishing
Doors / Fenders
- Prone to key scratches and sharp object marks
- Watch door edges and handle areas
- Minor scratches can be treated with touch-up pen
Mirrors / Door Handles
- Different treatment for plastic vs. metal
- Do not sand plastic parts
- Use dedicated wax or repair pen
Roof
- Receives the most direct sunlight
- Oxidation issues may be more severe
- Requires stronger protection
5. Risk Warnings for Deep Scratch Repair
When NOT to DIY
- Large-area deep scratches: Requires professional spray equipment
- Metal rust: Requires anti-rust treatment
- Structural damage: May affect safety
- High-value vehicles: Professional treatment recommended
Why Professional Treatment Matters
- Value of original factory paint
- Accuracy of professional color matching
- Necessity of professional equipment
- Reliability of warranty coverage
6. Preventing Deep Scratches
Daily Prevention
- Proper washing: Avoid sand particles causing secondary scratches
- Use car cover: Park in potentially damaging environments
- Clean promptly: Bird droppings, tree sap, and other corrosive substances
- Regular waxing: Adds a protective layer
Early Treatment
- Address light scratches promptly
- Prevent problems from worsening
- Regular paint condition inspections
7. FAQ
Q: Can deep scratches be fully repaired? A: If metal is damaged, perfect invisible repair is difficult. If only paint layers are affected, near-OEM results are achievable.
Q: Can I use a touch-up pen? A: Suitable for temporary treatment, but professional repair yields better results. Touch-up pens are only suitable for small, light scratches.
Q: Do I need to repaint the entire panel? A: Not necessarily. Spot repair technology is well-developed — only the scratched area needs treatment.
Q: Does polishing make the paint thinner? A: It does consume clear coat. Recommend no more than 5-6 full-car polishes over the vehicle’s lifetime.
Conclusion
Deep scratch repair requires choosing the right method for the specific situation. DianYe recommends: light scratches can be handled yourself, moderate scratches should seek professional help, and deep scratches must be treated by professional technicians. Prevention is better than cure — daily maintenance is the key to protecting your paint.
📞 Learn more: 18923492297 📧 Business inquiries: rodger@coze.email