
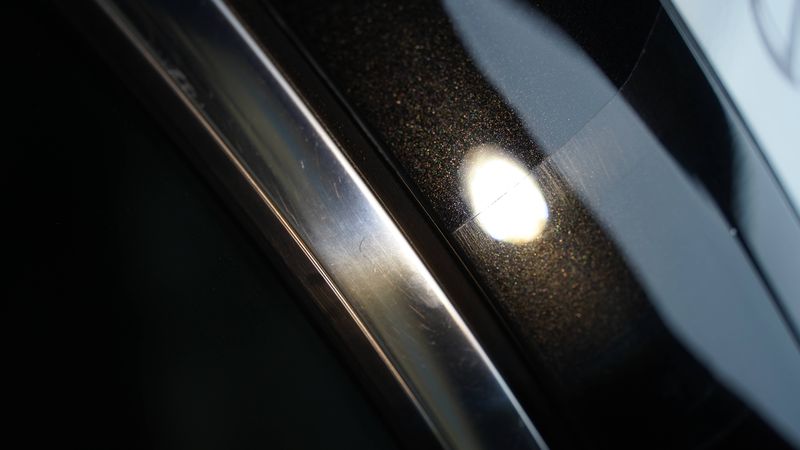
When driving on the road, your paint surface inevitably suffers various kinds of “damage”: branches scraping, swirl marks from washing, small scratches from door impacts… Do these annoying marks require a professional shop? Actually, for most light scratches, you can repair them yourself.
Step 1: Correctly Assess Scratch Depth
Observation Methods
- Touch Test: Gently run your fingernail across the scratch
- Fingernail catches in the groove → Damage reaches the base coat
- Fingernail feels smooth → Only the clear coat is affected
-
Visual Inspection: Observe under strong light
- Scratch appears white → Only clear coat affected
- Scratch reveals base color → Damage reaches base coat or metal
-
Water Drop Test: Place a drop of water on the scratch
- Scratch disappears → Surface contamination only
- Scratch remains → Genuine damage
Scratch Classification
| Type | Depth | Repair Difficulty | Required Products |
|---|---|---|---|
| Contamination marks | Surface | Simple | Car wash soap |
| Swirl marks | Clear coat | Relatively simple | Fine wax / polishing compound |
| Light scratches | Clear coat | Moderate | Cutting compound |
| Moderate scratches | Base coat | Difficult | Touch-up paint + polishing |
| Severe scratches | Metal layer | Very difficult | Professional repair |
Important: Scratches that reach the base coat should be treated professionally, especially when metal is exposed, due to rust risk.
Step 2: Choose the Right Repair Products
For Different Scratch Types
Swirl Marks and Fine Scratches
Recommended: J2 Water-Based Polishing Wax:
- Contains mild abrasive ingredients
- Suitable for clear coat restoration
- Safe operation, beginner-friendly
Light to Moderate Scratches
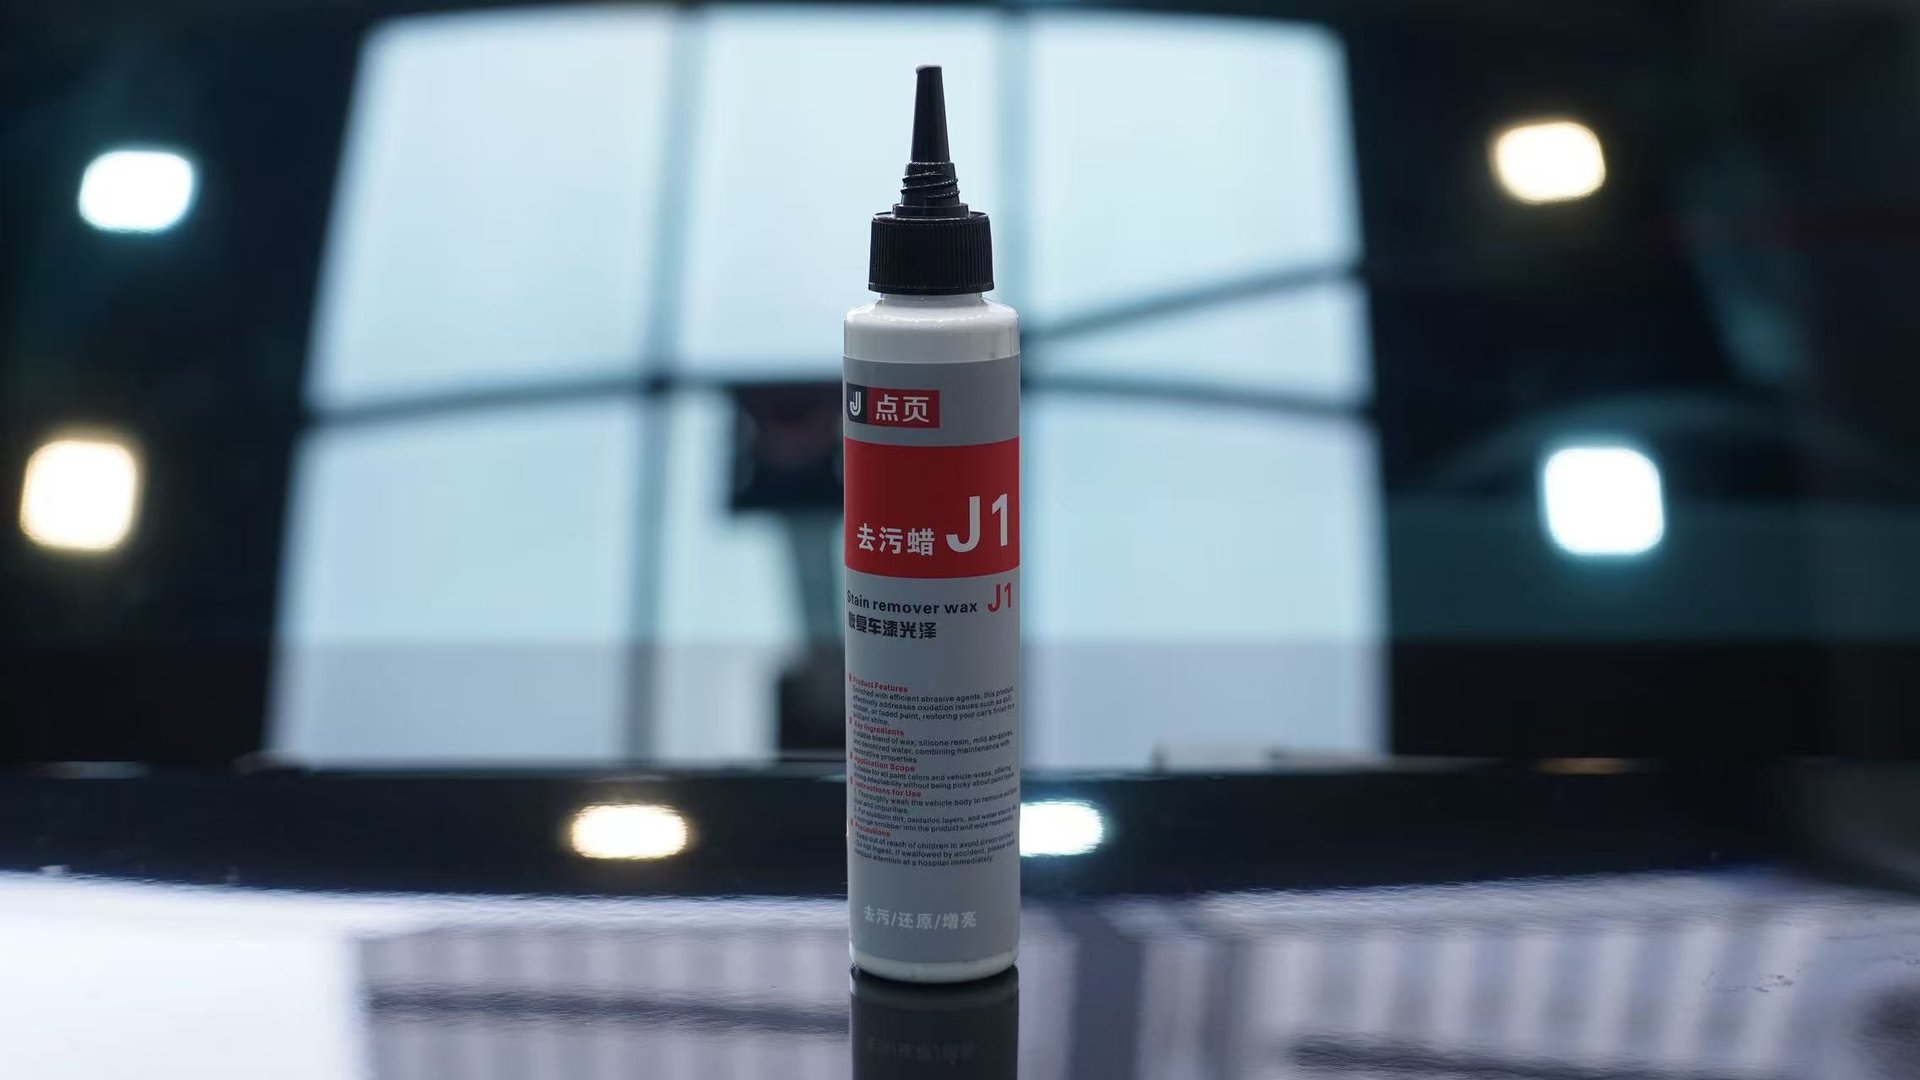
Recommended: J1 3-in-1 Cleaning Wax:
- Stronger cutting ability
- Combines cleaning + polishing + protection
- Ideal for oxidized paint surfaces
Quick Gloss Enhancement
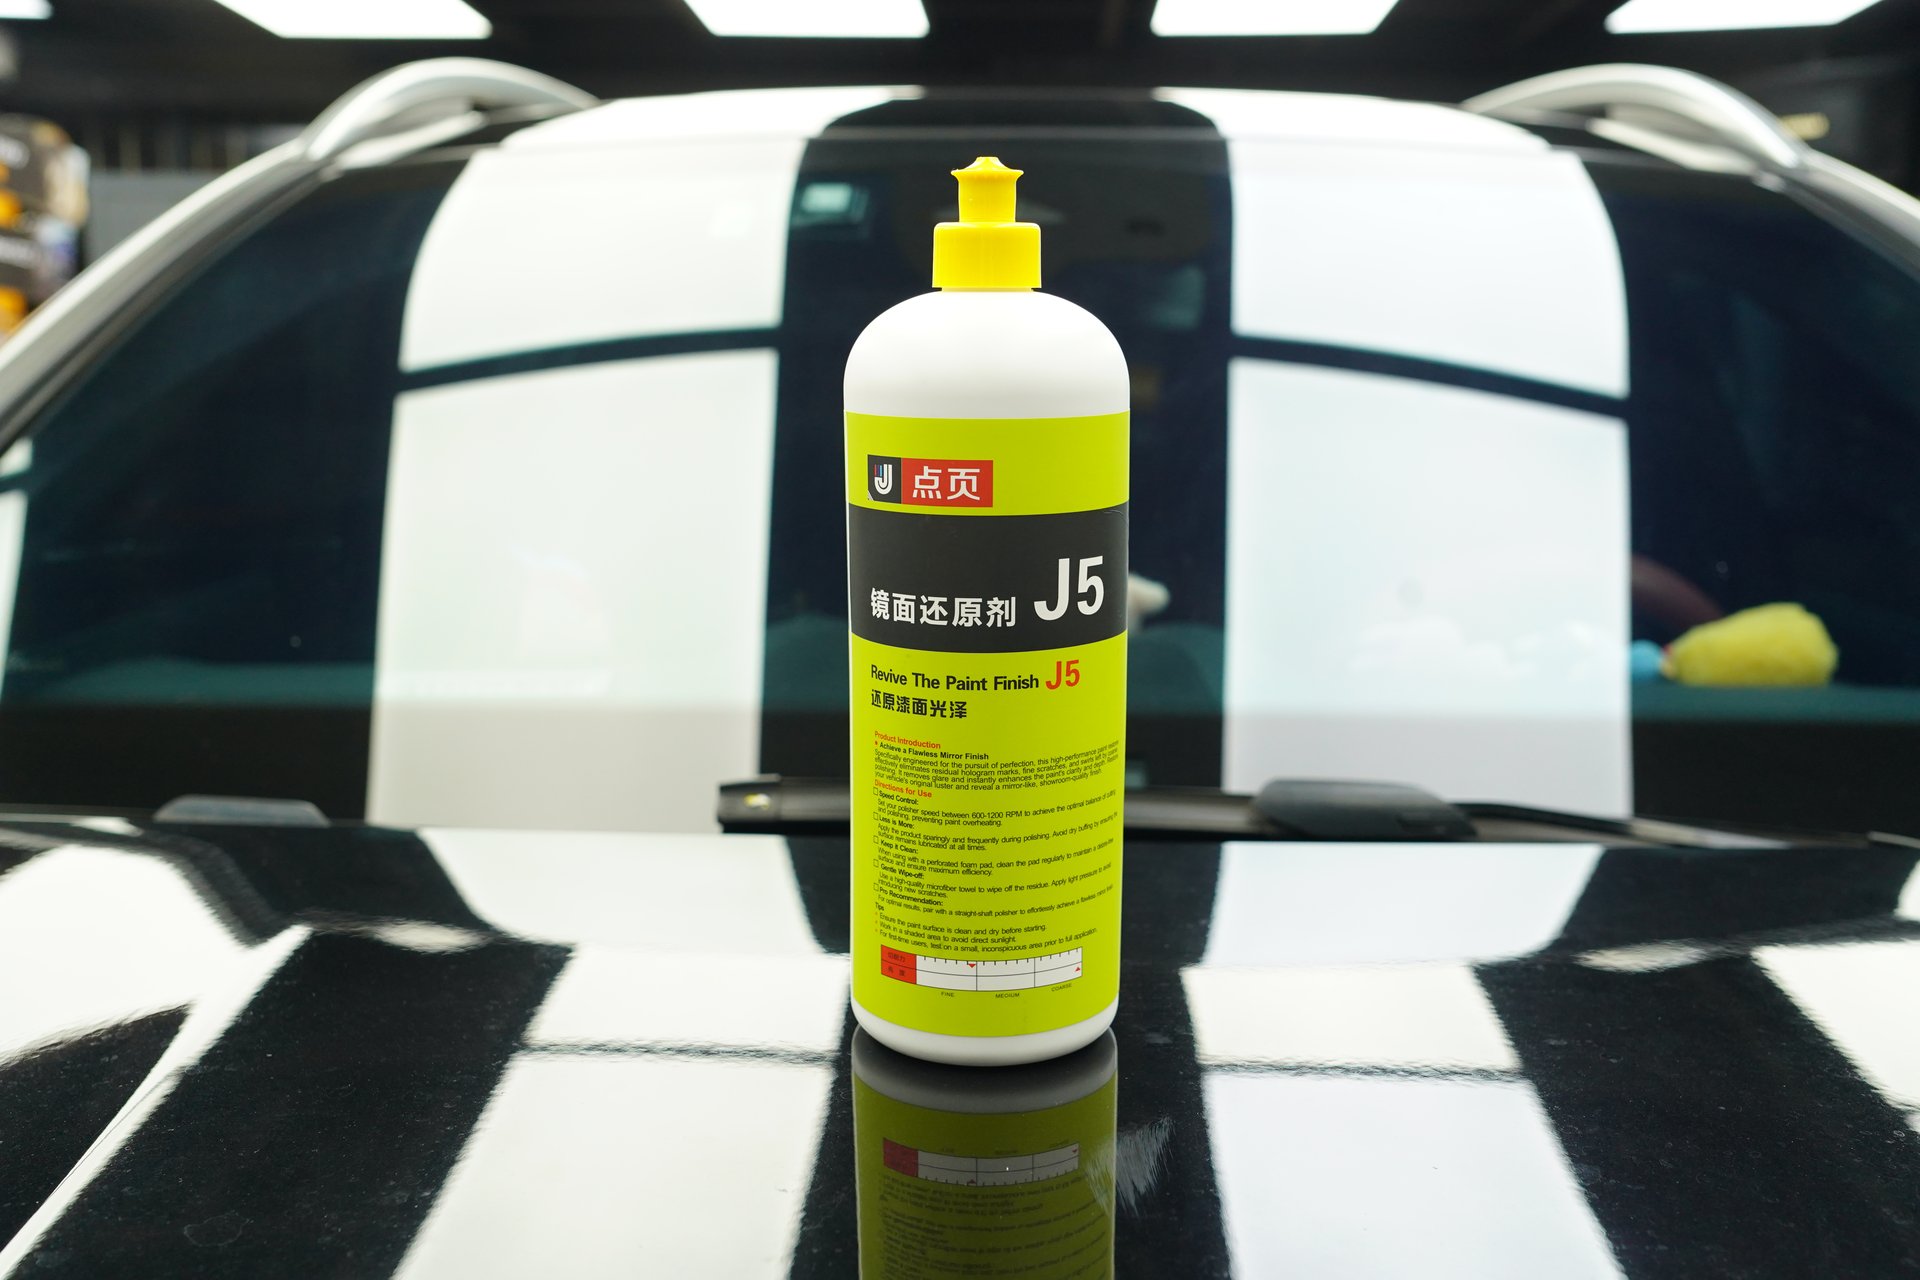
Recommended: J5 Mirror Finishing Agent:
- Instant shine on application
- Can be used as a final step after repair
- Essential for daily maintenance
Tools Needed
- Microfiber towels (at least 2)
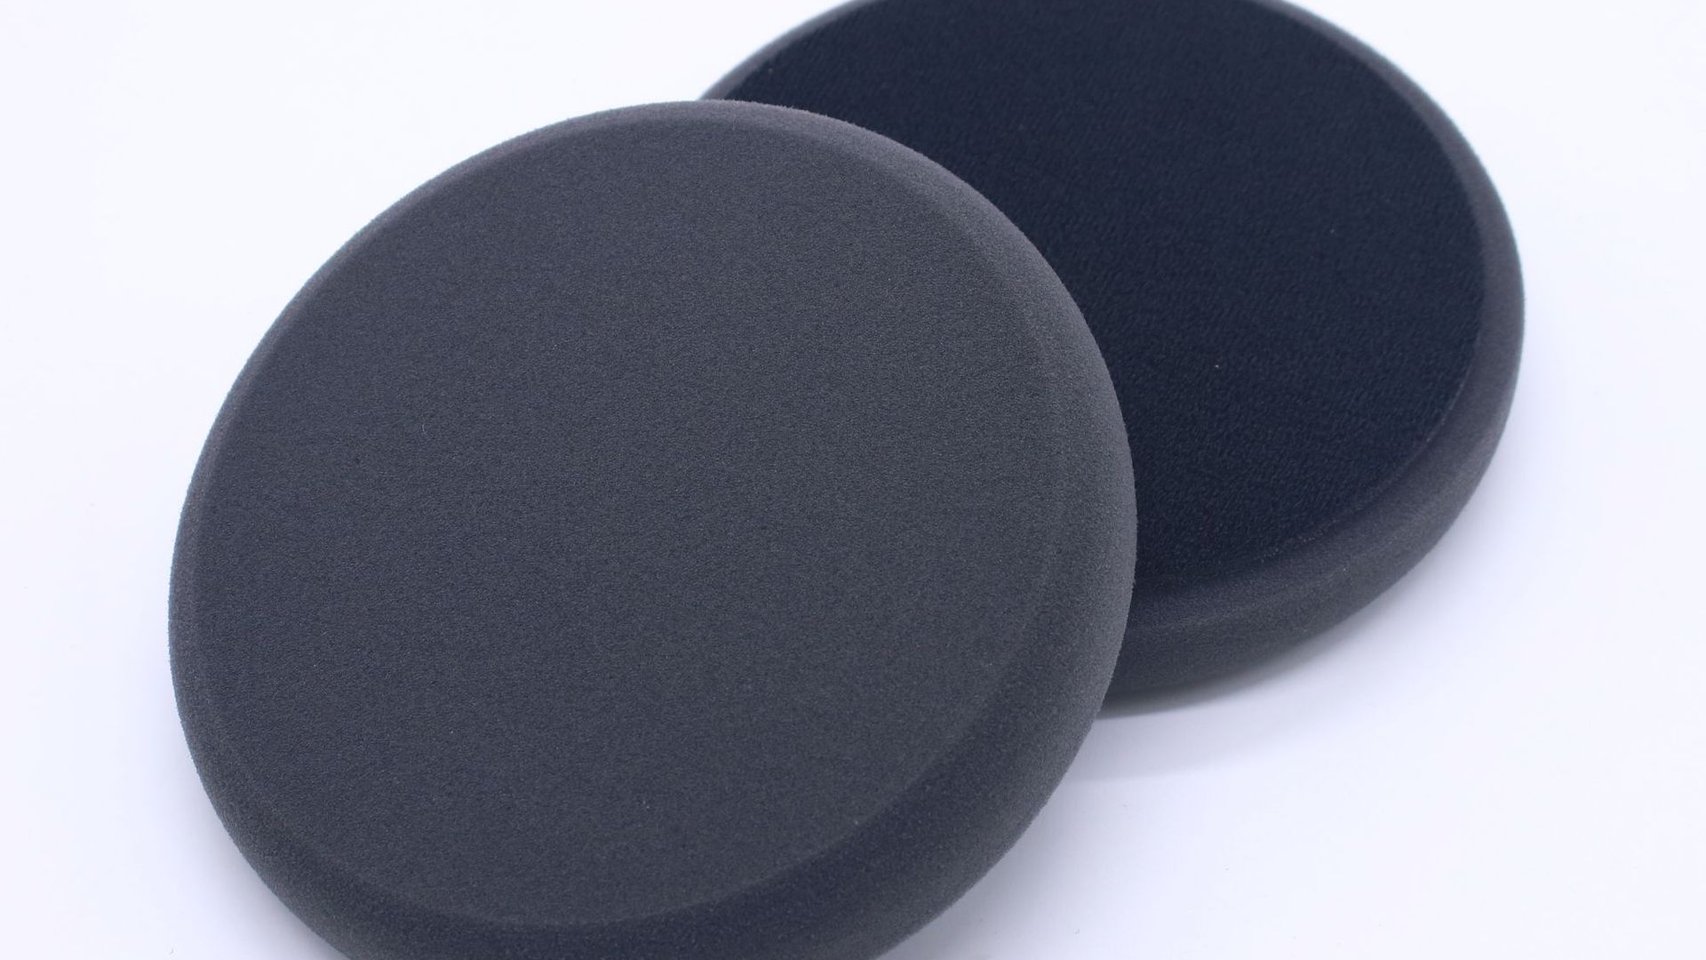
- Foam applicator
- Car wash soap and clean water
- Sufficient time for the job
Step 3: Standard Operating Procedure
Step 1: Clean the Paint Surface
Purpose: Remove surface dirt to prevent secondary damage during repair
Procedure:
- Thoroughly wash the vehicle with car wash soap and clean water
- Focus on cleaning the scratched area
- Dry with a clean towel
- Confirm the paint surface is completely dry
Step 2: Spot Test
Purpose: Confirm the product is effective and safe for the area
Procedure:
- Select a small inconspicuous area near the scratch
- Test the product on a small area
- Confirm satisfactory results before full application
- Observe for any adverse reactions
Step 3: Scratch Repair
Purpose: Remove scratches and restore a smooth surface
Procedure (using J2 as example):
- Apply a moderate amount of J2 to the scratched area
- Using a foam applicator, spread evenly in circular motions
- Cover an area slightly larger than the scratch
- Continue rubbing for 2-3 minutes
- Wait 5-8 minutes until the surface turns hazy
Step 4: Wipe Off
Purpose: Reveal perfect gloss
Procedure:
- Wipe with a clean microfiber towel
- Wipe in one direction — do not rub back and forth
- Check gloss level as you wipe
- If uneven, repeat the application and wiping
Step 5: Final Inspection
Purpose: Confirm repair results
Procedure:
- Inspect under different lighting angles
- Gently touch the paint to confirm smoothness
- Repeat wiping if any residue remains
- Compare with surrounding paint for consistency
Frequently Asked Questions
Q: What if scratches are still visible after repair?
A: If light scratches remain visible, the damage may be deeper. Suggestions:
- Try a product with stronger cutting ability
- Or seek professional polishing treatment
Q: How long does a repair last?
A: It depends on subsequent care and parking environment:
- With proper care, results can last 3-6 months
- Regular waxing is recommended to protect the repair
Q: What should be avoided during repair?
A: Avoid the following:
- Working under direct sunlight
- Paint surface that is too cold or too hot
- Using rough wiping tools
- Applying excessive product
Maintenance Tips
After completing the repair:
- Within 24 hours: Avoid rain or car washing
- Within one week: Do not apply wax
- Daily: Park in shaded areas whenever possible
- Regularly: Use protective products for maintenance
Repairing scratches yourself not only saves money but also provides a sense of accomplishment. If you have any questions during the process, feel free to contact our team: 18923492297