
Why Does Your Paint Get Darker After Polishing? 90% of People Skip This Critical Step
Have you ever experienced this? You spend two or three hours polishing carefully, but the paint not only doesn’t get shinier — it actually looks duller and darker than before you started.
It’s not that your technique is bad — it’s that you probably skipped the most critical step.
In this article, I’ll thoroughly explain why paint gets darker during polishing and walk through the correct process. Bookmark this for reference before your next polishing session.
I. 4 Common Reasons Paint Gets Darker After Polishing
Reason 1: Skipping the Finishing Step (Most Common!)
This is a mistake 90% of people make.
Polishing actually involves three stages: coarse compounding (leveling), medium polishing (brightening), and fine finishing/restoring. Many people stop after medium polishing, thinking the paint is bright enough. But the truth is: medium polishing only takes the paint from 80 to 90 points — that final 10-point difference — the clarity and mirror effect — can only be achieved through the fine finishing step.
A paint surface without the finishing step is like looking at a landscape through frosted glass — the shapes are there but all the detail is blurred. It looks bright, but that brightness has a “matte” quality, not a true mirror effect.
Furthermore, the abrasive particles in medium compound are coarser than those in finishing agents. Without the fine finishing step, residual abrasive traces remain in the paint’s micro-pores. Over time, these traces make the paint look hazy.
That’s why despite “polishing,” the paint actually looks darker.
Reason 2: Improper Residue Removal
A critical concept to clarify: wiping off residue ≠ applying wax.
Many car owners and even professionals confuse these two.
- Residue removal is a cleaning action — using a clean towel to remove residual compound and polishing dust from the paint surface.
- Wax application is a protective action — applying a wax film for protection and enhanced gloss.
Many people think “wiping off” means applying wax — this is completely wrong.
The correct sequence is: polish → remove residue (clean) → apply wax (protect).
If you skip the residue removal step, leftover compound covers the paint surface. It may not be immediately noticeable, but after a few hours, the paint will become dull and lifeless.
Reason 3: Dirty Polishing Pads Causing Secondary Damage
Another overlooked but important factor.
During polishing, compound accumulates on the pad surface. If not cleaned regularly, dried compound residue hardens like sandpaper. On the next pass, these hardened particles repeatedly friction the paint at high speed — instead of polishing, you’re grinding new scratches.
In professional work, after completing each panel (e.g., one hood), you should inspect the pad condition. If significant compound buildup is visible, clean it with a dedicated tool or water, and replace the pad if necessary.
Many people think “the paint gets worse as I polish” — it’s often not a technique issue, it’s a tool cleanliness issue.
Reason 4: Medium Compound Too Coarse, Jumping Straight to Finish
Some operators prioritize efficiency, buy a coarser compound, do one medium pass, and call it done.
The problem: scratches left by coarse abrasive particles need finer abrasives to eliminate. Skipping fine finishing is like sanding furniture with 60-grit paper and going straight to clear coat — looks okay from a distance, but up close it’s full of imperfections.
Each successive polishing step should use finer particles than the previous one. This is industry consensus with no shortcuts.
II. The Correct Approach: Three-Step Process Explained
Now that we understand the causes, let’s look at how the correct polishing process should work.
Stage 1: Coarse Compounding (Leveling)
Purpose: Remove scratches, oxidation, and level the paint surface. This is the foundational step of paint correction.
When needed: Deep scratches, severe oxidation, prominent orange peel.
Recommended product pairing:
- Coarse cutting water-based polishing compound (coarser particles, specifically for paint defect removal)
- Paired with a short wool pad or long wool coarse pad
- Polishing machine speed: 1500-2000 RPM
Completion criteria: Run your finger across the paint — it should feel smooth with no obvious irregularities. Check under side lighting; proceed to the next stage when no obvious scratches remain.
Stage 2: Medium Polishing (Brightening)
Purpose: Further eliminate coarse compound marks and increase gloss. This is the transitional step of paint polishing.
When needed: After coarse compounding, or for light daily maintenance.
Recommended product pairing:
- Medium polishing 3-in-1 compound (finer particles than coarse, with cleaning and glossing functions)
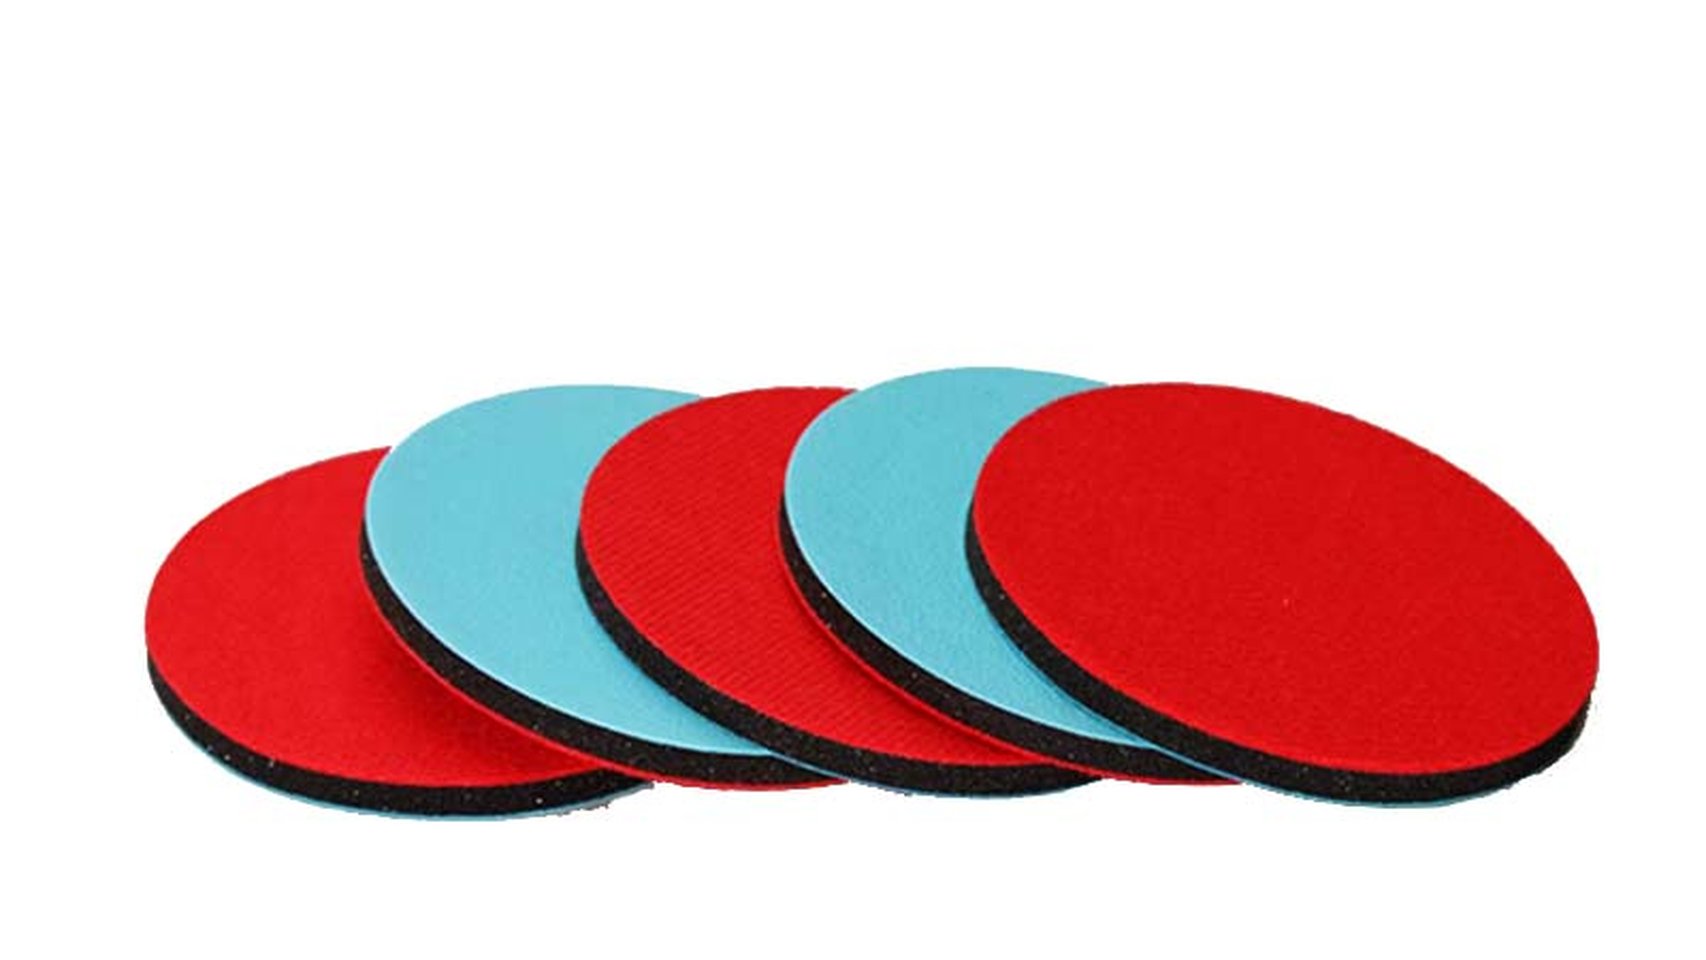
- Paired with a fine foam pad or long wool fine pad
- Machine speed: 1200-1500 RPM
Completion criteria: Noticeable gloss improvement; surface feels relatively smooth. At this stage, the paint “looks very bright” — but it’s not the final result yet.
Stage 3: Fine Finishing / Restoration (Mirror Effect)
Purpose: Eliminate micro-marks from the previous two stages, achieving a true mirror finish. This is an indispensable final step in paint correction.
When needed: Final step of any polishing process — never skip.
Recommended product pairing:
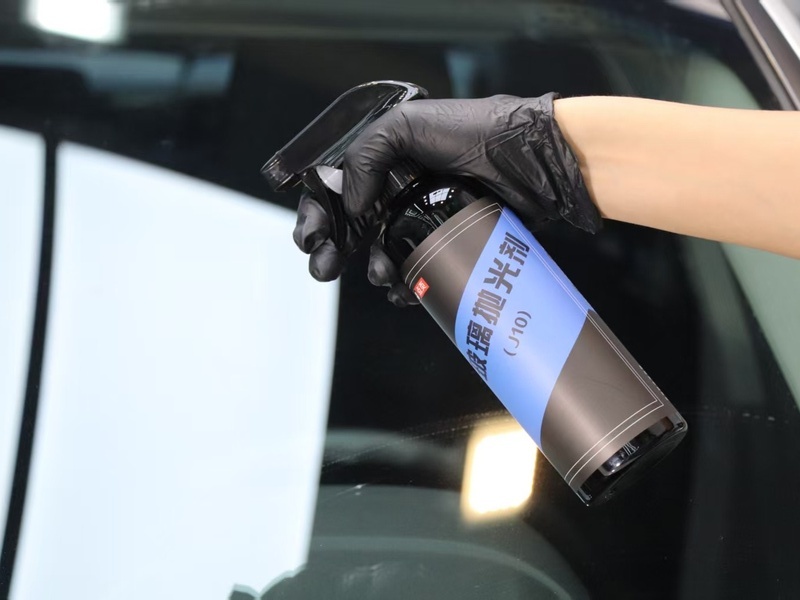
- Mirror finishing agent (extremely fine particles, specifically for mirror restoration)
- Paired with a fine foam pad
- Machine speed: 800-1200 RPM
- Light pressure, even technique
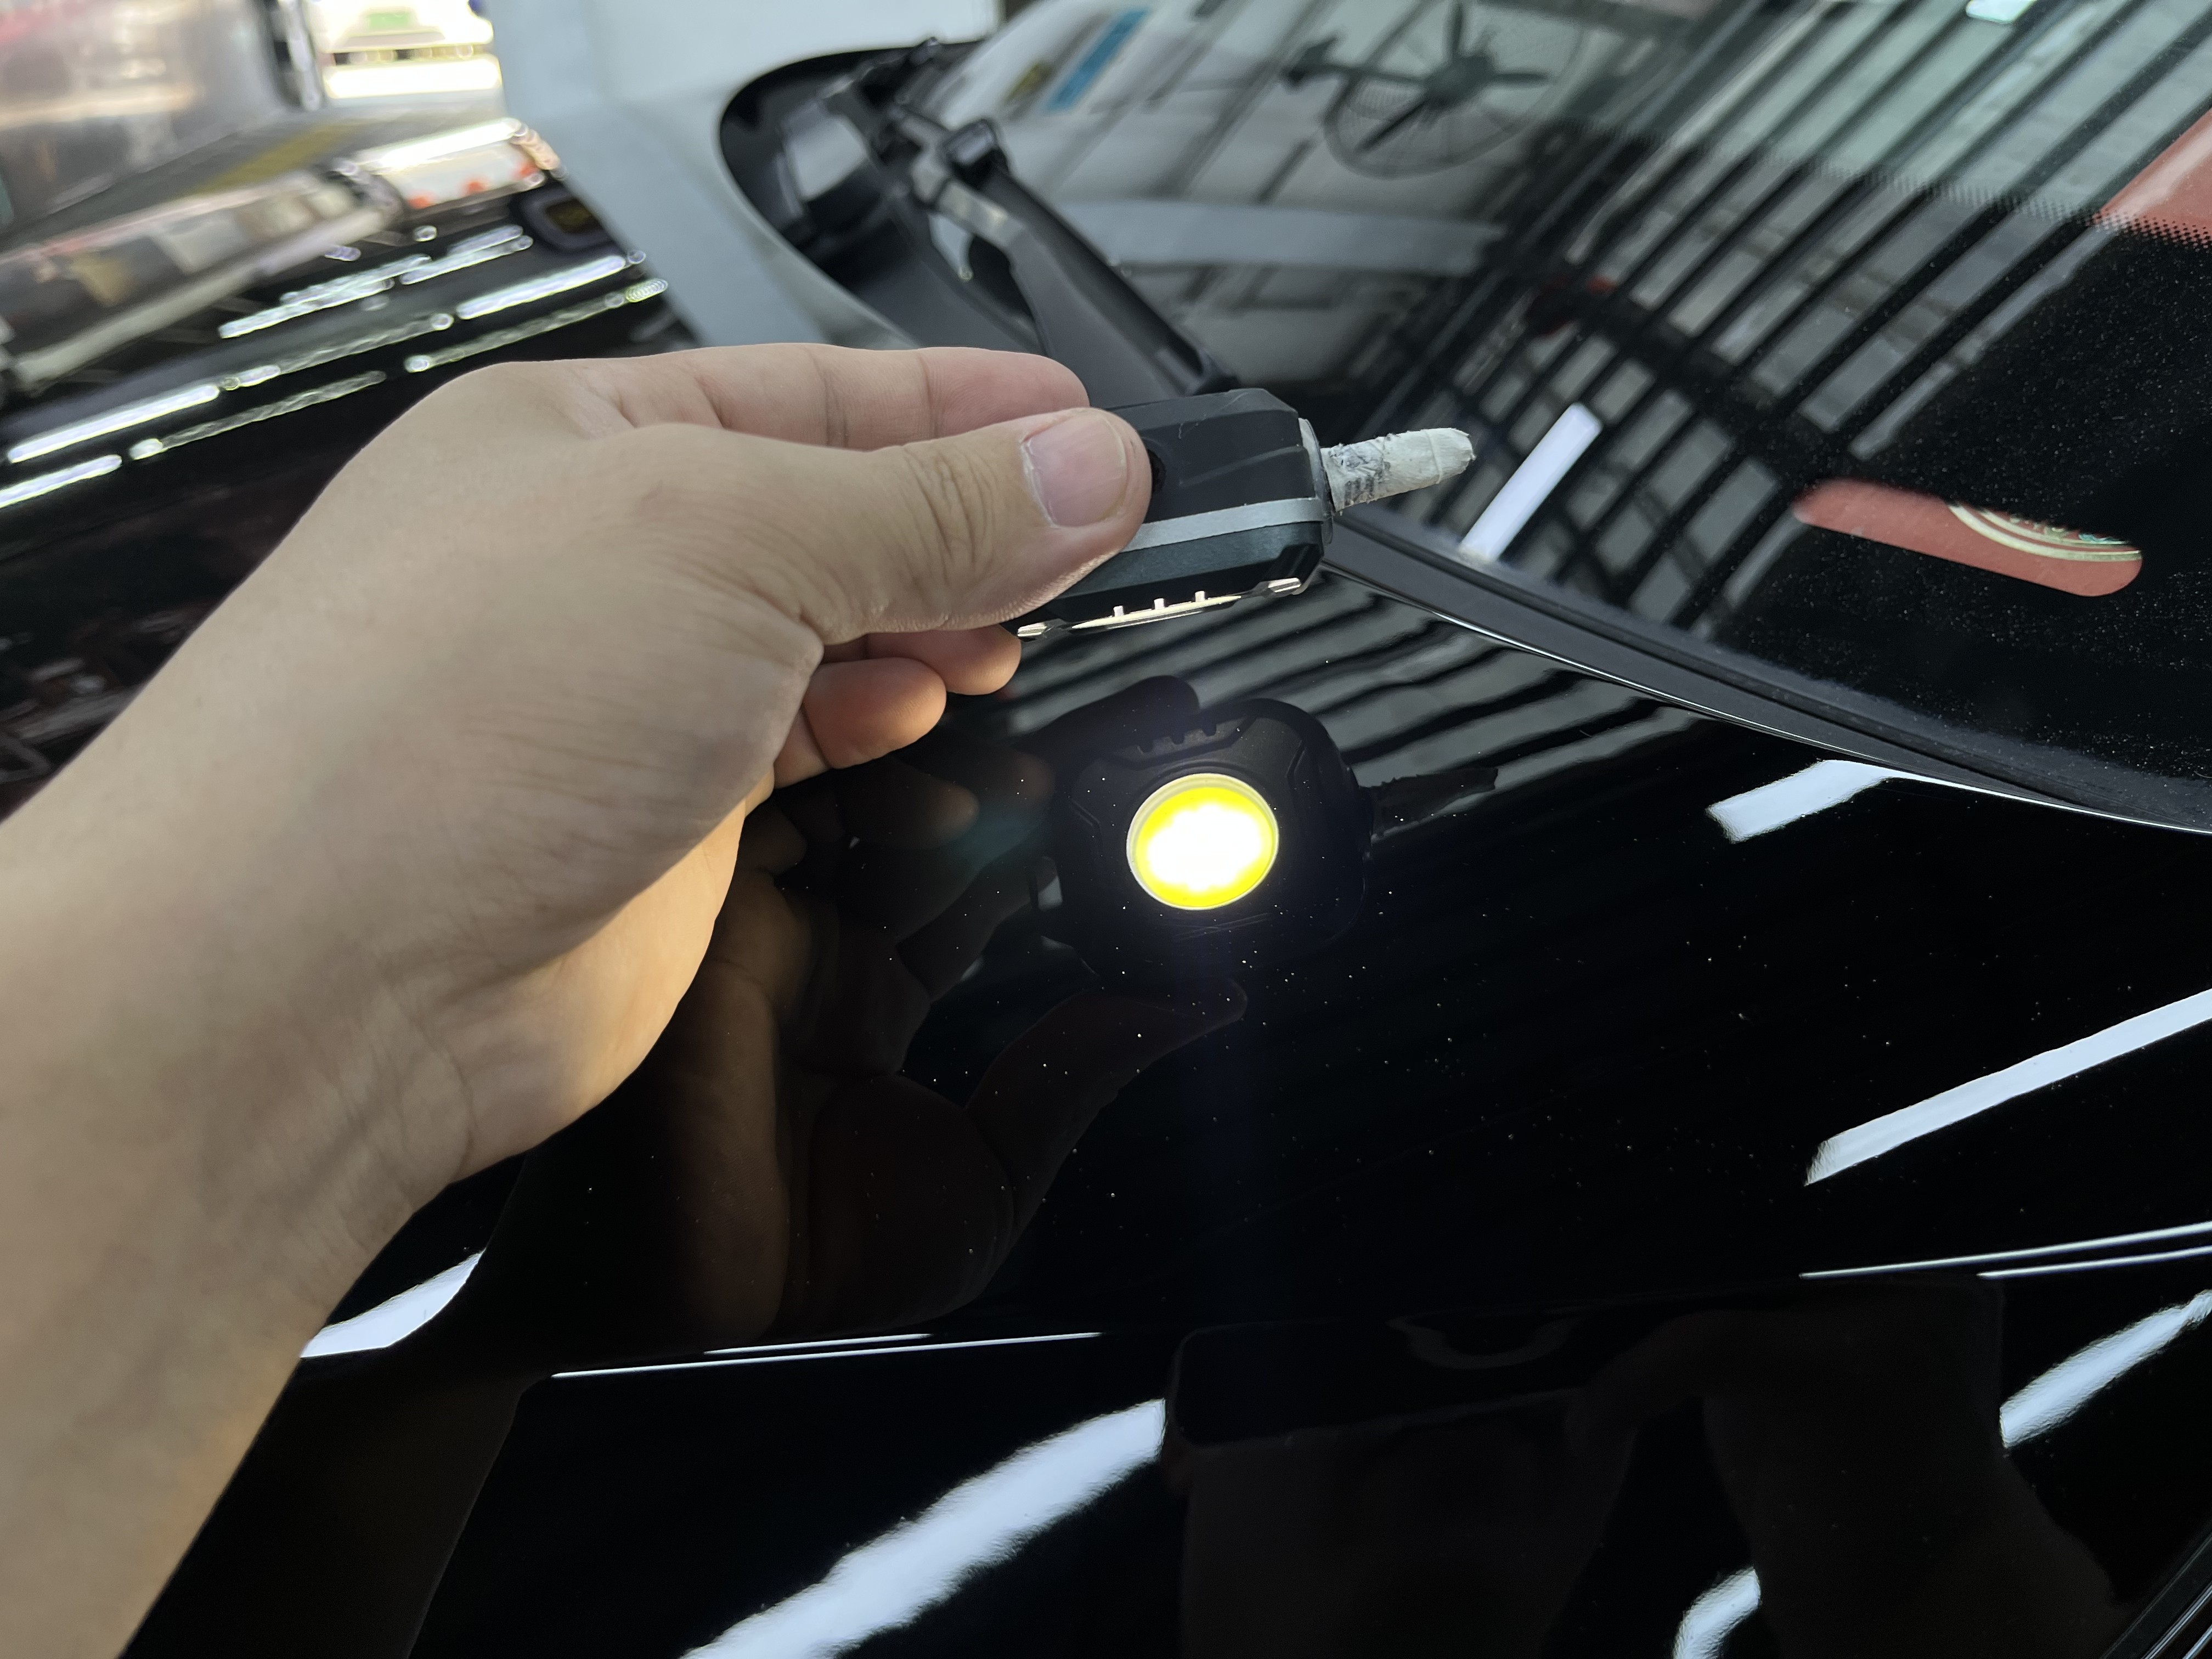
Completion criteria: Paint reflects light clearly like a mirror with no haze. Check with a flashlight at an angle — no grinding marks should be visible.
III. Post-Polishing Protection: This Step Can’t Be Skipped Either
After polishing, the paint is in its “best condition” — clean, smooth, and clear. But this state is also most vulnerable.
Freshly polished paint is like a new phone without a screen protector or case — a day of bare use creates a swarm of micro-scratches. Without prompt protection:
- Airborne contaminants adhere rapidly
- UV rays oxidize the newly exposed surface
- Even routine washing can create new fine scratches
Protection after polishing is essential — the standard approach is applying a layer of wax.
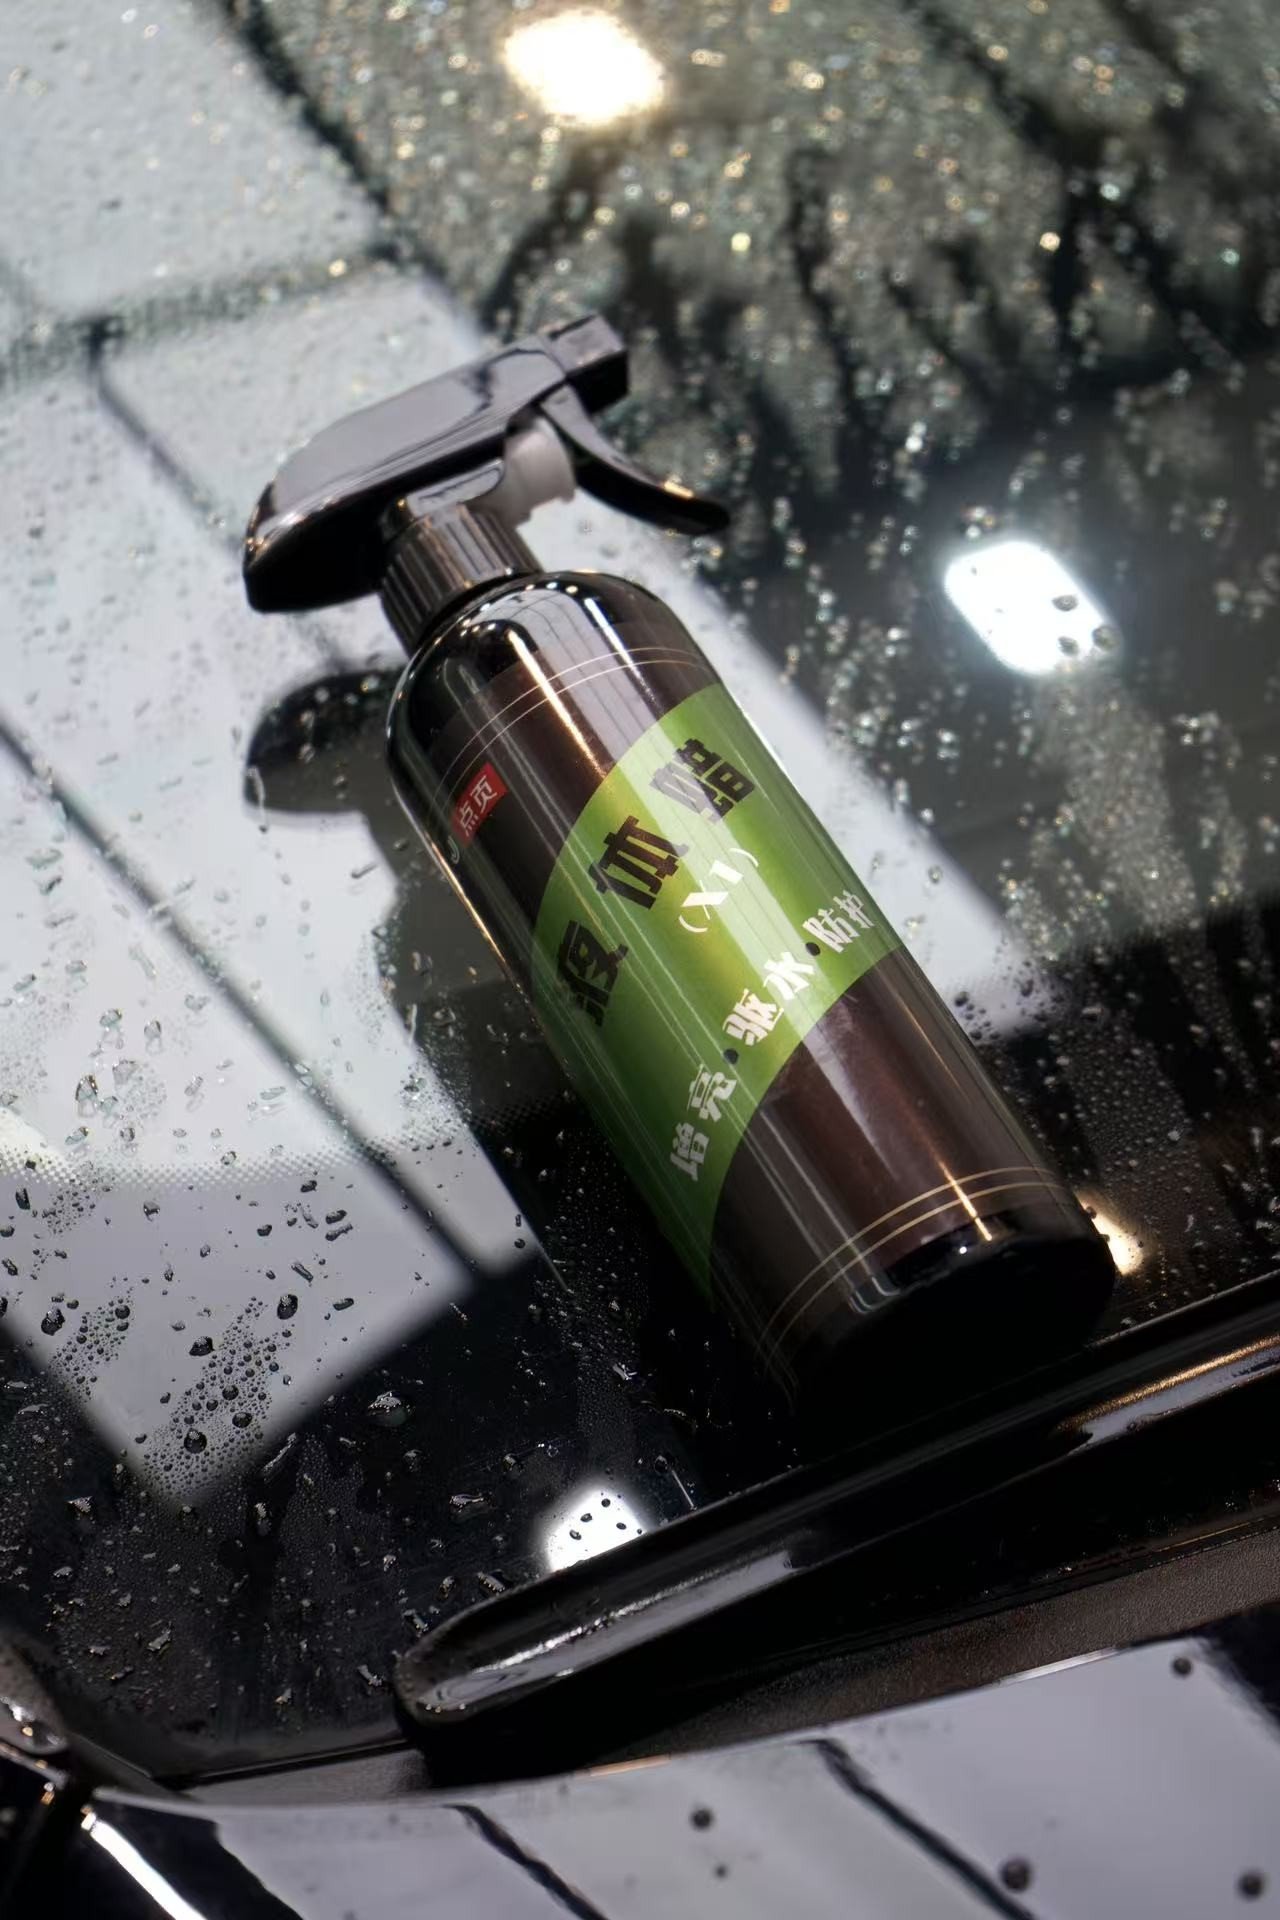
Recommended: quick-action liquid wax, featuring:
- Easy application, fast drying
- Forms a glossy protective film on the paint
- Ideal for immediate post-polish use
Application is simple: pour liquid wax on a foam pad, apply a thin coat, wait 2-3 minutes until slightly dry, then wipe clean with a towel.
Proper paint care not only makes the car look glossier but also extends the paint’s lifespan. This is a vital part of paint maintenance.
IV. Recommended Pairing Chart
| Stage | Product Type | Recommended |
|---|---|---|
| Coarse Compounding | Water-Based Polishing Wax | J2 Water-Based Polishing Wax + short wool/long wool coarse pad |
| Medium Polishing | 3-in-1 Polishing Wax | J3 3-in-1 Polishing Wax + fine foam/long wool fine pad |
| Fine Finishing | Mirror Finishing Agent | J5 Mirror Finishing Agent + fine foam pad |
| Post-Polish Protection | Quick-Action Liquid Wax | X1 Quick-Action Liquid Wax + hand application |
Tip: If your car needs daily maintenance rather than deep correction, medium and fine steps can be combined using a fine wool pad for two passes, saving time and effort. But coarse compounding cannot be skipped — it’s the foundation for leveling.
V. Common Misconceptions Q&A
Q: Can toothpaste fix car paint scratches?
A: No. Toothpaste’s main ingredients are abrasives and detergents. While it has some polishing ability, the particle size and formulation are unsuitable for automotive paint. It may work on metal or tooth enamel, but on car paint it can actually cause secondary scratches. For scratch treatment, use dedicated automotive scratch repair products or car polishing compounds.
Q: Will polishing thin the paint?
A: Proper polishing has negligible impact on paint thickness. Each pass removes approximately 1-2 microns of clear coat, while factory clear coat is typically 40-60 microns thick. Even after a full correction, the paint has ample protective layer remaining. The prerequisite is following the correct procedure — avoid excessively coarse products or excessively high speeds.
Q: Should I polish after every wash?
A: No. Polishing is a corrective procedure. General recommendations:
- Deep correction: every 2-3 years (depending on paint condition)
- Daily maintenance: car wash soap + gloss-enhancing wax
- Medium/fine polishing: every 6-12 months based on paint condition
Q: What’s the difference between residue removal and waxing?
A: The core difference is the nature of the action. Residue removal is a cleaning action — wiping away polishing residues. Waxing is a protective action — applying a protective film. The sequence is: polish → remove residue → apply wax. Skipping any step affects the final result.
VI. Conclusion
Paint polishing is a “systems engineering” project — it’s not just grabbing a machine and rubbing randomly.
Coarse compounding for leveling, medium polishing for brightening, fine finishing for mirror restoration, and final protection — these four steps are interlinked, each with an irreplaceable role. Skip any one, and the paint will remind you by looking dull and dark.
Before your next polish, check your process: do products match each stage? Are pads clean? Did you do the finishing step? Is protection applied? Get these details right, and the mirror finish will follow naturally.
Paint care is the most patience-testing aspect of auto detailing, but it’s also where professional expertise truly shines.
Product pairing recommendations: Coarse compounding with J2 Water-Based Polishing Wax, medium polishing with J3 3-in-1 Polishing Wax, fine finishing with J5 Mirror Finishing Agent, and post-polish protection with X1 Quick-Action Liquid Wax. For more product information, visit the DianYe official store.