
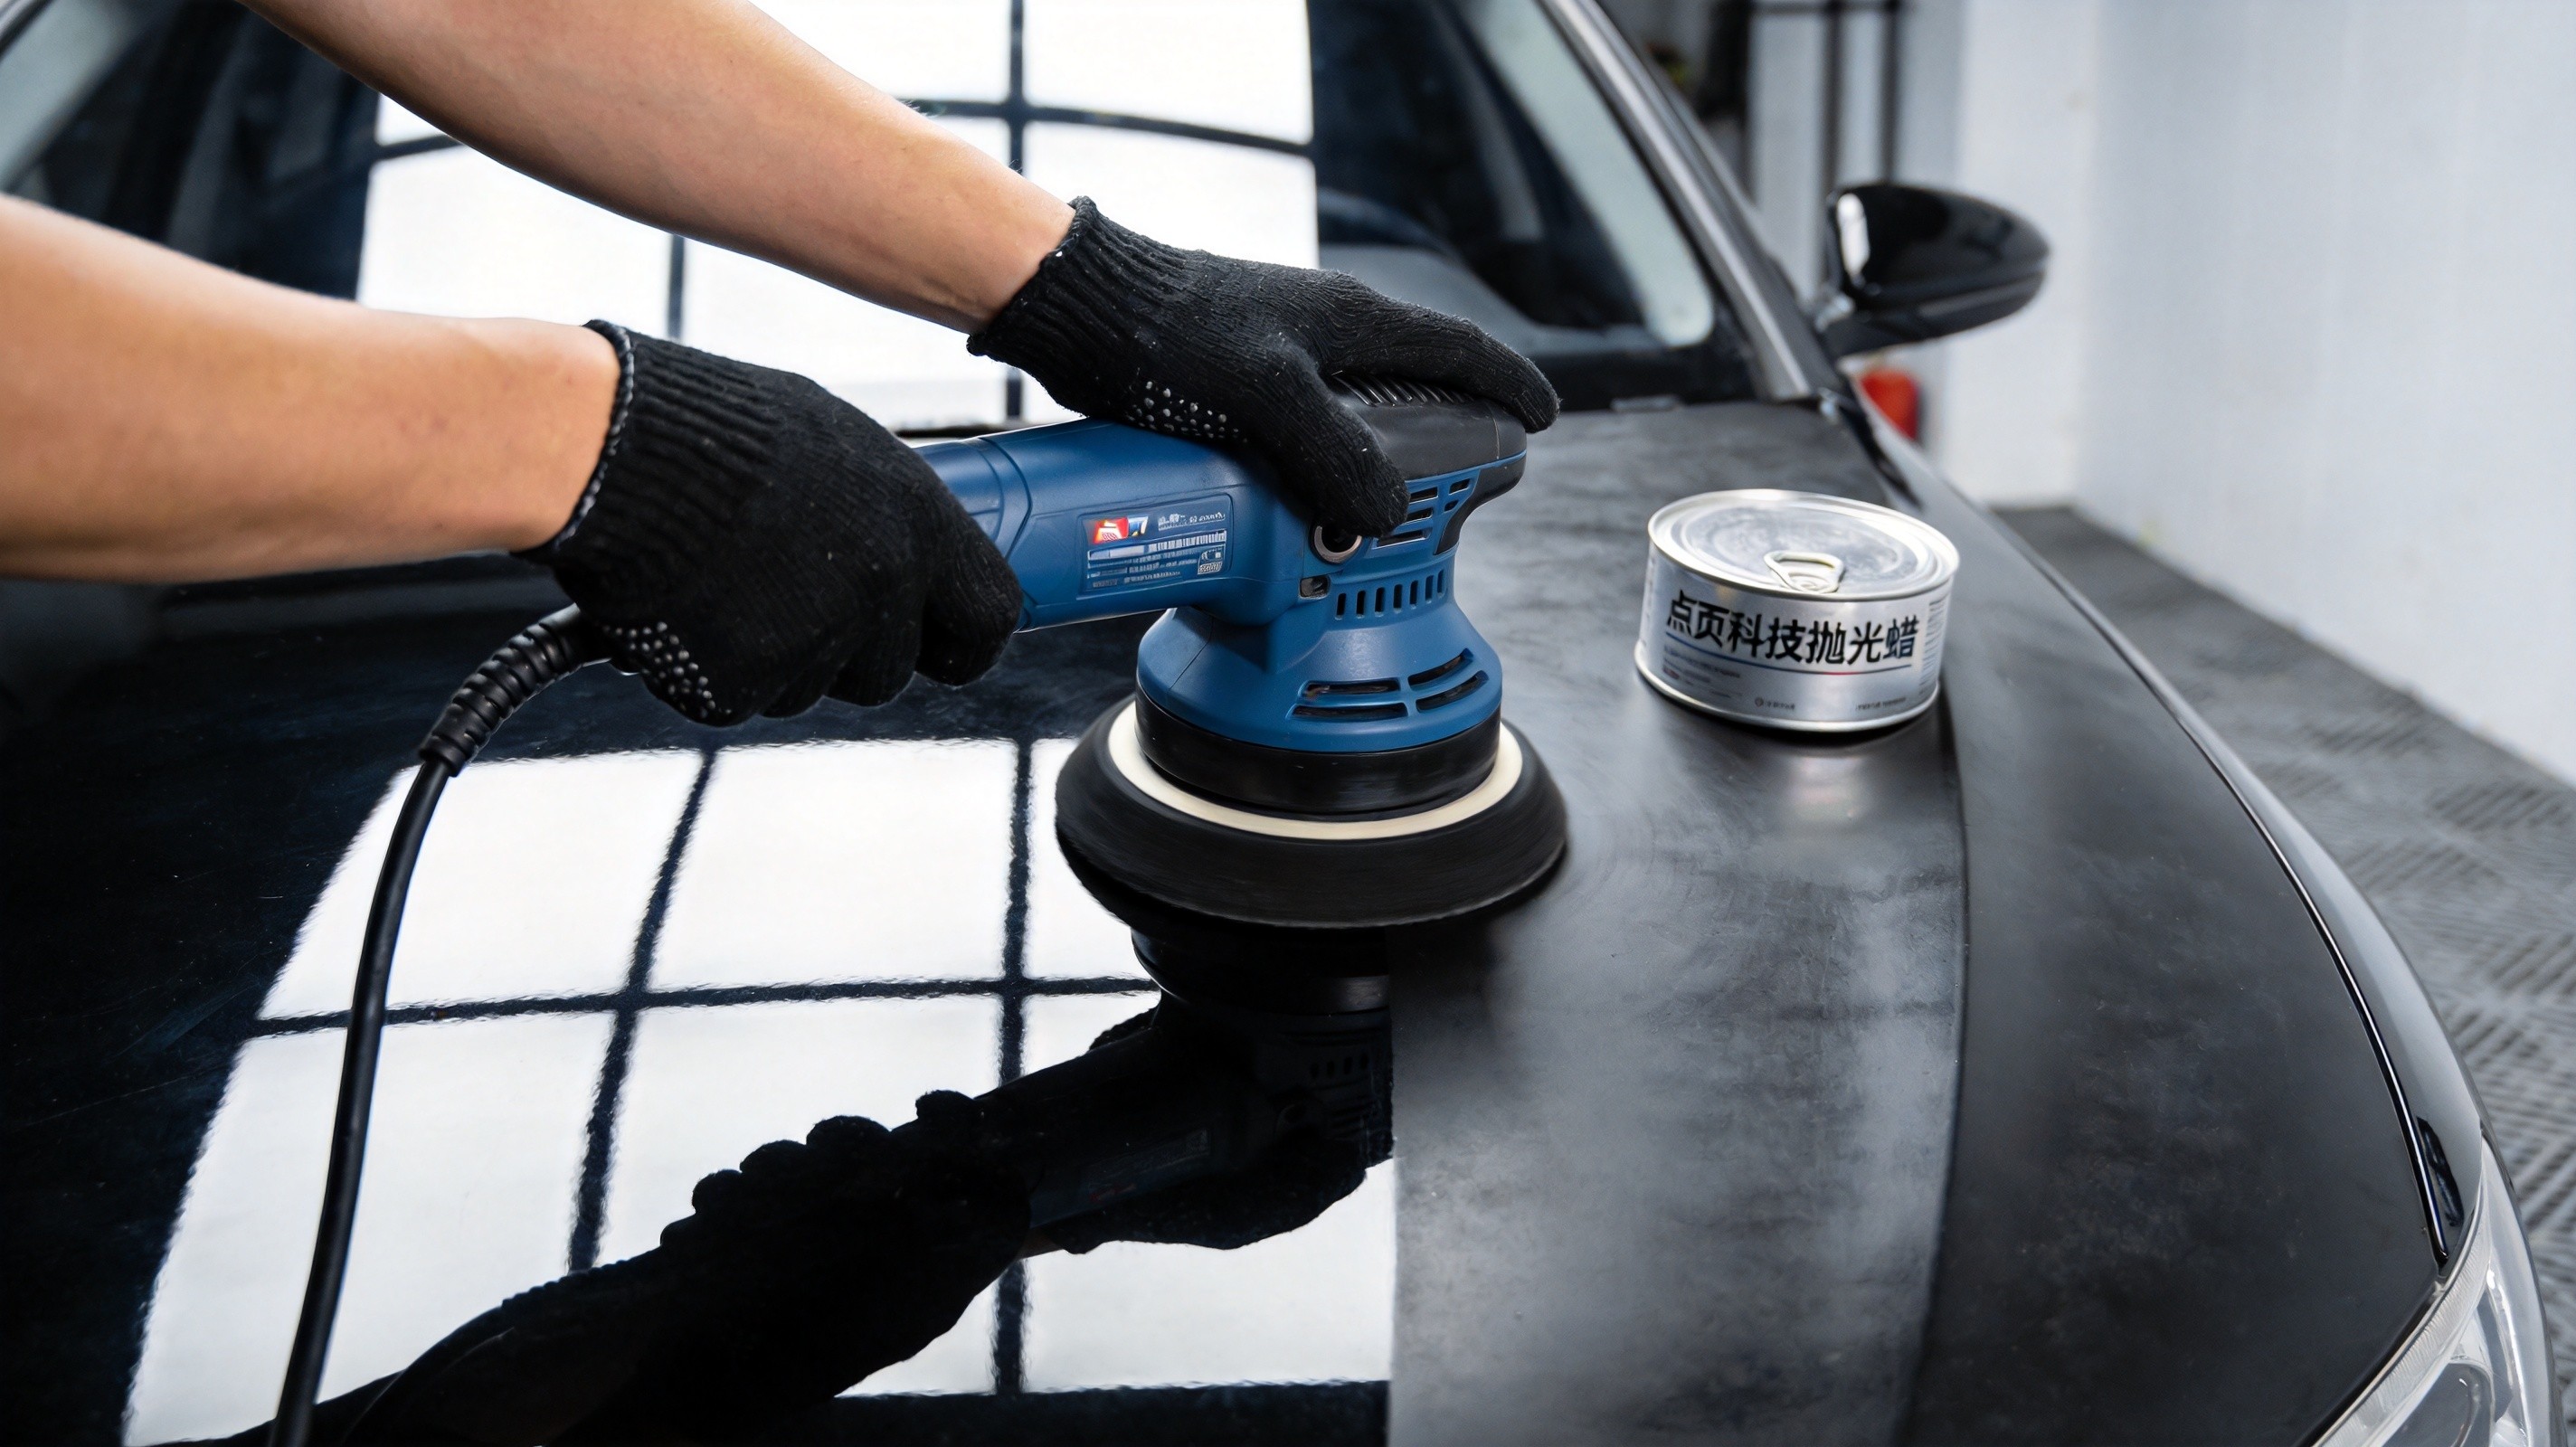
Complete Guide to RO Machine (Rotary Polisher) Operation: Speed, Pressure, and Angle Control with Burn Prevention
When using an RO machine for automotive paint polishing, some professionals can refinish an entire car in a day with mirror-like results; others burn through the clear coat in thirty minutes, leaving a scorched mess. What’s the difference? It’s not the machine itself — it’s whether the operator has mastered the RO machine’s core control logic.
In technical service, I’ve encountered too many such cases: a body shop technician uses an RO machine with automotive polishing compound for coarse work, the cutting is excellent, but they pause two seconds too long at an edge and the clear coat bubbles and is ruined. Or a DIY first-timer picks up a rotary polisher for the first time, unsure how to coordinate speed and pressure, forcing the machine down, leaving trails worse than before polishing.
The RO machine is the most efficient type of handheld polisher, but also the one with the lowest margin for error. Those who know how to use it can’t live without it; those who don’t won’t touch it. This article covers RO machine operation from start to finish — how to set speed, control pressure, maintain angle, prevent paint burns, and pair pads with compounds. Whether you’re a veteran with five years at a body shop or a newcomer to the industry, you’ll find immediately actionable operating standards.
I. Understanding Why the RO Machine Has Such Strong Cutting Power
The core motion of an RO machine (rotary polisher) is pure rotation — the motor drives the backing plate via gears in concentric circles around a fixed axis. No eccentric orbit, no oscillation, no randomness. All motor power is concentrated on a single contact surface and directly converted to cutting force.
From a physics perspective: with a 6-inch pad at 3800 RPM, the pad edge linear velocity reaches approximately 7,600 feet per minute, far exceeding the ~4,000 FPM of a 5-inch DA machine. The same abrasive particles carry more kinetic energy on an RO machine, cutting more material per unit of time.
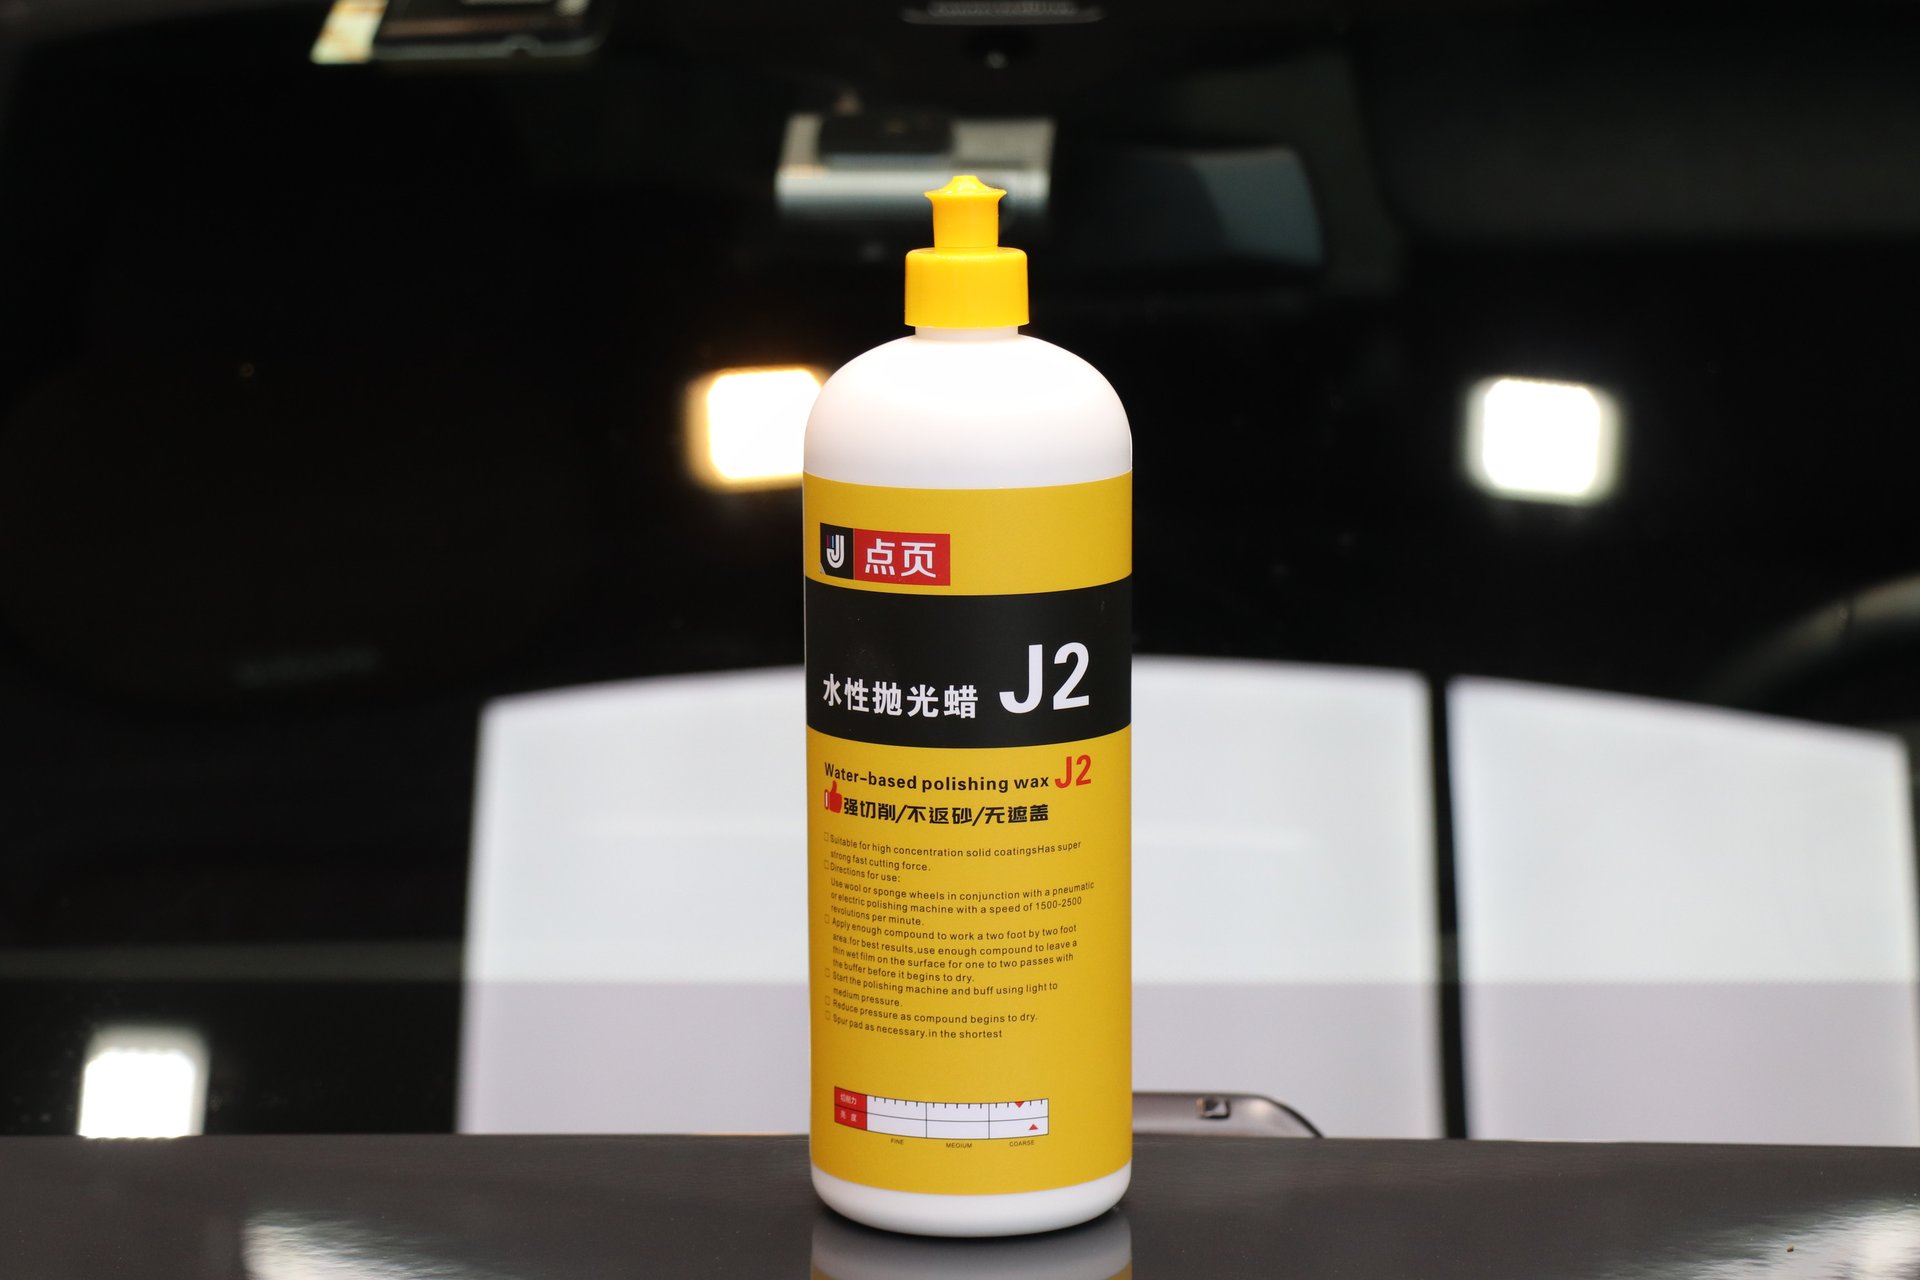
This is why for heavy correction tasks like deep scratch removal and severe oxidation, the RO machine paired with DianYe J2 Water-Based Polishing Wax for coarse work is 40%-50% faster than a DA machine. But it also means — the operator’s margin for error is extremely small. Once control is lost, irreversible paint damage can occur within seconds.
II. First Control Dimension: Speed
2.1 Safe Speed Ceiling: 1800 RPM
This is the first iron rule of RO machine operation: normal polishing speed should not exceed 1800 RPM.
1500-1800 RPM is the optimal balance between cutting power and safety for the RO machine. Above 1800 RPM, paint surface temperature rises dramatically — the gain in cutting efficiency is marginal, but the temperature increase is multiplicative. The glass transition temperature (Tg) of clear coat is 180-200°C; exceeding this causes the clear coat to soften, melt, and re-cure, forming irreversible thermal damage.
2.2 Recommended Speeds by Stage
| Polishing Stage | Recommended Speed | Key Points |
|---|---|---|
| Coarse Compounding | 1500-1800 RPM | Balance of cutting and safety, dwell time per spot ≤3 seconds |
| Medium Polishing | 1000-1500 RPM | Use with fine-grit compound to eliminate coarse marks |
| Finishing | 600-800 RPM | Low speed, high overlap for final gloss restoration |
Speed reduction for sensitive areas: Edges, bumpers, door handles — the clear coat at these locations may be less than 30μm thick, with large surface curvature and poor heat dissipation. Always reduce to 800-1000 RPM in these areas. Consider switching to a smaller pad or hand-finishing. In practice, over 60% of paint burns occur at edges, almost always due to failing to reduce speed.
III. Second Control Dimension: Pressure
3.1 Core Principle: “Let the Machine Do the Work”
The cutting force of an RO machine comes from rotational speed and abrasive particles, not from your arm strength. The operator’s role is to guide direction, not to apply pressure. Excessive force won’t improve cutting — it only sends paint temperature soaring and doubles the burn risk.
Listen to the machine: Pay attention to the sound — a high-pitched screech usually means excessive pressure or dried-out compound; a steady hum indicates proper pressure with compound still working. When you hear a high-pitched sound, immediately reduce pressure or replenish compound.
3.2 Pressure Reference Guide
| Pressure Level | Suitable Scenarios | Safety Rating |
|---|---|---|
| Machine weight only | Finishing stage, soft paint | ★★★★★ |
| Light pressure (~1.5× machine weight) | Medium polishing, daily maintenance | ★★★★ |
| Heavy pressure (~2-3× machine weight) | Deep scratch compounding, severe oxidation | ★★★ |
3.3 Adjusting by Paint Hardness
Clear coat hardness varies significantly across vehicle lines — pressure must be adjusted accordingly:
- Hard clear coat (German cars, ~2H hardness): Standard pressure is fine; wool pads are highly efficient
- Medium hardness (American cars, ~H-2H): Slightly reduce pressure; after wool pad compounding, switch to foam pad for finishing
- Soft clear coat (Japanese/Korean cars, ~HB-H): Light pressure throughout, wool pads prohibited. Touch the paint with your fingertip — if a clear fingerprint remains, the paint is soft
DianYe’s Japanese car clients should pay special attention: Toyota and Honda clear coats are generally soft, and RO machines used incorrectly can easily over-cut. For soft paint, use foam pads with J3 3-in-1 Polishing Wax for medium polishing throughout — safe and efficient.
IV. Third Control Dimension: Angle
4.1 Must Maintain “Flat Contact”
When operating an RO machine, the pad must remain completely parallel to the paint surface. Tilting causes the pad edge to concentrate force, creating the so-called “cookie-cutting” effect — leaving uneven cutting marks that are harder to fix than the original scratches.
On curved surfaces (bumper curves, fender arches) where flat contact is impossible, slightly tilt the backing plate so most of the pad contacts the surface, reducing edge-concentrated cutting.
4.2 Section-by-Section Work
- Divide the body into sections of approximately 50cm × 50cm each
- After completing and inspecting each section, move to the next
- This prevents both missed spots and over-working the same area
V. Biggest RO Machine Risks: Paint Burns, Burn-Through, and Holograms
5.1 Paint Burns — The Most Severe and Irreversible Damage
Paint burn occurs when the clear coat exceeds its glass transition temperature (Tg, 180-200°C), causing it to soften, melt, and re-cure. The paint surface shows discoloration, gloss loss, and “scorched” marks; in severe cases, bubbling occurs.
High-risk combination: RO machine + high speed (>1800 RPM) + heavy pressure + prolonged dwell
When these four factors combine, heat buildup far outpaces dissipation. Once the compound dries and enters “dry grinding” mode, temperature can exceed Tg within 1-2 seconds, creating a vicious cycle.
Prevention strategies (every one must be followed):
- Keep the machine moving — never dwell on one spot for more than 2-3 seconds
- Regularly check paint temperature with the back of your hand — stop immediately if it feels hot
- No more than 30 seconds of continuous work on the same section
- Pay extra attention to edges — thin clear coat + poor heat dissipation = #1 burn risk zone
- If paint discoloration or smoke appears, stop the machine immediately
5.2 Burn-Through — Grinding Through in Seconds
The total clear coat thickness is typically only 40-60μm — about the thickness of a cigarette wrapper. The RO machine’s strong cutting force means an careless operator can grind through this protection layer in seconds. Once burned through, the primer is exposed and the panel must be repainted — costly and impossible to restore to factory original.
High-risk burn-through zones: Edge ridges, door handle curves, bumper edges, mirror housings. These areas have the thinnest clear coat and the pad edge concentrates force. DianYe recommends hand-finishing or switching to a DA machine for these areas; reserve the RO machine for flat, large panels only.
5.3 Holograms — The RO Machine’s “After-Effect”
The RO machine’s single concentric circular motion creates groups of micro-arc-shaped scratches on the clear coat surface. Under point-source lighting (sunlight) at certain angles, these arcs appear as rainbow-colored moving ripples — commonly known as “holograms.”
This is the fundamental reason why the final finishing step must be done with a DA machine after RO machine work. The RO machine handles rapid “quantity” removal; the DA machine handles “quality” perfection — the two combined produce the best results.
VI. RO Machine Pad and Wax Pairing
6.1 Three Pairings for Three Scenarios
| Pairing | Pad Type | Compound | Speed | Application |
|---|---|---|---|---|
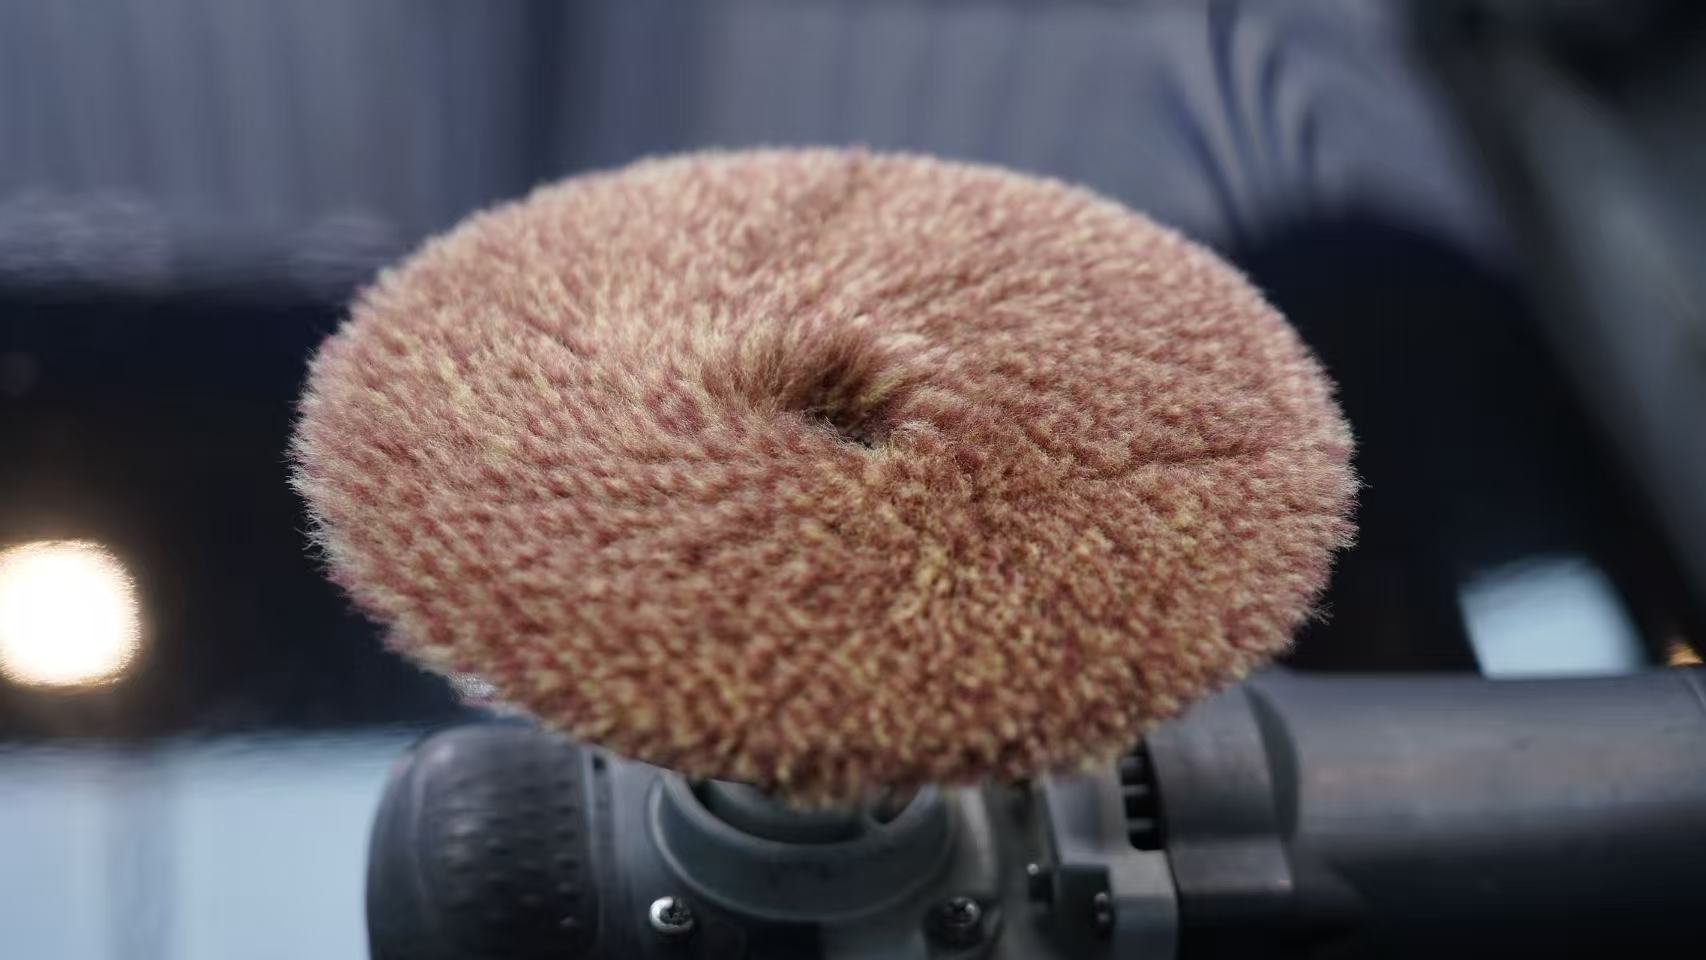
| Heavy Cutting | Wool Pad | J2 Water-Based Polishing Wax (coarse) | 1500-1800 RPM | Deep scratches, severe oxidation |
| Medium Correction | Coarse/Medium Foam Pad | J3 3-in-1 Polishing Wax (medium) | 1000-1500 RPM | Moderate scratches, swirl marks |
| Fine Finishing | Medium Foam Pad | Fine abrasive | 1000-1200 RPM | Eliminating coarse marks |
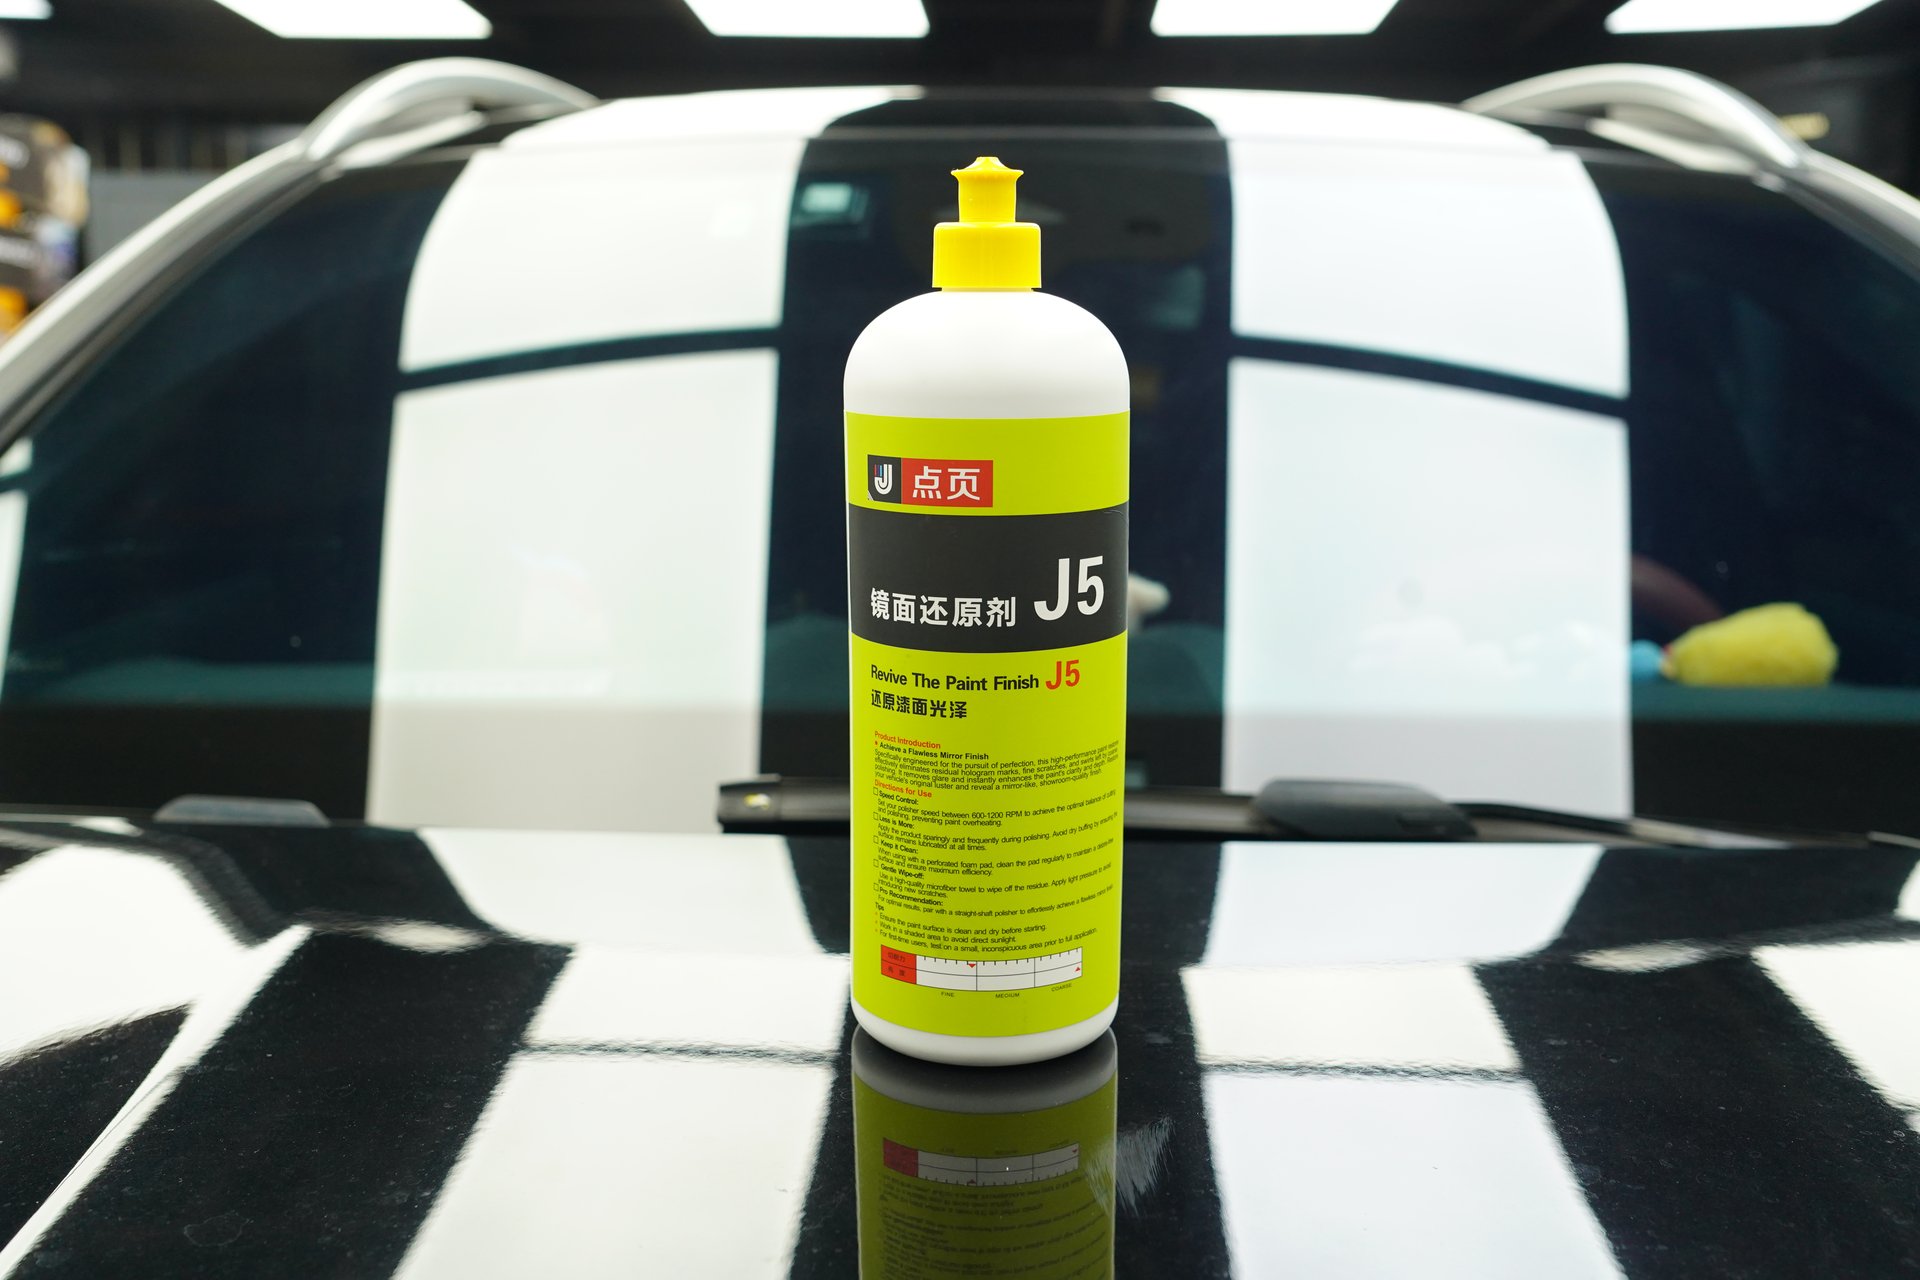
Critical reminder: The RO machine is typically NOT used for the final finishing step. Final mirror finishing should be done with a DA machine + fine foam pad + J5 Mirror Finishing Agent to eliminate holograms left by the RO machine.
6.2 Pad/Wax Pairing Rule: “Coarse with Hard, Fine with Soft”
Hard pads (wool pads) transmit coarse particle cutting force — suited for compounding. Soft pads (fine foam pads) with fine finishing agents won’t create new marks — suited for polishing and finishing.
Violating this rule results in: coarse compound on a fine foam pad — almost no cutting, wasted time; fine finishing agent on a wool pad — wool fibers are stiff and create new scratches.
6.3 Complete Solutions by Damage Level
The choice of polishing compound must be coordinated with the machine and pad to be effective. Here are recommended solutions by damage level:
| Paint Condition | Complete Solution | Core Logic |
|---|---|---|
| Severe oxidation / deep scratches (fingernail catches) | RO + wool pad + DianYe J2 → DA + medium foam + DianYe J3 → DA + fine foam + DianYe J5 → DianYe X1 protection | Three progressive steps + protection |
| Moderate scratches (fingernail catches slightly) | RO + coarse foam + J2 → DA + medium foam + J3 → DA + fine foam + J5 | Three-step systematic treatment |
| Light scratches / swirl marks | DA + medium foam + J3 → DA + fine foam + J5 | Two steps, no RO needed |
| New car / light dullness | DA + fine foam + J5 → X1 protection | Gentle restoration + protection |
VII. When the RO Machine Is Truly Necessary
The RO machine isn’t universal, but in these scenarios it’s irreplaceable:
- Deep scratch treatment: Scratches where a fingernail catches — a DA machine can barely address these effectively
- Severe oxidation restoration: Full-car severe oxidation with total gloss loss — requires rapid large-area removal of oxidation
- Sandpaper mark removal: Marks from 1000#-2000# sandpaper — only the RO machine’s cutting power can efficiently remove them
- Orange peel treatment: Moderate to severe orange peel requires significant cutting force
- Commercial efficiency: Body shops and detailing shops needing high daily throughput — RO machines save 40%-50% of labor time
Scenarios better suited for DA machines instead of RO:
- New cars or light dullness — daily restoration
- Light swirl mark treatment
- Final finishing on dark paint (RO machines always leave holograms)
- Japanese/Korean soft-paint vehicles (RO machine risk is very high on soft paint)
- Beginner operators (a DA machine is virtually impossible to burn through paint with)
VIII. Summary: The Core Logic of RO Machine Mastery
The RO machine is an irreplaceable efficiency tool in automotive paint polishing, but its “strength” also means “danger.” Mastering the RO machine comes down to three characters: Control. Control speed, control pressure, control angle.
- Speed: Coarse work ≤1800 RPM; reduce to 800-1000 RPM at edges
- Pressure: Let the machine do the work; reduce force when the sound goes high-pitched
- Angle: Always maintain flat contact; stop if tilted
- Protection: No more than 3 seconds per spot, 30 seconds per section; stop if hot to the touch
Pair with the correct pad and compound combination — coarse with DianYe J2 Water-Based Polishing Wax and wool pad, medium with J3 3-in-1 Polishing Wax and foam pad, finishing with J5 Mirror Finishing Agent and fine foam pad, protection with X1 Quick-Action Liquid Wax — following the principle of “coarse to fine” progression, and the RO machine will efficiently take you from heavy correction to mirror finish.
Remember: The RO machine handles rapid “quantity” removal; the DA machine handles “quality” perfection. Using both machines together is the complete professional automotive polishing solution.