
How to Match Pads and Wax for Orange Peel Treatment? A Complete Progressive Guide: Coarse → Medium → Fine with Automotive Polishing Wax
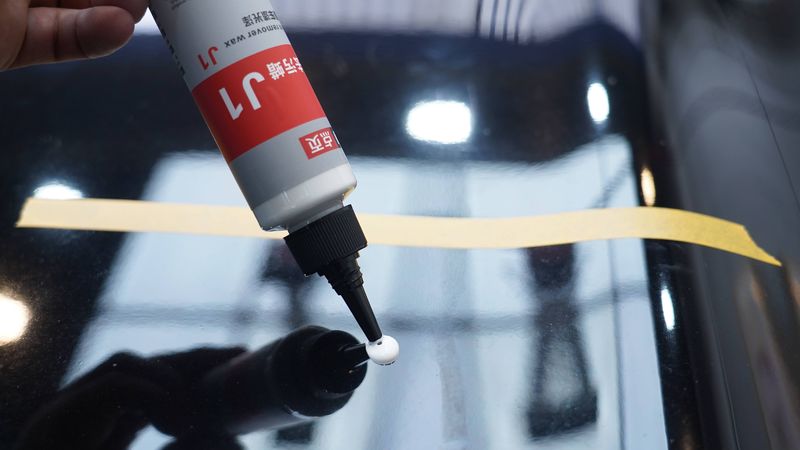 The core logic of pad-and-wax pairing for orange peel: “hard for coarse, soft for fine, progressively decrease”
In my years of doing orange peel treatment, I”ve seen too many people ruin their results — not because the wax was bad, not because the machine was bad, but because the pad and wax were mismatched.
Coarse cut wax paired with a soft foam pad — the wax”s abrasive particles can”t grip the paint, they just “slide” on the surface. Finishing restorer paired with a wool pad — the fiber hardness destroys the mirror finish, creating more swirl marks with every pass. Even worse, some people use the same pad for the entire process. Come on — coarse cutting and finishing have completely opposite requirements. How can you use the same pad?
Orange peel treatment results are 80% determined by whether your pad-and-wax pairing is合理. In this article, I”ll break down the underlying logic. Whether you”re using DianYe J2 coarse cut wax, J3 medium cut wax, or J5 mirror glaze restorer, after reading this you”ll be able to judge which pad to pair at each stage.
1. First, Understand a Premise: Pads and Wax “Work Together”
Many people treat polishing pads as mere “carriers” — thinking the pad just delivers wax to the paint surface. That”s wrong.
The pad”s core parameter is hardness (compression density). A hard pad concentrates pressure, pressing abrasive particles “into” the paint for efficient cutting. A soft pad has elastic cushioning that disperses pressure, causing particles to “glide” over the surface for gentle cutting.
The wax”s core parameter is abrasive particle size. Coarse wax has large particles (>10μm), cuts deep but leaves coarse marks. Fine wax has small particles (<3μm), cuts shallow but produces high surface finish.
The essence of pairing: Pad hardness × Wax particle size = Final cutting result.
They must match — hard pad with coarse wax stacks cutting power, ideal for leveling. Soft pad with fine wax gives gentle cutting, ideal for restoration. Cross-pairing (like coarse wax on a soft pad) causes them to “cancel out” with poor results.
This is the first principle of orange peel pairing: hard for coarse, soft for fine.
2. Three Stages of Orange Peel Treatment — Pad and Wax for Each
Orange peel treatment (unless extremely mild, which can be done in one step) follows the “cut peaks to level → transition to remove marks → mirror restore” three-step process. Each stage has different functions and different cutting requirements, so pads and wax must change accordingly.
Stage 1: Peak Cutting and Leveling (Maximum Cutting Power Needed)
The goal is to grind off the orange peel “peaks,” transforming the wavy surface into something relatively flat.
Required cutting power: Strong.
| Pairing Option | Pad | Wax | Application |
|---|---|---|---|
| Option A | Long wool pad / coarse wool pad | J2 Water-Based Polishing Wax (J2 coarse cut) | First polish pass after wet sanding severe orange peel |
| Option B | 1000-2000 grit denim pad | J2 Water-Based Polishing Wax (J2 coarse cut) | Direct denim pad leveling for moderate orange peel |
| Option C | Coarse foam pad | J2 Water-Based Polishing Wax (J2 coarse cut) | When thin clear coat makes denim pad unsuitable |
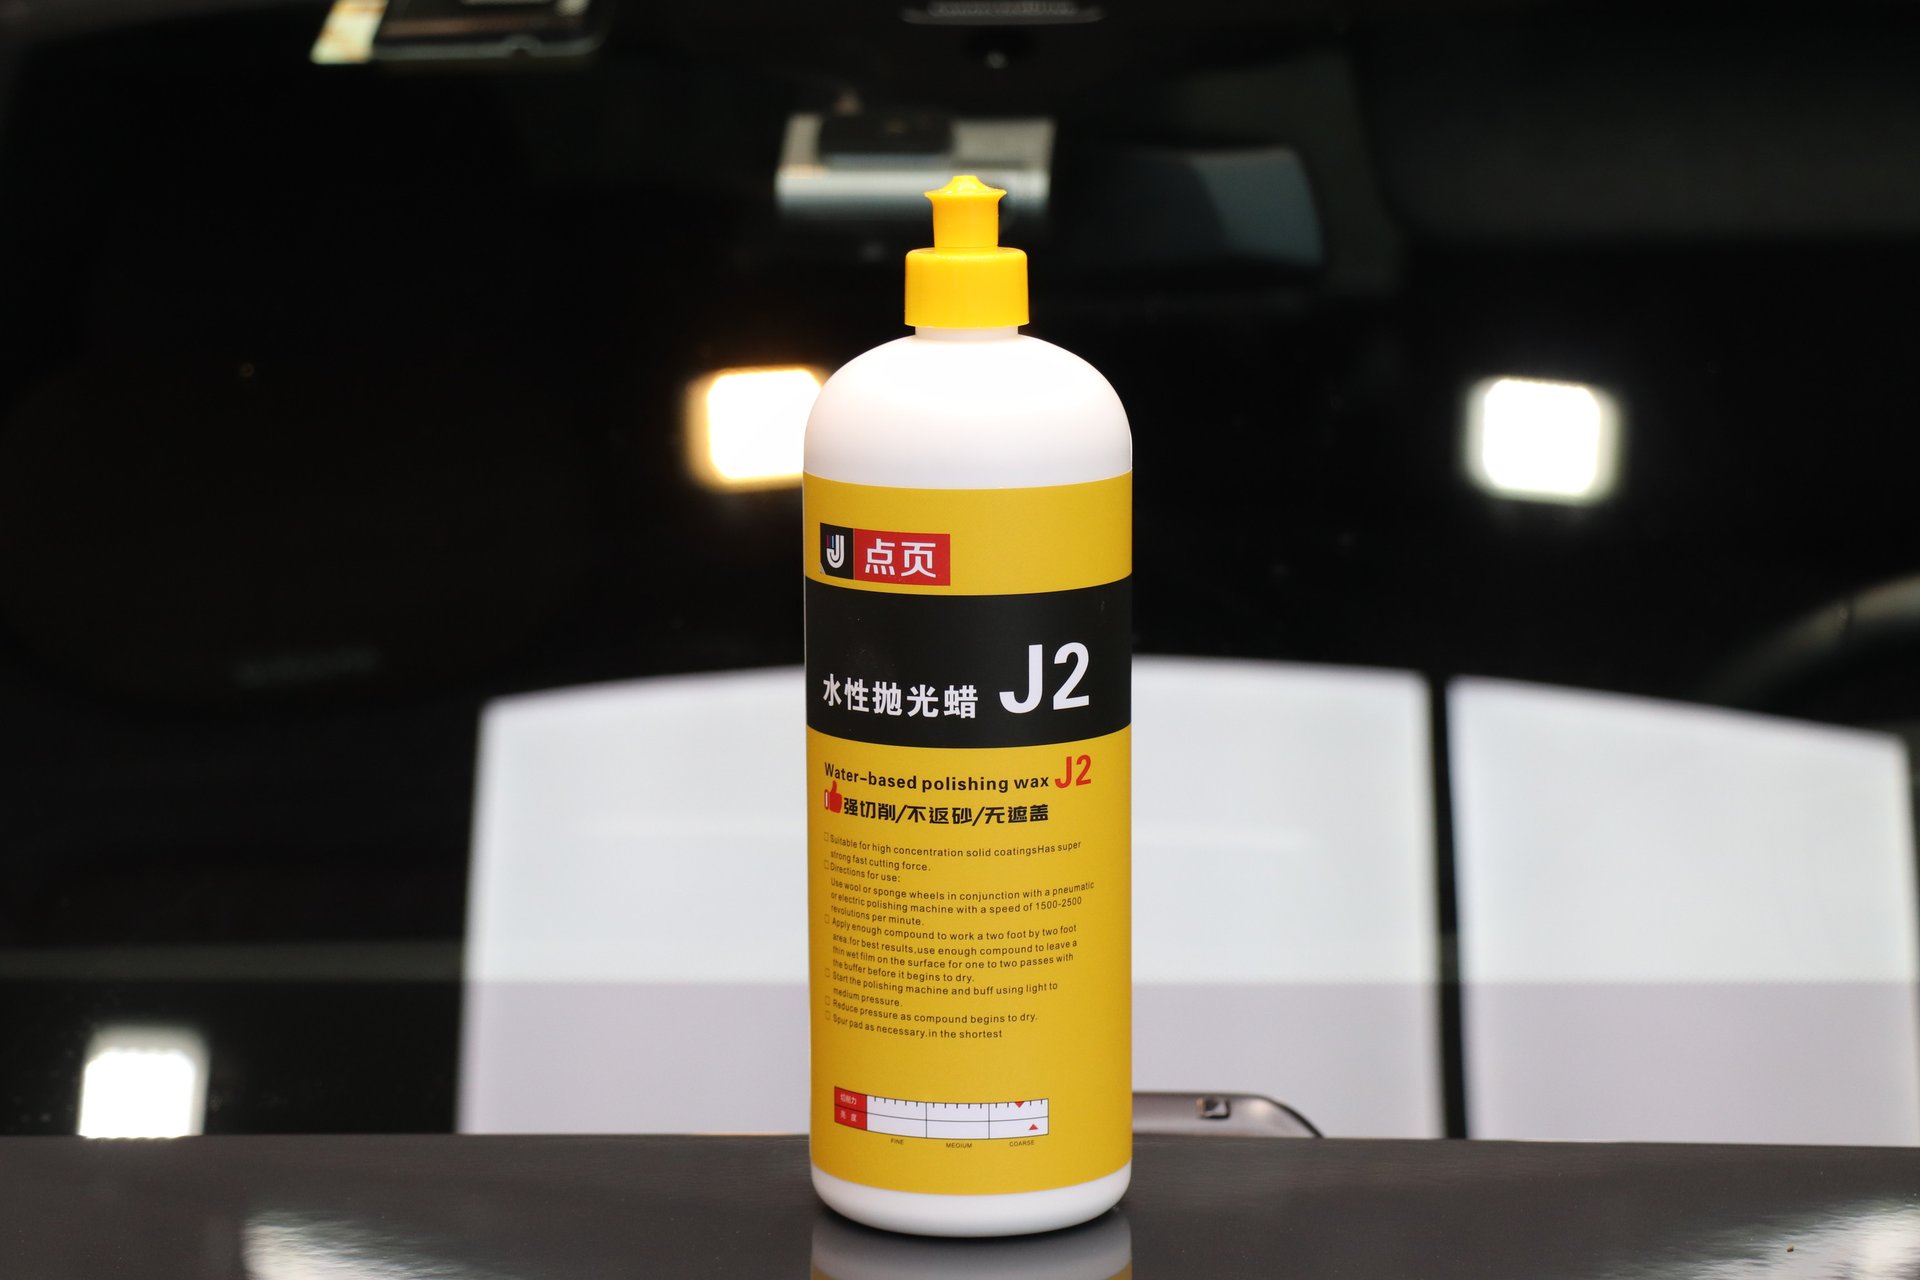 DianYe J2 Water-Based Polishing Wax (coarse cut), abrasive particles >10μm, the主力 for orange peel peak cutting
Why must coarse wax pair with a hard pad? J2”s particles are above 10μm and need a hard pad to provide sufficient downward pressure to actually cut into the clear coat surface. A soft foam pad would absorb most of the pressure through elasticity — particles just slide on the surface doing nothing. I”ve seen many beginners encounter this situation and blame the wax, when the real problem is the wrong pad.
Wool pad vs. denim pad vs. coarse foam pad — how to choose? It depends on orange peel severity and paint condition. After wet sanding severe orange peel, wool pads have the highest cutting efficiency for quickly removing sanding marks. For moderate orange peel without wet sanding, denim pads are safer — denim fibers have elastic cushioning that prevents localized over-cutting, plus better heat dissipation. For thin-clear-coat Japanese cars, coarse foam pads are the safest choice with controllable cutting.
Stage 2: Transition and Mark Removal (Medium Cutting + Leveling)
After stage 1, the surface is flat but full of coarse cut swirl marks and haze. This stage removes those marks and starts restoring gloss.
Required cutting power: Medium, with levelness maintained.
| Pairing Option | Pad | Wax | Application |
|---|---|---|---|
| Standard | Medium foam pad | J3 3-in-1 Polishing Wax (J3 medium cut) | Standard transition step for all approaches |
| Denim continuation | 3000 grit denim pad | J3 3-in-1 Polishing Wax (J3 medium cut) | Second step for denim pad approach |
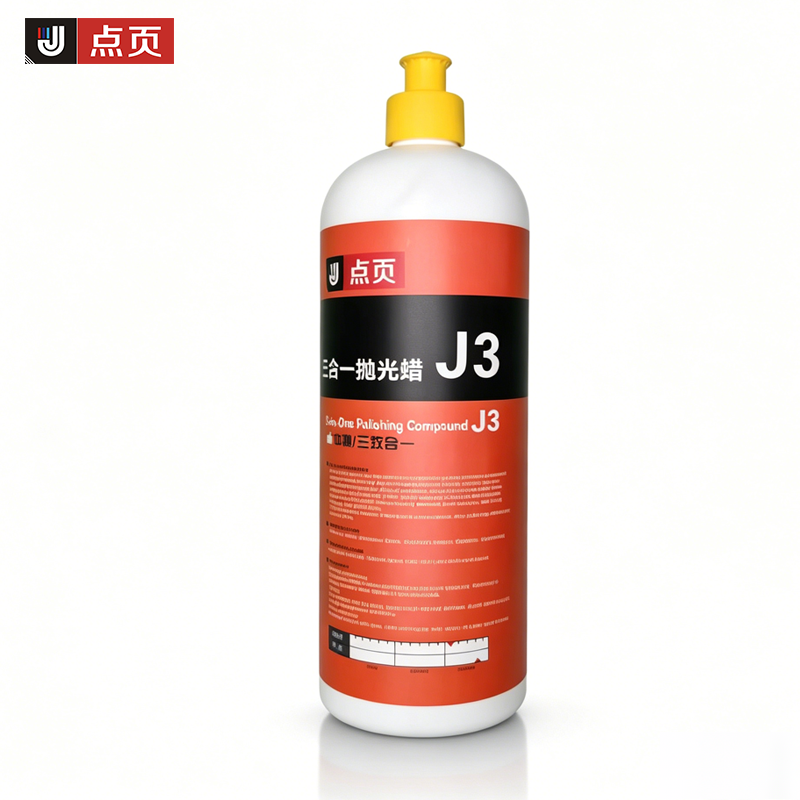 DianYe J3 3-in-1 Polishing Wax (medium cut), abrasive particles 3-10μm, eliminates coarse cut swirl marks in the transition stage
Why pair medium wax with medium foam pad? J3”s particles are 3-10μm, much finer than J2. If you still pair it with a hard wool pad, the fiber hardness plus particle size creates excessive cutting that introduces new swirl marks. Medium foam pad has just the right hardness — it lets J3”s particles work evenly to remove coarse marks without over-cutting.
Can this step be skipped? No. I”ve seen people go straight from coarse cut to J5 finishing, thinking they”re saving a step. Result? J5”s <3μm particles can”t reach J2”s coarse swirl marks. After all that work, swirls are still there and the paint is a mess. Skipping steps means rework — going back to do the medium cut you skipped, taking twice the time.
Stage 3: Mirror Restoration (Light Cutting + High Gloss)
Final step: eliminate all grinding marks, restore mirror gloss and Distinctness of Image (DOI).
Required cutting power: Extremely light, but must produce gloss.
| Pairing Option | Pad | Wax |
|---|---|---|
| Standard | Fine foam restoration pad | J5 Mirror Glaze Restorer (J5 fine wax) |
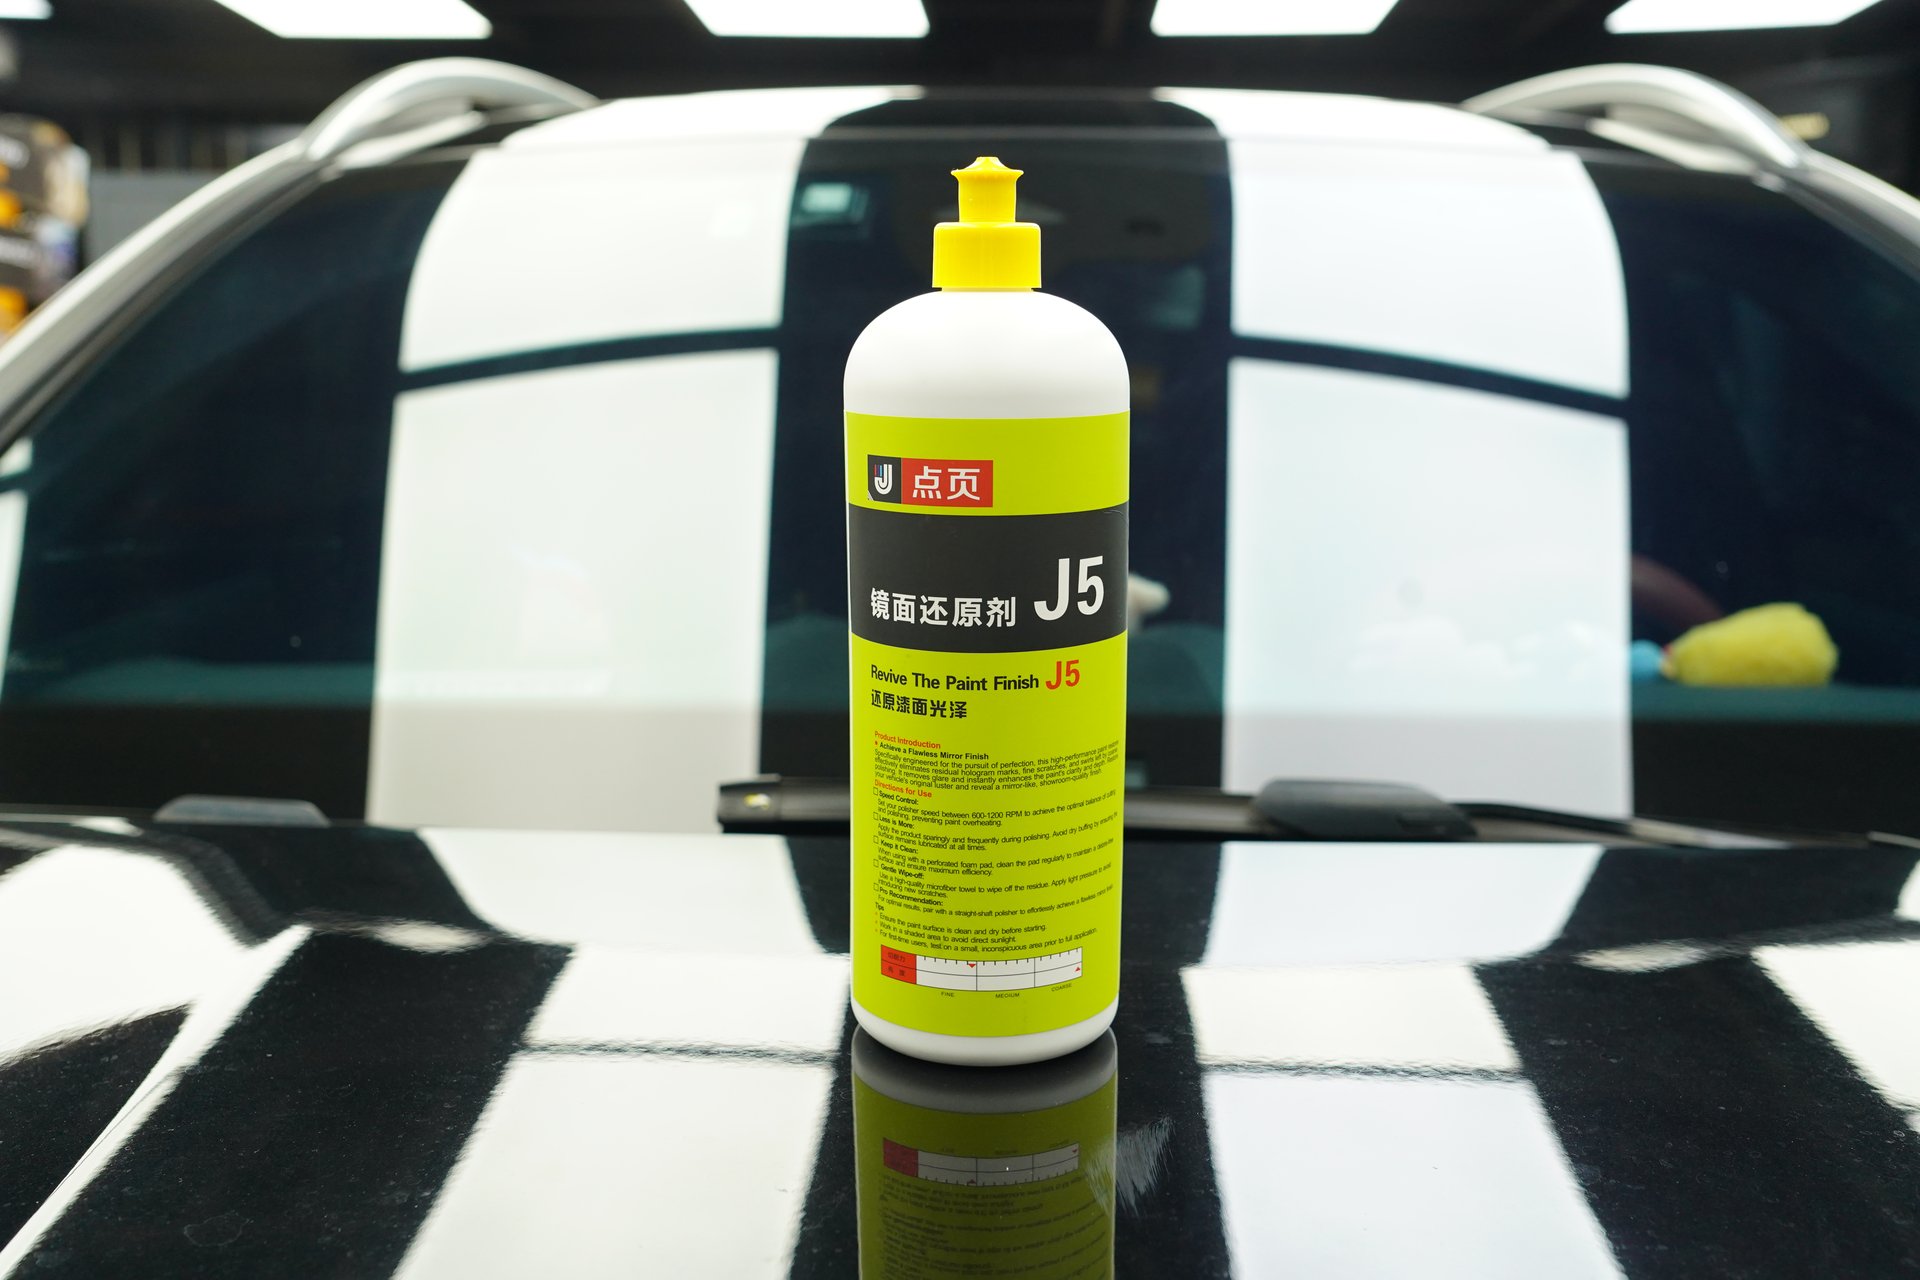 DianYe J5 Mirror Glaze Restorer (fine wax), abrasive particles <3μm, for mirror finish restoration
Why must finishing pair with fine foam pad? J5”s particles are under 3μm with inherently weak cutting power. If paired with a wool pad, the hard fibers” “scraping” far exceeds the wax”s polishing effect — it just creates swirl marks.等于白干. Fine foam pad is soft enough to let J5”s ultra-fine particles work evenly for a true mirror finish.
Don”t forget protection after restoration: Finally, apply a thin coat of X1 Quick Liquid Wax (protective wax) with a microfiber towel. This step doesn”t need a polishing machine — hand application is fine. X1 is not a polishing wax; it”s a protective wax that seals in the mirror finish and provides UV and contaminant protection.
3. Complete Orange Peel Pad-Wax Pairing Matrix
Putting all three severity levels together, the pattern is clear:
| Orange Peel Severity | Step 1 (Leveling) | Step 2 (Mark Removal) | Step 3 (Restoration) | Step 4 (Protection) |
|---|---|---|---|---|
| Mild | J3 + medium foam pad | J5 + fine foam pad | — | X1 hand-applied |
| Moderate | 2000 grit denim pad + J2 | 3000 grit denim pad + J3 | J5 + fine foam pad | X1 hand-applied |
| Severe | Wet sand → wool pad + J2 | Medium foam pad + J3 | J5 + fine foam pad | X1 hand-applied |
See the pattern? Regardless of orange peel severity, the last two steps are always J5 + fine foam pad for restoration, then X1 for protection. The difference is in the earlier steps — the more severe the orange peel, the more “leveling” steps needed and the “harder” the tools.
This is the progressive decrease logic: from hard to soft, from coarse to fine, from strong cutting to zero-cutting protection, step by step.
4. Five Most Common Pairing Mistakes
I”ve seen these mistakes countless times with beginners. Each one wastes hours of work:
Mistake 1: Coarse wax on soft foam pad
J2 coarse wax on a fine foam pad? The particles can”t press down, they slide on the sponge. Like sanding wood with fine sandpaper backed by cotton — the cotton absorbs all the force. Coarse wax must pair with hard pads (wool/denim/coarse foam) to deliver cutting force to the paint.
Mistake 2: Finishing restorer on wool pad
J5 restorer on a wool pad? Wool fibers are hard — with fine particles it”s “scraping” not “polishing,” creating swirl marks. Finishing wax only pairs with fine foam pad. No exceptions.
Mistake 3: Skipping steps — coarse to fine directly
J2 then straight to J5, skipping J3. Problem is J2”s coarse swirls can only be removed by J3”s medium particles. J5”s fine particles are powerless against J2”s coarse marks. Skipping = rework. Three steps is three steps.
Mistake 4: One pad for everything
Some people don”t bother changing pads. Coarse cut residue embedded in the pad keeps releasing coarse particles during finishing — you”re creating swirl marks while trying to remove them. Change pads at every step. Clean or discard after use.
Mistake 5: Speed mismatch
Pad and wax paired correctly but wrong speed = still no good. Coarse cutting at low speed? Insufficient cutting, wasted effort. Finishing at high speed? Abrasive particles fly off before they can work. Remember: coarse 1500-1800rpm, medium 1000-1200rpm, fine 600-800rpm.
5. Adjustments for Different Paint Conditions
The standard approach isn”t set in stone. Special situations need微调:
Japanese soft-paint cars (Toyota, Honda, Nissan): Clear coat hardness is low (3H-4H). Reduce cutting power by one level across the board. For moderate orange peel, skip the denim pad — start with coarse foam pad + J2. Reduce speed by 200-300rpm throughout. Clear coat <38μm — don”t use denim pad, cutting is too aggressive for the safety margin.
German hard-paint cars (VW, BMW, Mercedes): Clear coat is hard (4H-5H). Standard approach works fine. But hard paint has a trait — poor heat dissipation.局部 temperature rises fast during machine polishing. Don”t stay on one spot more than 3 seconds. Keep the pad moving. Especially during wool pad + J2 coarse cutting, don”t exceed 1800rpm. Above 50°C the clear coat starts softening and becoming tacky, more prone to burn-through.
BMW powder clear coat vehicles: BMW has used powder clear coat (PPG Enviracryl) since 1998 — extremely durable but orange peel is also more visible. If factory orange peel isn”t too offensive, only do mild improvement (J3 + medium foam pad). Don”t aggressively treat it — removing powder clear coat means sacrificing its core durability advantage.
Refinish paint: Refinish paint generally has lower flow-leveling than factory paint, so orange peel is coarser. But clear coat thickness is also more uneven. When treating refinish orange peel, always measure multiple points with a thickness gauge first. Find the thinnest area and base your approach on that — don”t choose based on average thickness, or the thin area may get burned through.
6. Core Mnemonic for Pad-Wax Pairing
A memory aid so you never need to reference notes:
Hard for coarse, soft for fine, progressively decrease — never skip steps. Mild orange peel: two steps (J3→J5). Moderate: three steps (J2→J3→J5). Severe: add sanding (sandpaper→J2→J3→J5). Last step is always J5 + fine foam pad restoration + X1 protection.
Regardless of orange peel severity, the progressive decrease logic stays the same: from strong cutting to zero-cutting protection, each step the pad gets softer and the wax gets finer. Pad and wax progress together for optimal results at each level.
Get the pairing right and you”re 80% there. The remaining 20% is your technique and patience.